A couple years ago, someone gave me a link to a blog that had instructions on how to make homemade makeup — from crayons! If you know me in real life or are good at reading someone from what they say or do or how they talk, you should know that I hate unnecessary harsh chemicals. Makeup was one thing I could never see myself getting around. To be honest, I am of the age now where I regularly wake up looking “busted”! Ha, ha! But, really, I mean it. I need a little help in the morning, and coffee’s not going to cut it!
I could easily peruse the ‘net and see if I could locate that tutorial that I originally saw, but I have this weird idea that I make out better when I have tunnel vision and do my own thing instead of being guided to do something a certain way. I’ve been making my own version of this stuff since I first found out about it, and I don’t think I need to change it.
Seeing pictures of things is great to get motivation, but sometimes originality wins. For this reason, I try not to frequent too many crafting or sewing blogs in fear that I will compromise some of my own unique ideas or ways of doing things. I love their ideas, but hate the thought of ‘stealing’ them and purporting them to be my own. Not cool! Weird? Yes, I know. But if you think of yourself as an artist, someone whose creativity is governed only by what it inside them; it makes perfect sense. At least to me, it does.
So moving right along to the tutorial.
This is so super easy and fun to make! I love the control over the colors (I love bright – think Malibu Barbie!) you have when you do this.
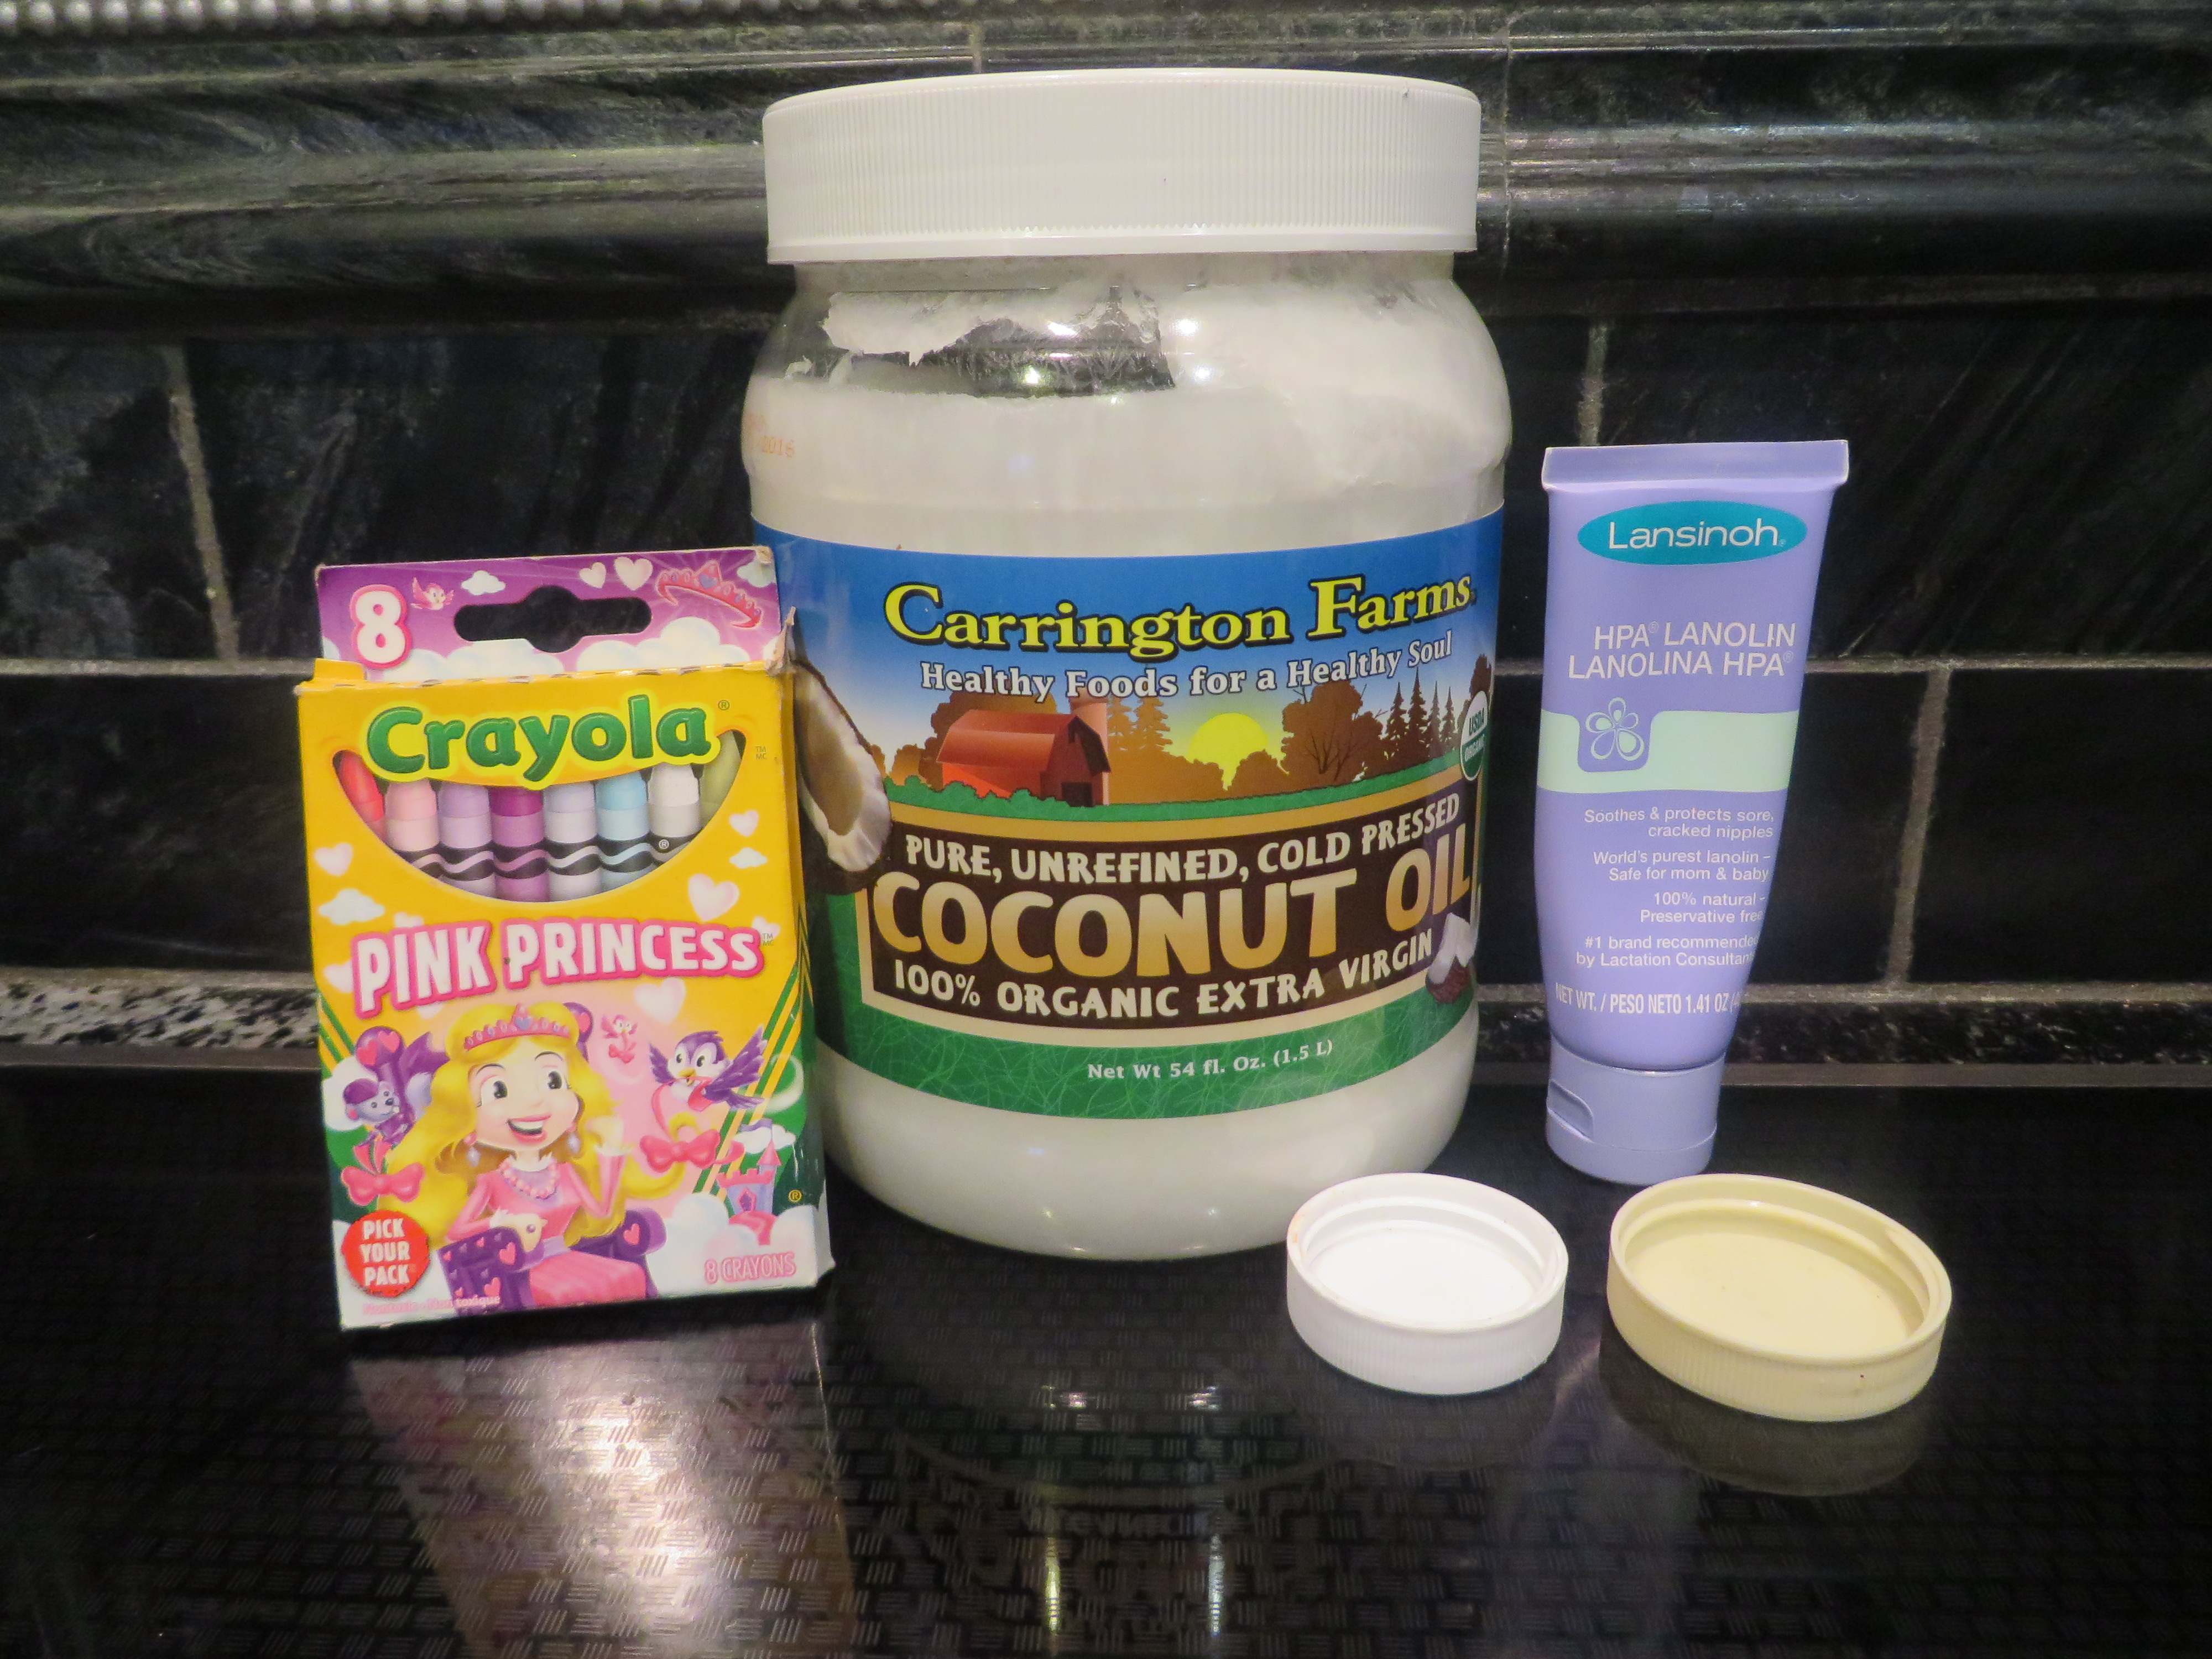
You will need:
1/4 teaspoon coconut oil
pea-sized dollop of lanolin
toothpick or small spoon
1/2 to 1 crayon in color(s) of your choice (I do remember when I first read about this that it was recommended only to use Crayola for some reason or another. I have actually made this makeup with Rose Art crayons and didn’t like the consistency, so I would say that was good advice.)
stovetop pan set up to double boil
(I use a mini cast iron skillet, like this for my makeup, and a slightly bigger pan to boil the water.)
some plastic vitamin bottle caps, empty lipstick containers, or other storage container
First you want to set up your stove-top situation. You want to fill a pan three-quarters full of water. Now you need to lay your smaller pan (this size is great for this and also has pouring spouts on the side, which is a big help!) on top of that to create a double-boiling environment. *Make sure you don’t get any water in your smaller pan that is on top! This will alter the consistency of your final result and is not what you want.
Now add in your coconut oil and lanolin. Also, add in your crayon. I usually like to start with one-half of a crayon and see how the consistency and color look and add up from there. More often than not, I end up using 3/4 to a full crayon for more vibrant color.
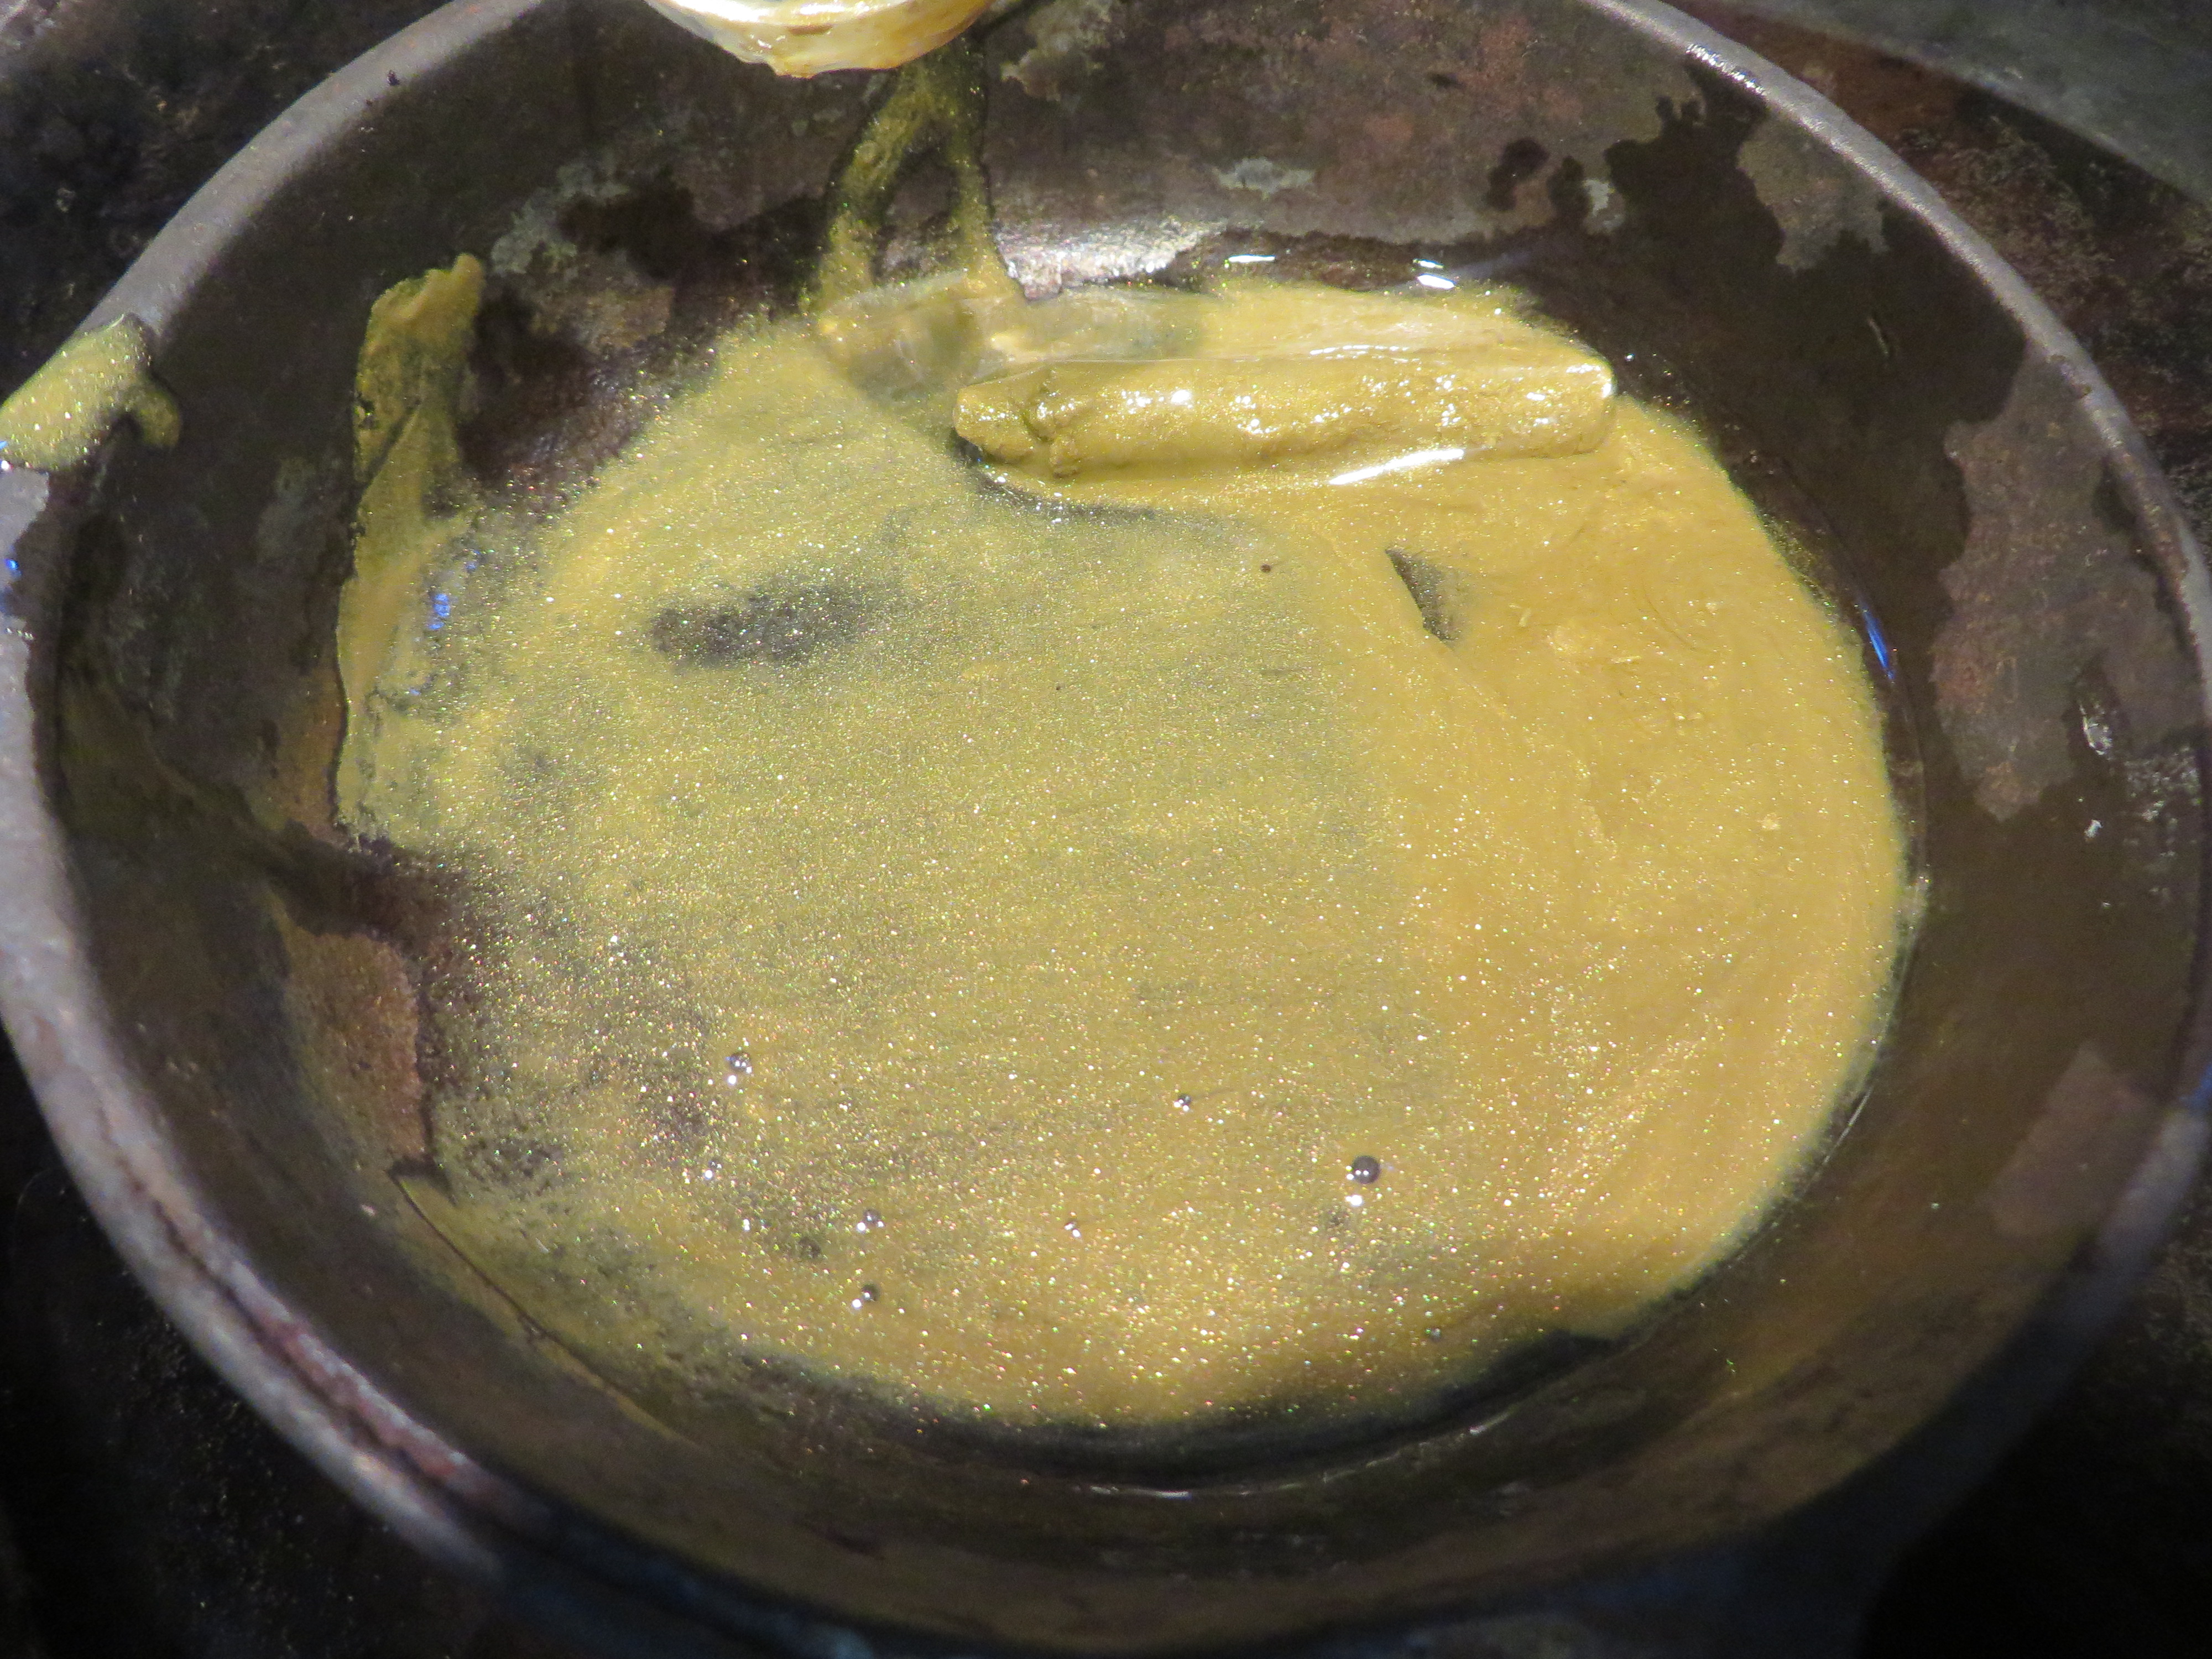
Cook on low-medium heat for about ten minutes, stirring with a toothpick or small spoon. Don’t leave this project; it needs babysitting!
After everything looks nicely blended, turn off your heat. Let it cool down a little bit, but not to the point that it’s semi-solid or solid. You need to transfer it to your container when it’s a little runny.
Pour into your containers. (I save vitamin bottle caps for this.)

You can experiment with any color you want. I just apply this with my hands over my cheeks, eyes, and lips.
Now comes the (not-so) fun part! I feel wholeheartedly entitled to provide photos of all of my projects on this blog, whether the results are favorable or not so much so. When I decided I was going to share this post, I didn’t think far enough ahead that people may actually want to see what this makeup looks like on. (Face in palm.) I know I would want to see end results before I made this. That being said, this is really an unusual event as I don’t even have a Facebook profile picture and feel most awkward at my age trying to take a “selfie.”
Well, in the name of DIY-ing, here I am, at my “advanced maternal age,” in my bathroom taking a “selfie” on my iPhone. (I’m even still putting “selfie” in quotes – how uncool!)
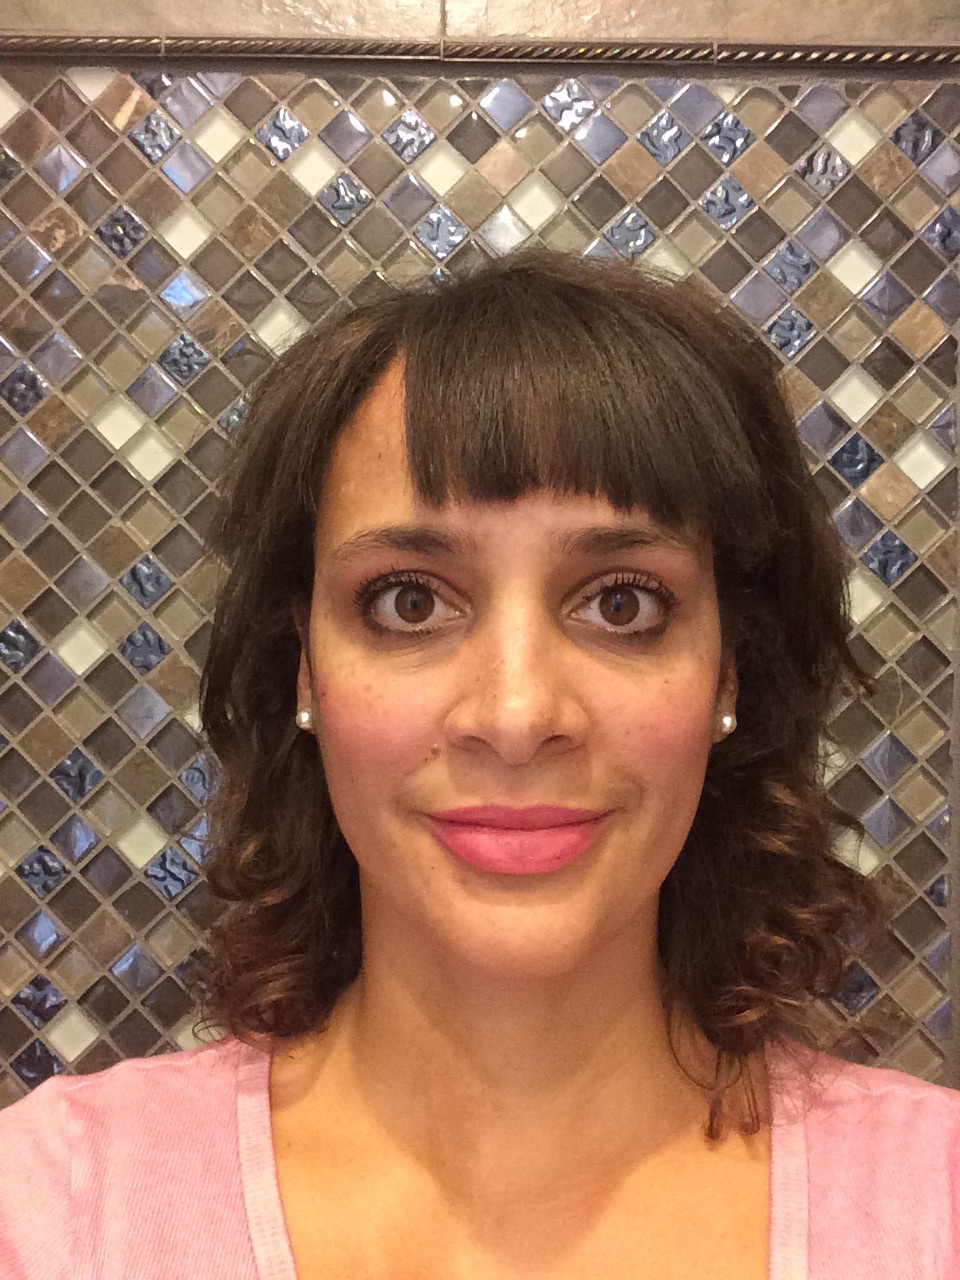

You can go subtle with this, as I have above, or keep caking it on for a more intense look. I don’t use any foundation or anything, and I like how the lanolin/oil gives a little bit of a dewy look to my skin. The only cosmetics I purchase these days is mascara. And, yes, I did try making it. Now, that was a hot mess! ;O)
Sunny days with Malibu Barbie bright color!!
C

Now that IS cool!
I have never ever ever though you could make your own makeup, let alone using household materials but it totally makes sense now.
Love that bright pop of pink on you.
Way to go good lookin!
LikeLike
Thank you, Dana! I think it’s cool, too. I’ve been making my makeup for two years and love it. I can get as funky as I want with color and there’s not anything in it that is harmful. Win-win! My husband hates the bright pink, but I like it, so I keep it in the rotation!
LikeLike