After a solid week of my daughter asking me to make her an Anna costume, I decided that it would be a fun project, and a nice series to add to this blog.
As is our usual practice, my girl and I sat down and talked and drew out our sketch of what we wanted. This particular costume has many aspects to it. We drew them all out. So here is our starting point:

_______________________________________________________________________
Materials needed (yardage needed will vary based on patterns you draw up, but I will list amounts needed for my 44 inch, 35-pound daughter as reference):
*pink fleece (I used 1.5 yards, but also had extra for other projects)
*some type of black trimming for upper cape piece (I used 1.5 yards and had a little extra here, too)
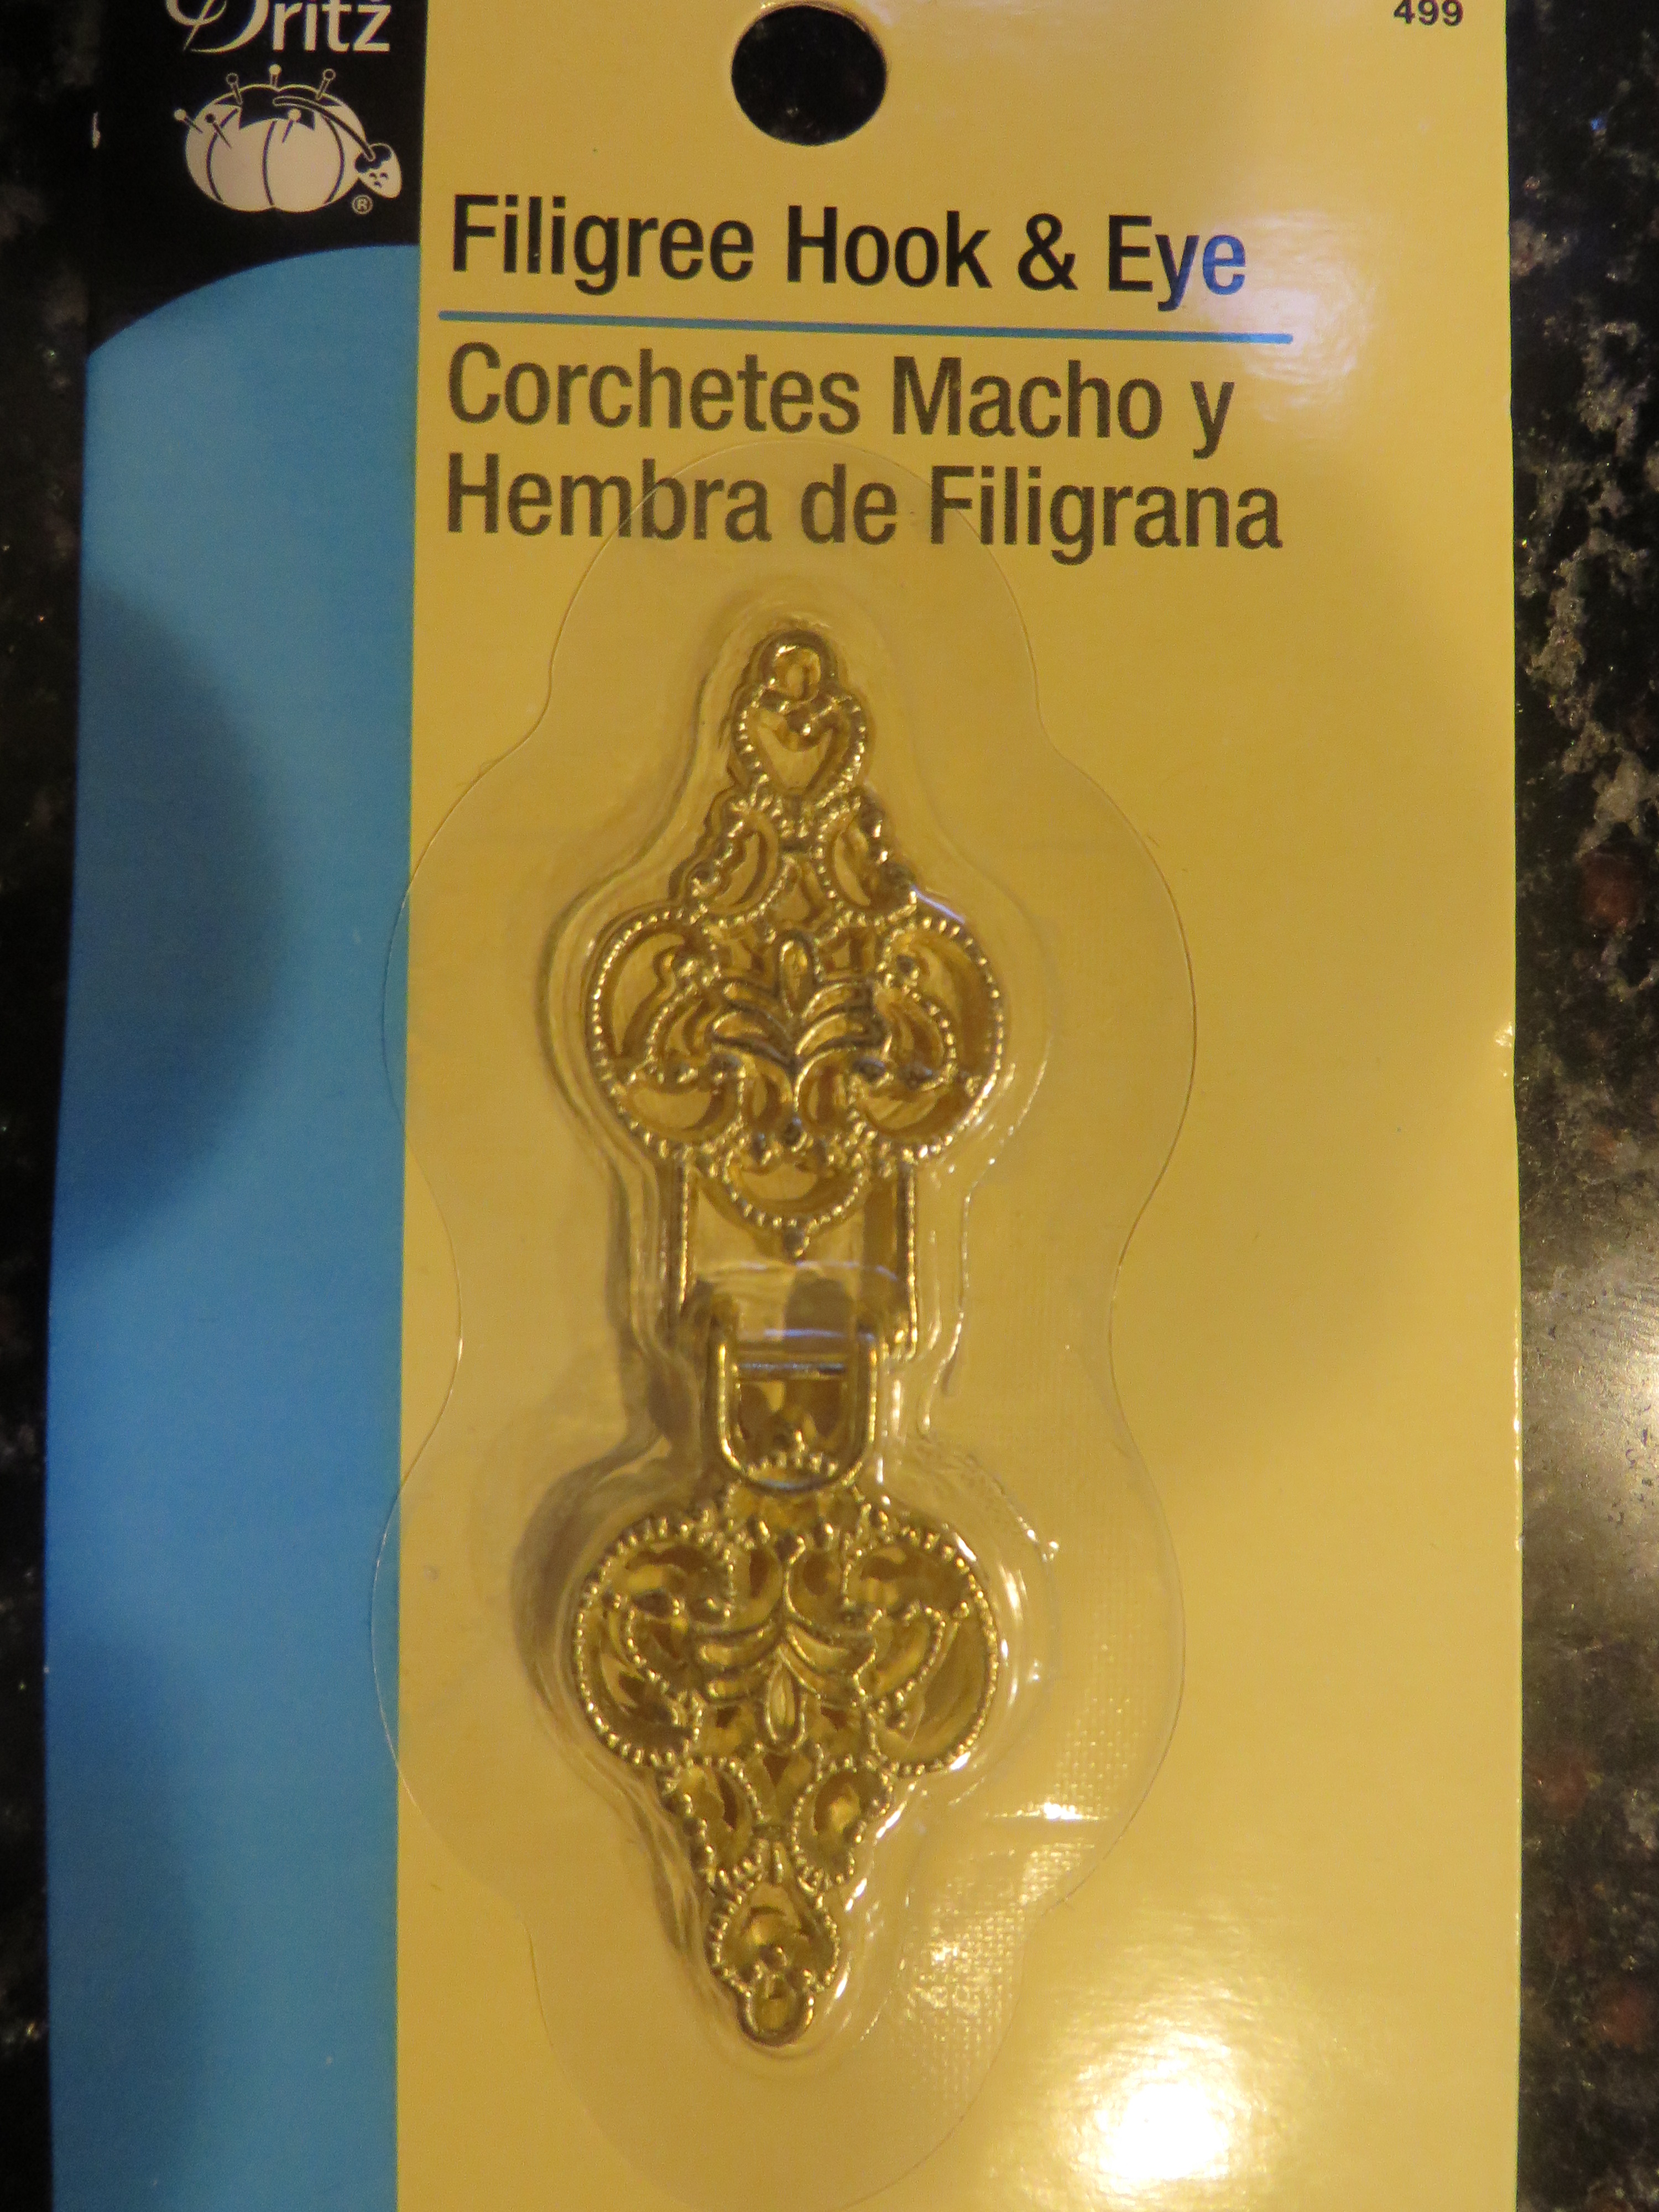
* cape clasp (or Kam snaps
or Babyville snaps and pliers
if your child is rough w/ dress-up clothes!)
*corresponding thread colors – magenta for fleece and black for trim
* pins or, my favorite, Wonder Clips
And I would like to add for those of you that might be like me and have trouble calculating how much of what material you will need that if I don’t buy my material online, I actually take my drawn out plans to my local fabric store and discuss w/ them what I’m making. I know I’m good at drawing plans, but estimating correct amounts of fabric is tough for me sometimes — or it’s that I’m just always paranoid I won’t get enough of something and will have to run back to the store or have an unwanted/unplanned seam somewhere. No thanks! .
Anyway, through discussion and sometimes even bringing my pattern pieces w/ me to the store and holding them onto prospective fabric, they help me determine a lot of the amounts I will need that may be confusing for me for whatever reason. They still smile at me when I come in and seem genuinely interested in my projects, so I’m assuming my habit of doing this is tolerable and, in some cases, possibly encouraged by intrigued fabric store employees who might like to see what I’m drawing up. :O)
Anyway, just like the first Anna hat in this series of Frozen projects, I like that this cape is made of fleece and appropriate for our late fall weather here in the Northeast. I opted to make this particular cape w/ two layers of fleece on the main piece and just one piece on the upper, smaller portion of the cape. In hindsight, it would have been easier to just cut two pieces of fabric, sew them together and be done w/ it. But I do like the weight of having two layers on this one. This is, of course, total preference.
Now, let’s see if I can remember the steps I took in creating this.
First, I drew a picture of what the cape should look like. (See above, lower left of Anna diagram.)
Next, I started w/ a measurement across my daughter’s back and around to her neck, where the cape would rest, and a rough measurement of how long the cape should be. I don’t remember what the numbers were, but I did cut on the bigger side and hold the fabric cut-out up to her several times to gauge size. I would cut it smaller and smaller until I liked the look of it across her shoulders. (The finished cape measures approximately 18 x 25 inches on the lower portion, for reference.)
This is my first cut of fabric, folded in half:

I laid this on top of another piece of fleece and cut out an exact copy of it.
If you are okay w/ one piece of fleece here, you could just hem the edges, leaving the top, where the neck will be, open (do not fold over and hem). If you do it this way, skip through this tutorial to the point where we are attaching the upper portion of the cape.
If you just love to keep it labor intensive, like I apparently do, stay w/ me for the more involved way to do this.
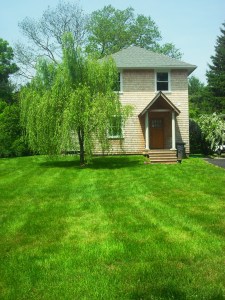
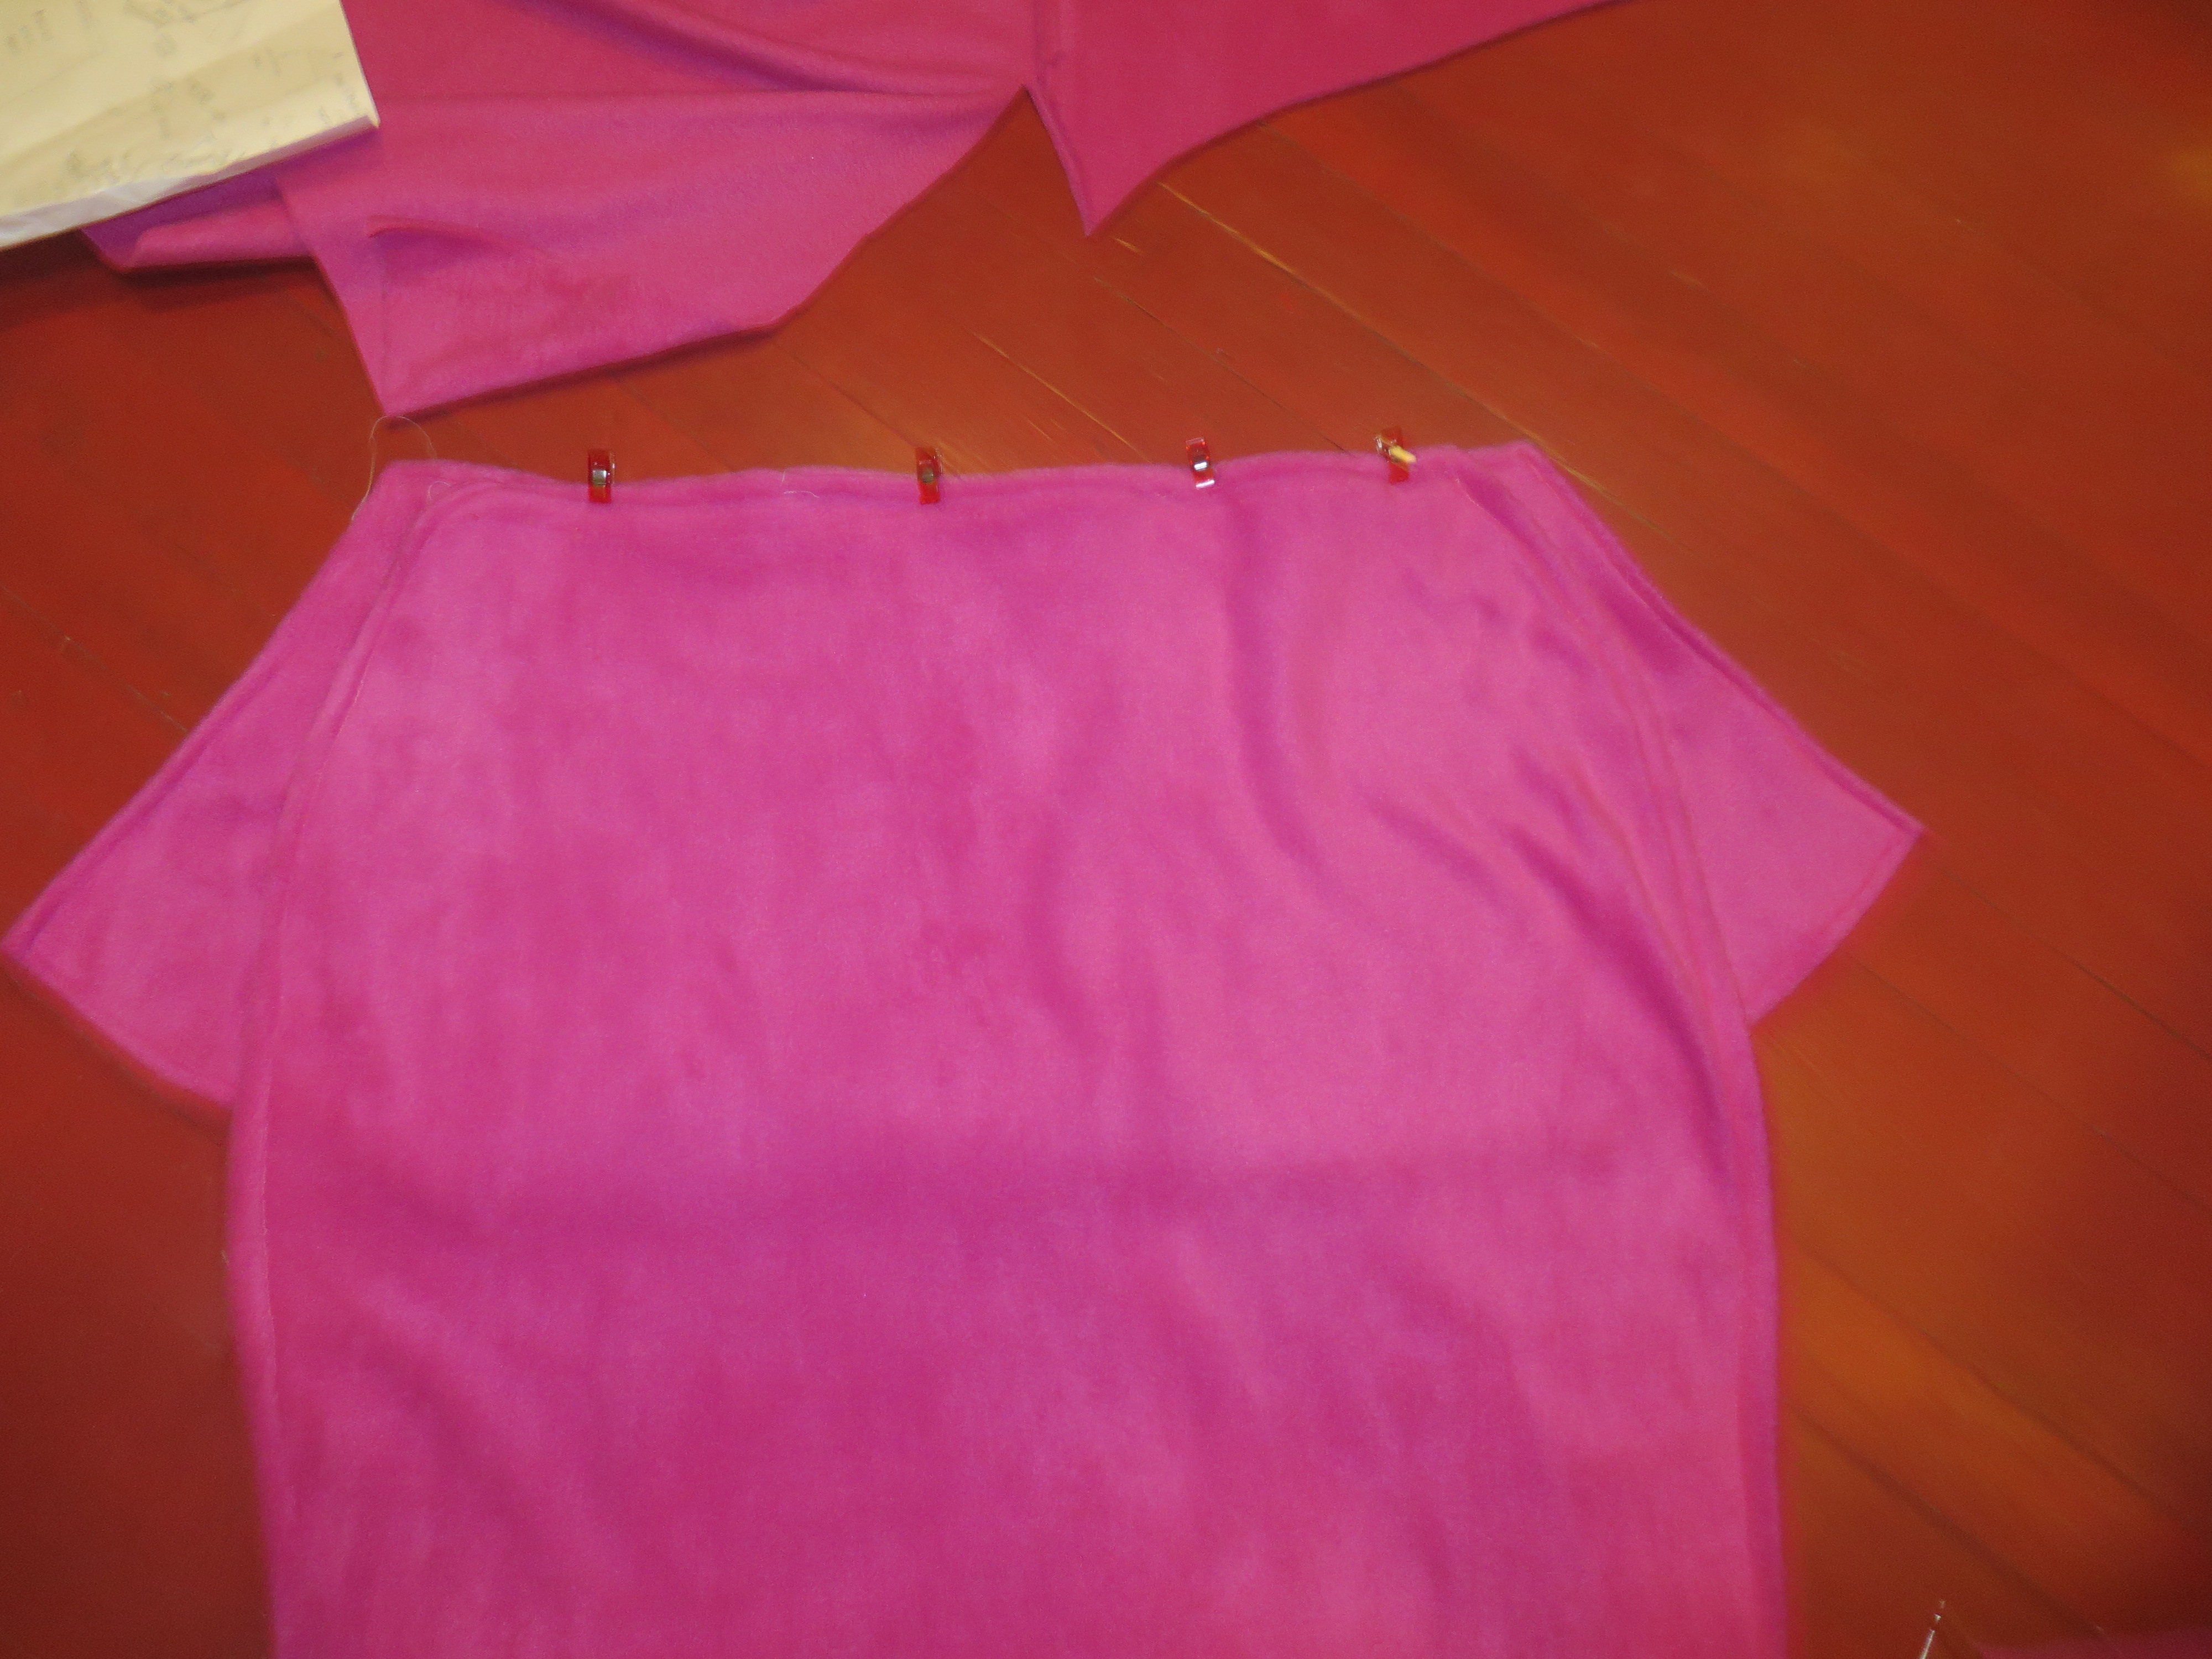
Now, we have two pieces of lower portion of cape cut. We need to sew them together, right sides together, leaving a turning hole at the top of the cape.
Should look like this:
Sew around your edges, and turn right-side out. Top-stitch. At this point, it should look like this:

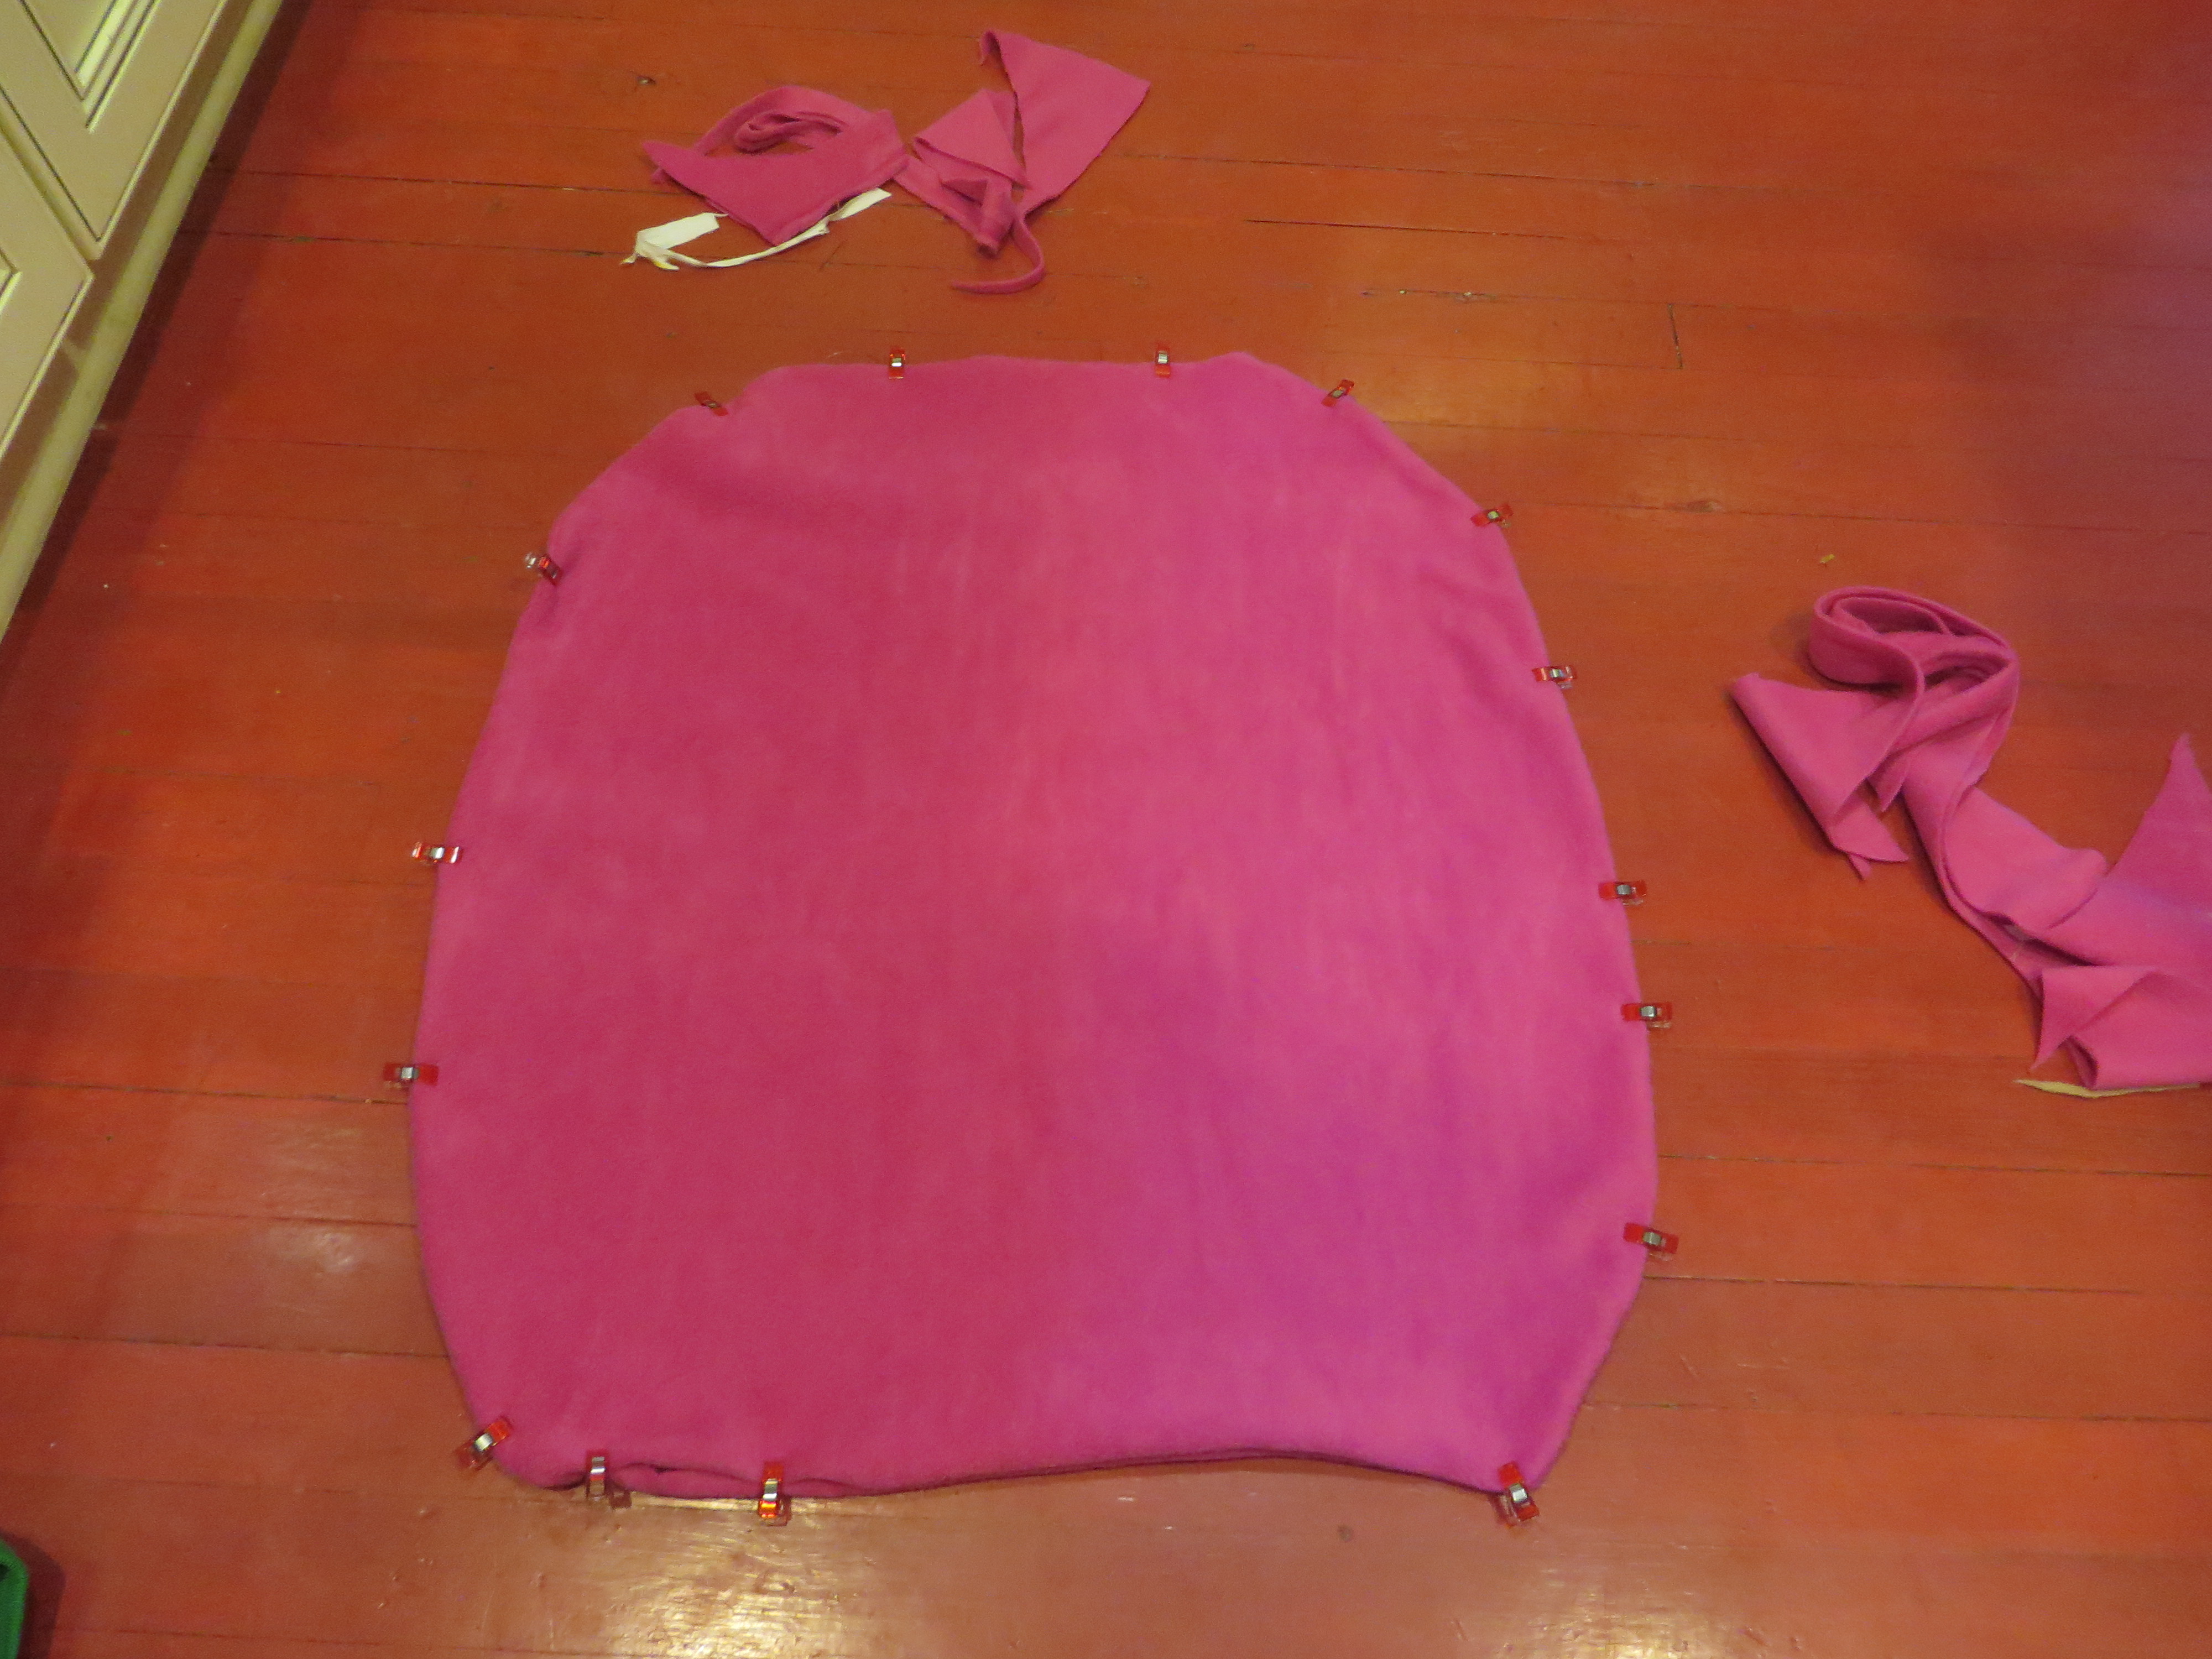
Now we can start to figure out what we want our upper portion of the cape to look like. I like to lay the main body, or lower part, right down on the floor and draw around it. First, I cut the angle of the upper cape on the left side, like this:
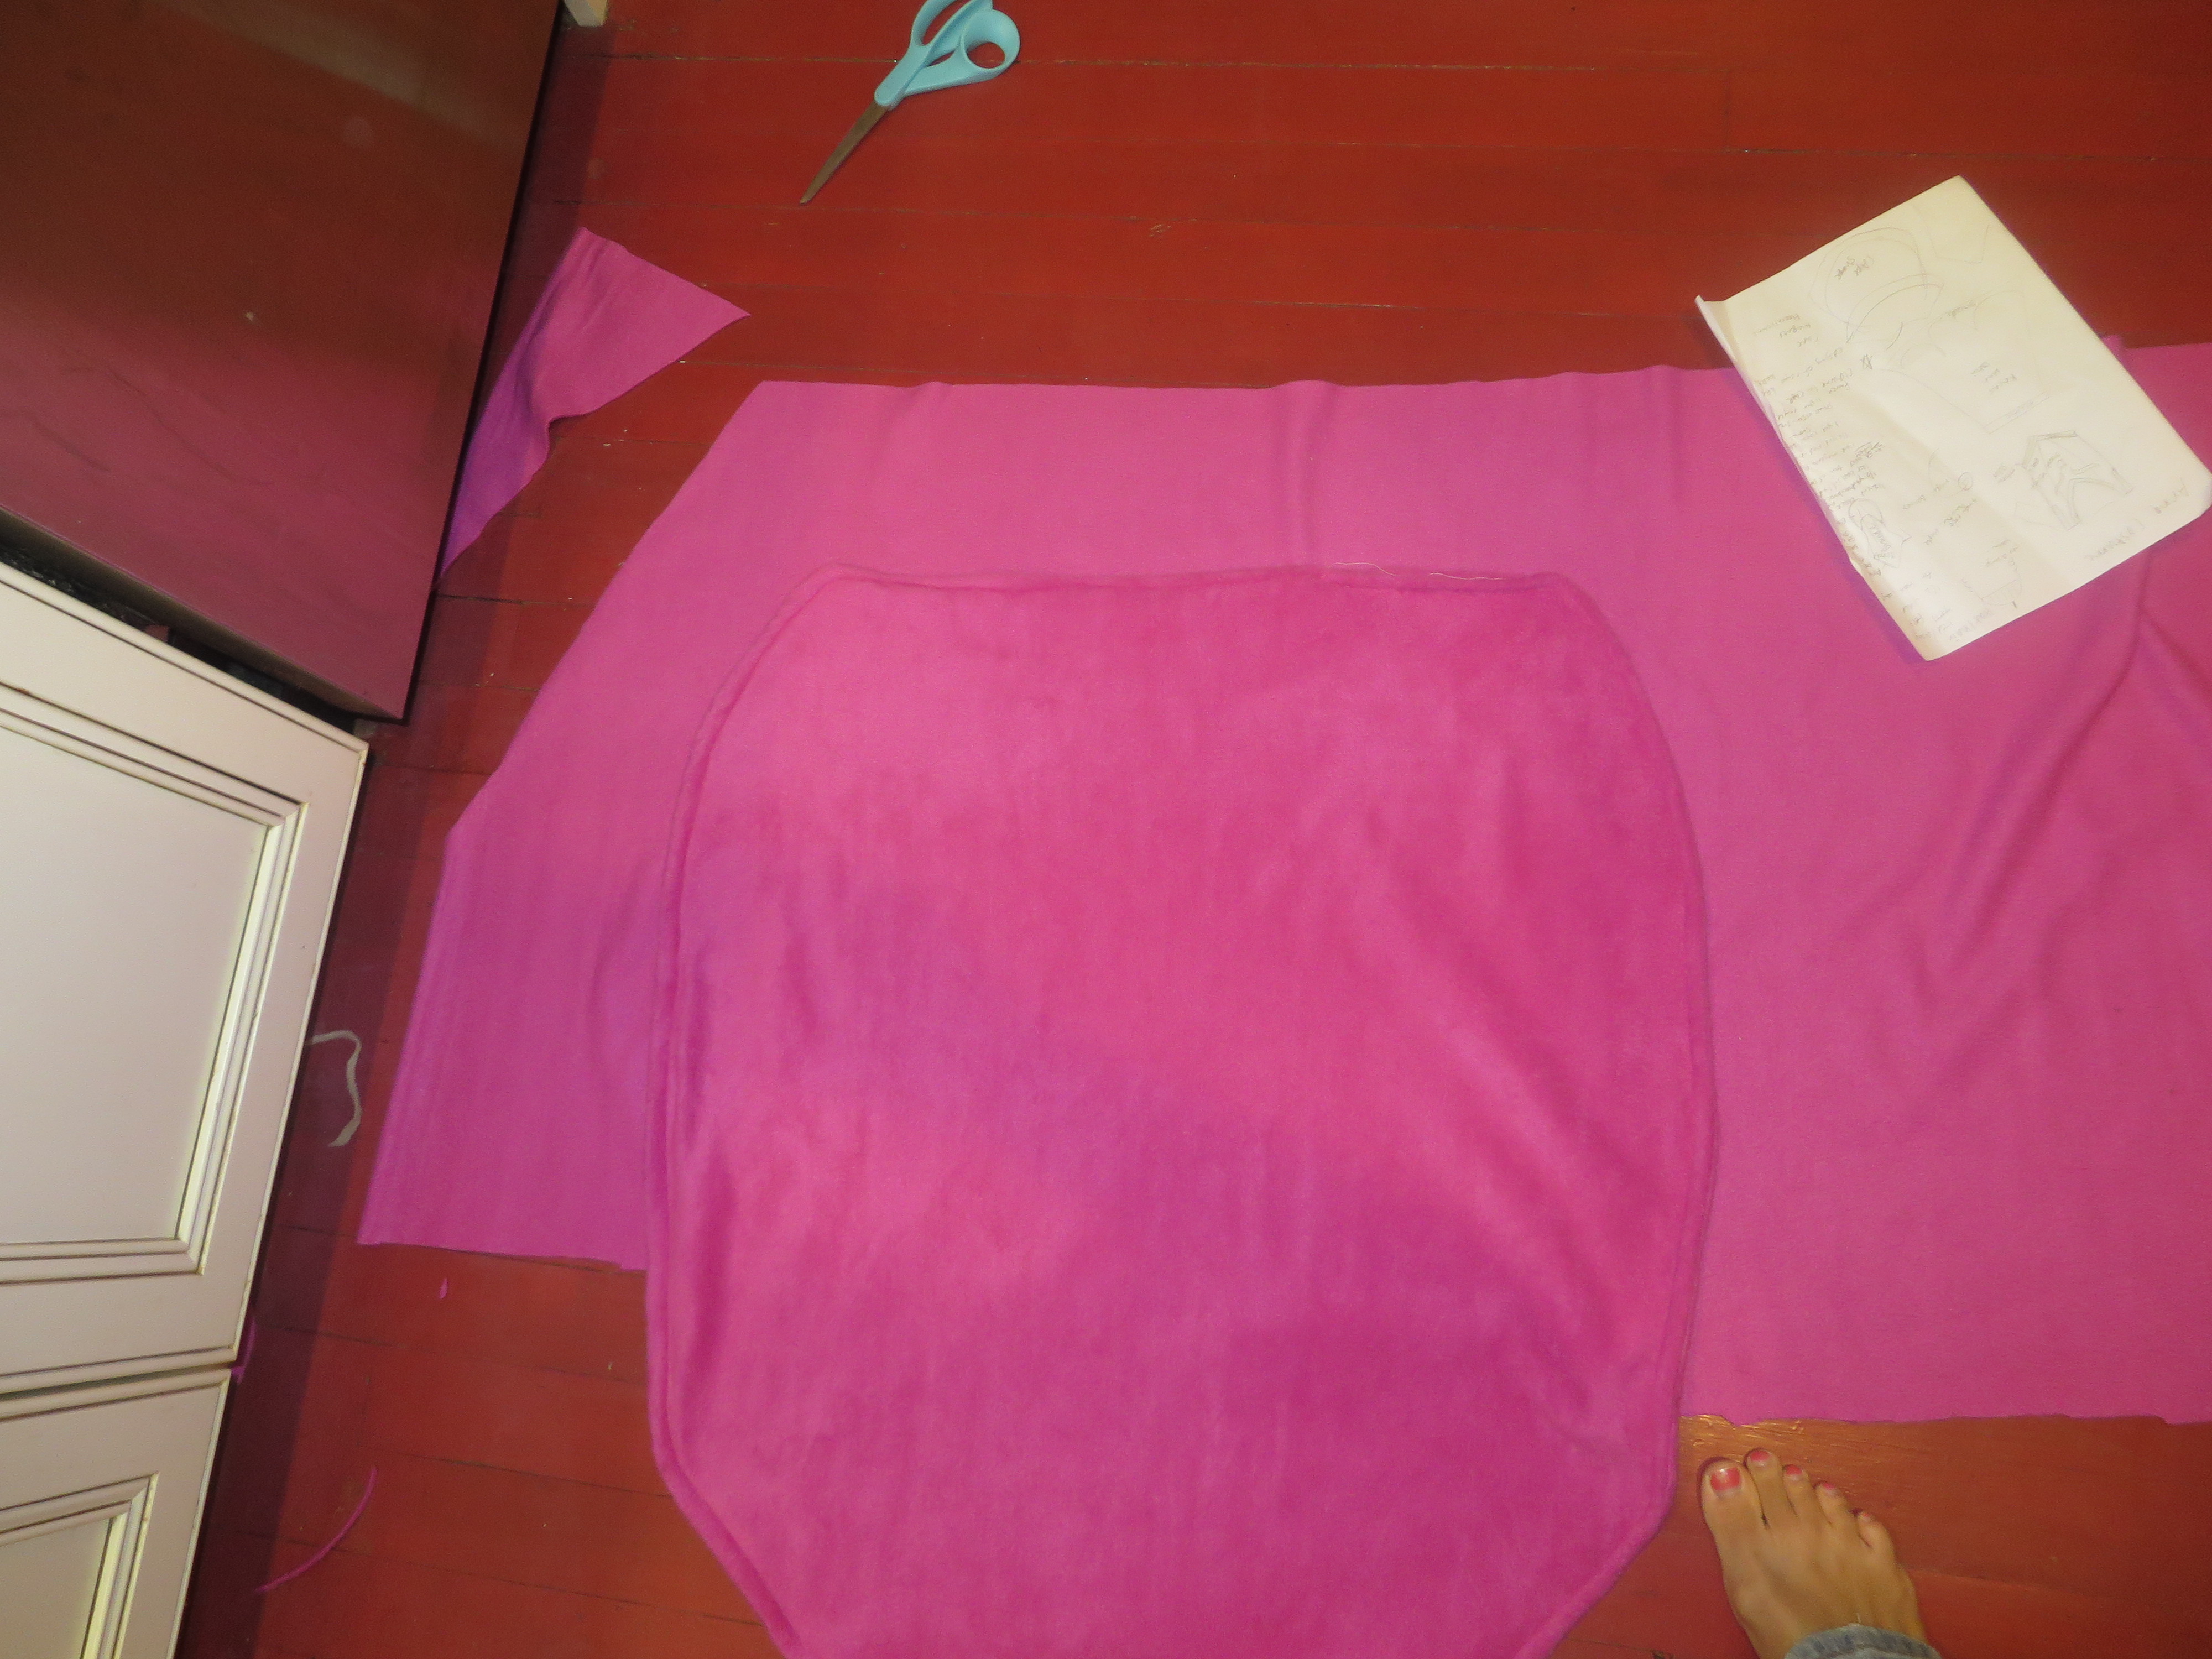
Then, you want to fold your main body in half while folding your bottom layer of fleece (which will make your upper portion of cape) on top of that. Folding in half like this will get you a pretty symmetrical cut for your upper cape piece.
It will look like this:

And cut.
And now they must be sewn together.
*Please note that if you are using some sort of the black trim as shown on the finished cape that I made, you do not need to hem the top portion of this cape. The trim will do the job of hiding your raw edge for you. If you are not using trim, you will want to hem three sides of this piece, leaving the top portion that goes around the neck w/ a raw edge.
You want to lay them lower body portion on top, pretty side facing you, and upper portion of cape underneath the lower portion, also w/ pretty side facing you.*Make sure you are laying them so that when you flip the upper portion over after sewing that you reveal the correct side of your fabric.*
Looks like this:
Sew across the top, like this:

Now flip the top portion back over your long portion.
It should look like a basic, two-tiered cape now.

And now you get to fancy it up a little.
I just love this broach:
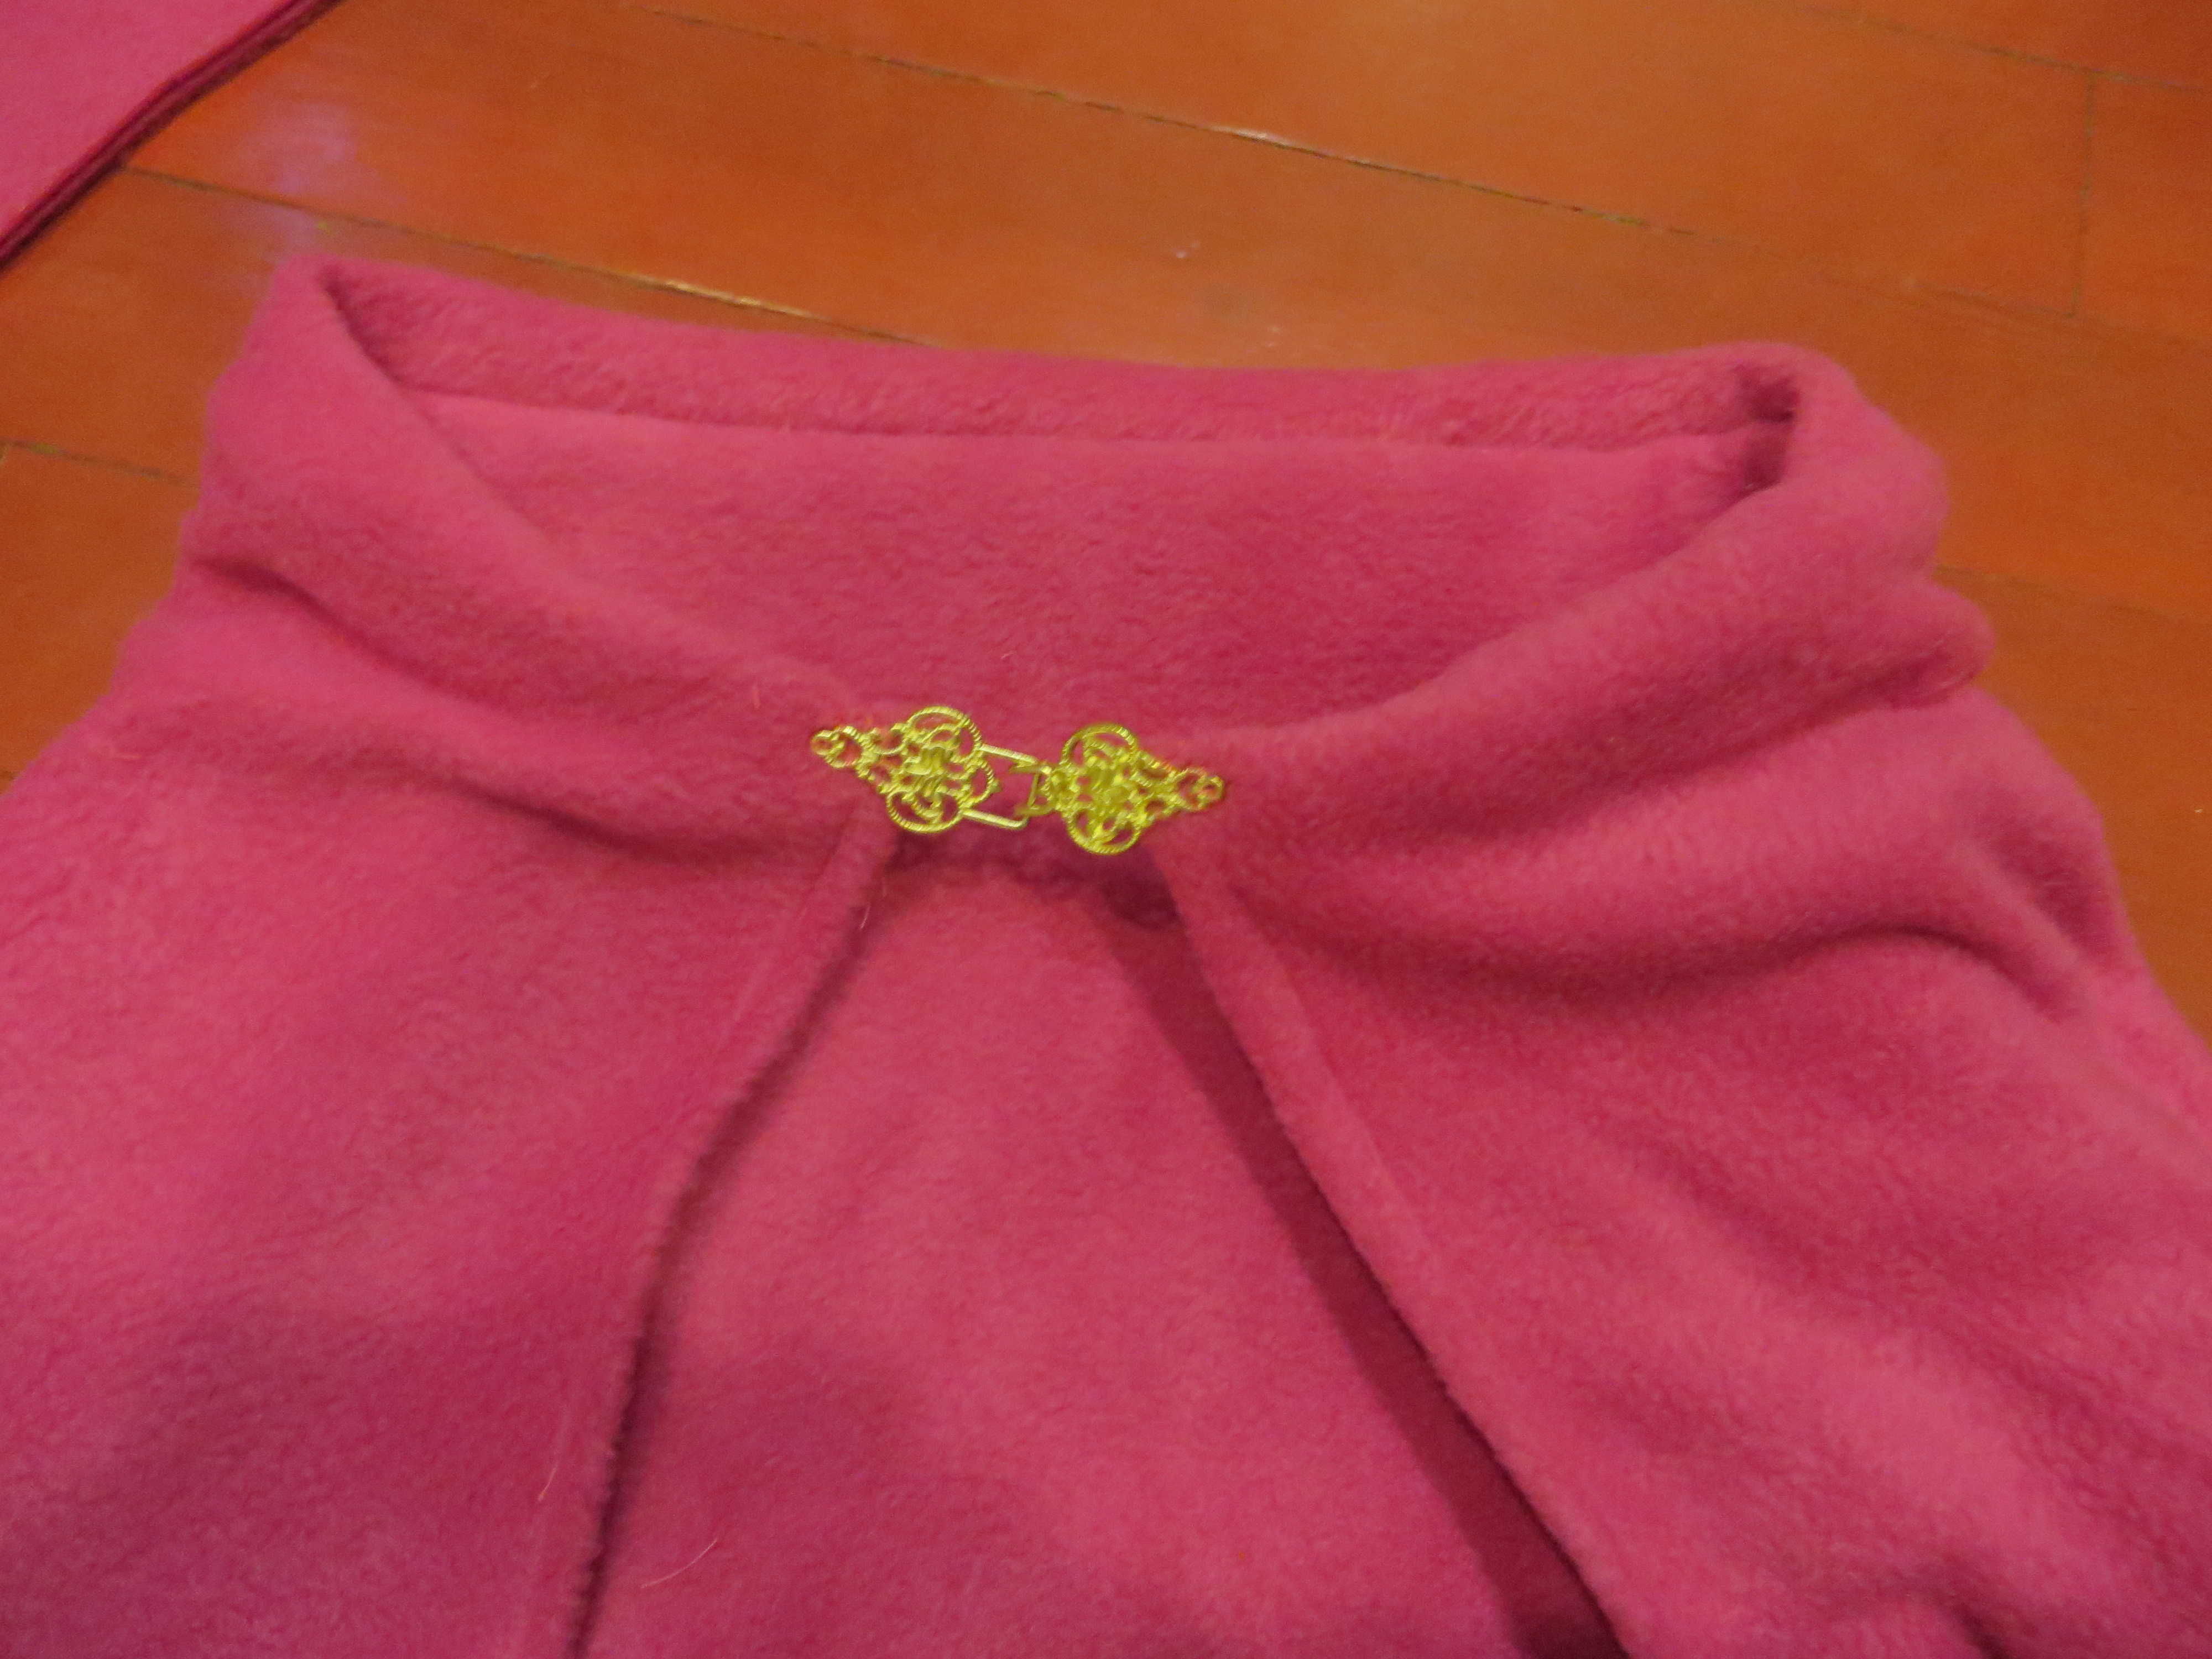
The problem was, though, that it would not hold up to my daughter’s rough handling when she would sing “Let It Go” while tugging on the front of the cape, running to the North Mountain (really just running across my dining room).
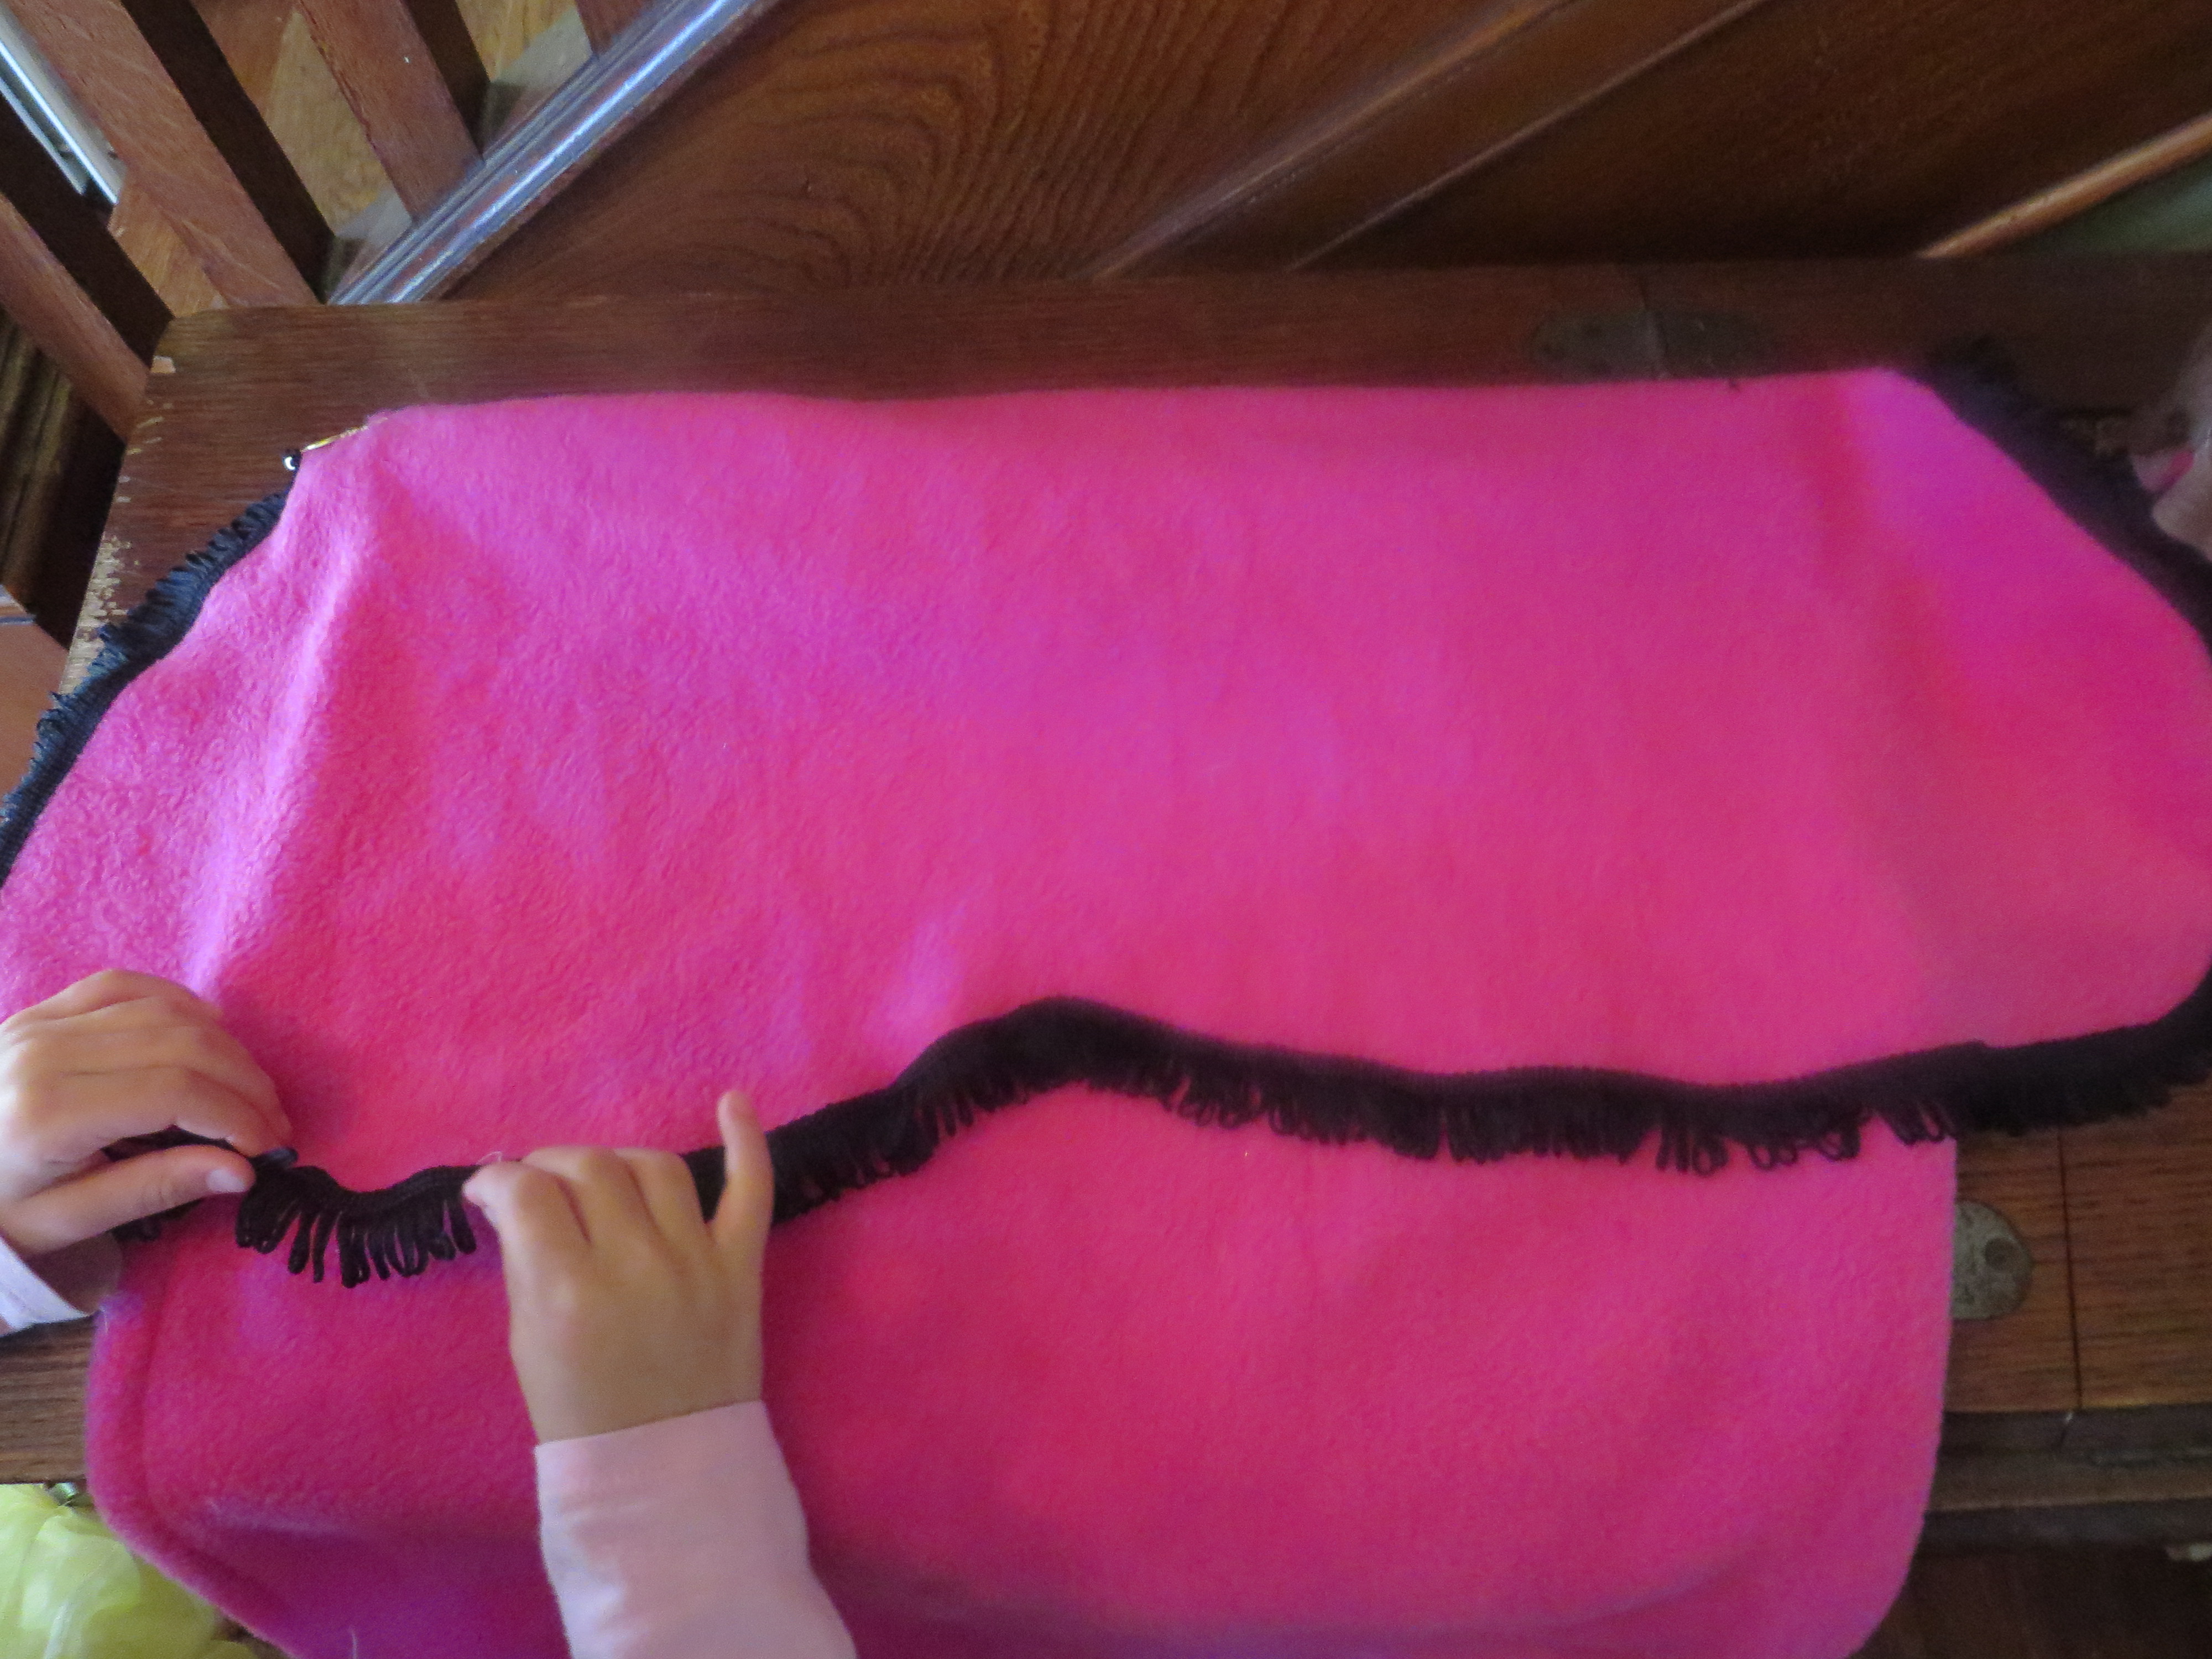
I also love this trim:

But I’m getting ahead of myself here. Sorry!
Let me show you how to add the trim first before we talk closures. I didn’t do that first, but I should have. If you do it first, the trim goes all the way up to the neckline and just generally looks better. Basically, you just line it up w/ your edge of the upper tier fabric, pin if you want, and sew.
(I tried to add a little curve in the back, kind of like a trench coat flap I’ve seen somewhere before.)
Finally, you will want to decide how to handle the closure. You can do a fancy one, like I mentioned above, if your little princess is the gentle type. If not, you will use a pair of snap pliers and some snaps. (I will link what I used for this project below.)
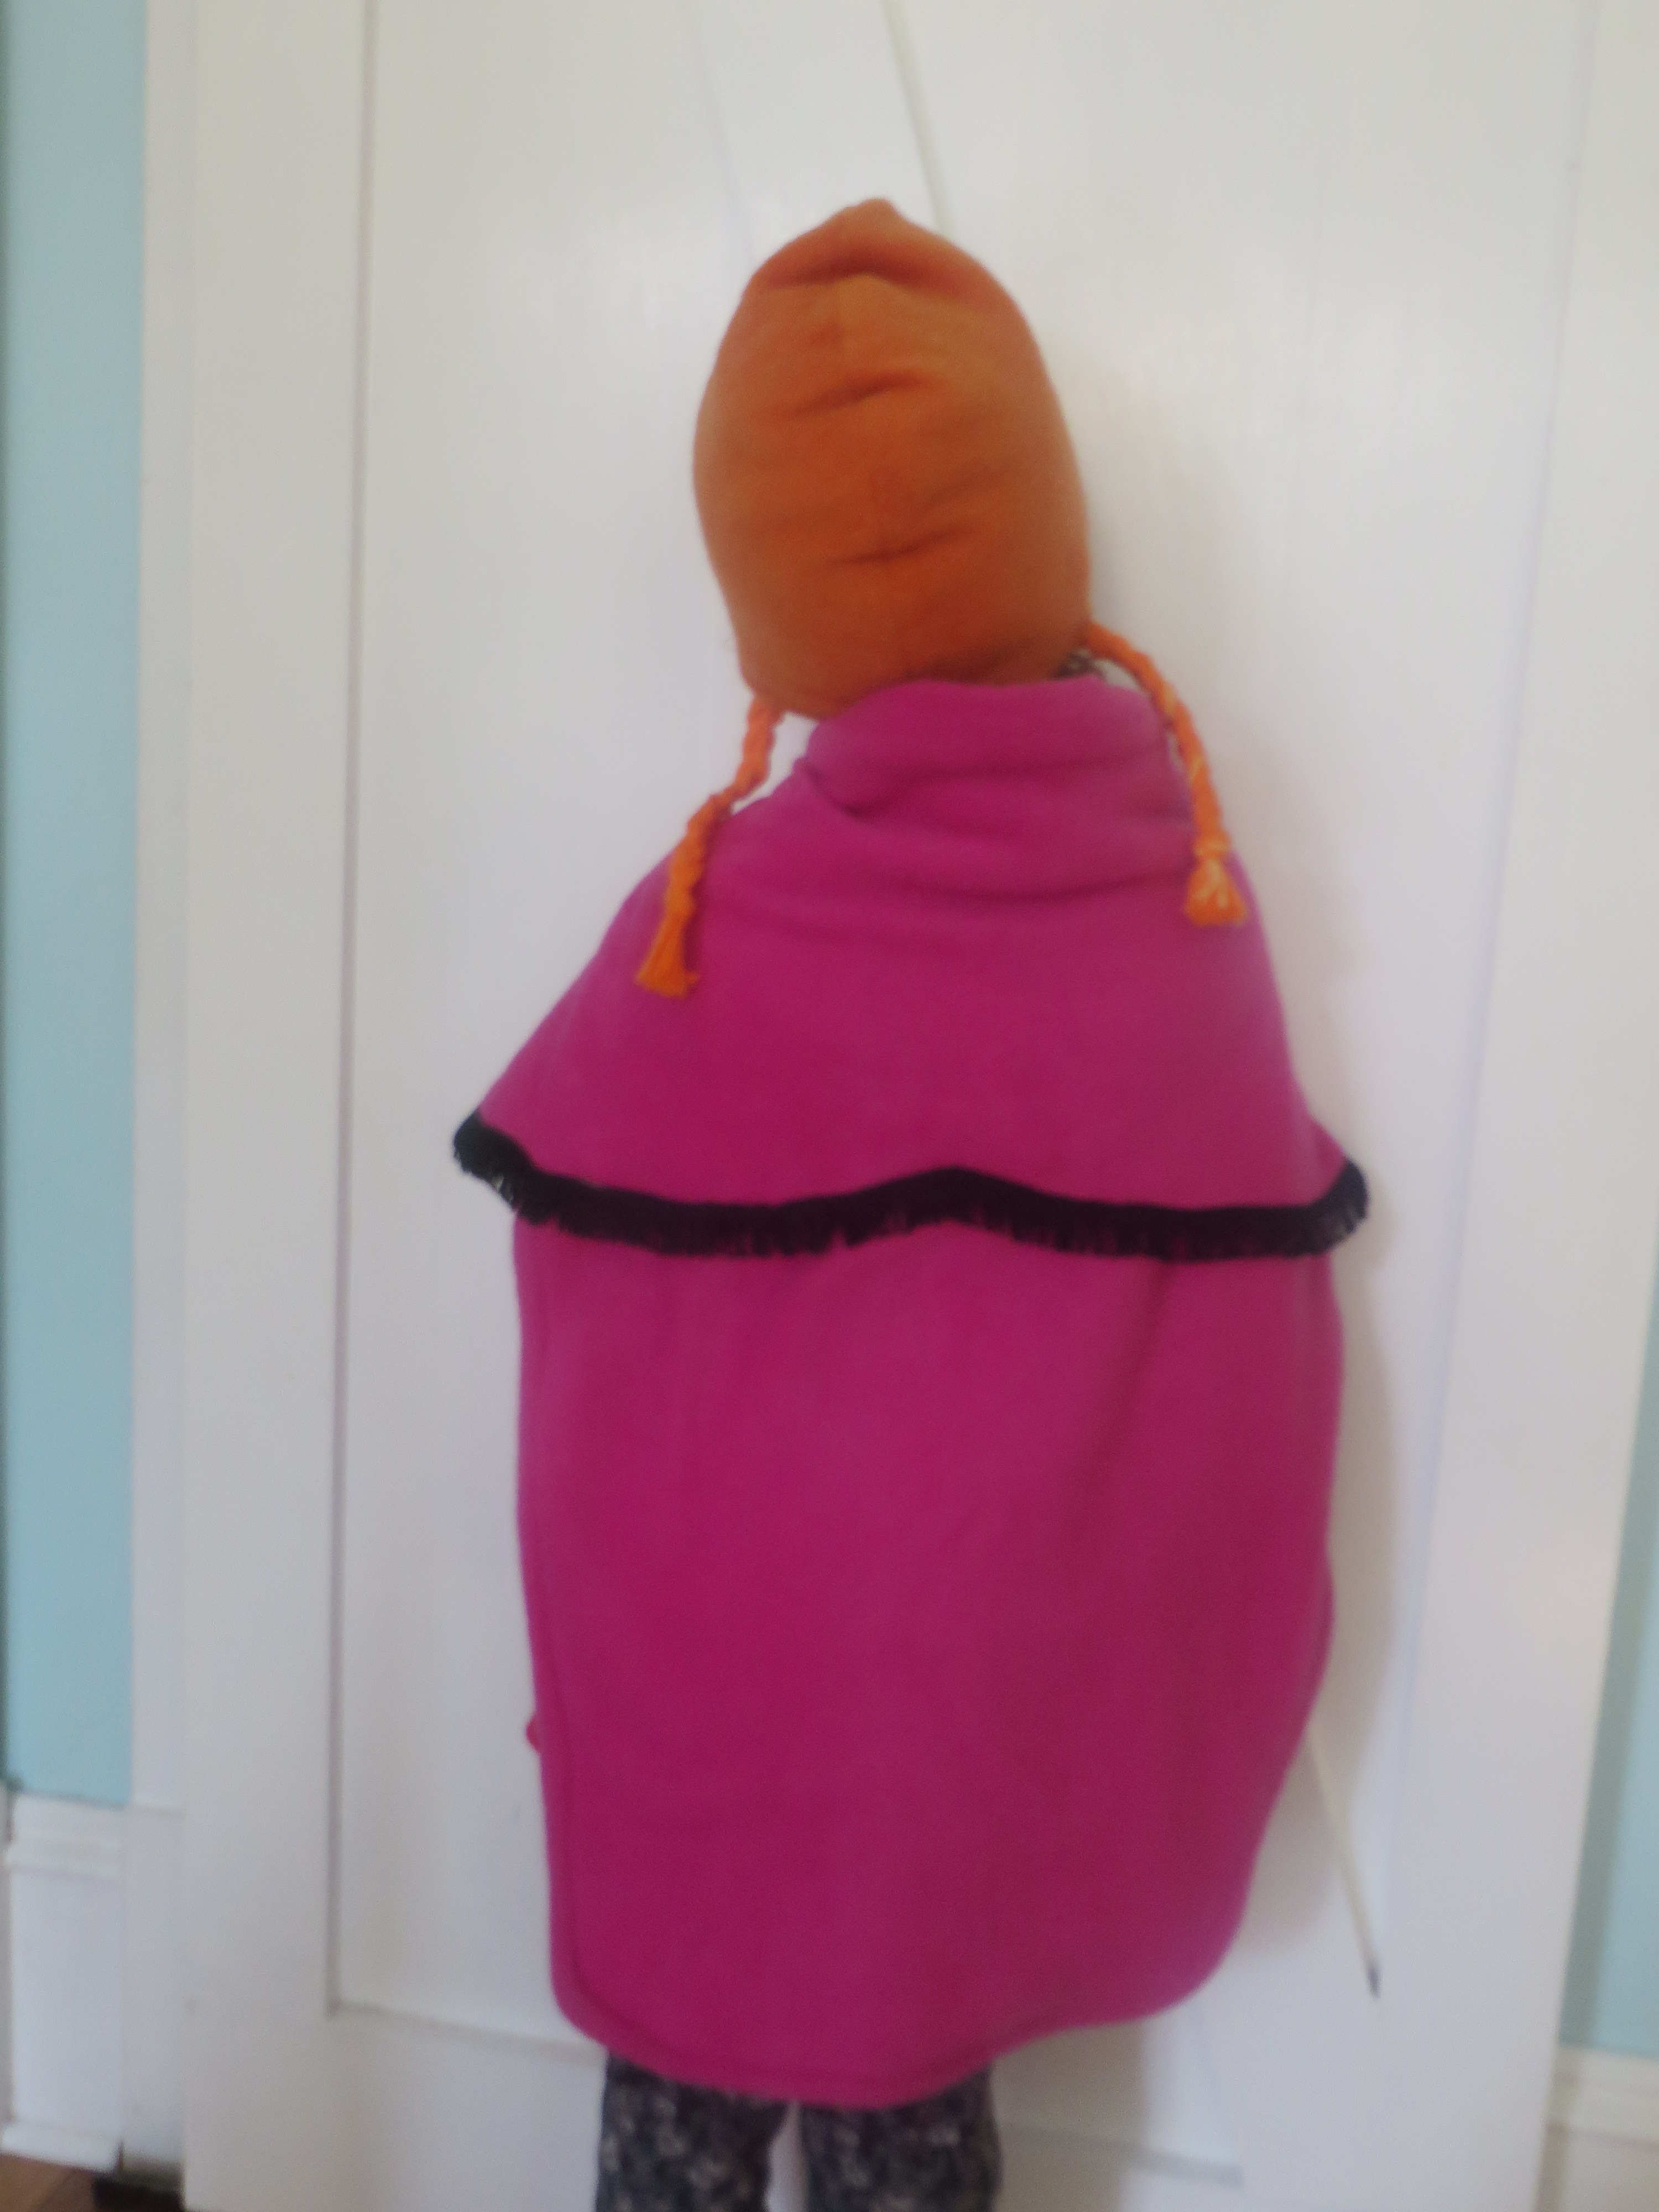
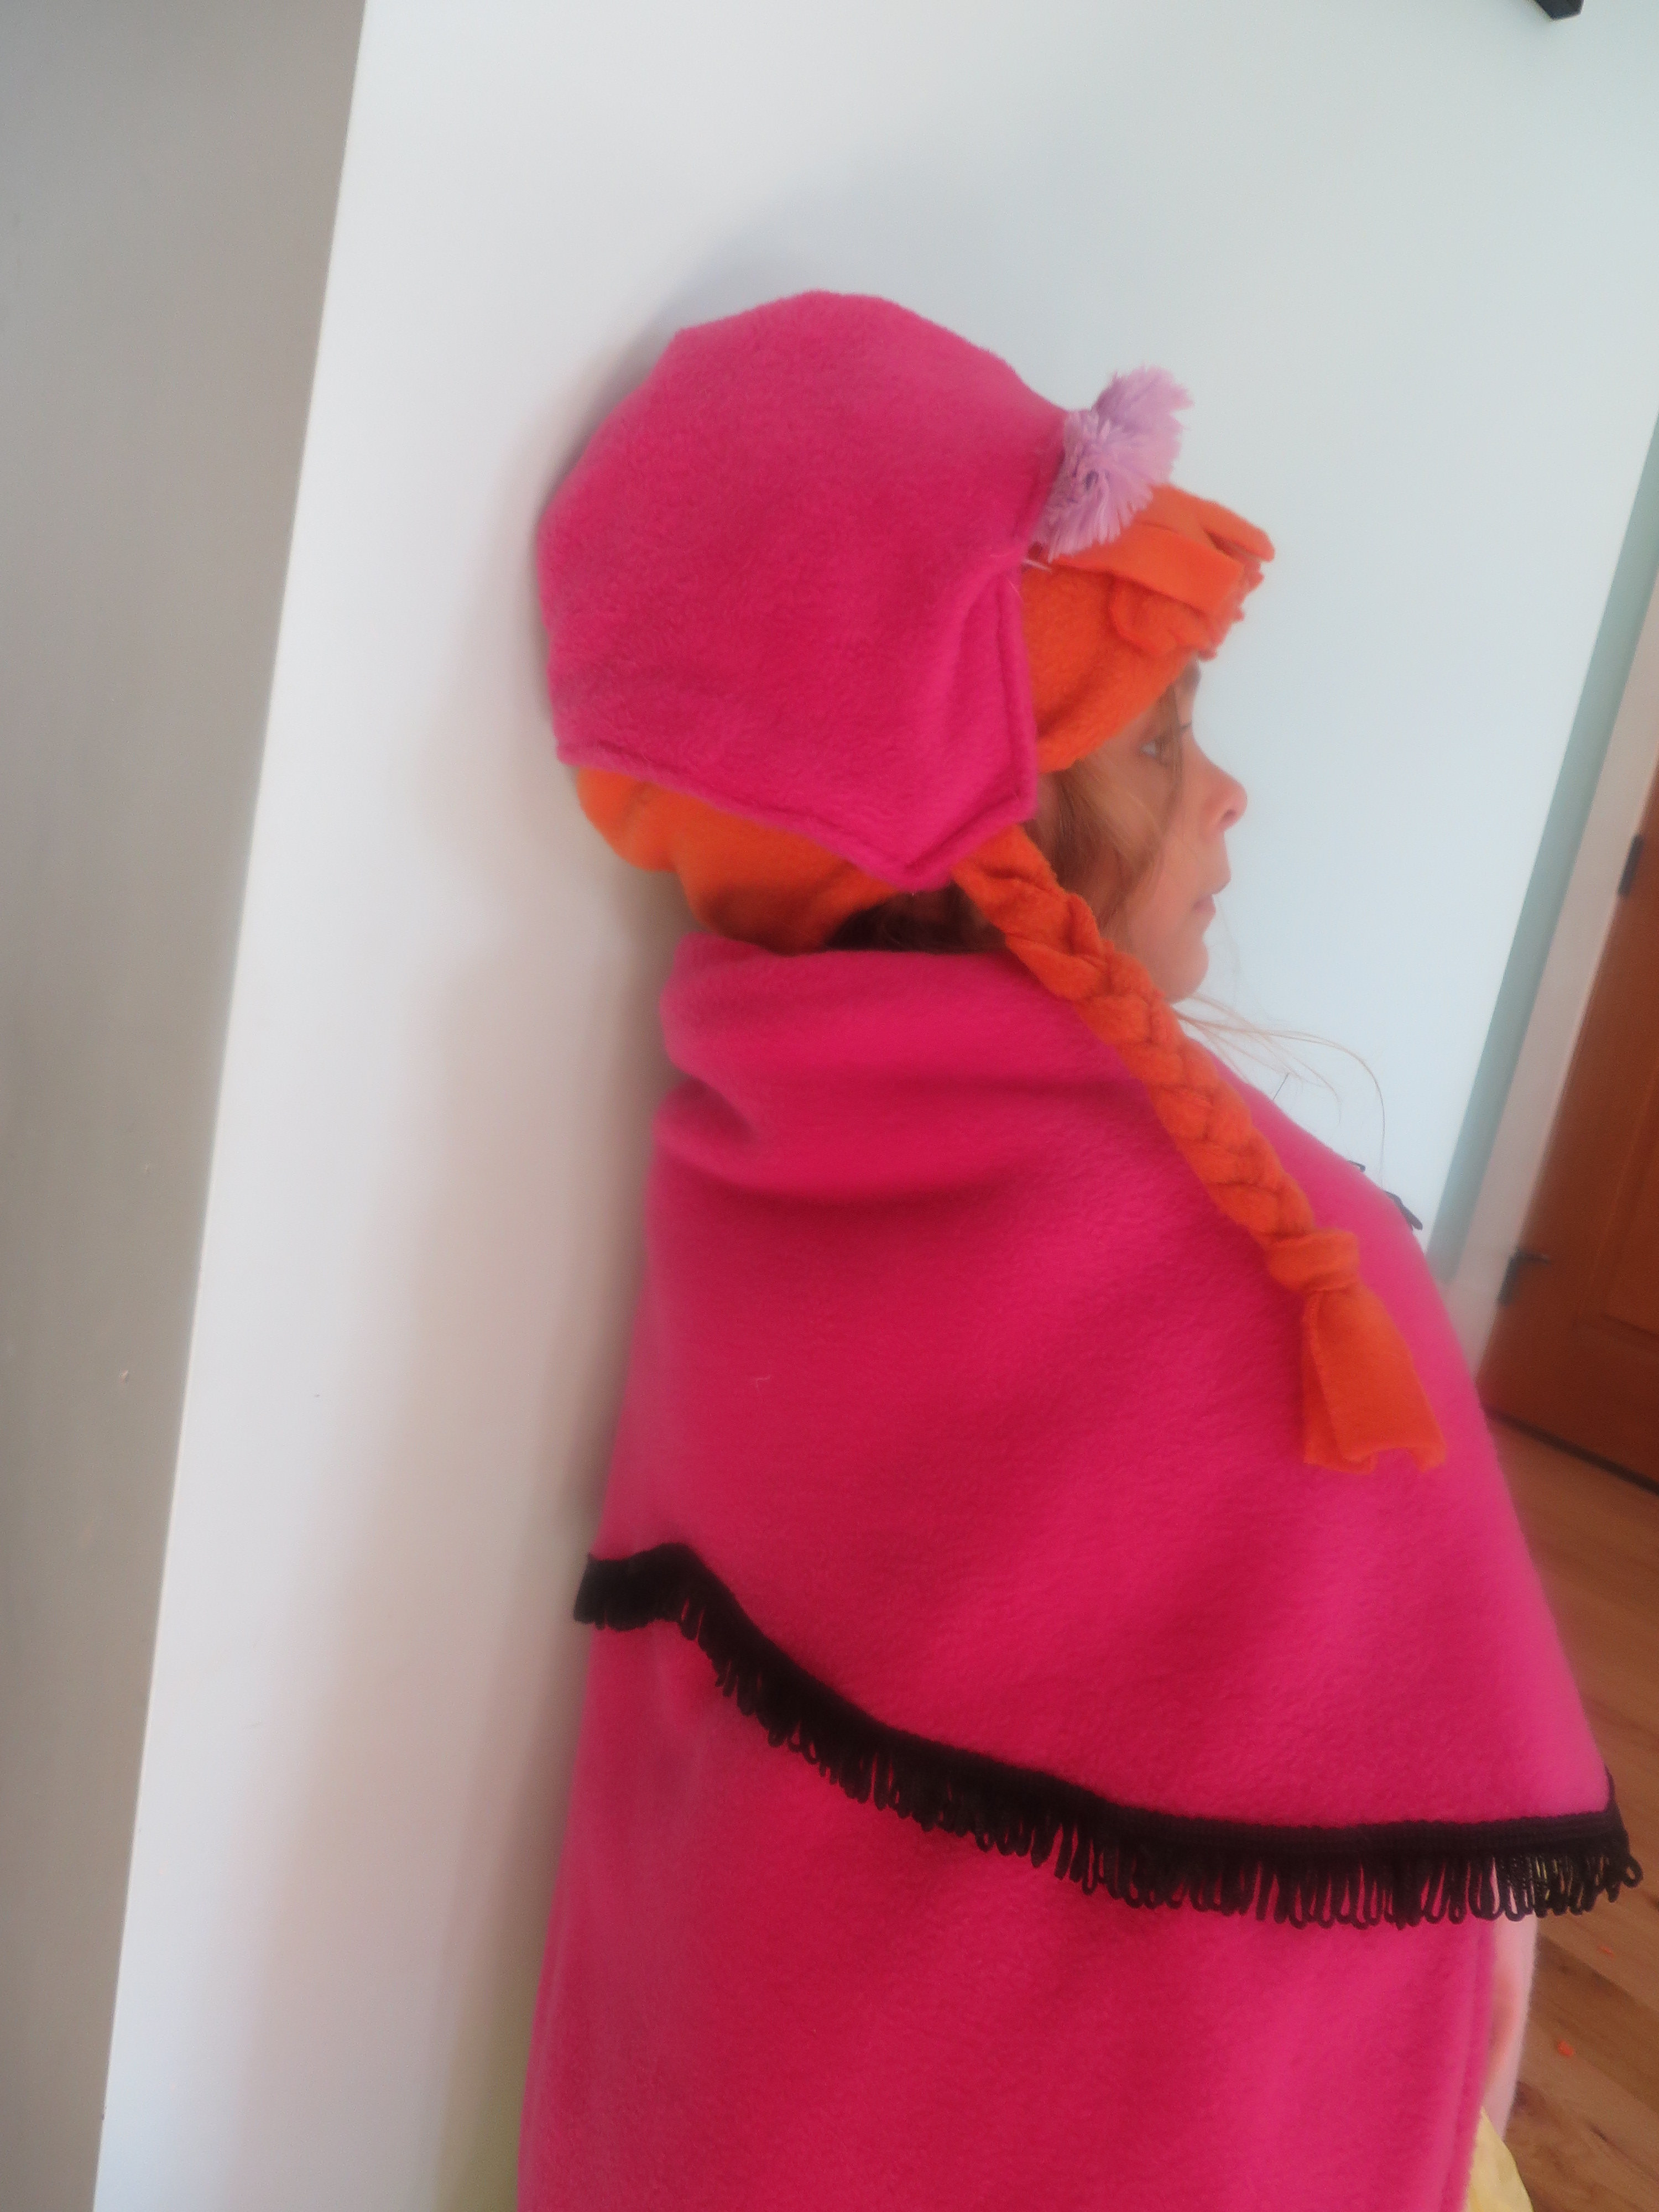
And then you are done!
How cute is this?!

And, I know, I know, I need to get the tutorial up for Anna Hat No. 2! It’s coming soon!!
Happy sewing!
Chiara
