We love the movie Frozen in our house, just like most other families w/ toddler girls who think they are princesses do! But the one line that is my daughter’s favorite of the whole movie is: The cold never bothered me anywhere [sic].
Since we are in the Northeast and approaching winter, that’s a big problem!
But I have the solution, people! A functional Anna fleece hat. Two layers of fleece w/ Anna bangs and braids! Hopefully, no more fighting about wearing a hat. I can say that my daughter is wearing hers in the house, so I consider that a win. One point, Mom!
Before I start, I want to say that I named this blog Sew Old School for a reason. I consider what I do to be sewing old school — from the machine I use, to the absence of purchased patterns, and to the fact that I sew from a picture in my head and show everyone on here my test runs. My projects are far from perfect; they are often my first attempts. My goal is to get my followers sewing old school like I am!
When you sew old school, you challenge yourself to create true art, something one-of-a-kind every time w/ what you have on hand!
Let’s go!
First, a photo of what you will need for this simple, fun project:
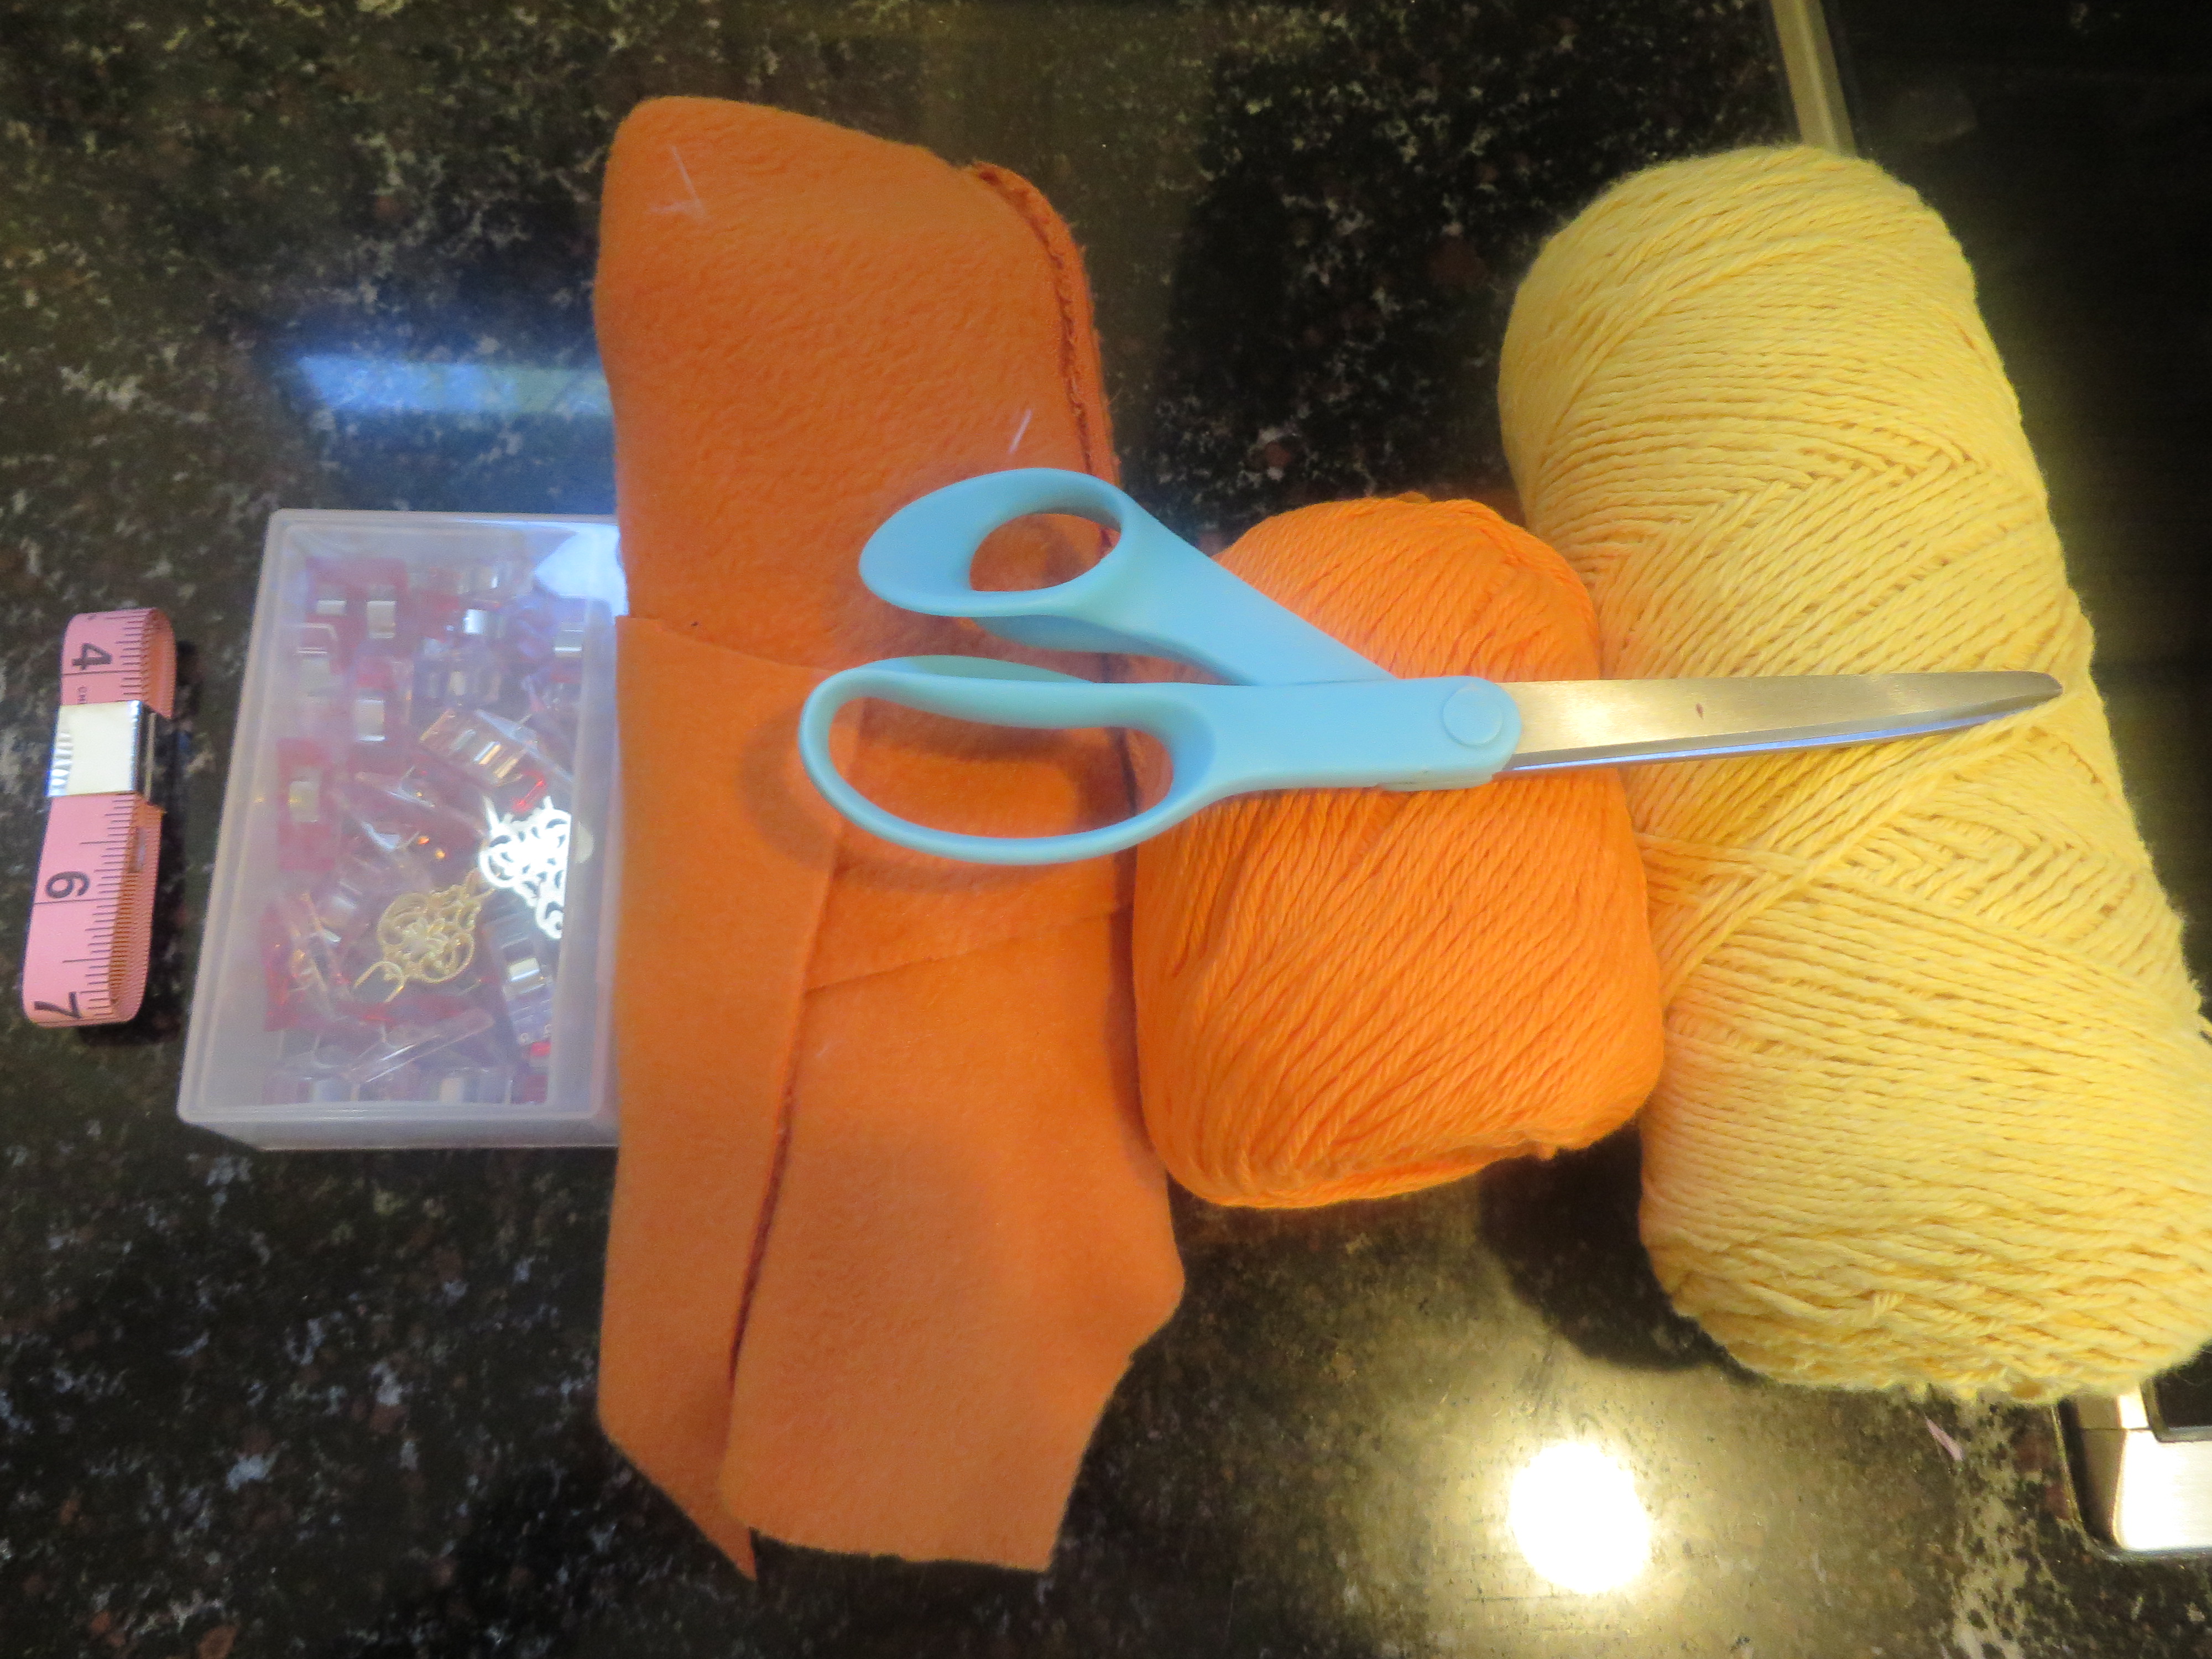
Materials needed:
First, you will need two pieces of fleece cut to the size of your child’s head. To get your measurements, use a measuring tape to measure around child’s head. Jot down that number. Now measure from one ear, over the head, to the other ear. Take this number and divide it by two. Jot that down, too.
Now you’ll have something in the family of 20 inches by maybe 8 inches, which is what I had. So you need to cut two pieces of fleece this size. ***Make sure your stretch is going horizontal when you cut.***
So you have this:

*You will cut two of these.
Now you want to lay these on top of each other, pretty sides together, and fold in half. From here, you want to cut the shape of a hat.
Like this:

Great! Now pin both hat pieces, pretty sides facing in, and sew. You don’t have to sew the portion at the right side that is not connected. I don’t because I don’t want a seam in the front, but more on that later. (And in case I forget, let me just tell you now that the reason I am making the hat this way is because the seam in the back will later make it look like hair that is parted down the middle.)
So we are here w/ one hat sewn and turned right-side out:

Do the same for the other rectangle piece.
Now we have to place one hat inside the other hat, pretty sides facing together, like this:

To line up very cleanly, use your seam (seen in picture above at bottom of hat) to line up both hats.
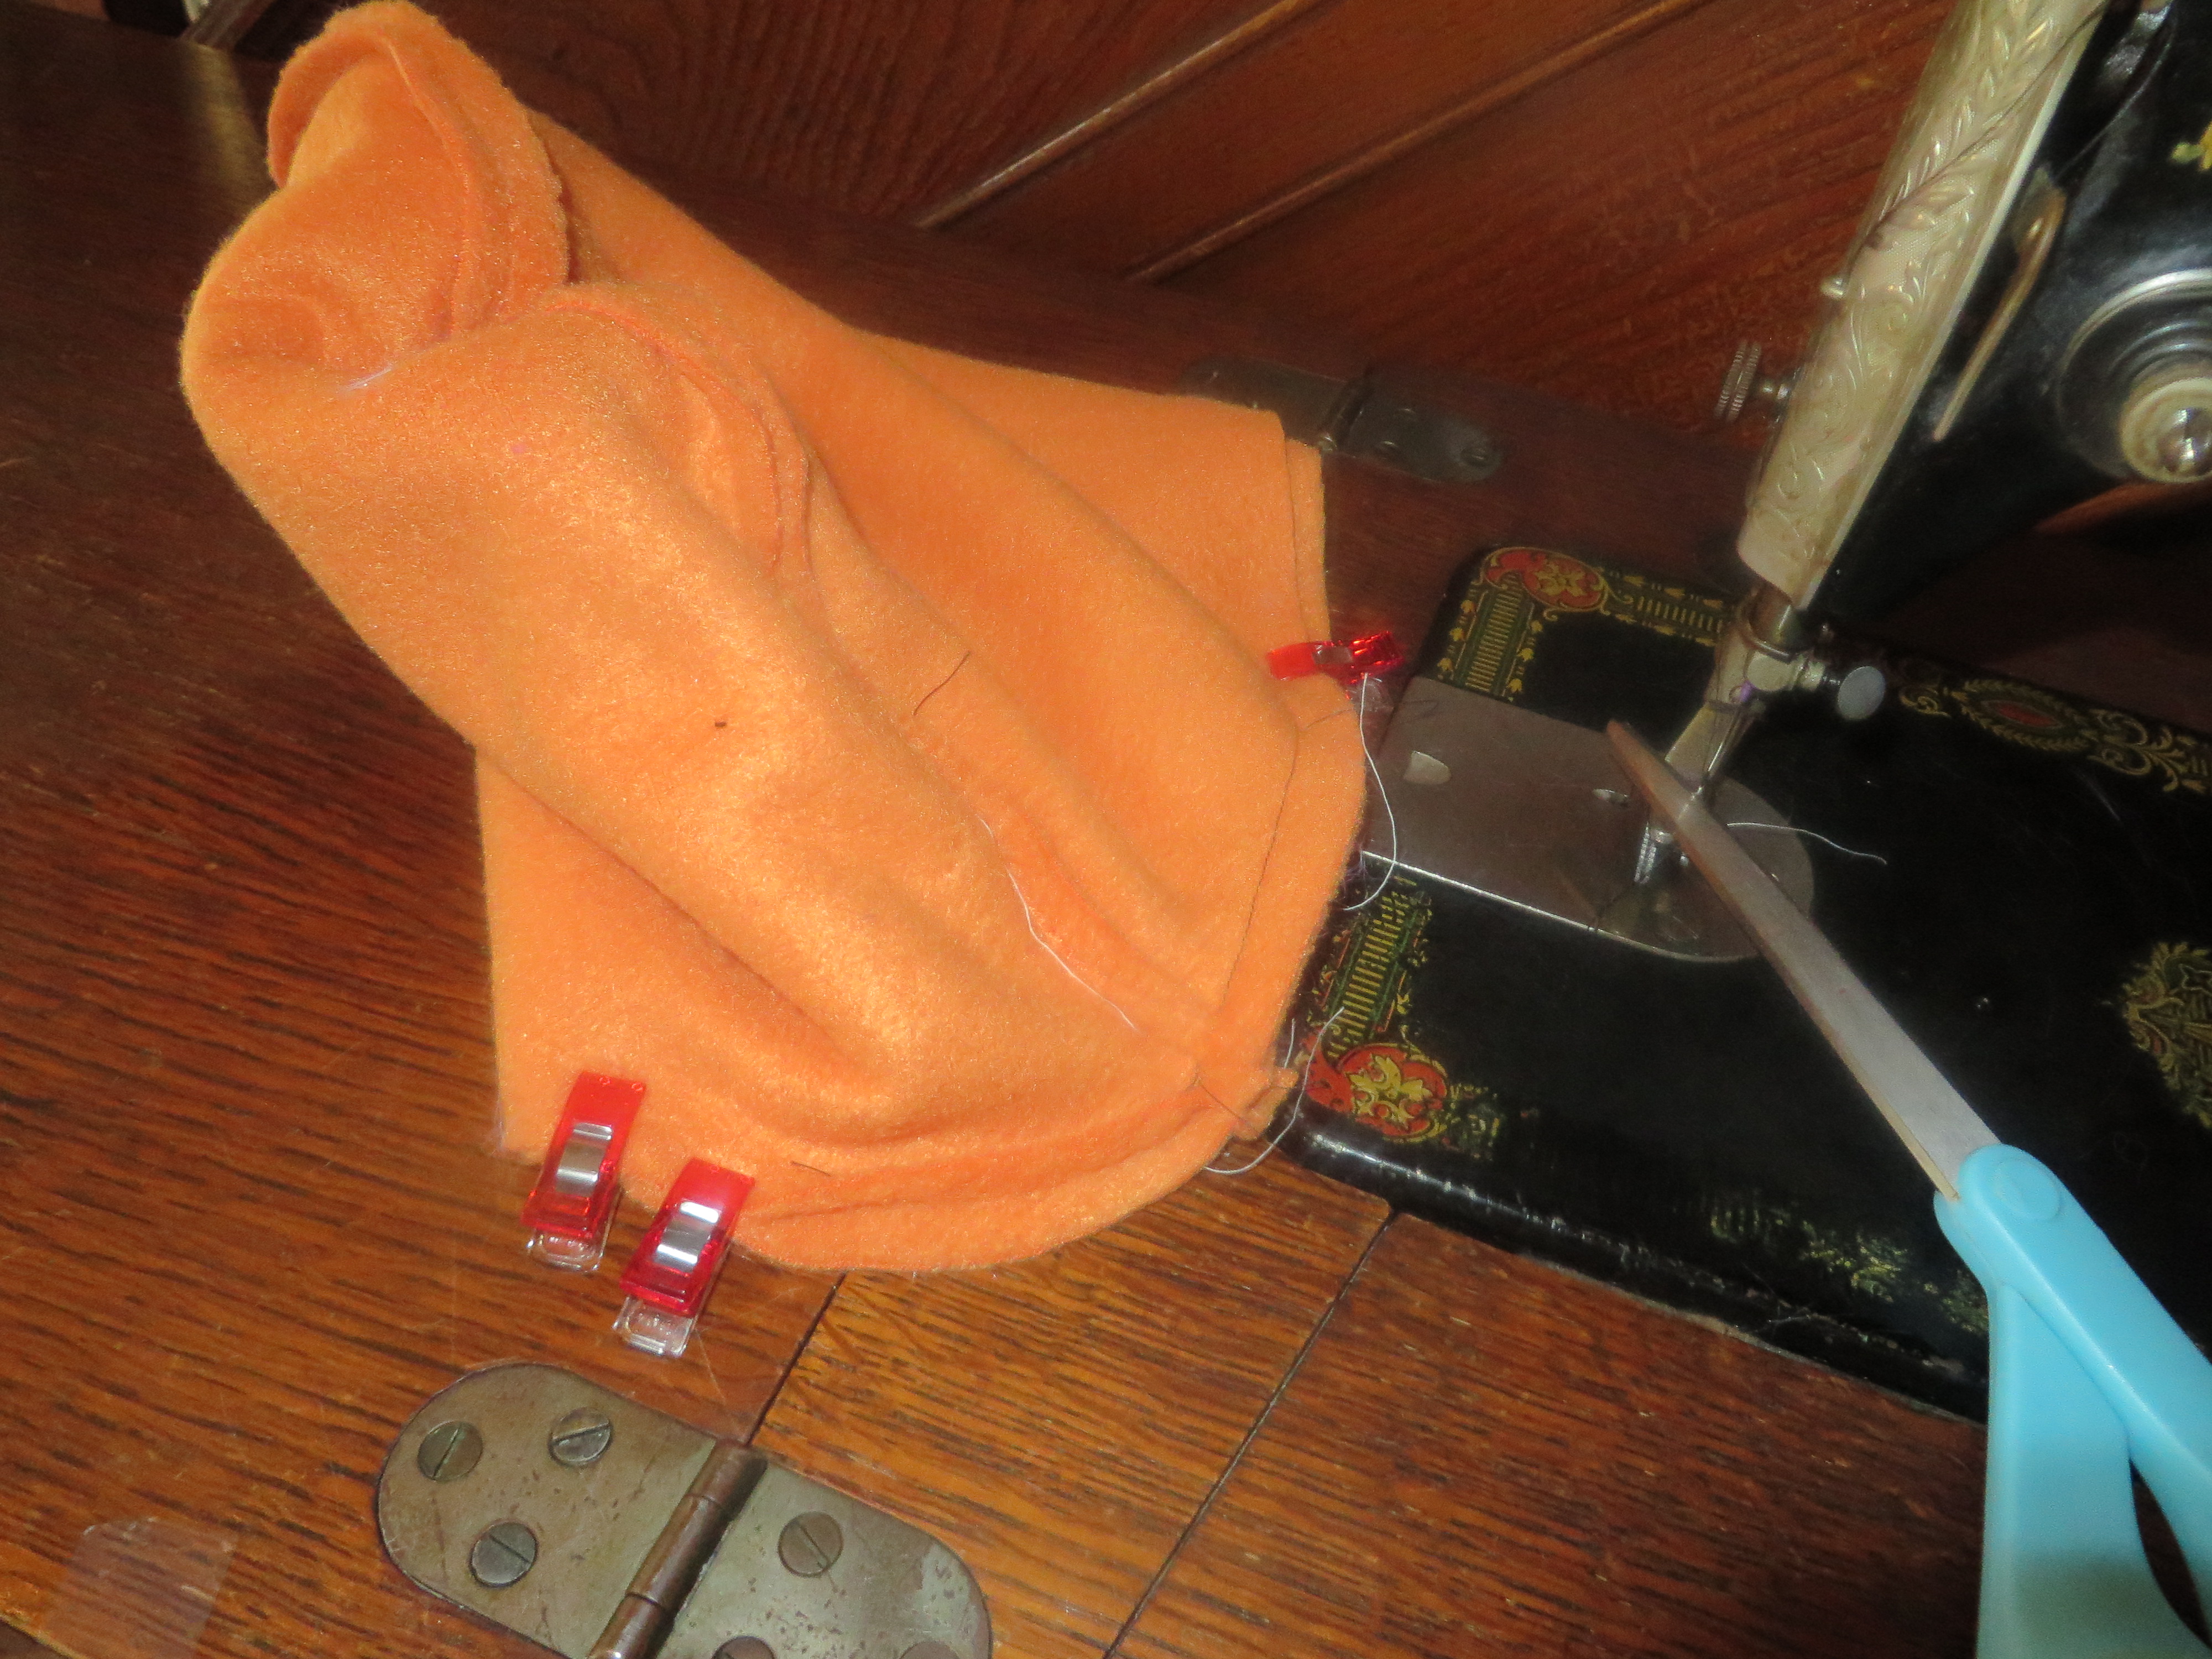
Now you need to decide where you want your bangs and braids to go. To do this, you can actually put the hat on a mannequin, or the person you are making it for, and actually place Wonder Clips (I love these things!) or pins to mark the areas. Next you need to sew your hats together, making absolute sure to leave openings where you have pinned for your bangs and braids!
Here’s how you’re looking now:

And sew.
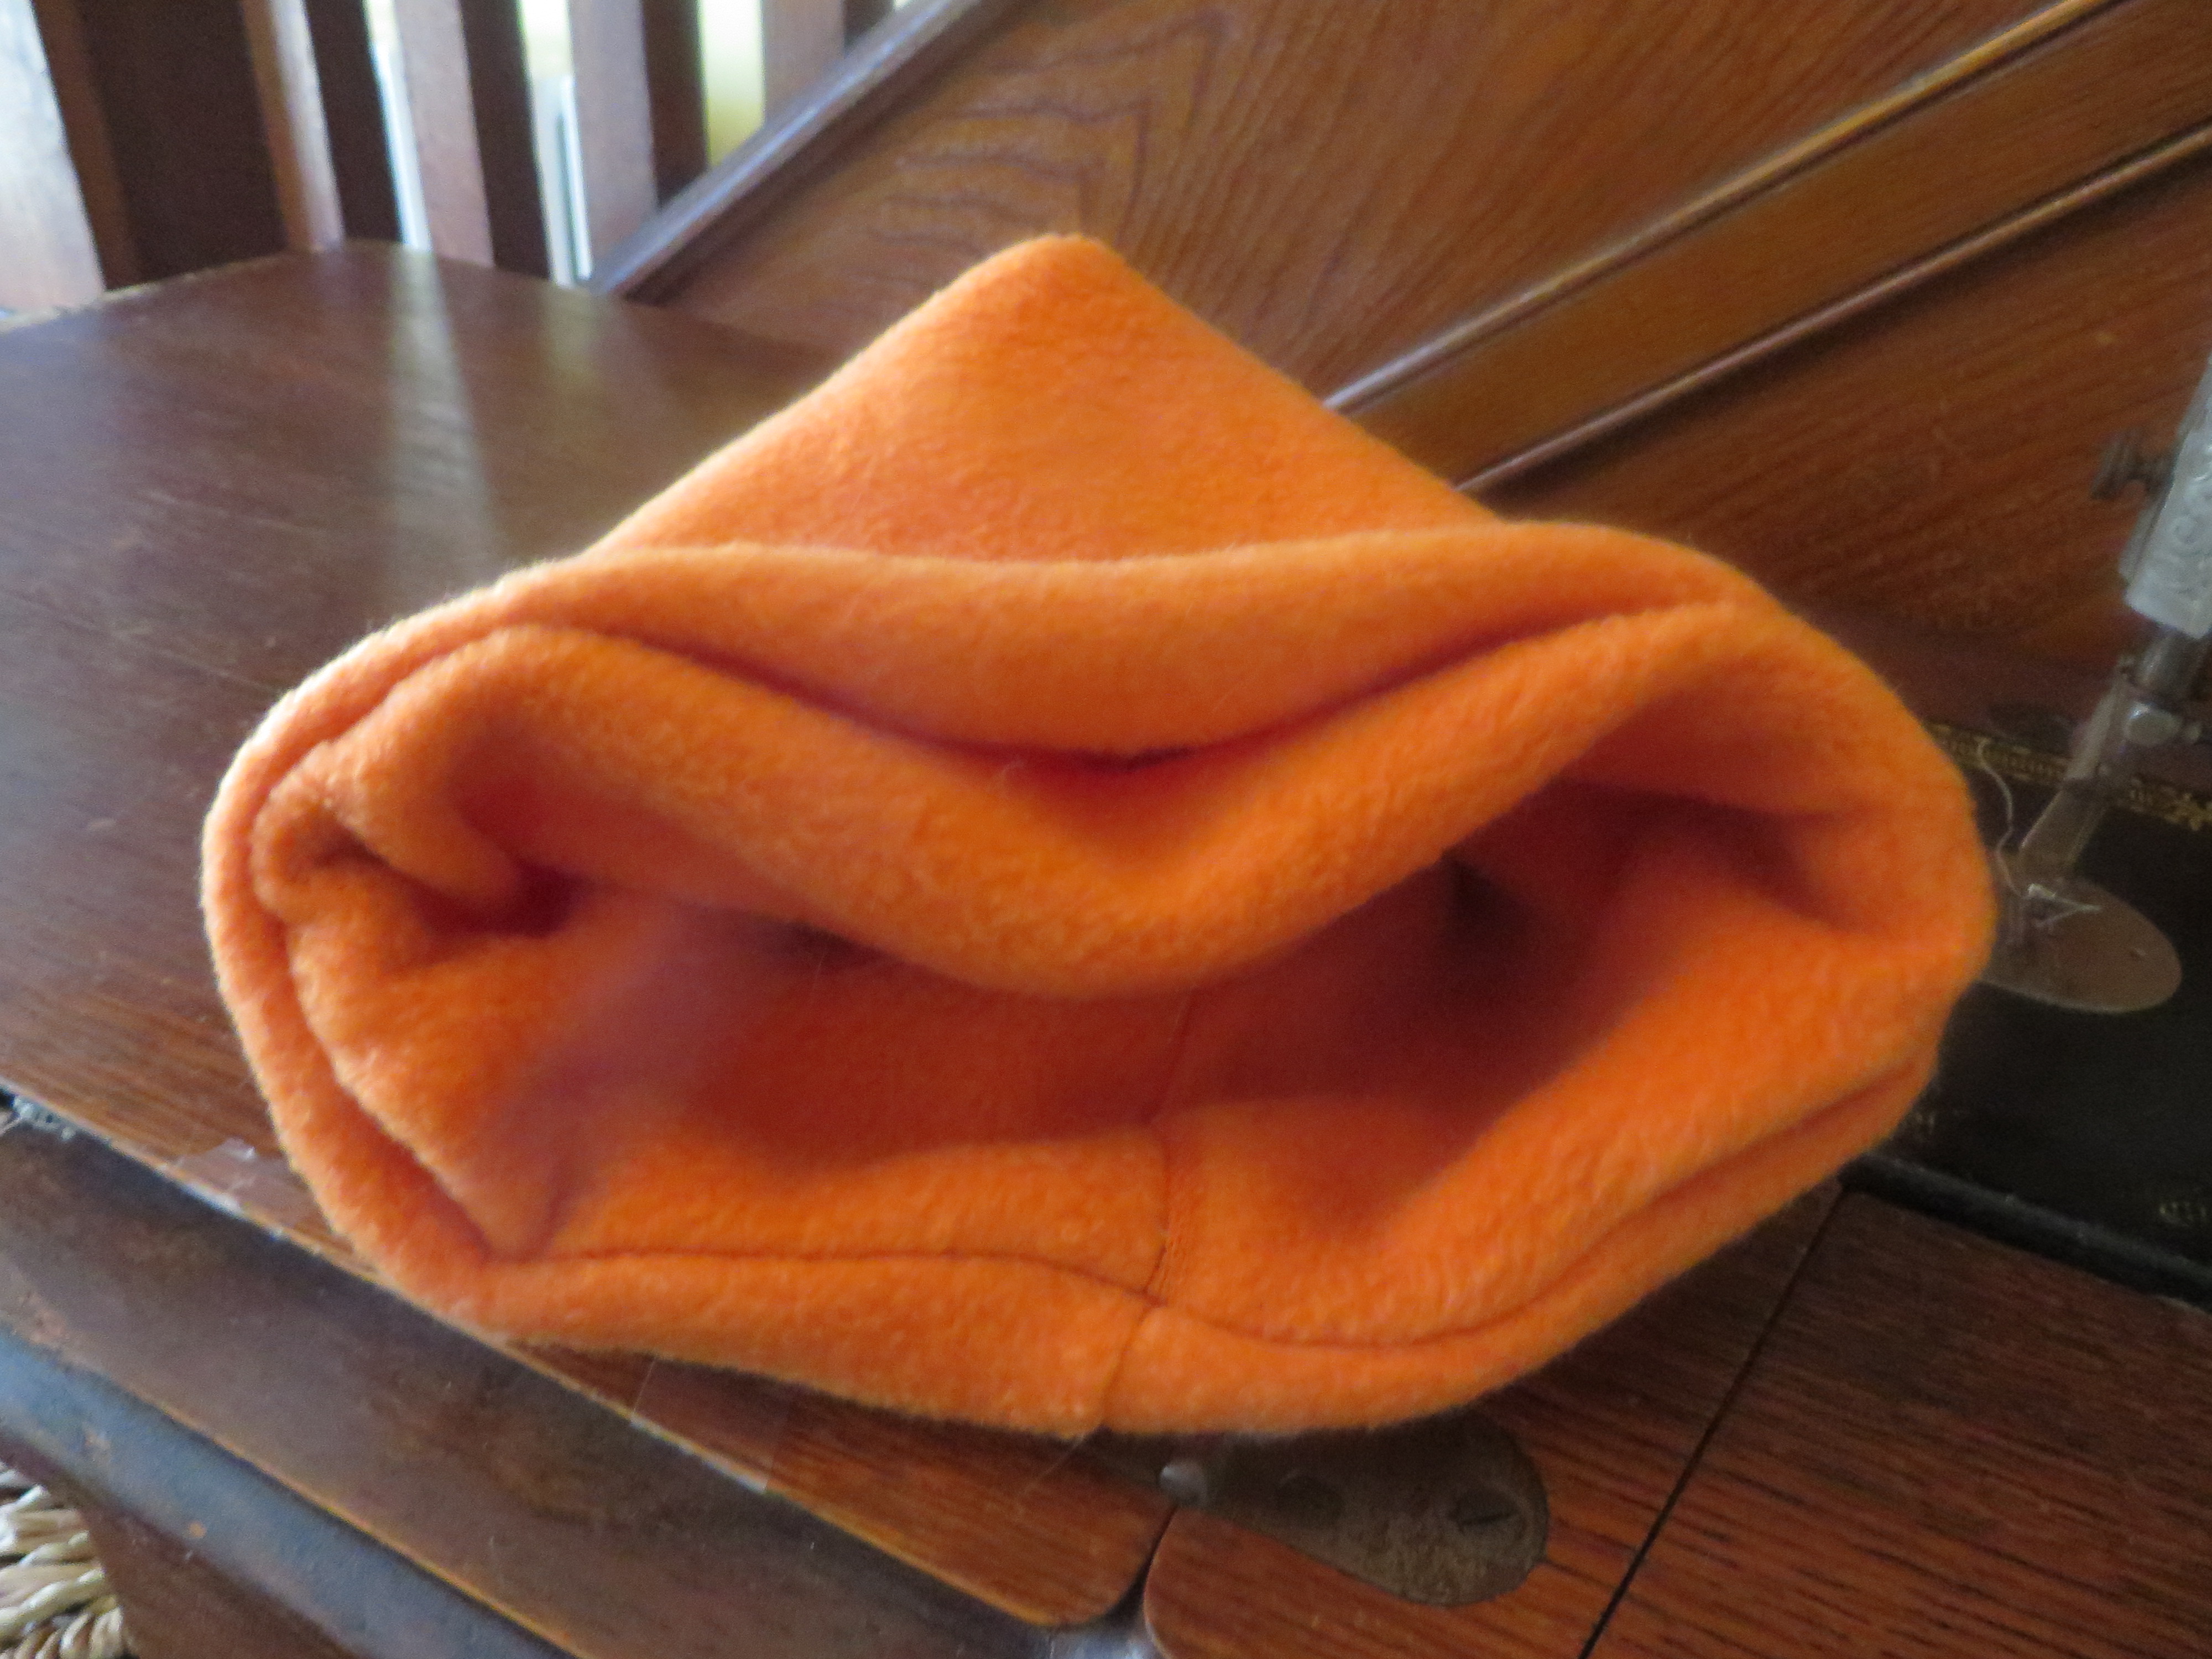
Should be looking like this now:
Once that’s done, you can use the turning hole you’ve left at the bangs area to turn your hat right-side out.
Looks kind of funny and possibly like you messed it up, but I’m sure you didn’t!
This is it:

Now you must lay one hat inside the other — doesn’t matter which, unless you have a sewing blemish you’d like to hide. In that case, blemish goes inside, always! ;O)
You’re here now:
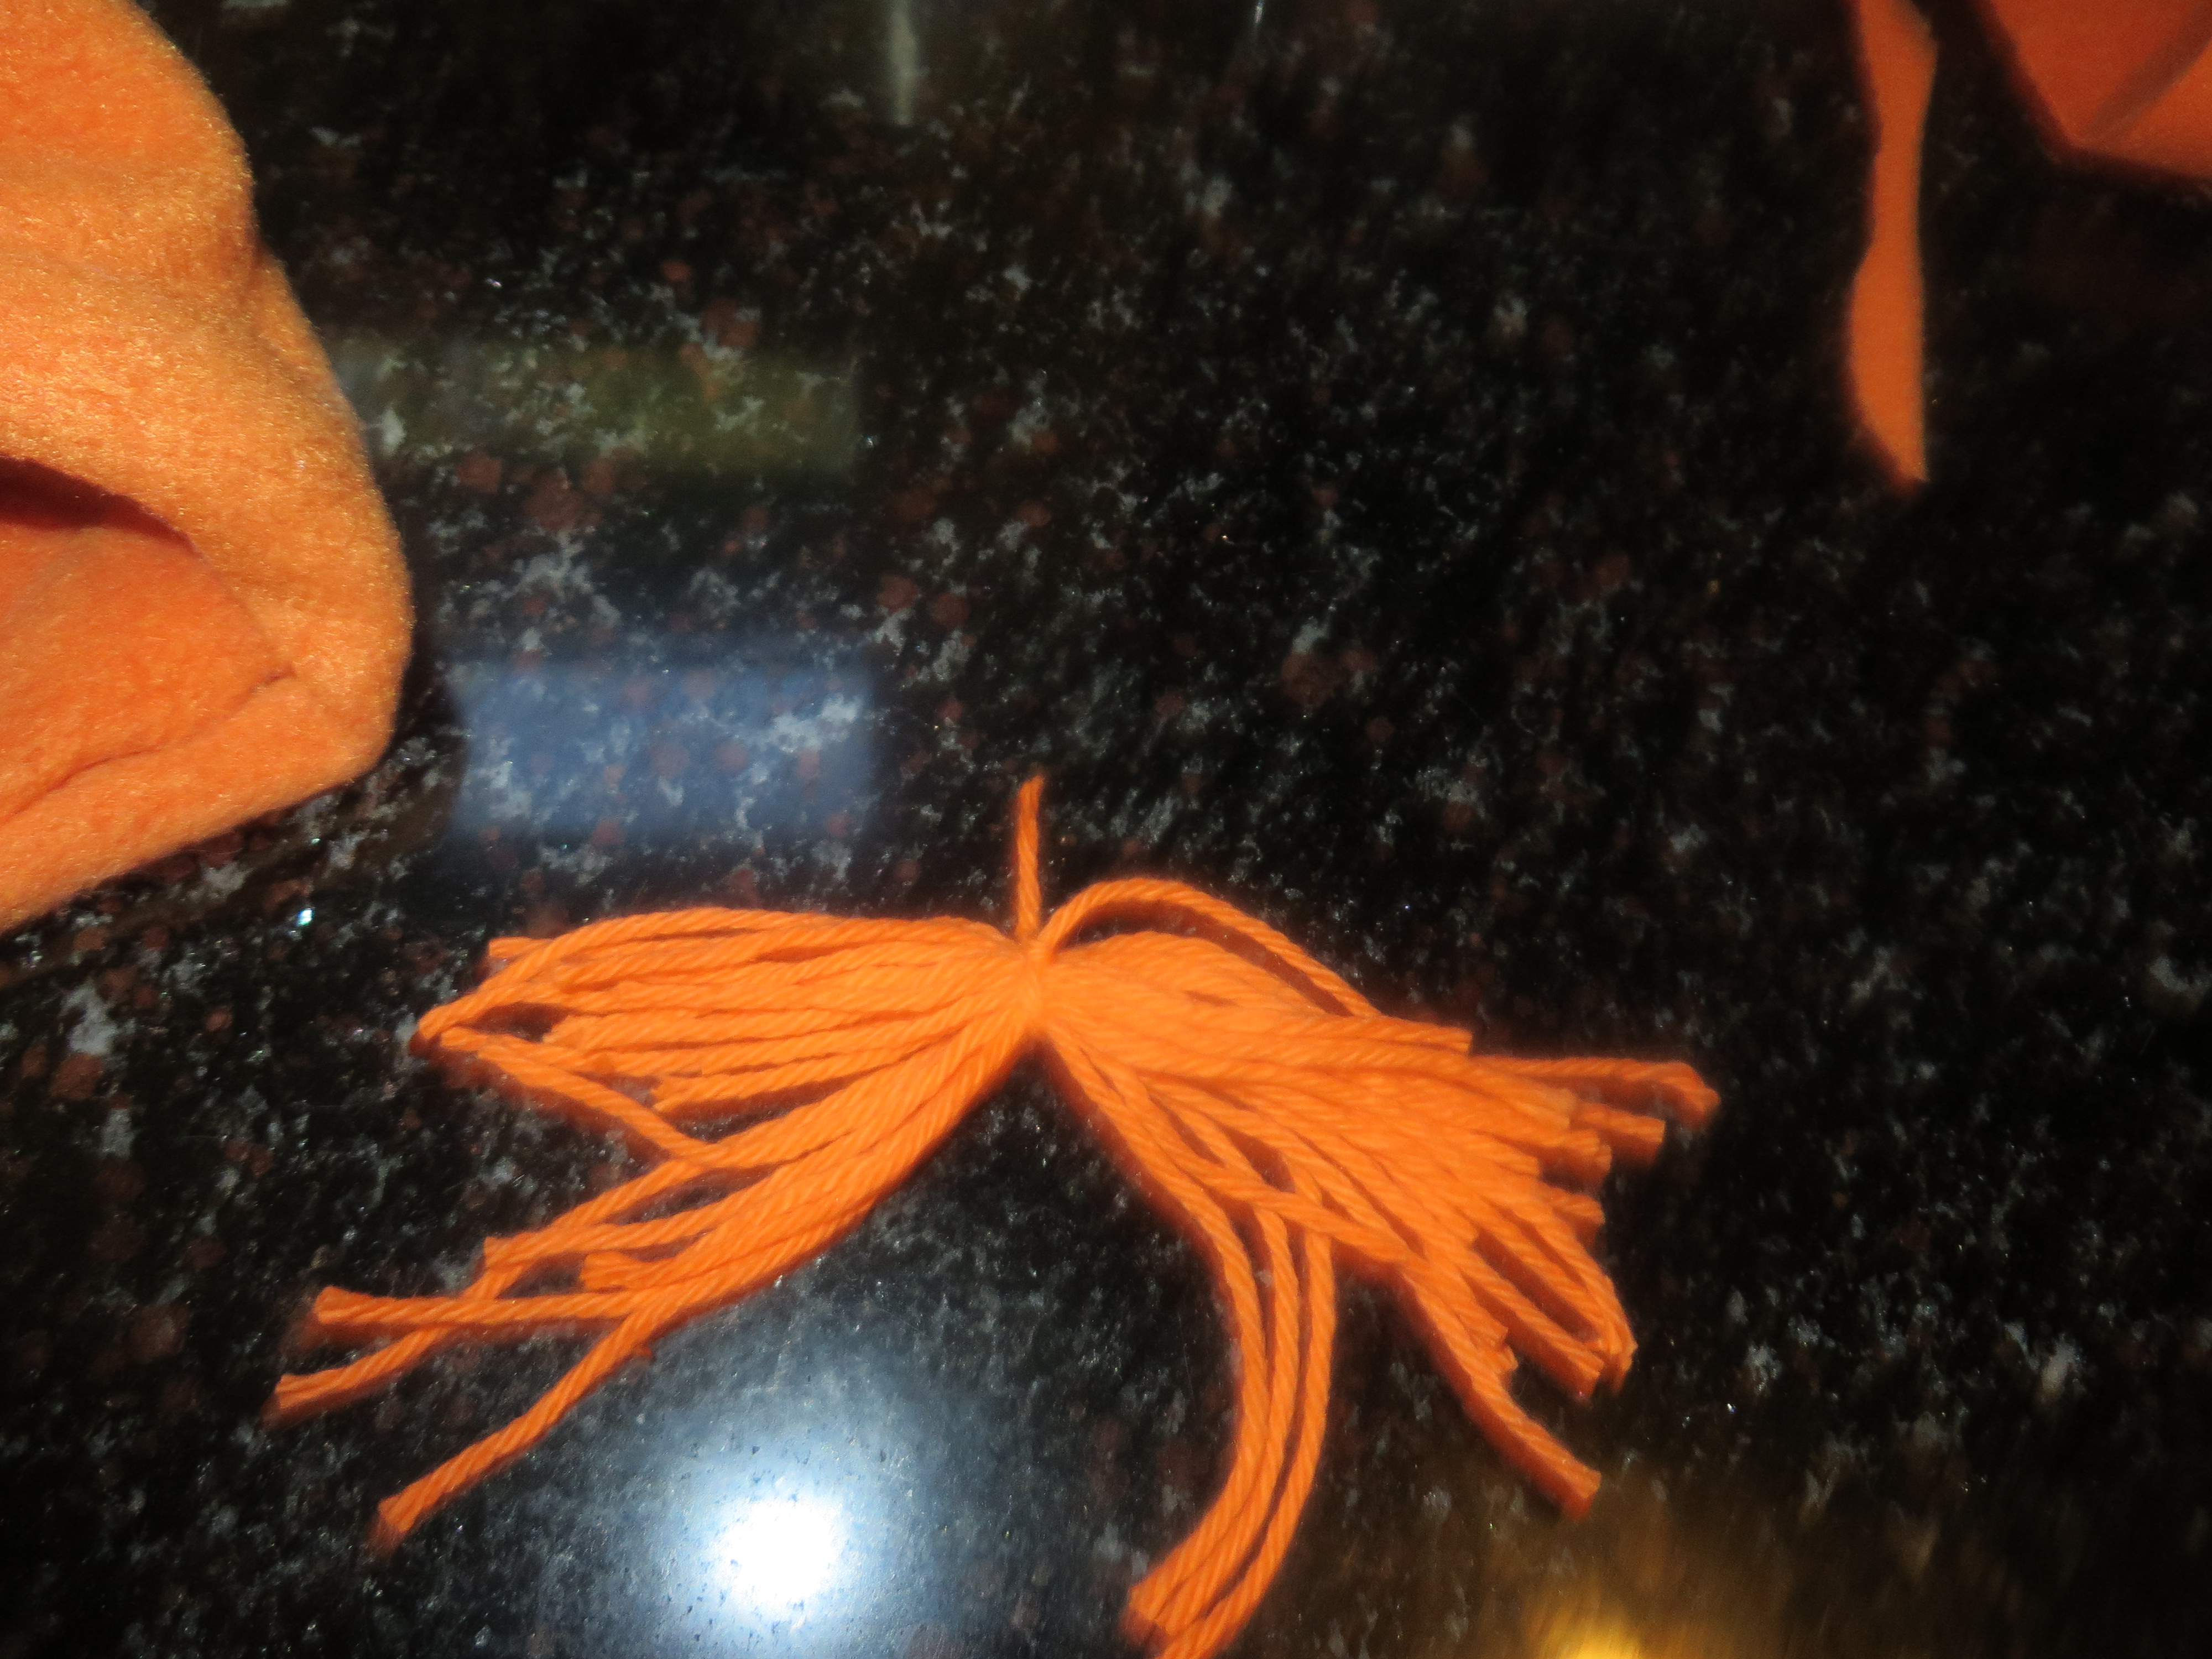
And now you can get cutting your braid and bang lengths from your orange yarn.
I cut mine and tied them together so that I could fit them in the turning holes and sew it all at one time.
Let’s break all that down w/ pictures so it’s as super-duper clear as this project is quick and easy.
Darn, I forgot to get a picture of the braids. Basically, just cut a desired length and thickness of braids and knot at the top. Don’t go to thick, because the knot will reside inside your hat and could be uncomfortable if too big.
Now it’s time to insert our hair in our openings, pin, and sew!
Here we go:

Now it’s time to pin and sew!
When I sew over the braids, I like to go over the section holding the braid in three or four times for added security.

YOU ARE DONE!!
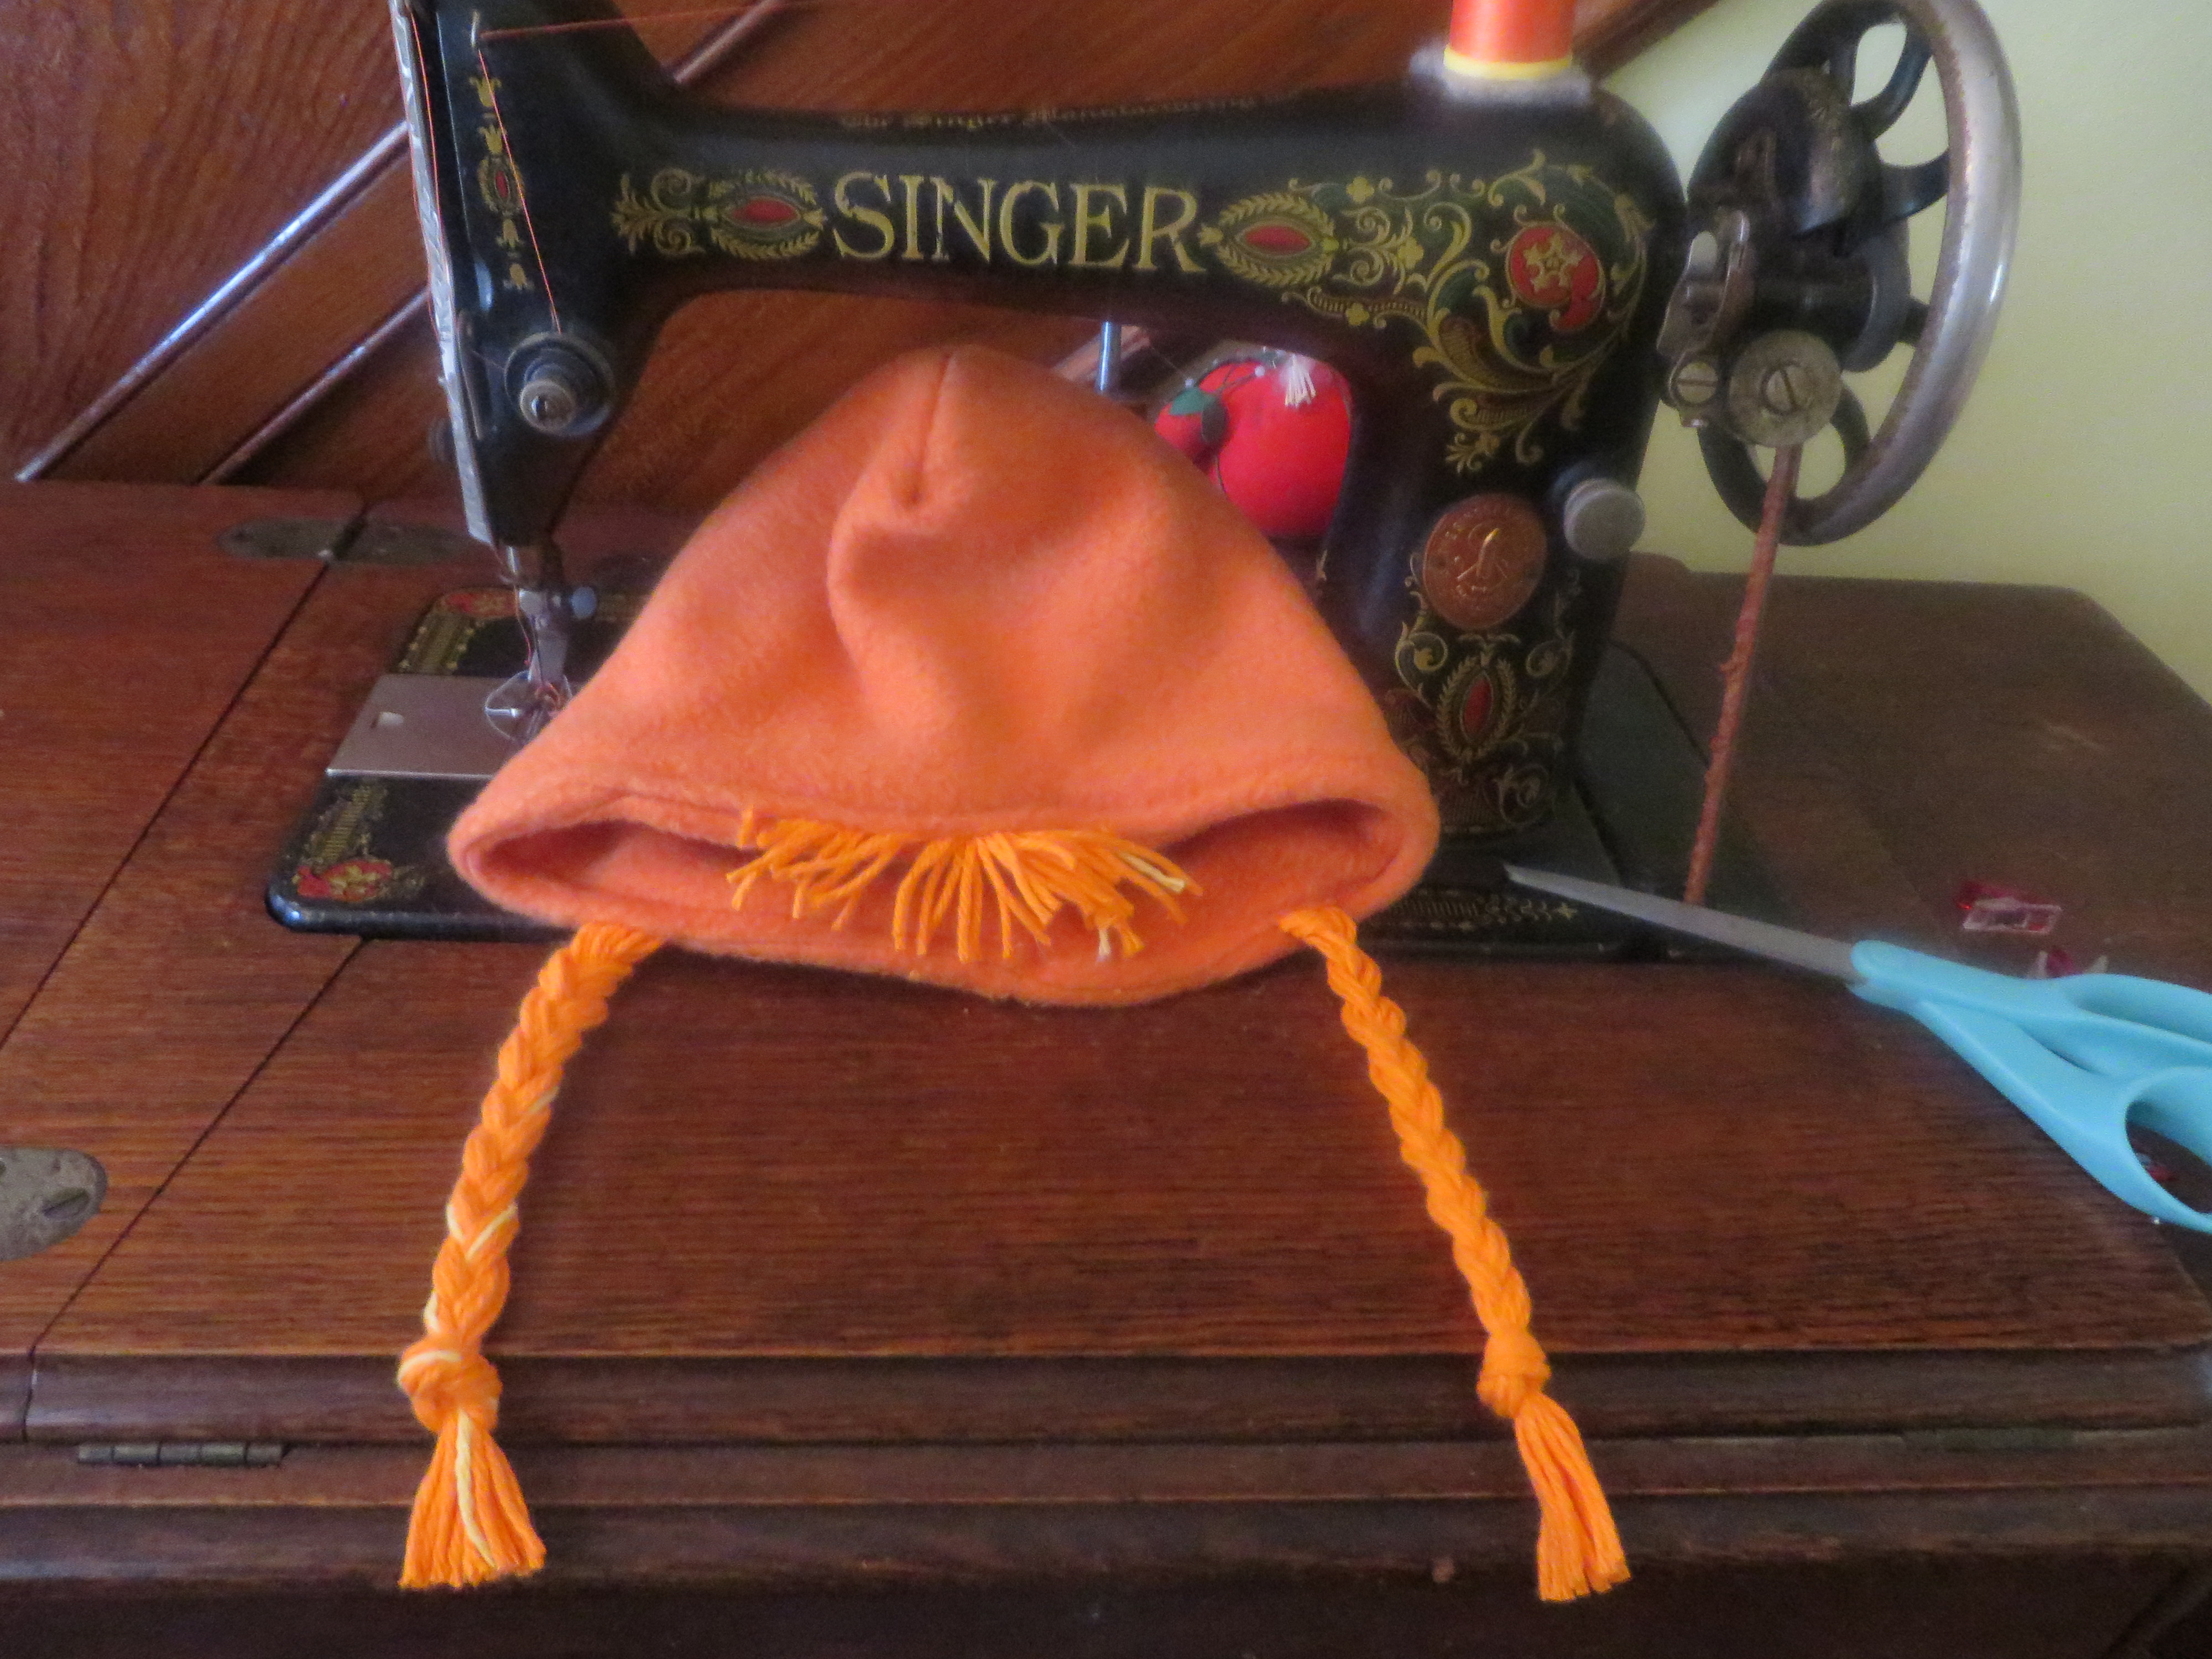
Totally optional, but I threw in a couple strands of yellow thread to signify the highlight that Anna has in the movie. Thought it was a cute little detail.
Have fun w/ this one! And stay tuned for future tutorials for Anna’s cape, dress, and an alternate hat w/ attached bonnet.
Here’s a sneak peak at the finished product w/ the bonnet, because it was so fun to draft up the pattern and because I stink at keeping surprises, surprises!

Chiara
