
So last week A.S. decided that instead of buying Valentines for her friends at school, she’d like to use her new snazzy sewing machine (1934 Singer 99-13 hand crank) to make something for them instead. Of course, like any crafty mom would be, I was thrilled!
We brainstormed together and came up with something easy enough for her to do with little help from Mom. (You know how kids this age like to feel independent!) Look at these cute little fabric Valentine “envelopes,” complete with heart “stamp”!

You still have time to make something like this if your little one is having a Valentine’s Day party at school, so I thought I’d just write up the steps we used to make these, in case anyone is interested. This was a fun project that was pretty easy for my 4-year-old to complete mostly by herself, so I’m sure other little crafty ladies and gents would get a kick out of it, too.
We used the following materials:
white felt (each piece of felt was cut into thirds)
scissors
thread
a pen or marker
hot glue gun (with glue sticks)
a sewing machine
(Note: We did make fabric labels using muslin, freezer paper, an iron, and an inkjet printer. These are not absolutely necessary, but a very cute addition to this little personalized gift. If you Google the topic, you’ll get access to a ton of tutorials on how to do this. I did not take any photos of the label-making process, which is why I am directing you to look for another tutorial. If anyone would be interested, I would be more than happy to take pictures the next time I do this and create a tutorial. Just leave me a comment below if you’d be interested.)
Step 1. We took the felt sheets and folded them into equal thirds, and then we cut. You are left with a long rectangle like this:
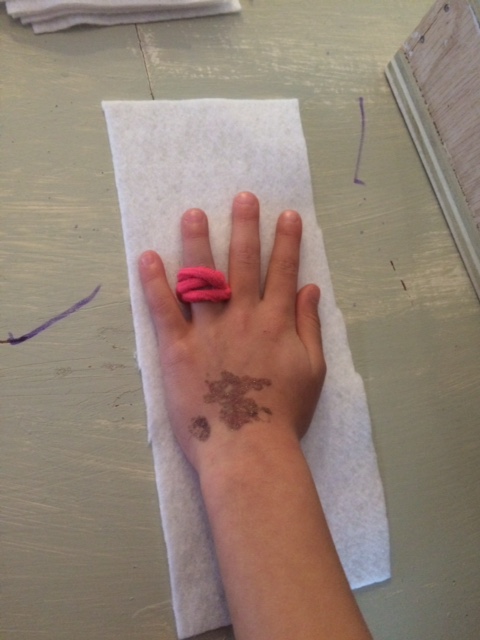
(Please excuse A.S.’s faded tattoos and costume jewelry!)
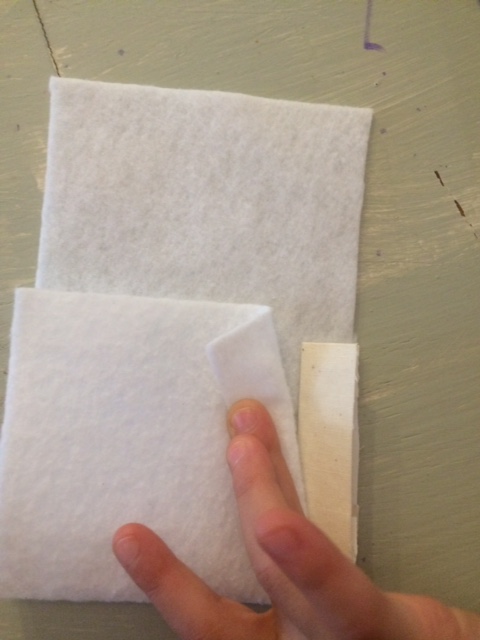
Step 2. Fold the bottom of your felt upwards, leaving roughly a third of the felt unfolded at the top. (It doesn’t have to be perfect. A.S. did hers by eye, and no two are the same size.) Like this:

Step 3. If you did make some labels, you will want to insert them in between your two layers of felt, with the writing facing down and the rough edges facing outward. Like this:
Step 4. Ready to start sewing! Bring your “envelope” over to your machine and sew up both sides.


Step 5. Now that both sides are sewn, you need to make your top closure flap look more like an envelope. To do this, you will fold your envelope in half longways and snip a line from the lower right corner to the edge of your sewn edges. Like this:


Step 6. Open your “envelope” and then turn right-side out.

Step 7. Tuck your closure flap down inside the back piece of your Valentine “envelope.”

Step 8. Grab your pen or marker and write you friends’ names on the front of you envelopes!
Step 9. Plug in that glue gun of yours and grab some fun felt heart buttons! Glue them in the top right corner, just like a real stamp! (Make sure little people understand how hot the tip of that glue gun gets!)

Step 10. Stuff these with a couple of pieces of candy, and hand out to friends!
Happy Valentine’s Day!
And thanks for sharing your gift of creating with your little boy or girl! ;O)
C

This is the cutest idea I’ve seen in a long time.
LikeLike