Happy Saturday!
This morning started like many mornings in our household. A.W. and A.S. were fighting like cats and dogs about something in the playroom while I was making breakfast. I gave it a minute or two to see if they could resolve it themselves, but no such luck. When I stuck my nose around the corner to see the cause of the drama, I saw the tell-tale sign of loose strings of yellow yarn.
I made my first Rapunzel braid about a year and a half ago and thought it would hang around the playroom for a couple weeks and be forgotten. Since that time, this braid has been through puddles, through snow, and whatever else A.S. has managed to drag it through. I have made several for A.S.’s friends’ birthdays, too. I love making them. They are quick and easy to make and totally customizable. I also like how little girls who just love princesses can’t stop looking back to watch their hair when they attach them to their ponytails. It might be the best make-believe piece in my daughter’s dress-up wardrobe!
Let’s whip one of these up!
Here’s what I used:
yellow yarn (I like this because it’s washable!)
scissors
ponytail holder — or elastic or an old headband (if your child has hair that won’t go into a ponytail)
To start, if you really want to, you can measure from the nape of your child’s neck to the point on their back or legs where you want the end of the braid to hit. I eyeball and am okay if the results aren’t perfect! Ha, ha! But if you did measure, double your measurement and start snipping pieces of yarn to that length. Keep on cutting, and cutting, and cutting. After you get the thickness of a braid that you like, fold in half.

After you fold it in half, slip an elastic or headband, or whatever loop you are going to use to fasten this to the child’s head and put one end of the yarn through the loop. Push the loop to the midpoint of your yarn as pictured above.
Now, if you can get some assistance, this is a good point to do that. If you’re alone, hang the elastic on a door knob. Section the yarn into three parts and tightly braid until the end. Fasten with another elastic or just tie into a knot.

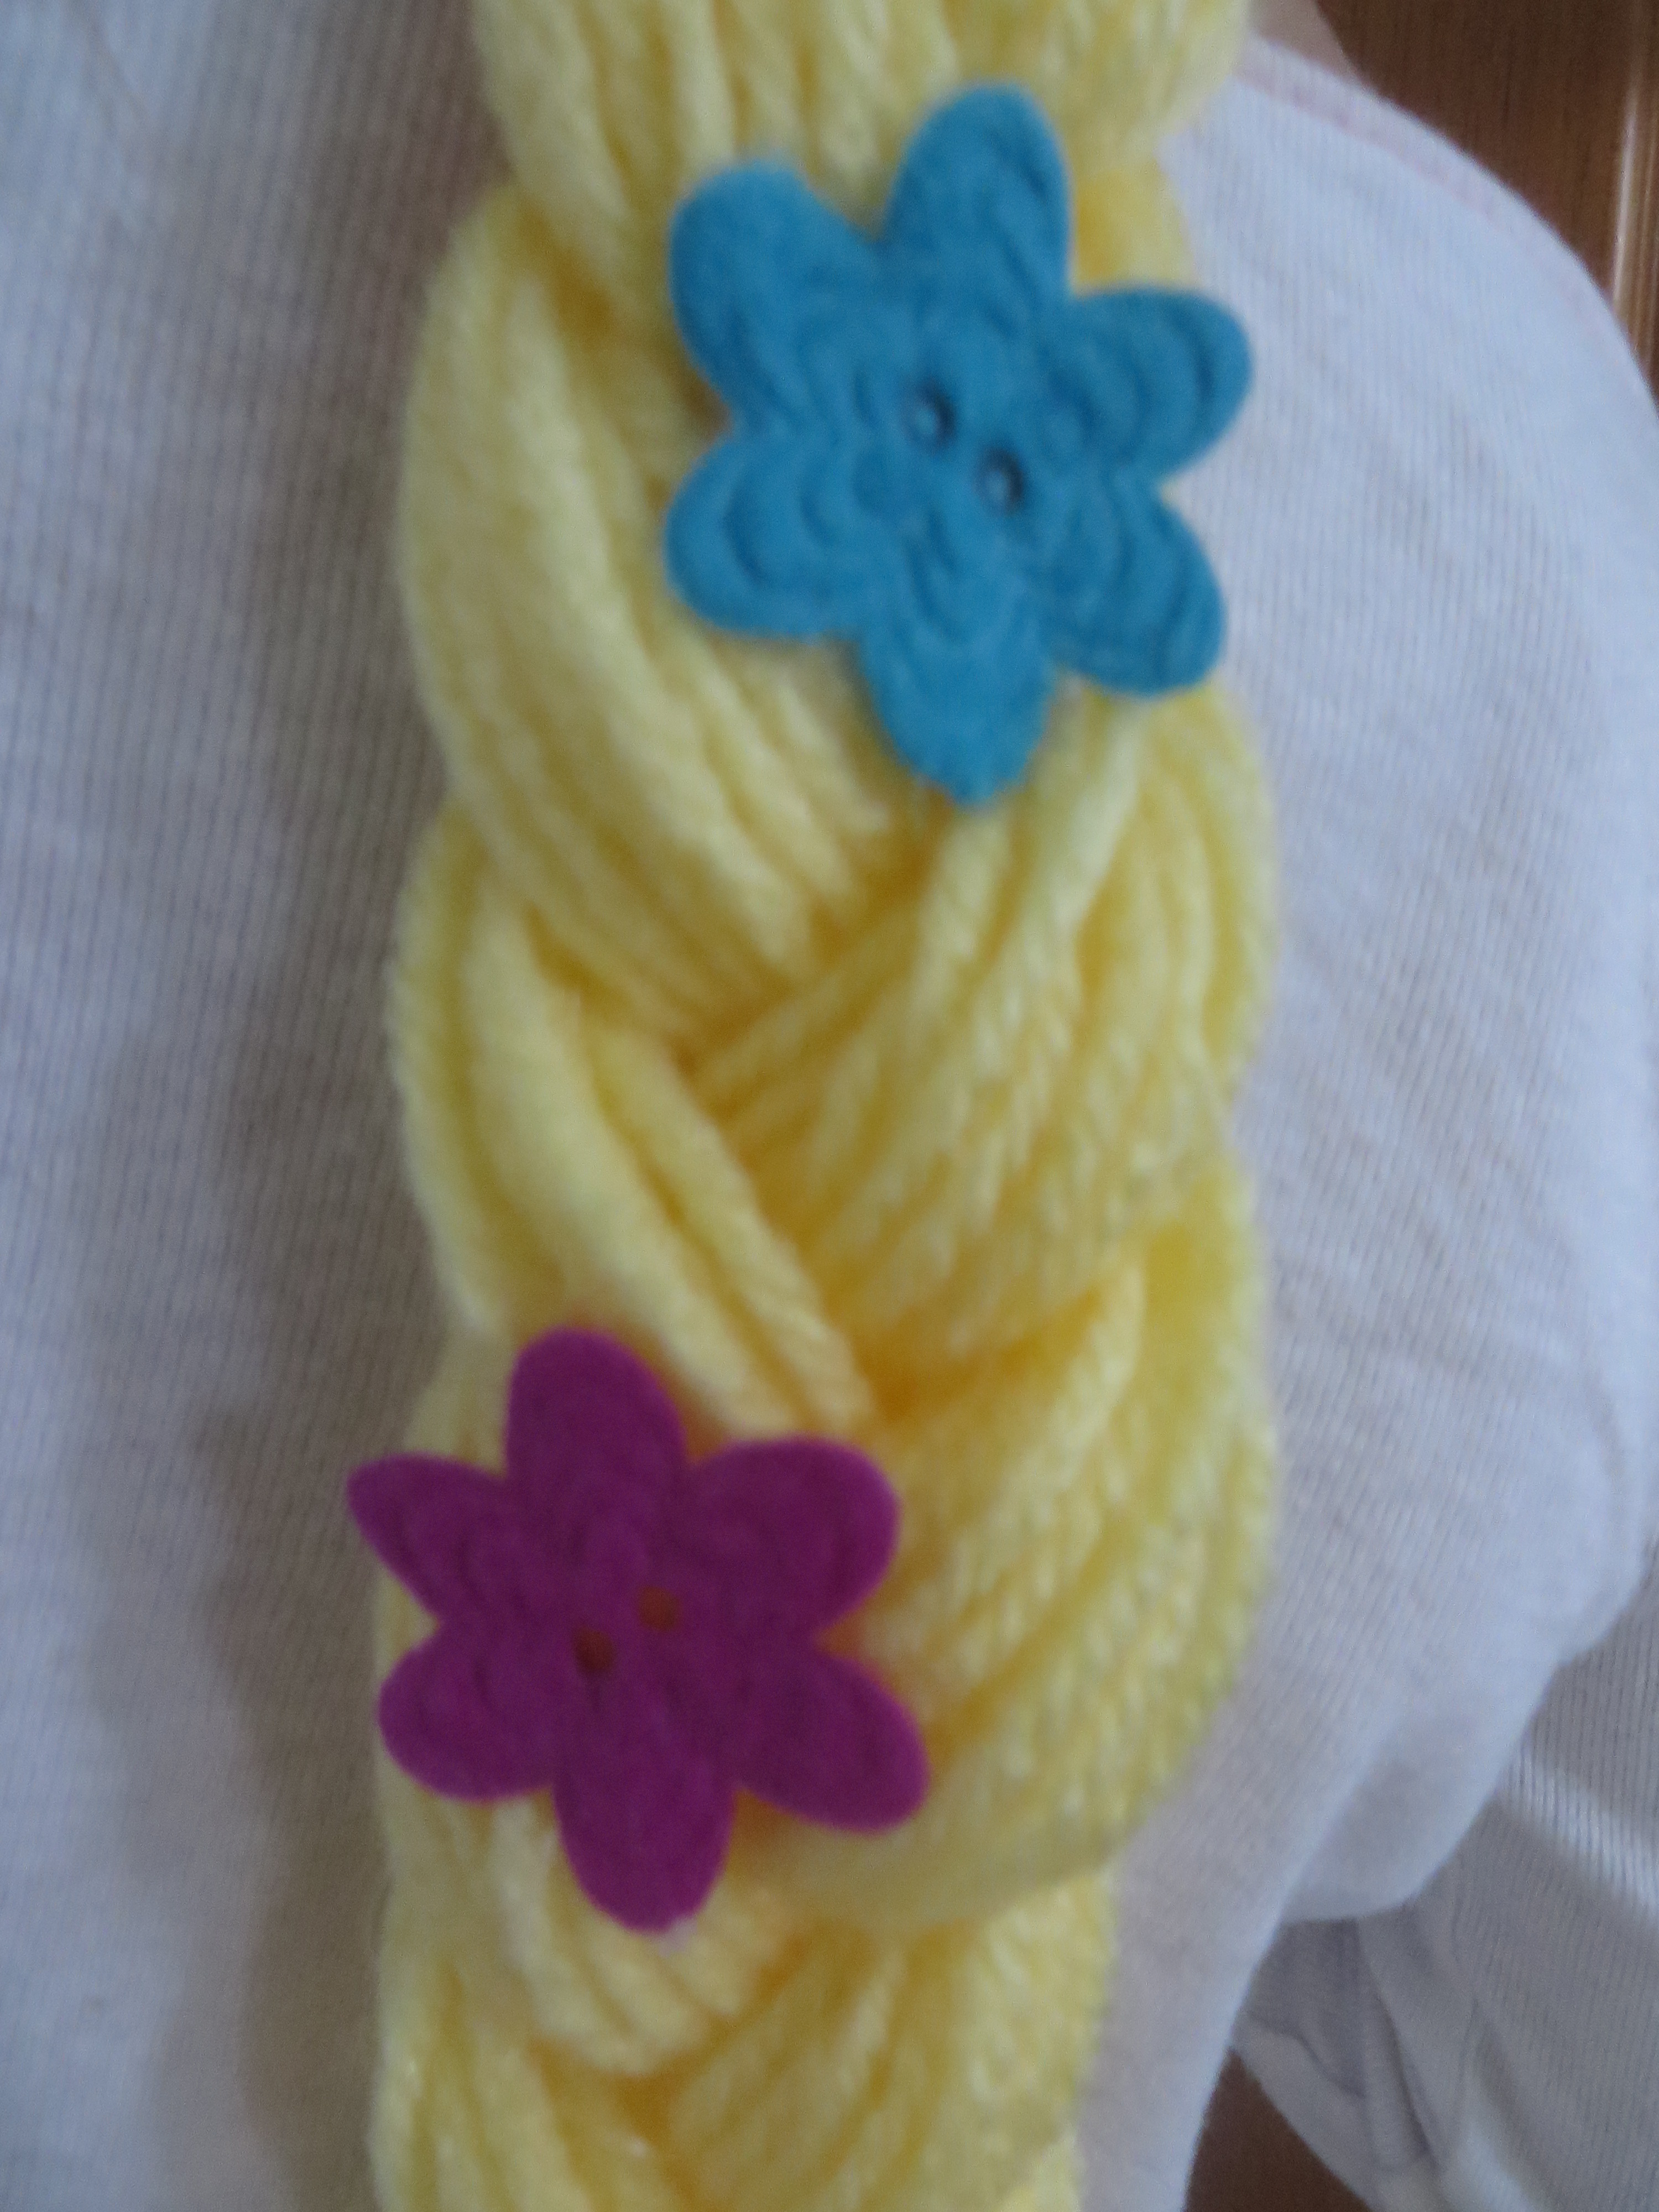
Now, it’s time for your glue gun and embellishments. This happens to be my favorite part. I have used silk flowers, plastic button flowers, and felt flowers for this. The fabric flowers can be hand-sewn, but the glue gun is quicker. And I always have two little impatient customers looking over my shoulder when I’m making Rapunzel braids, so speed is of the essence!

Pick where you want to add your flowers and glue them on!
You are done!
