For most women, having your period is a fact of life. Handling it with disposable products that end up in landfills and have fine print warnings of possible Toxic Shock Syndrome don’t have to be how you deal with it. There’s another option that no one is talking about! Let’s have some girl-talk!

When I diapered my kids in cloth, I lost all of my dignity. No, I’m kidding. But, really, bodily functions are not that big of a deal, and cloth diapering taught me that I’m not as queasy as I thought I’d be. And the hassle of the loads and loads and loads of laundry was worth it to have two kids potty-trained (mostly) by 18 months and 21 months, respectively. (Although, now, my boy is having accidents again anytime he’s doing something interesting that he doesn’t want to stop doing.)
But first I have to think back on why I wanted to use cloth on the kids. First, there was the issue of the smell of disposables. They just smelled chemical-y. I researched that and found that there was some speculation on disposables and asthma. Not cool. I have asthma and don’t want anyone to ever get it that doesn’t already have it. It’s that much of a pain in the butt to deal with.
Next, I read this book. If you have a baby or are pregnant, please do yourself a favor and read it. I read it when my youngest was about to turn two and wished I’d read it sooner. This book’s author did some research on little boys and the effect that disposable diapers have on their sperm count or temperature of the scrotum or something or other. Eye-opening, to say the least.
On top of all that, disposable diapers equal big-time waste. Basically, I didn’t want disposables on my kids anyway, and I surely didn’t want to add to the landfill gardens that decorate our present-day landscape.
Anyway, after using cloth on both the kids, I felt silly using disposable products on myself. Kind of hypocritical, if you will. So I researched on the internet and found the DivaCup. Interesting enough, I guess. But still weirded out by something with an unknown make-up being used there.
After looking into it further, I found some photos of cloth menstrual pads. And there’s the winner! I had to make these. (My son calls them my “mommy diapers.”)
So let’s make some.
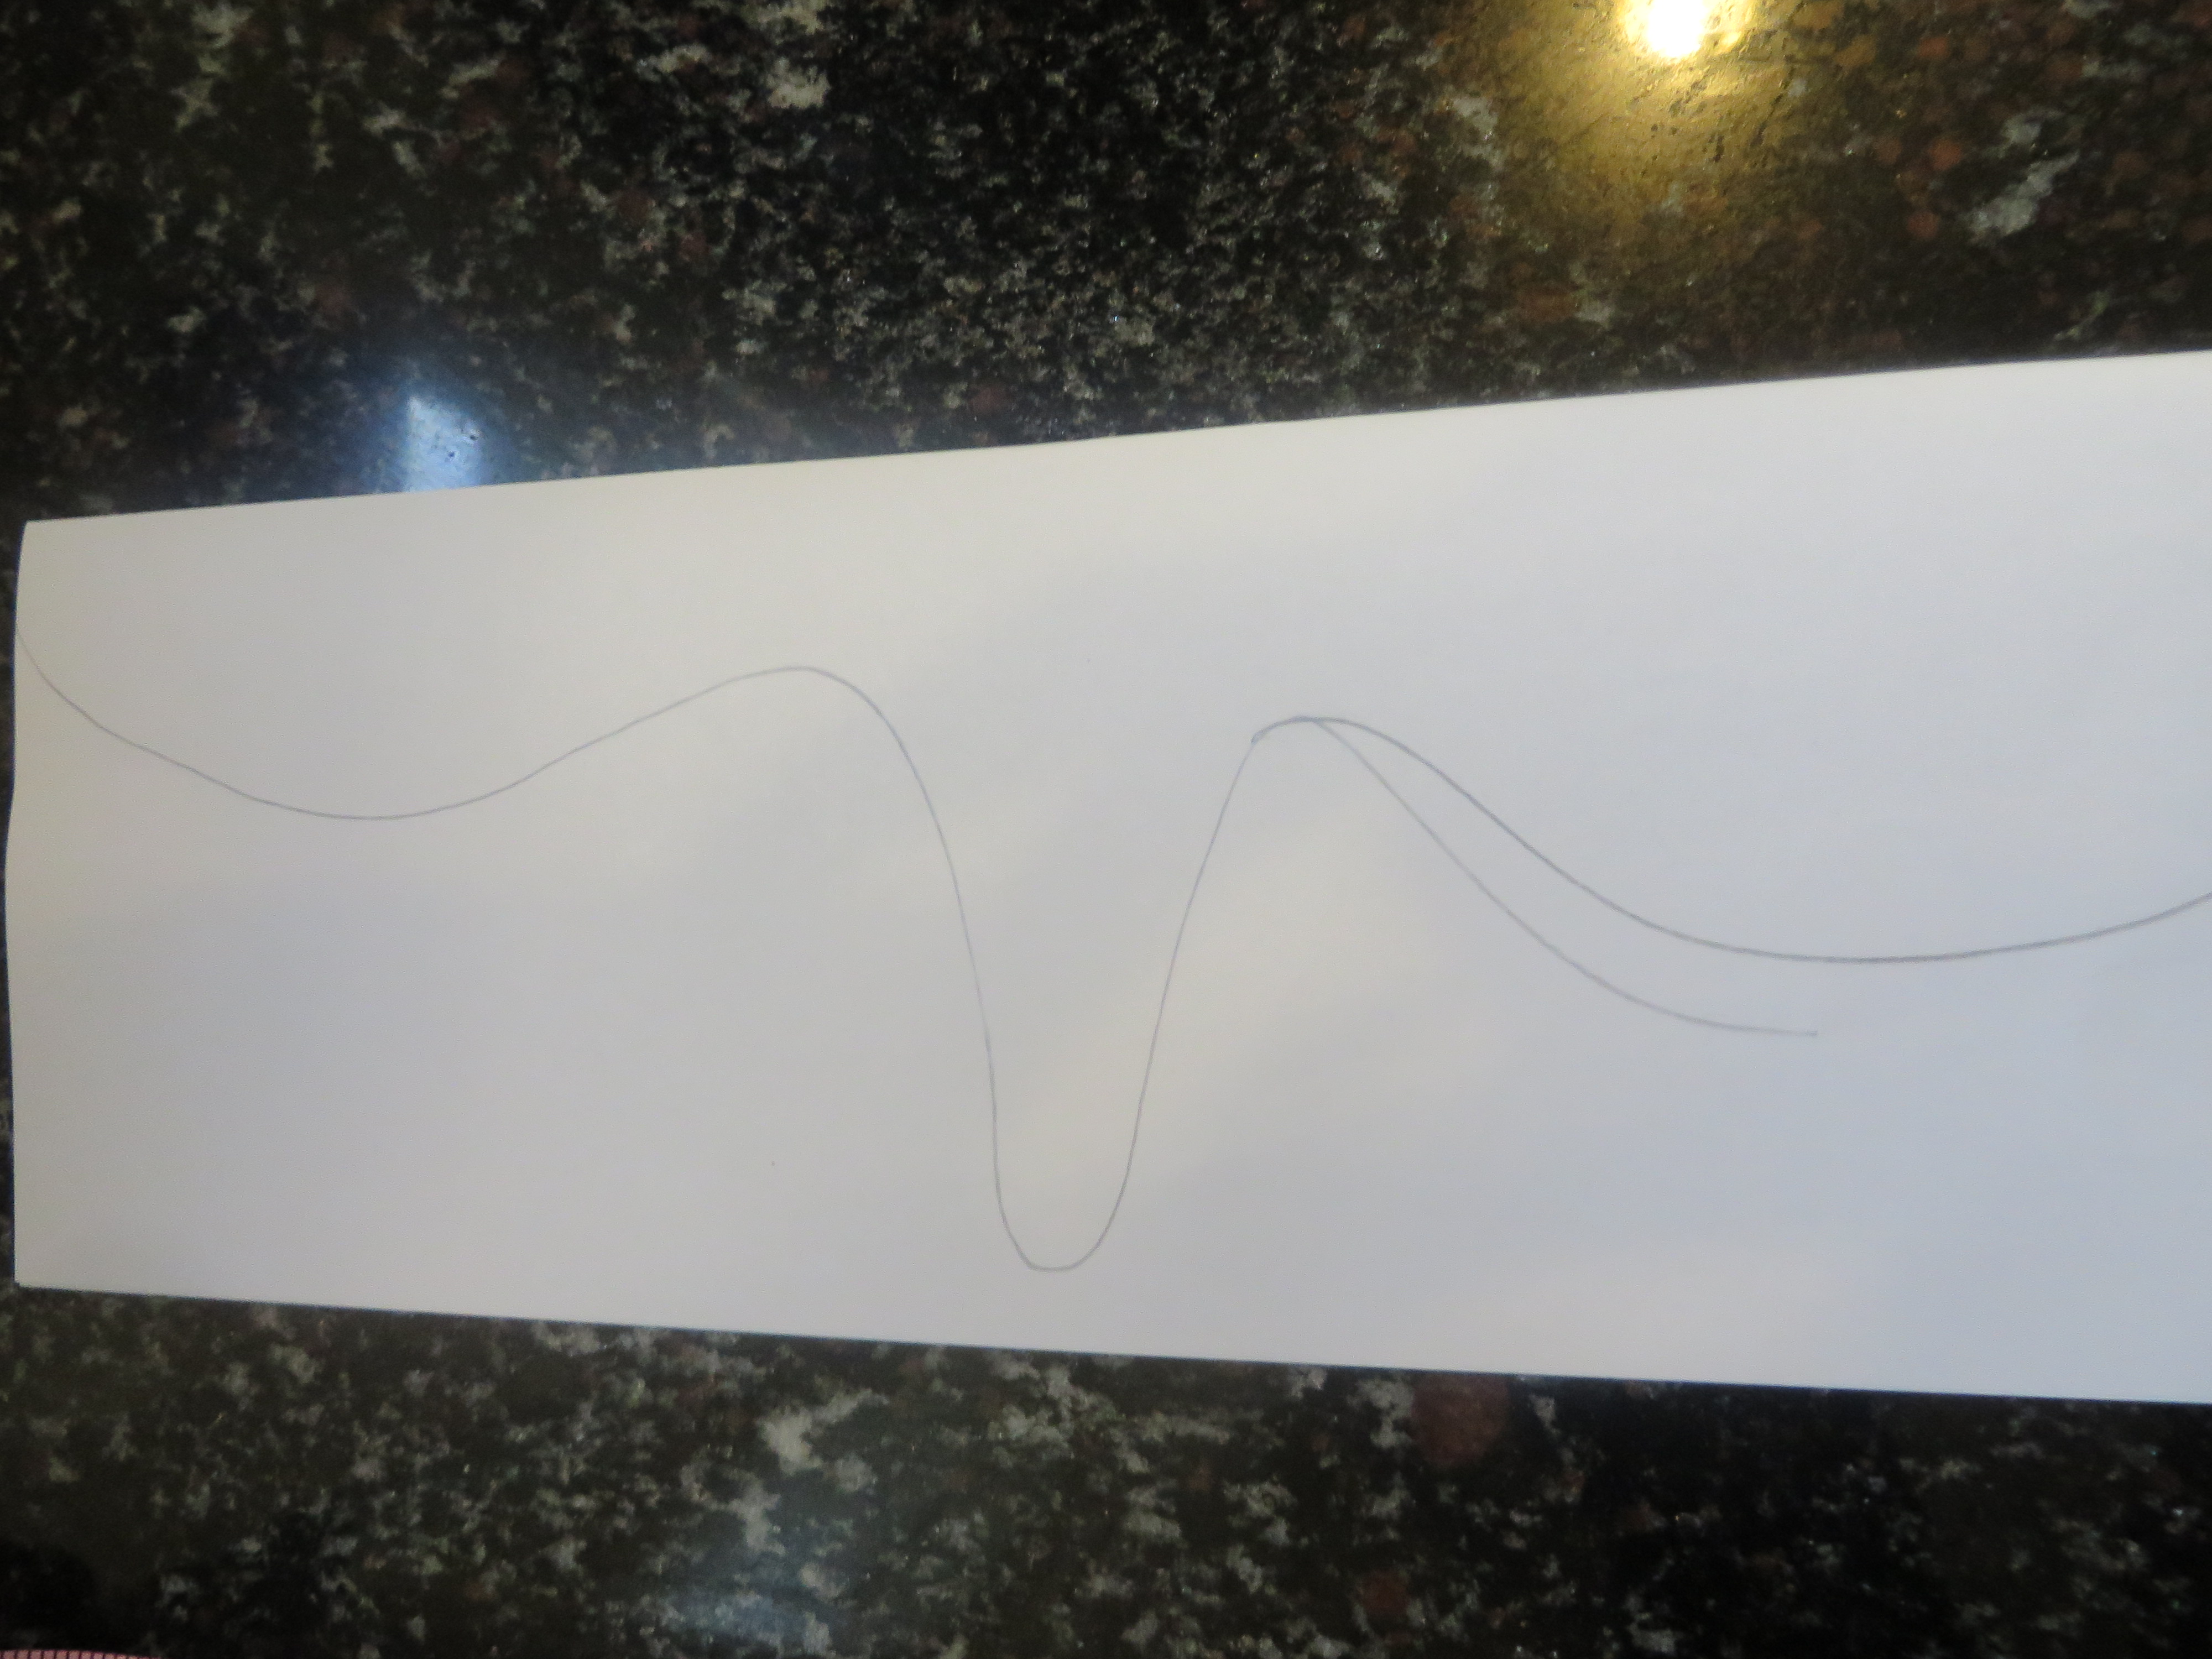
First, we need to make a pattern. Make it easy on yourself or hard; you choose. If you use pads, trace one and add wings.
From scratch, you can measure on your underwear where you like your pad to reach. Jot down that measurement and get a piece of paper that’s an inch or so longer (for extra space when you turn and top-stitch). You can also just use a regular piece of paper.
Whatever you choose, fold it in half and experiment with shapes, being sure to make “wings” that are long enough to clasp around the bottom crotch portion of your underwear.
Now cut out your pattern and open up.
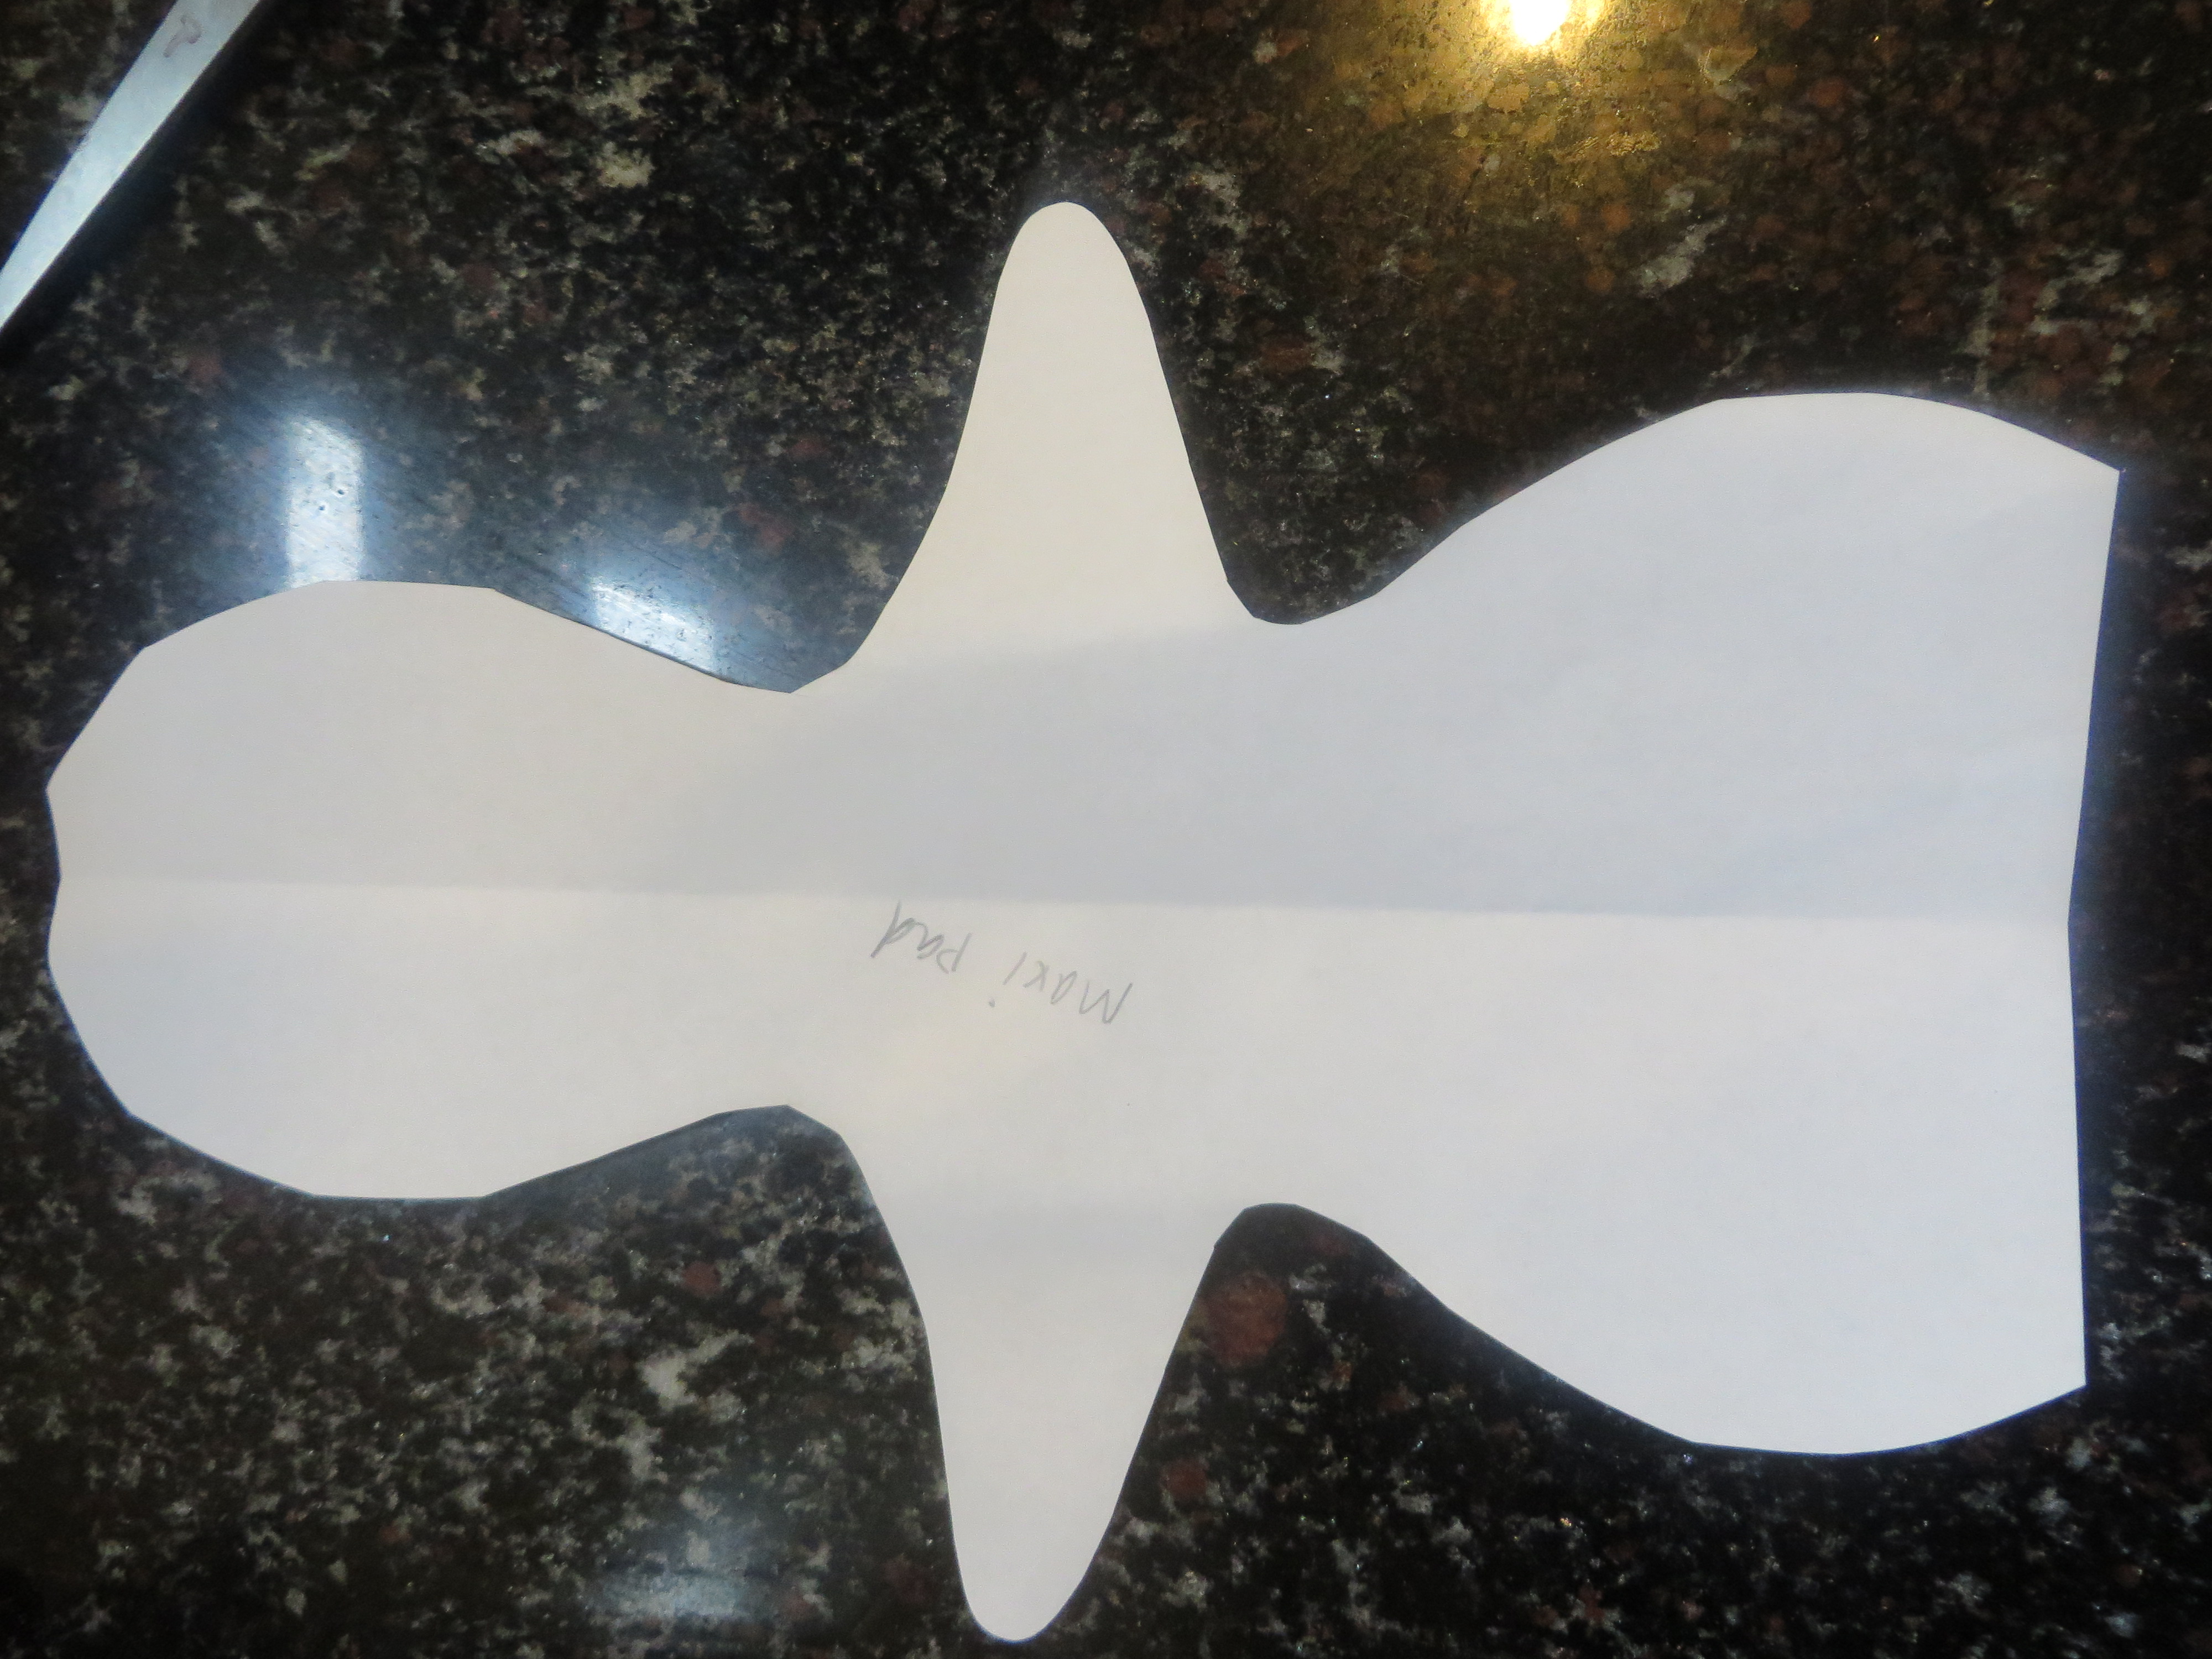
(I used a standard piece of computer paper and just lengthened the bottom and rounded it out by eye.)
Now that the pattern is complete (put this in your underwear and see how it fits, if the wings will overlap around the bottom of the crotch), we can gather materials.
I used:
cotton fabric (I like a busy print so stains aren’t as noticeable.)
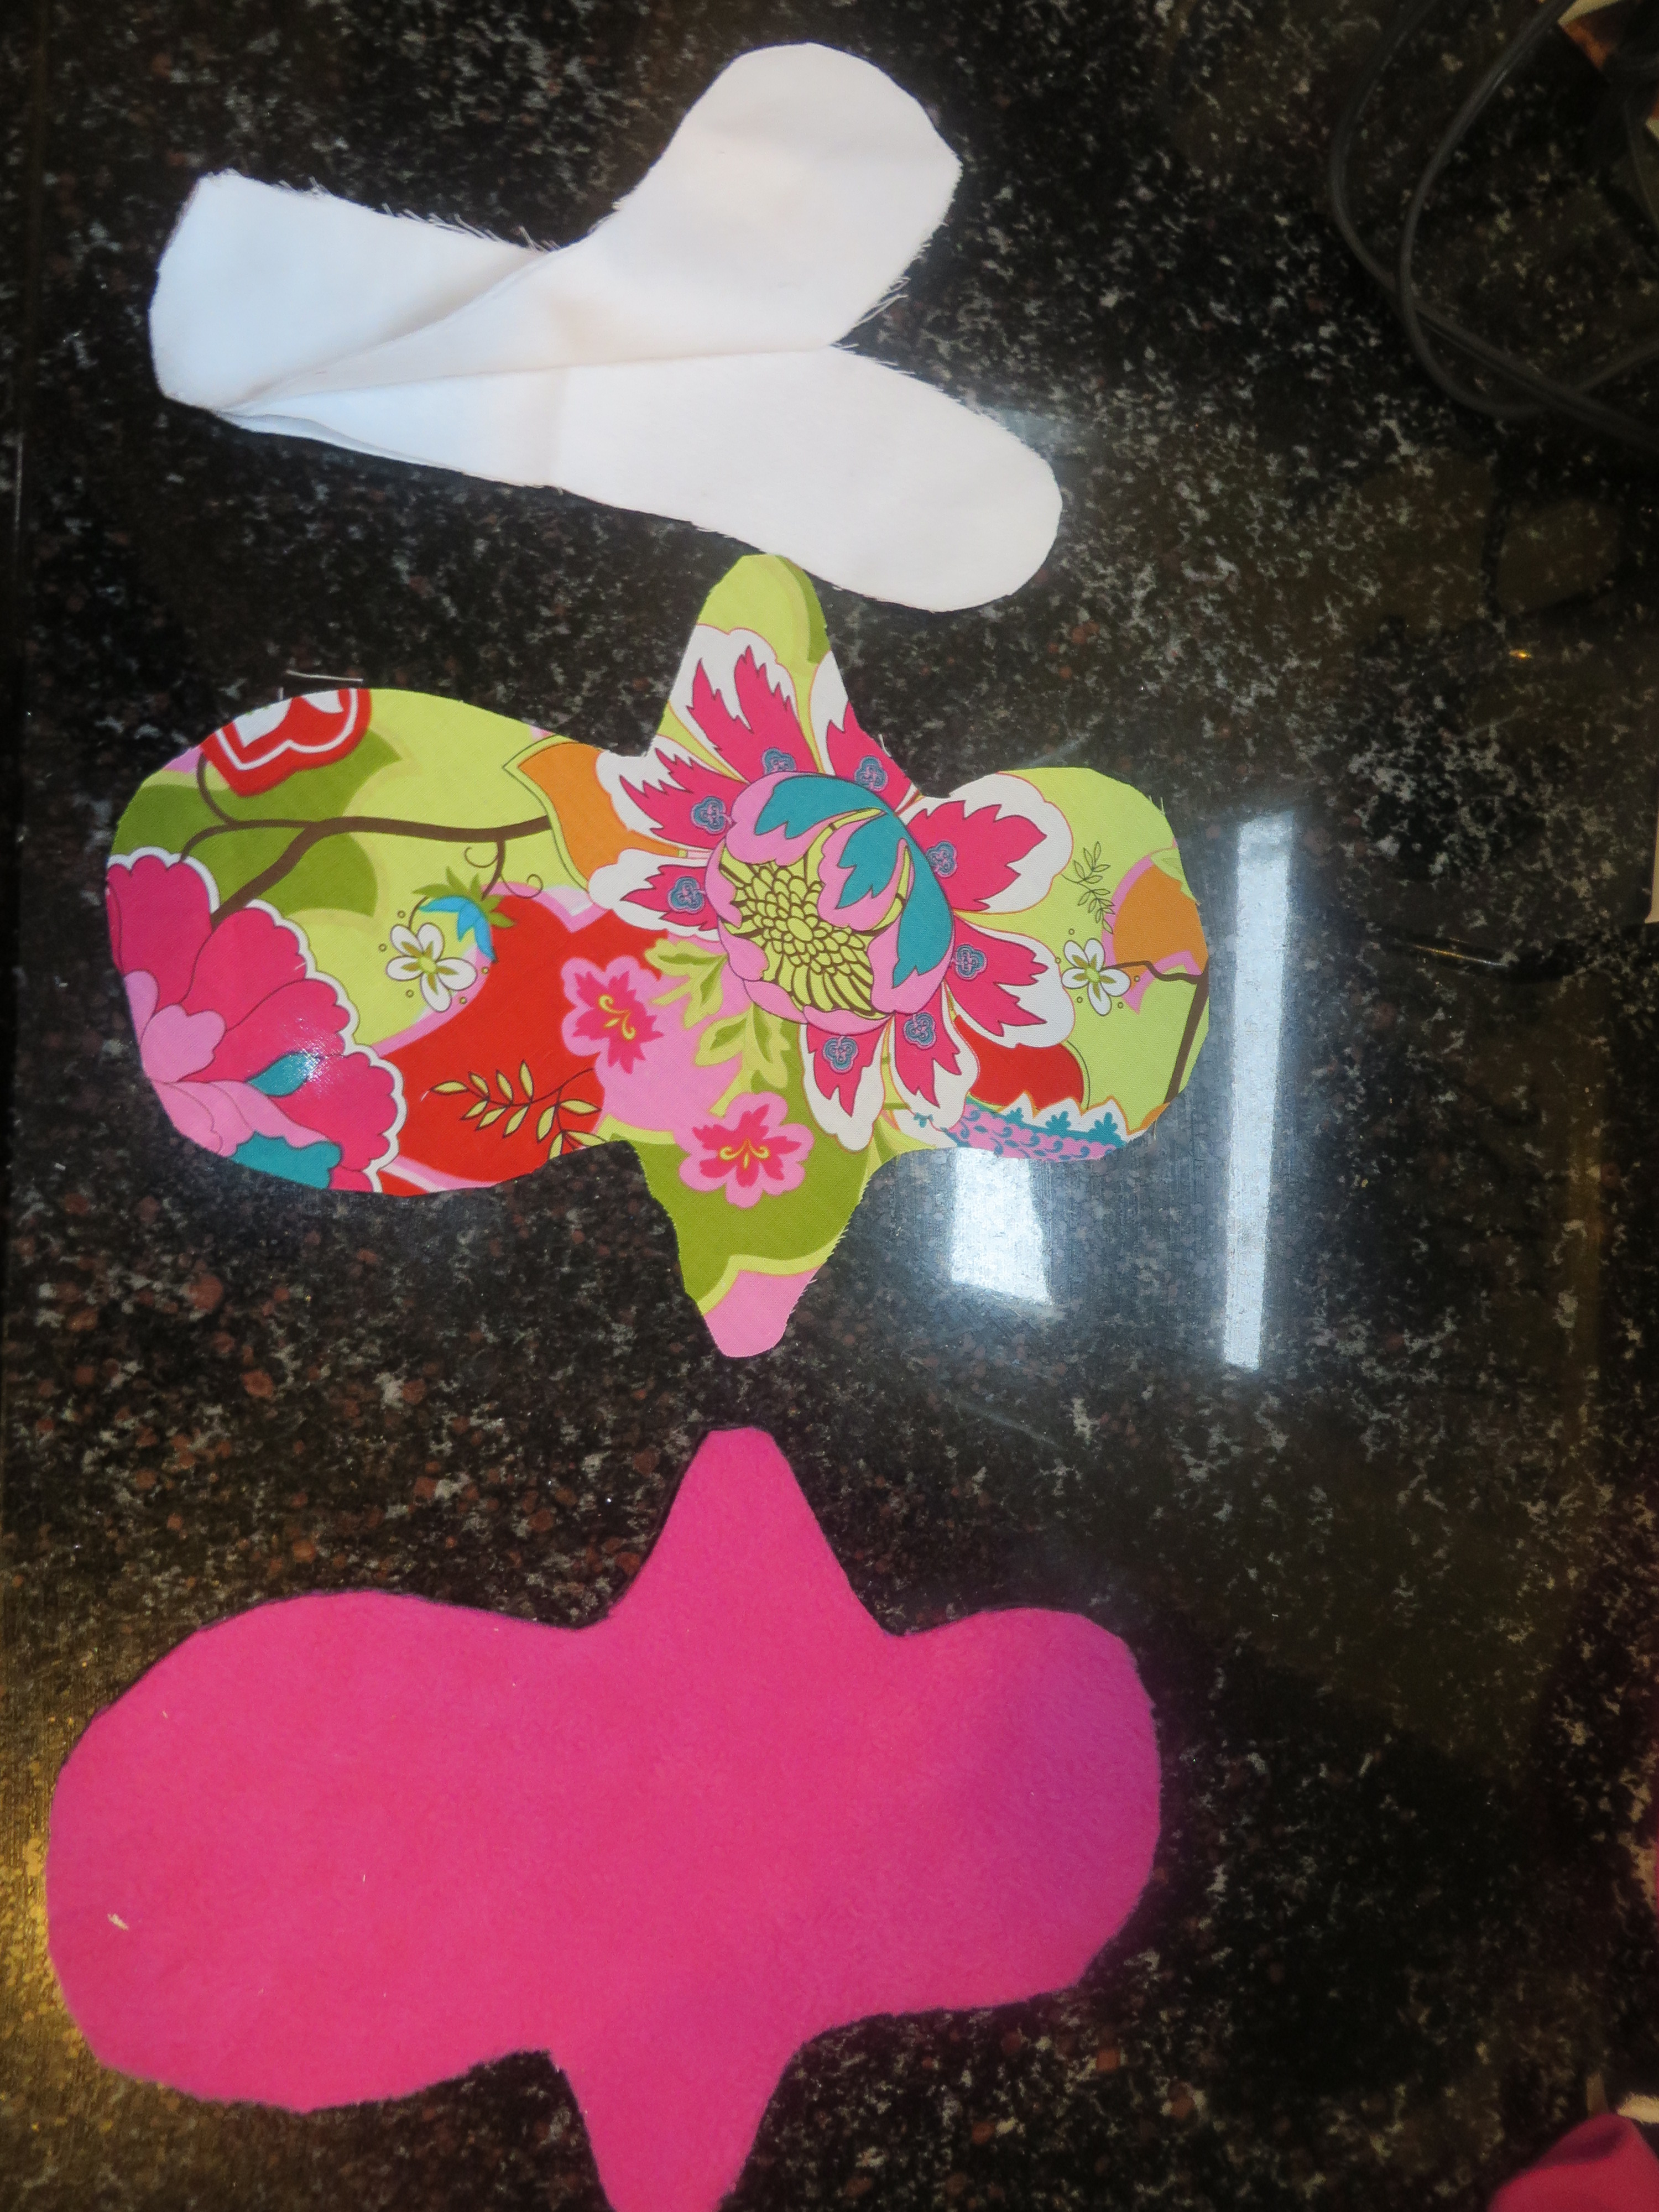
You will need to play around with absorbency and how many layers of diaper cloth you will need. ( The bamboo that I mentioned earlier is awesome and doesn’t require as many layers as the diaper cloth, but is much more expensive. If you are a woman with a heavy flow, I would suggest going right to the bamboo or another highly-absorbent, natural material.)
For my regular pads that I plan to change often throughout the day, I like four to five layers of diaper cloth. For overnights, I use my bamboo or hemp and add a couple layers (as well as length to overall pattern to avoid leaks off the back or front when sleeping).
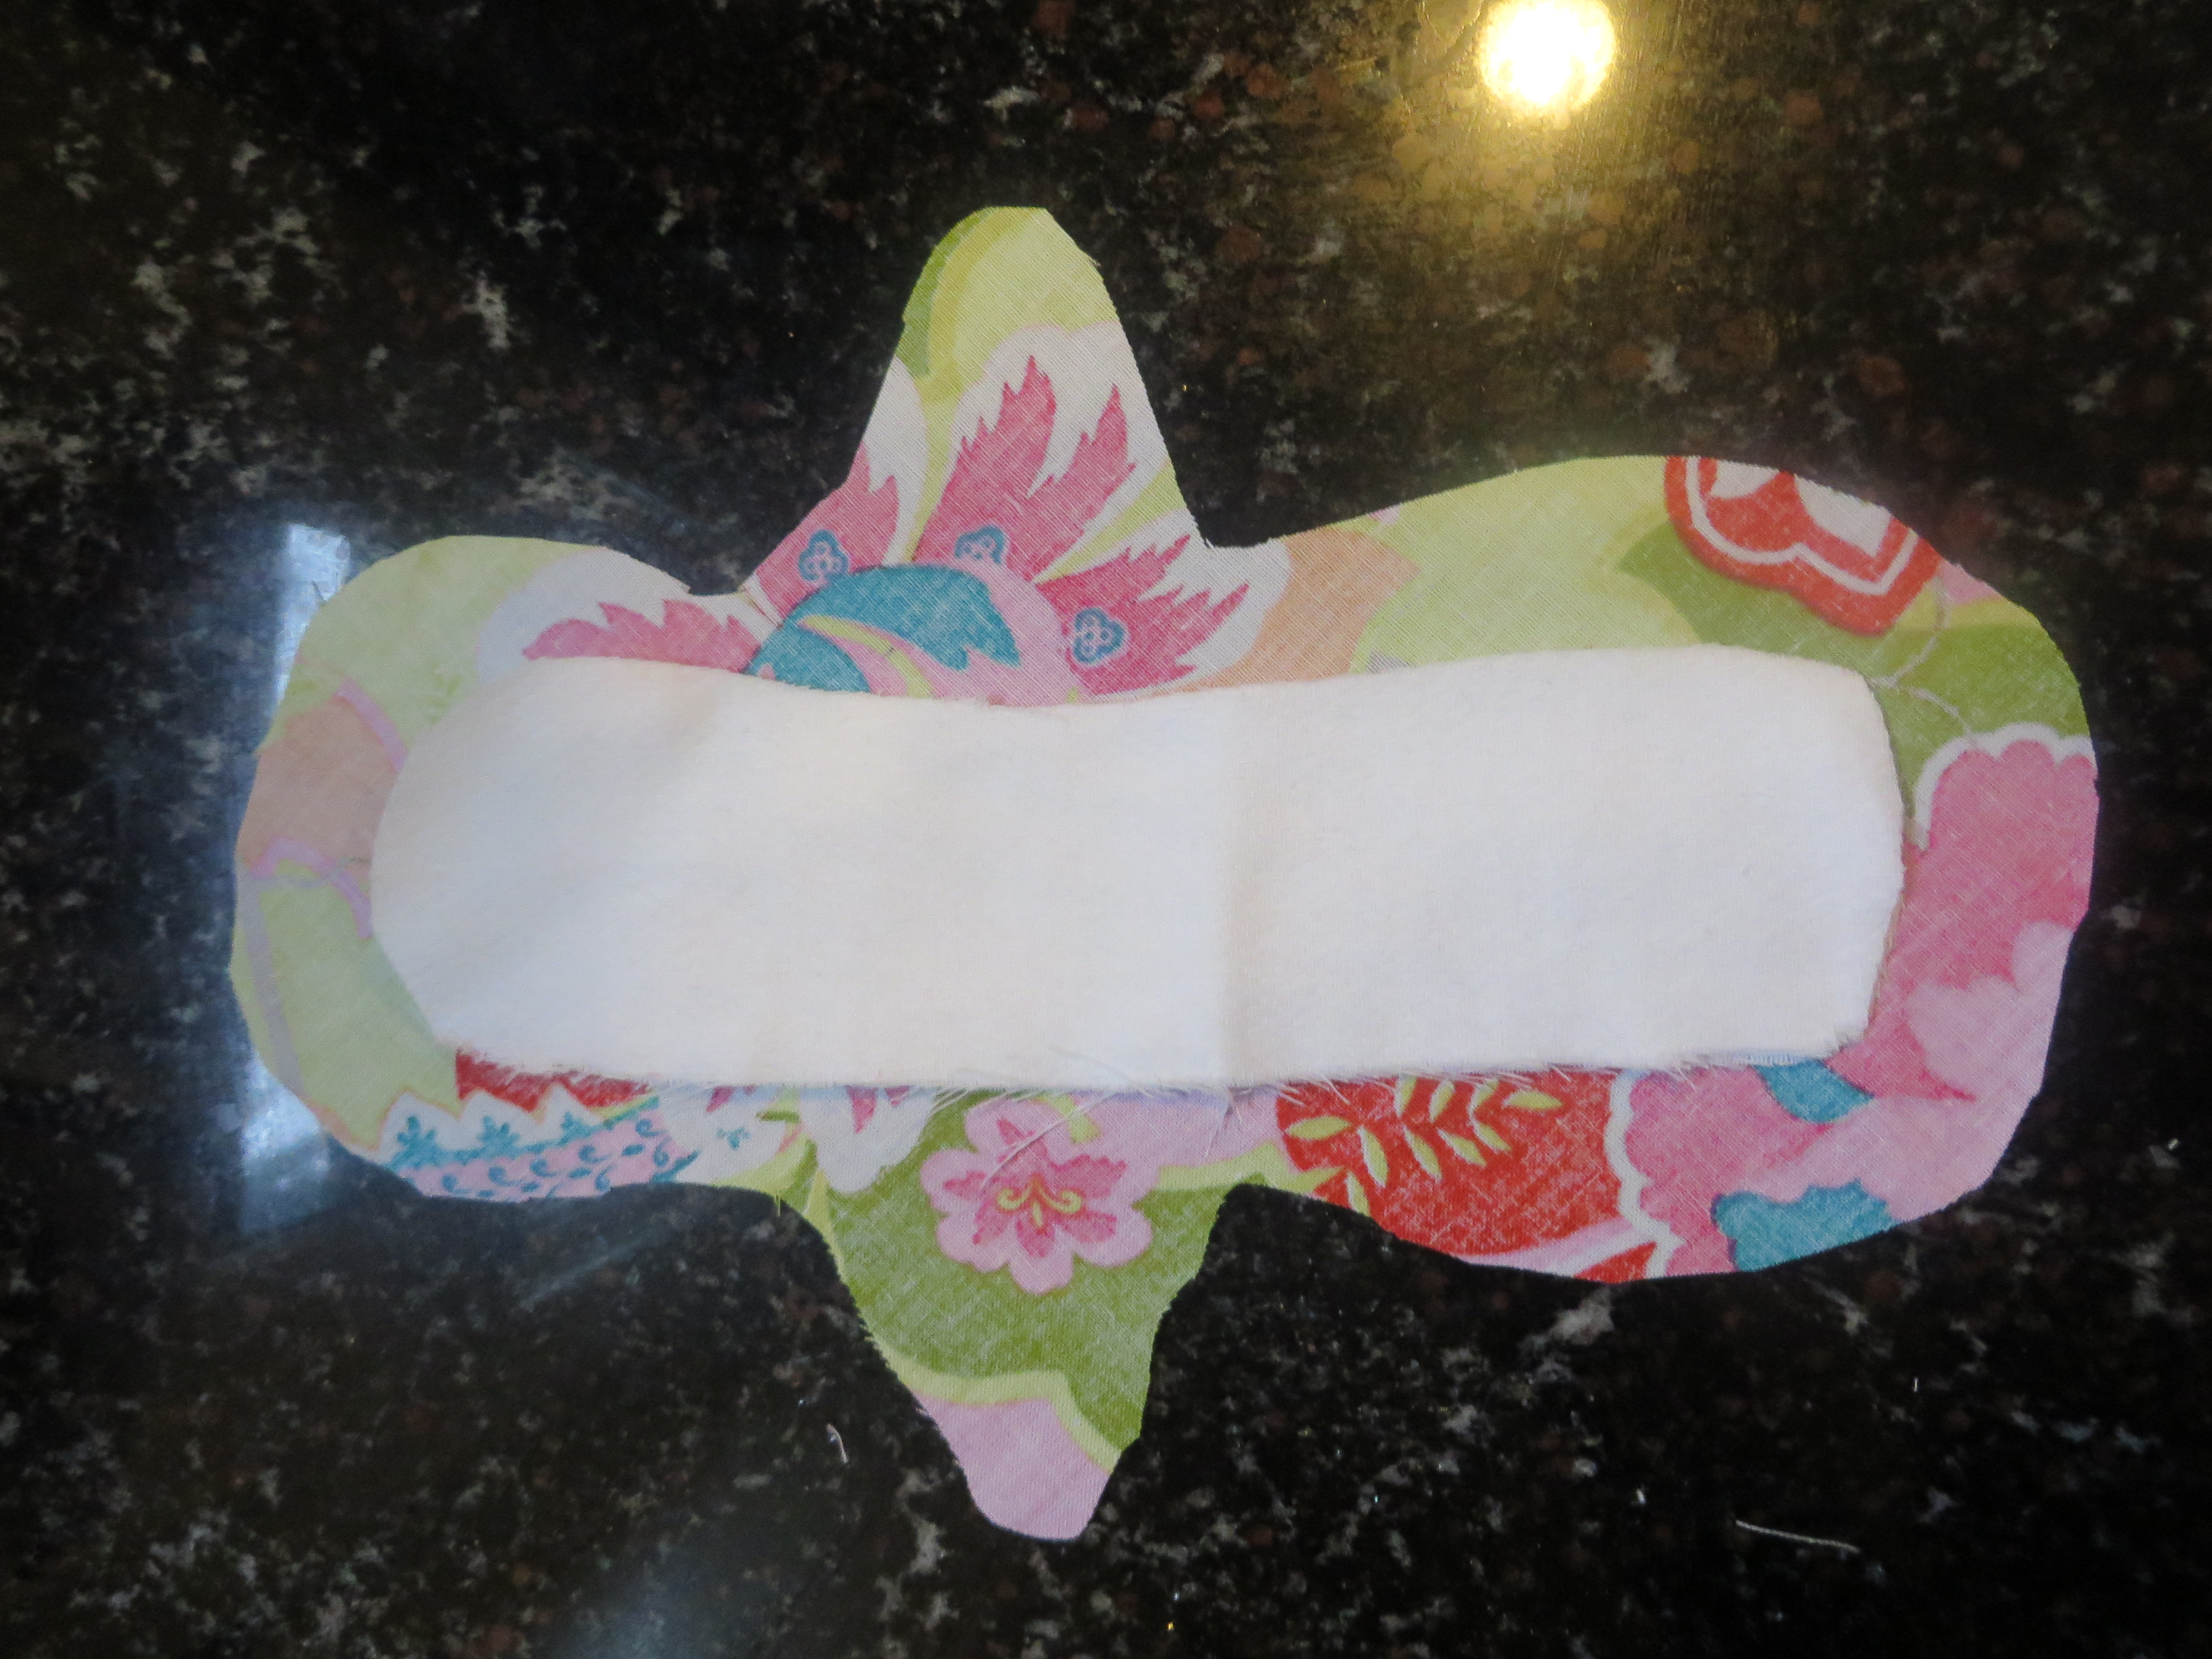
Now we have to pin and sew the inner absorbent layers to the wrong side of the top layer, like this:
Let’s put the two layers, the fleece and cotton together.
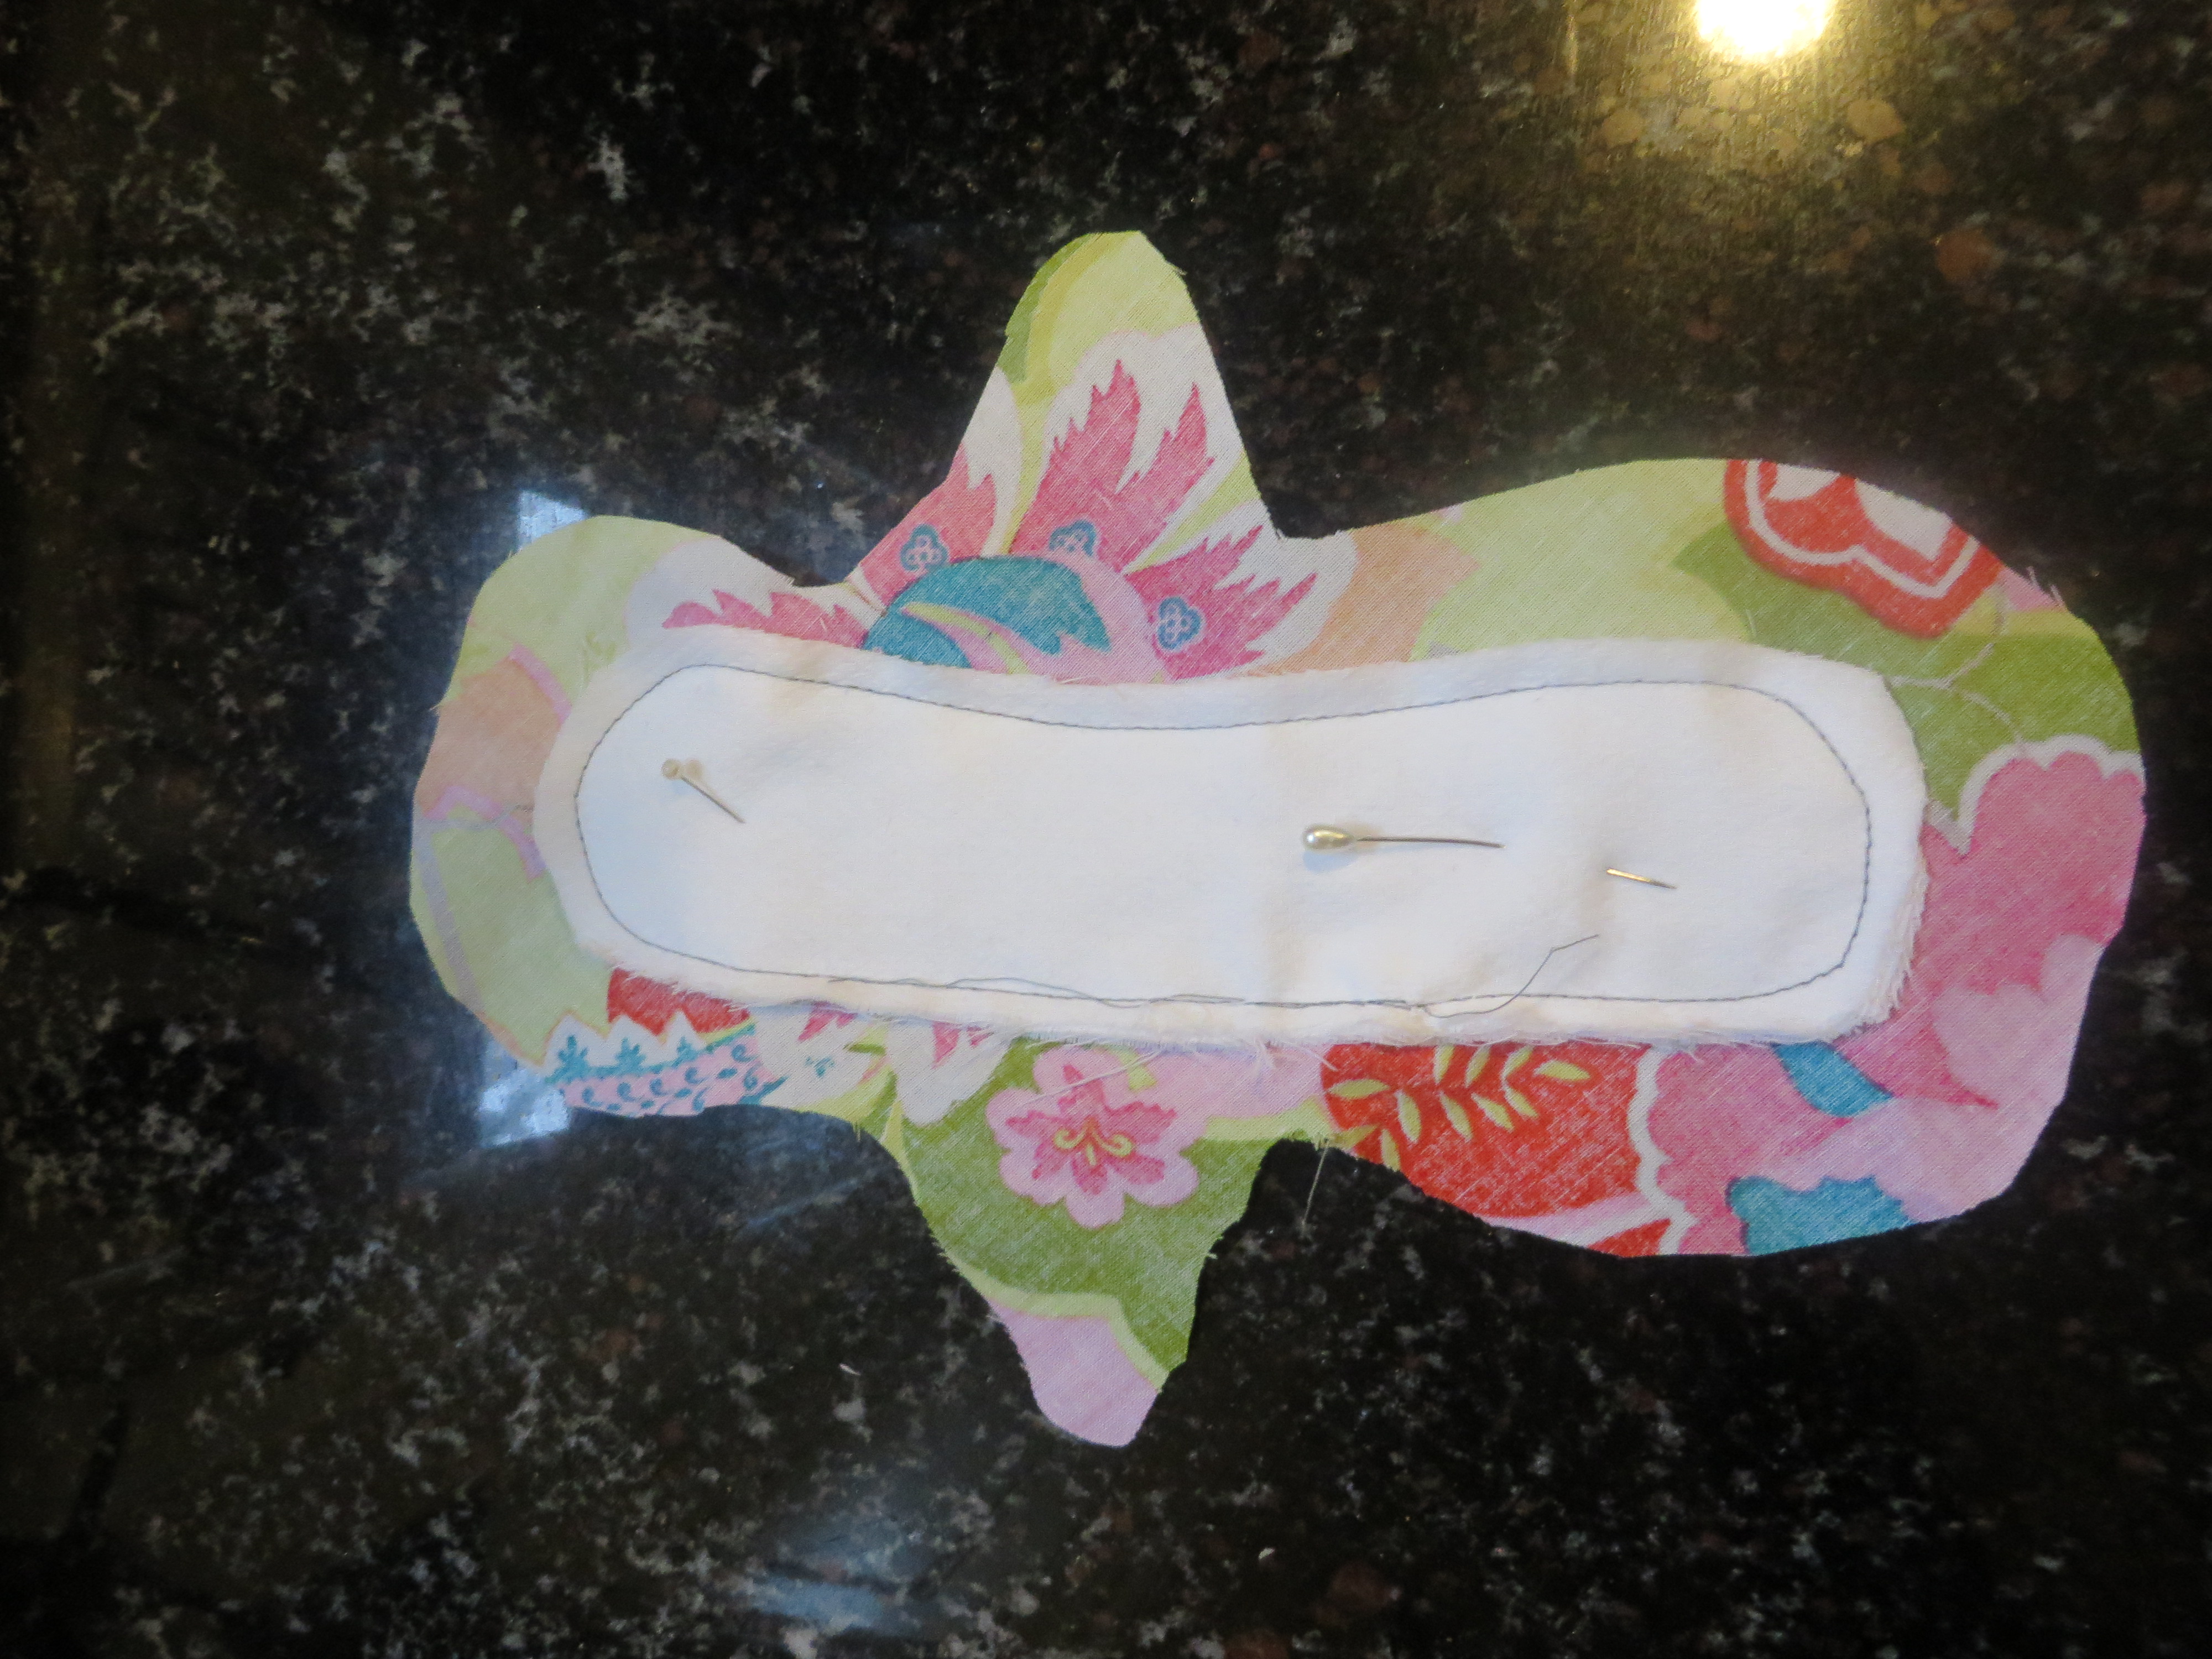
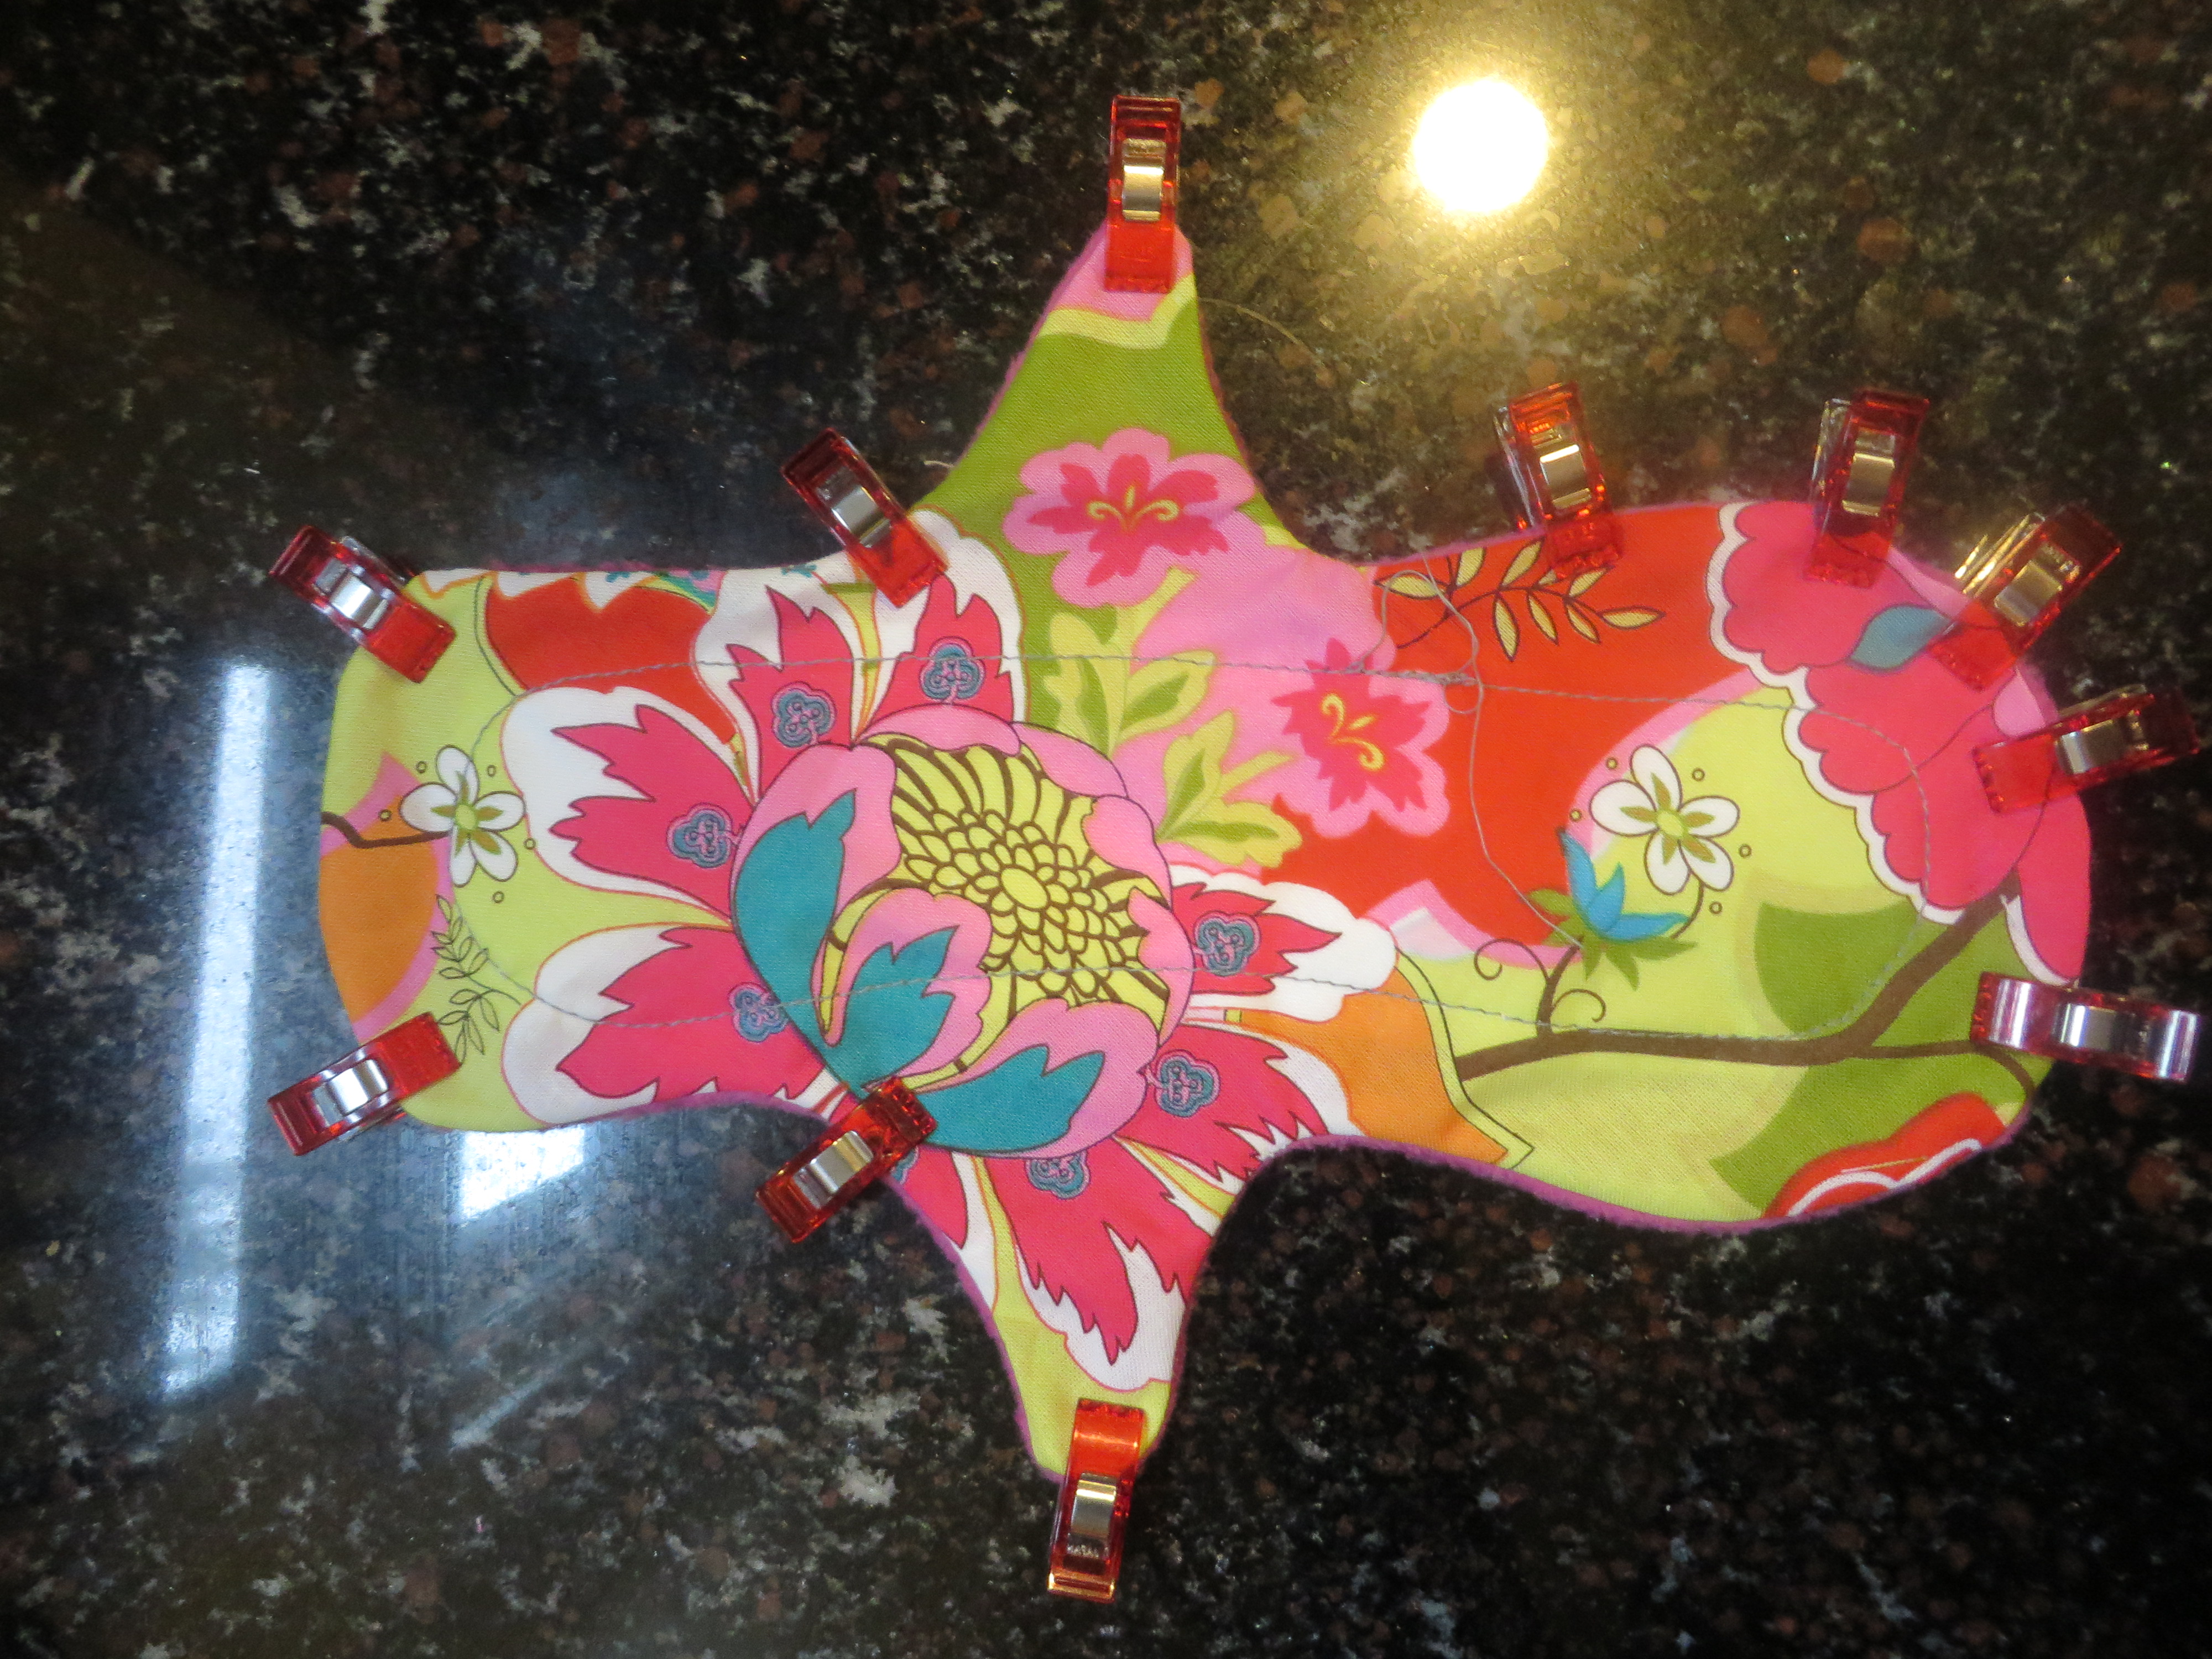
You want to situate the two layers right sides together and pin, leaving a turning hole big enough to turn the whole thing right-side out.

Now that that’s finished, you need to turn it right-side out.
We need to turn, pin, and top-stitch.
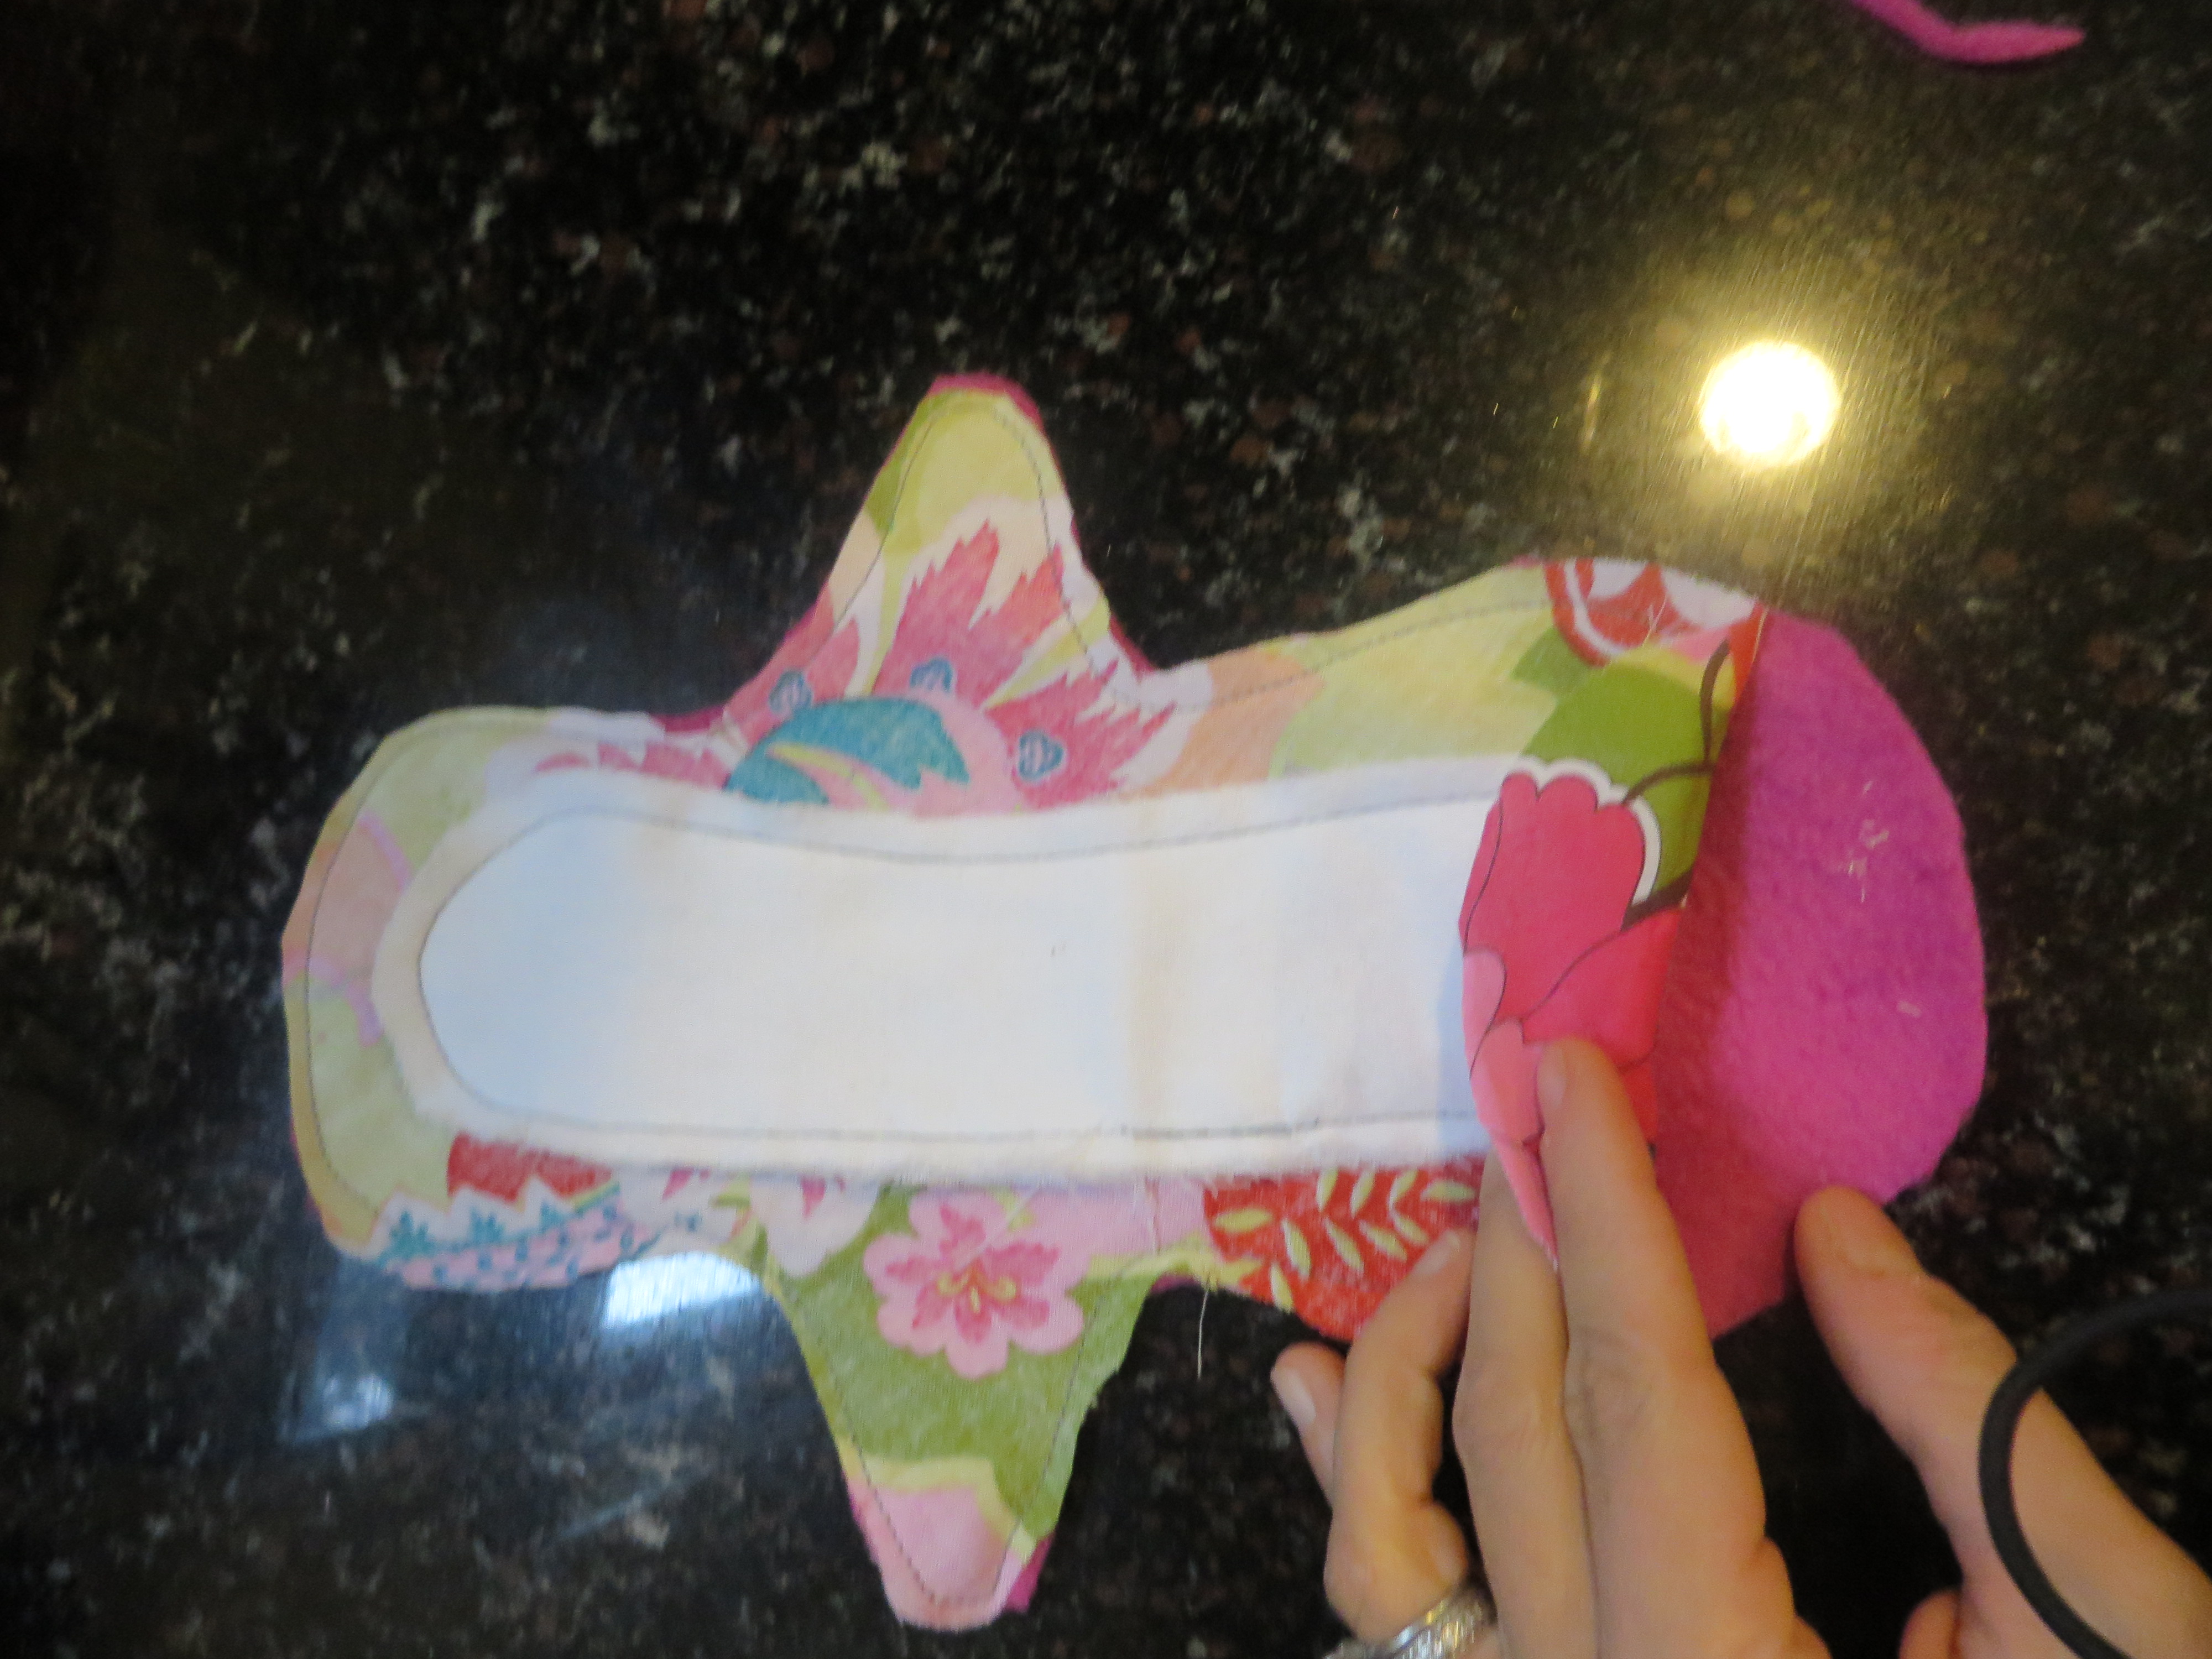
And sew around your edges as close as you can.
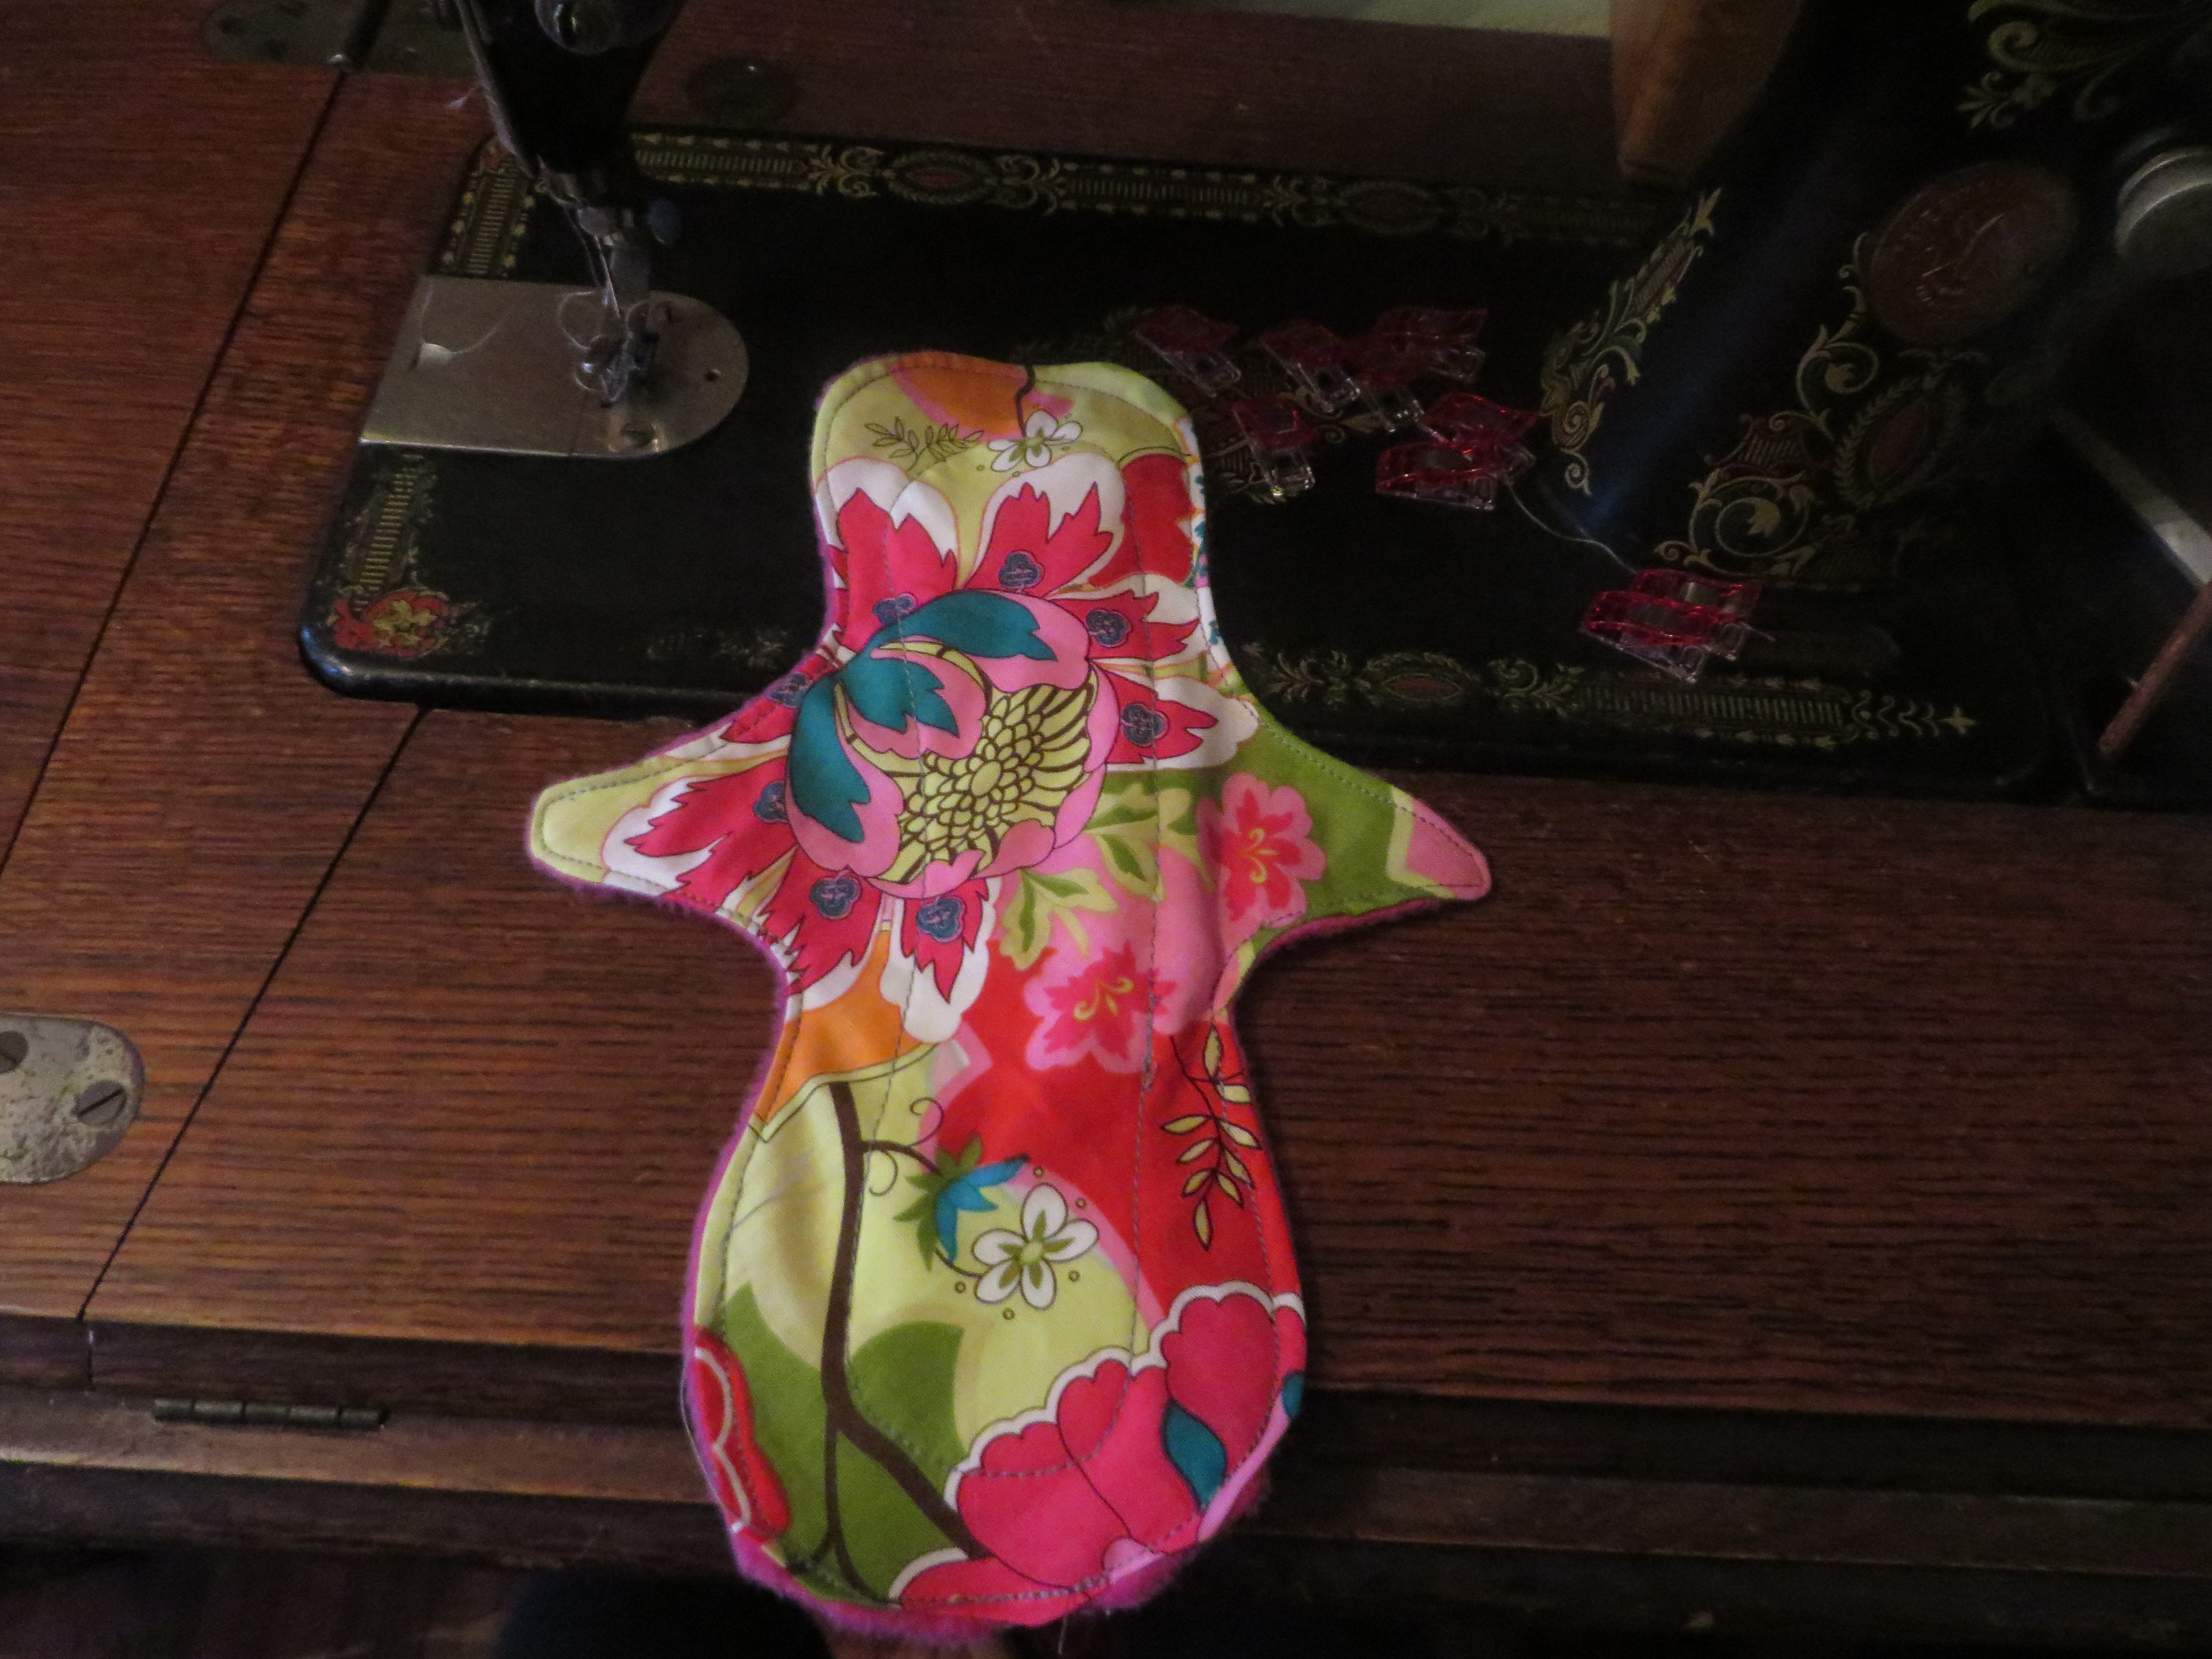
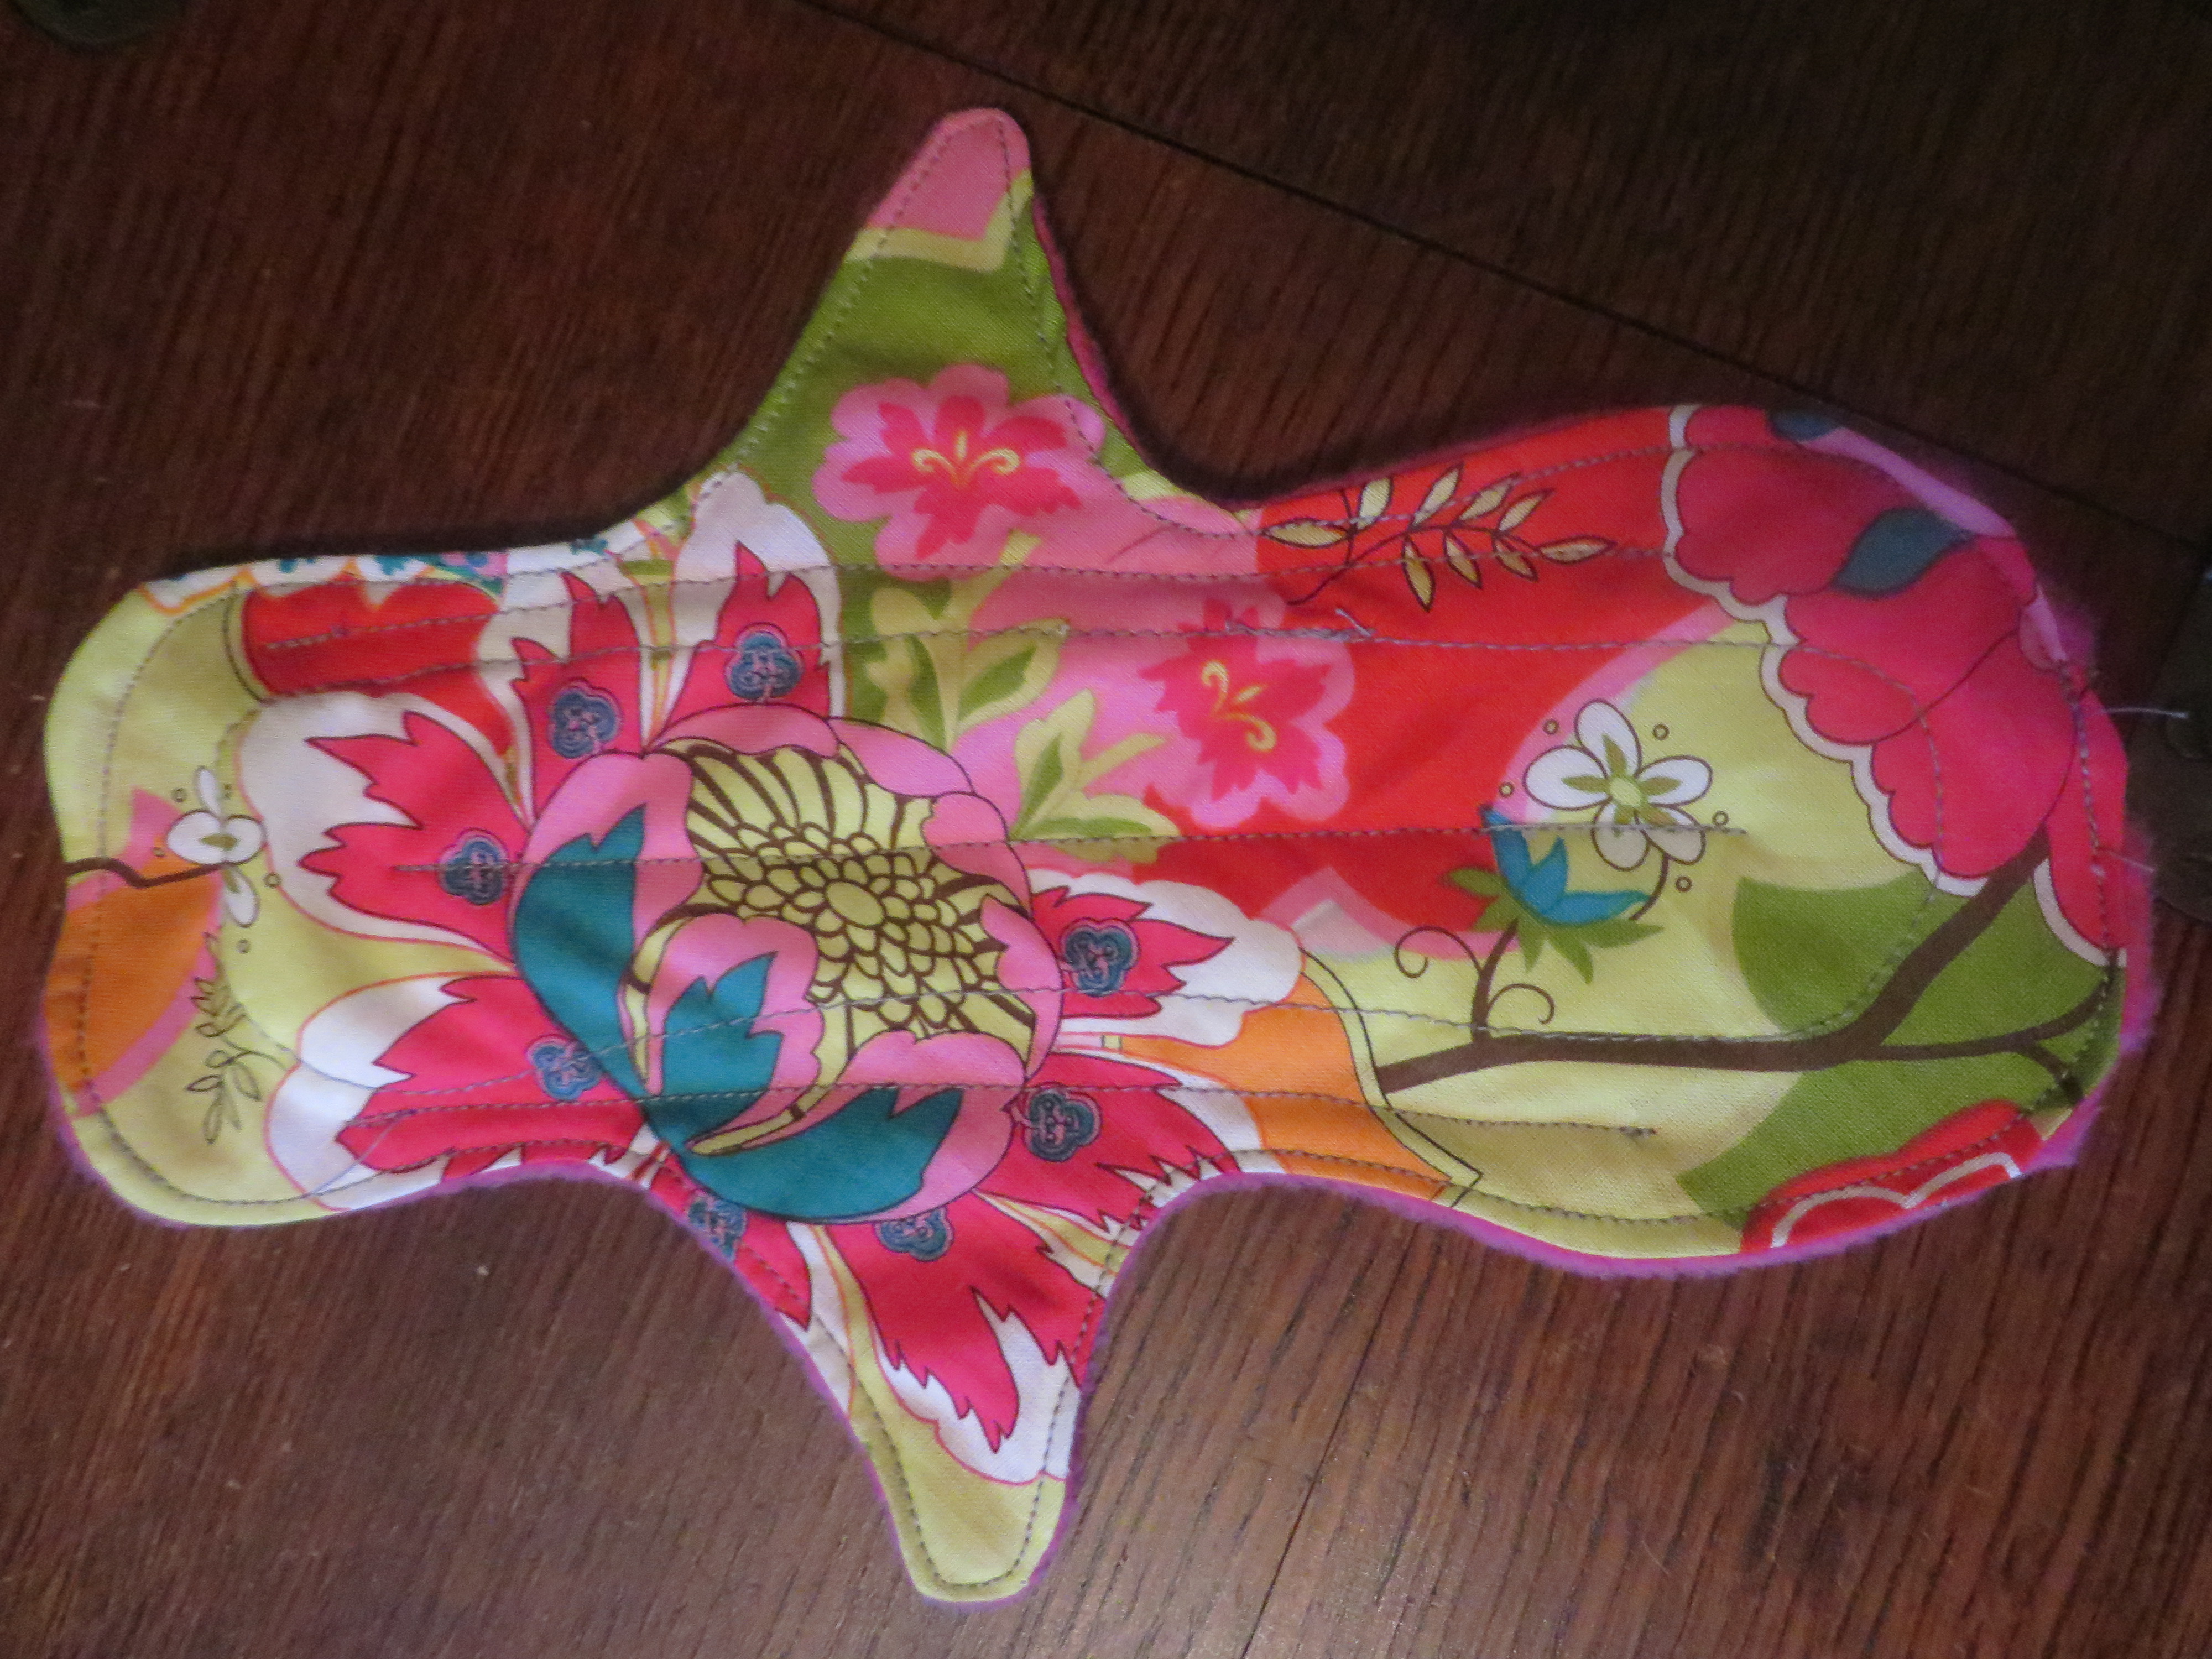
Now I like to do some quilting to help anything that will be sitting on this pad to migrate into the middle and away from the edges of your underwear.
Time for snaps!
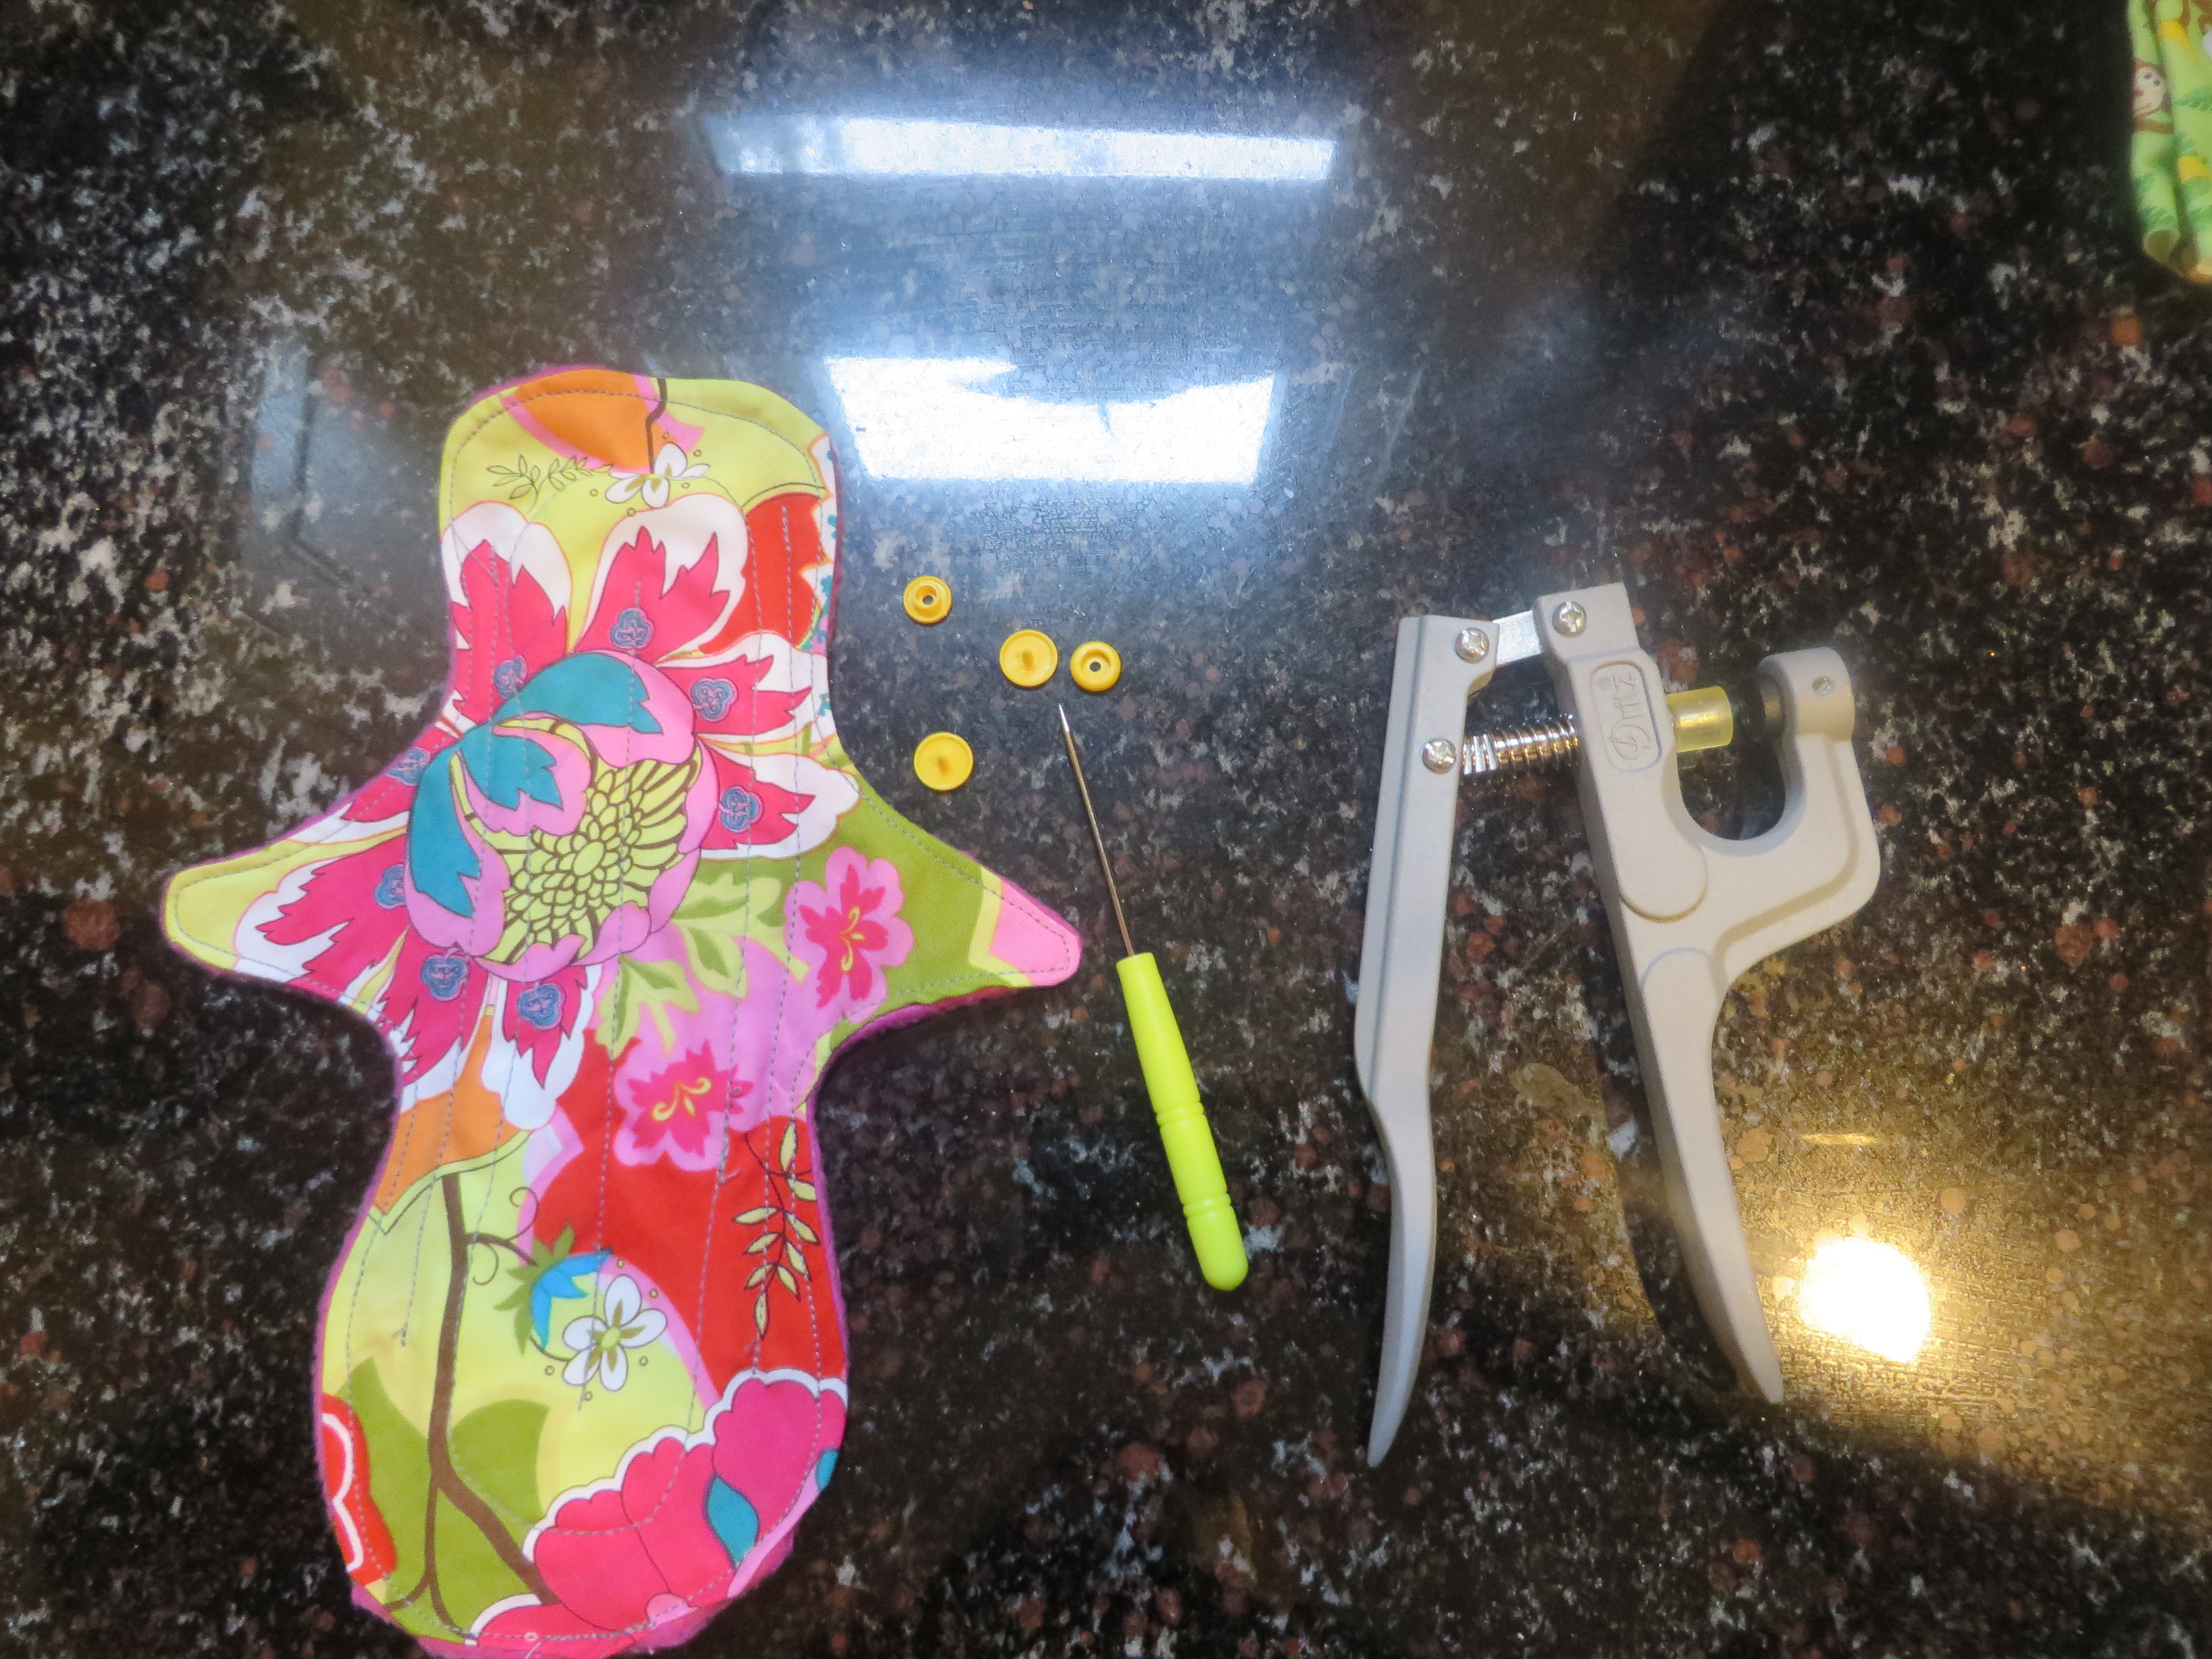
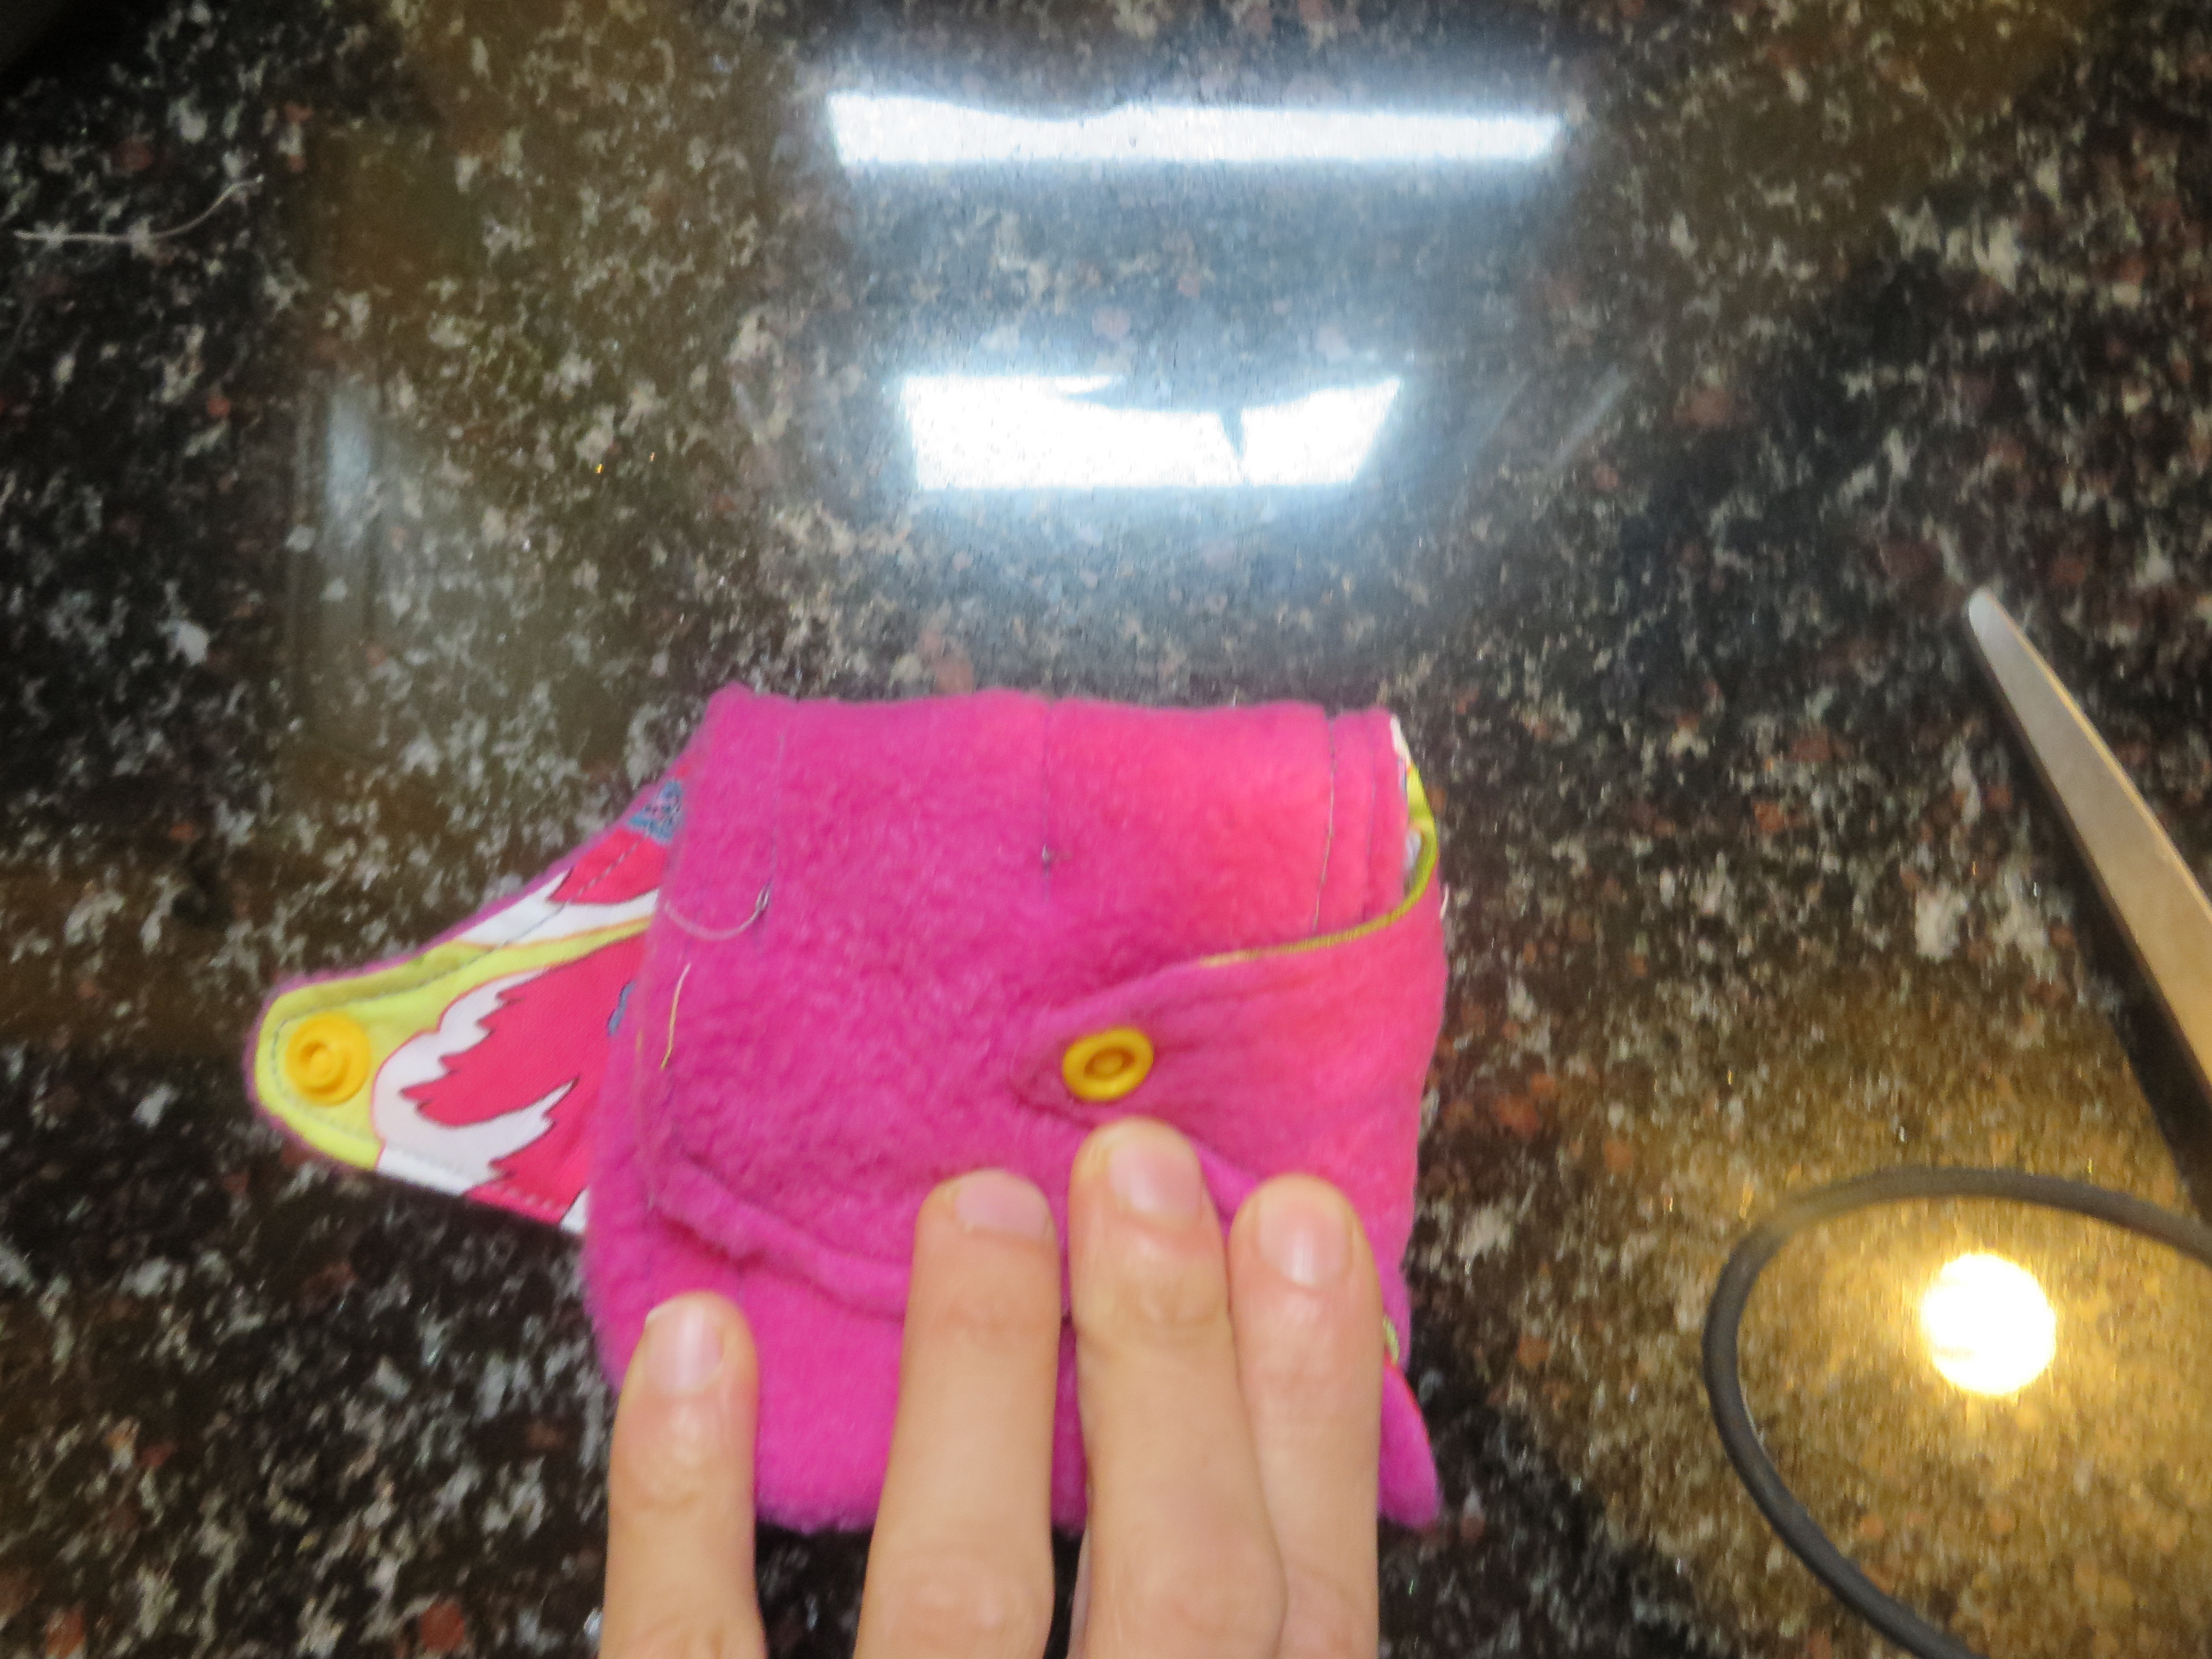
You will need two socket snaps, one female and one male per pad. Don’t skip this step! Not only does the snap help keep the pad from shifting while you’re wearing it; it also keeps it clean during travel. (I will show you how later)
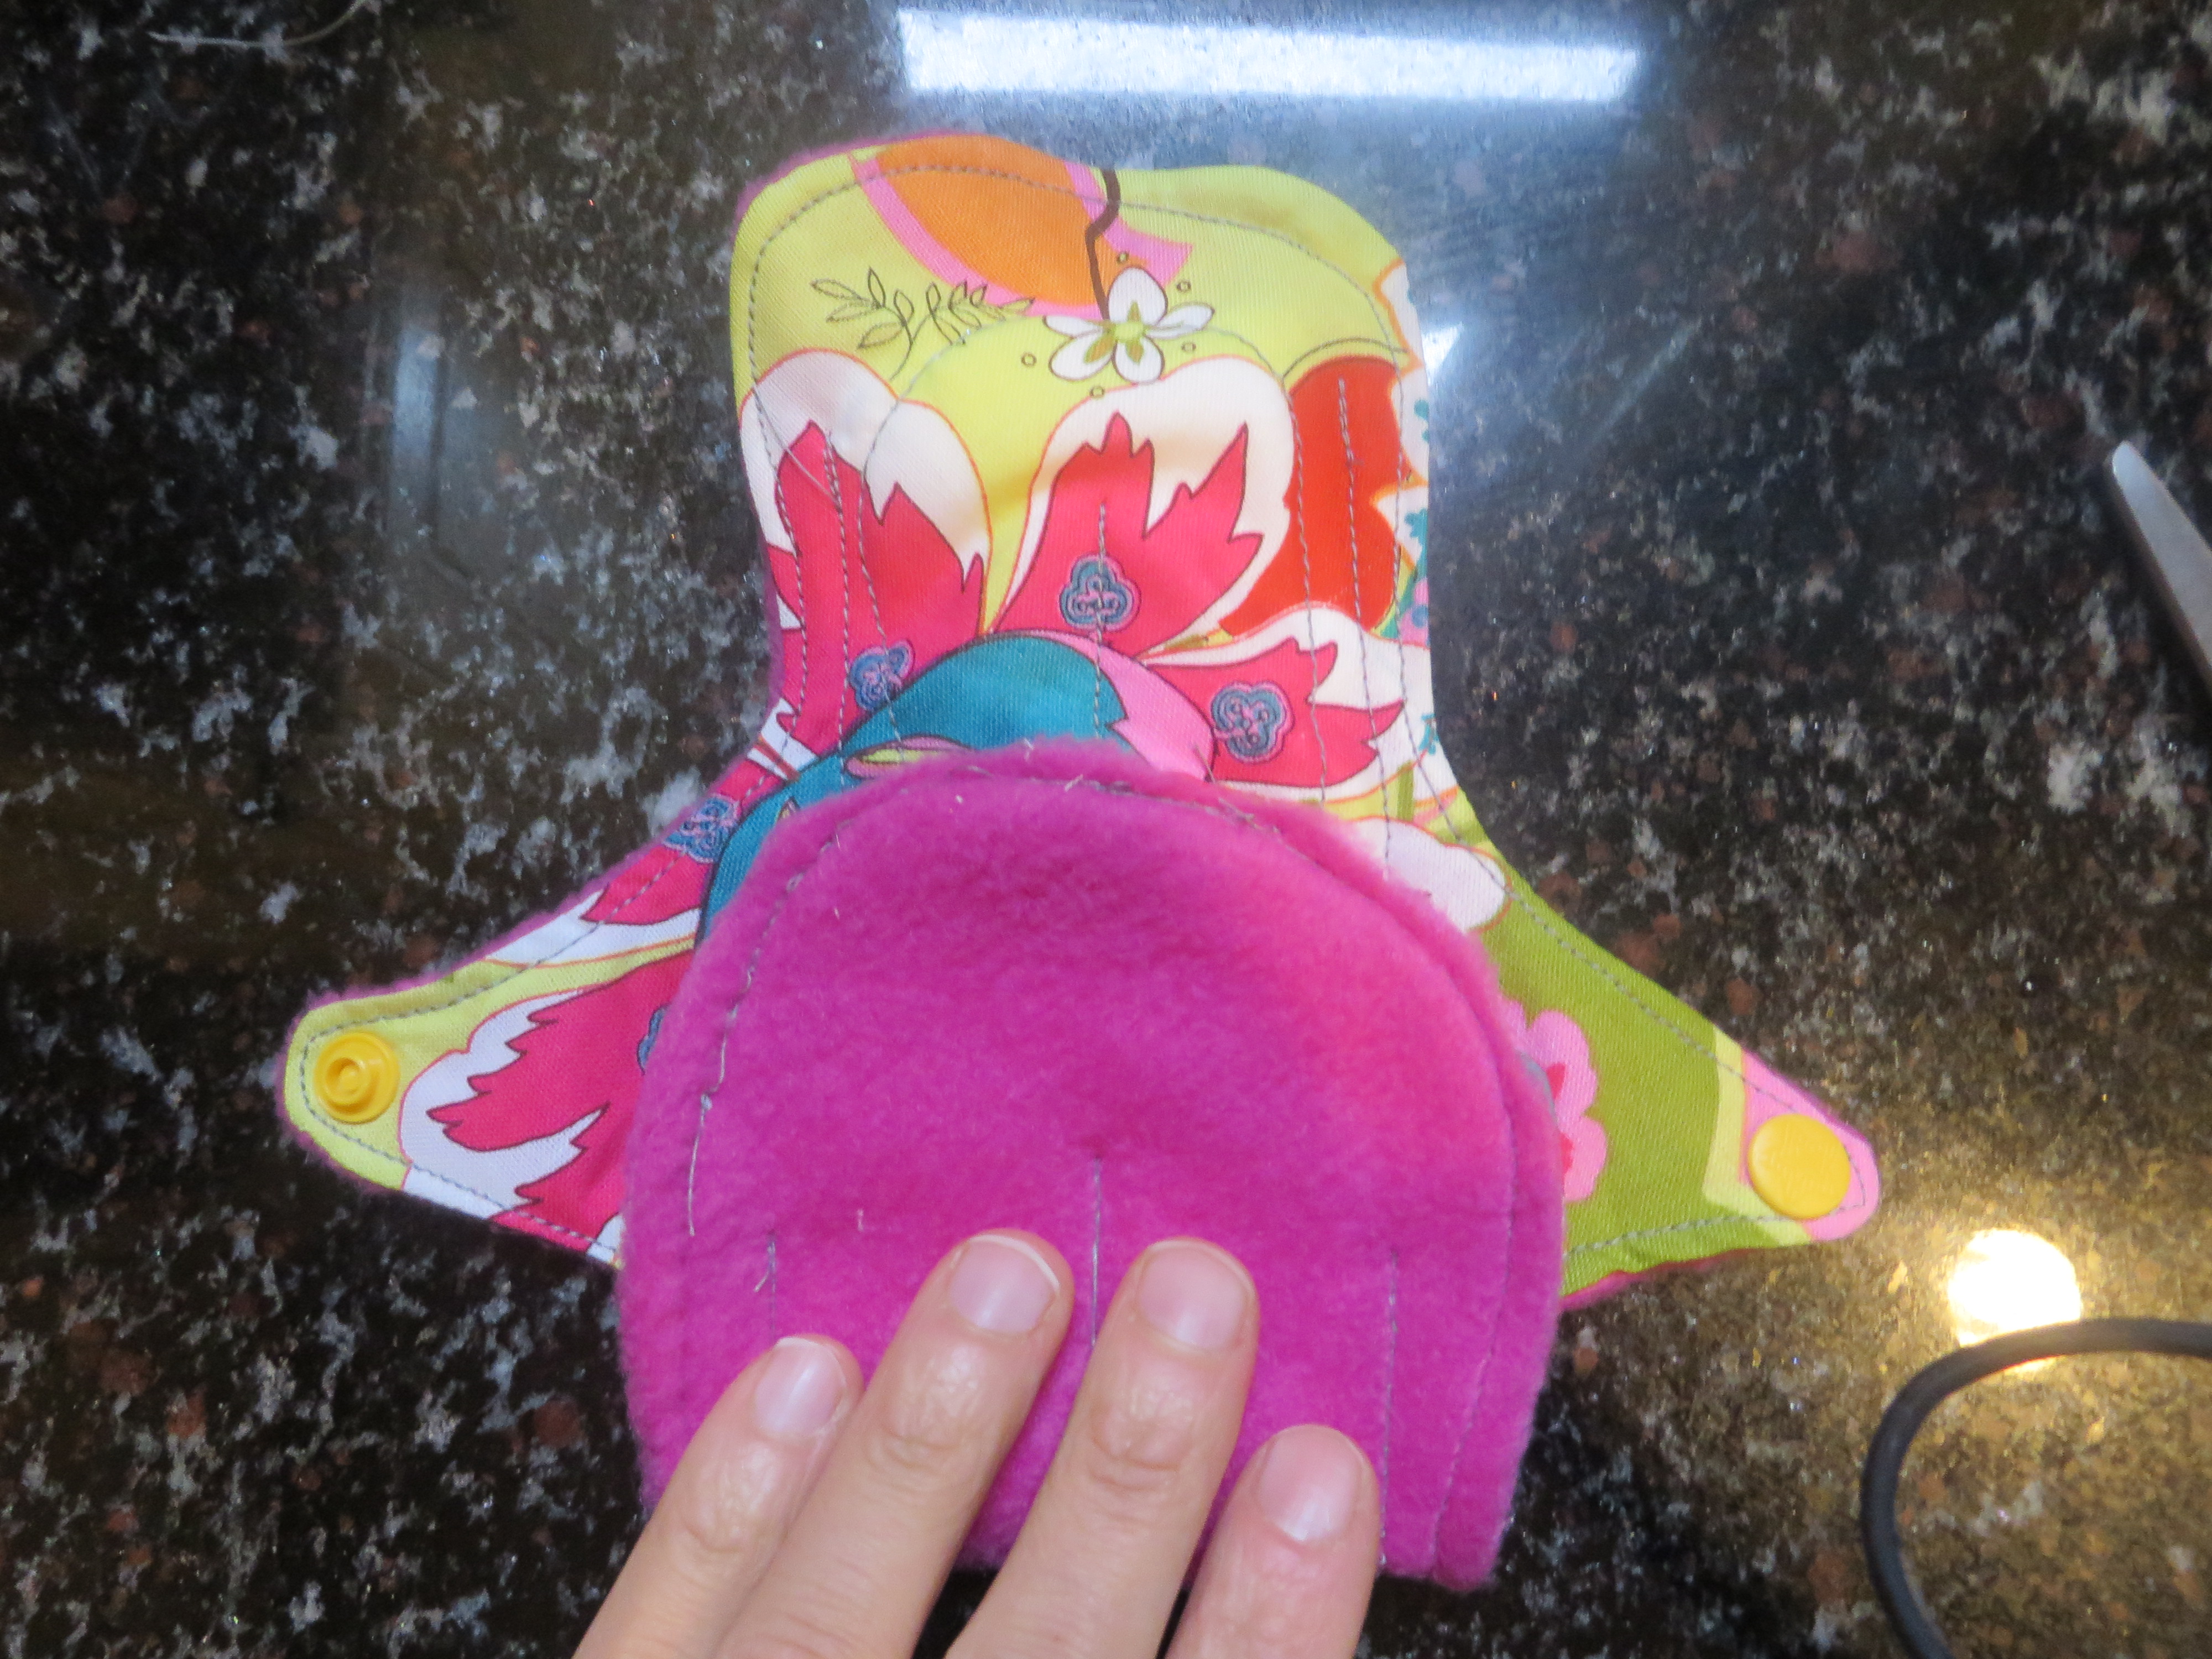
Line up your wings and decide where you want to install your snaps. Make sure you have everything lined up as you want it before you snap!
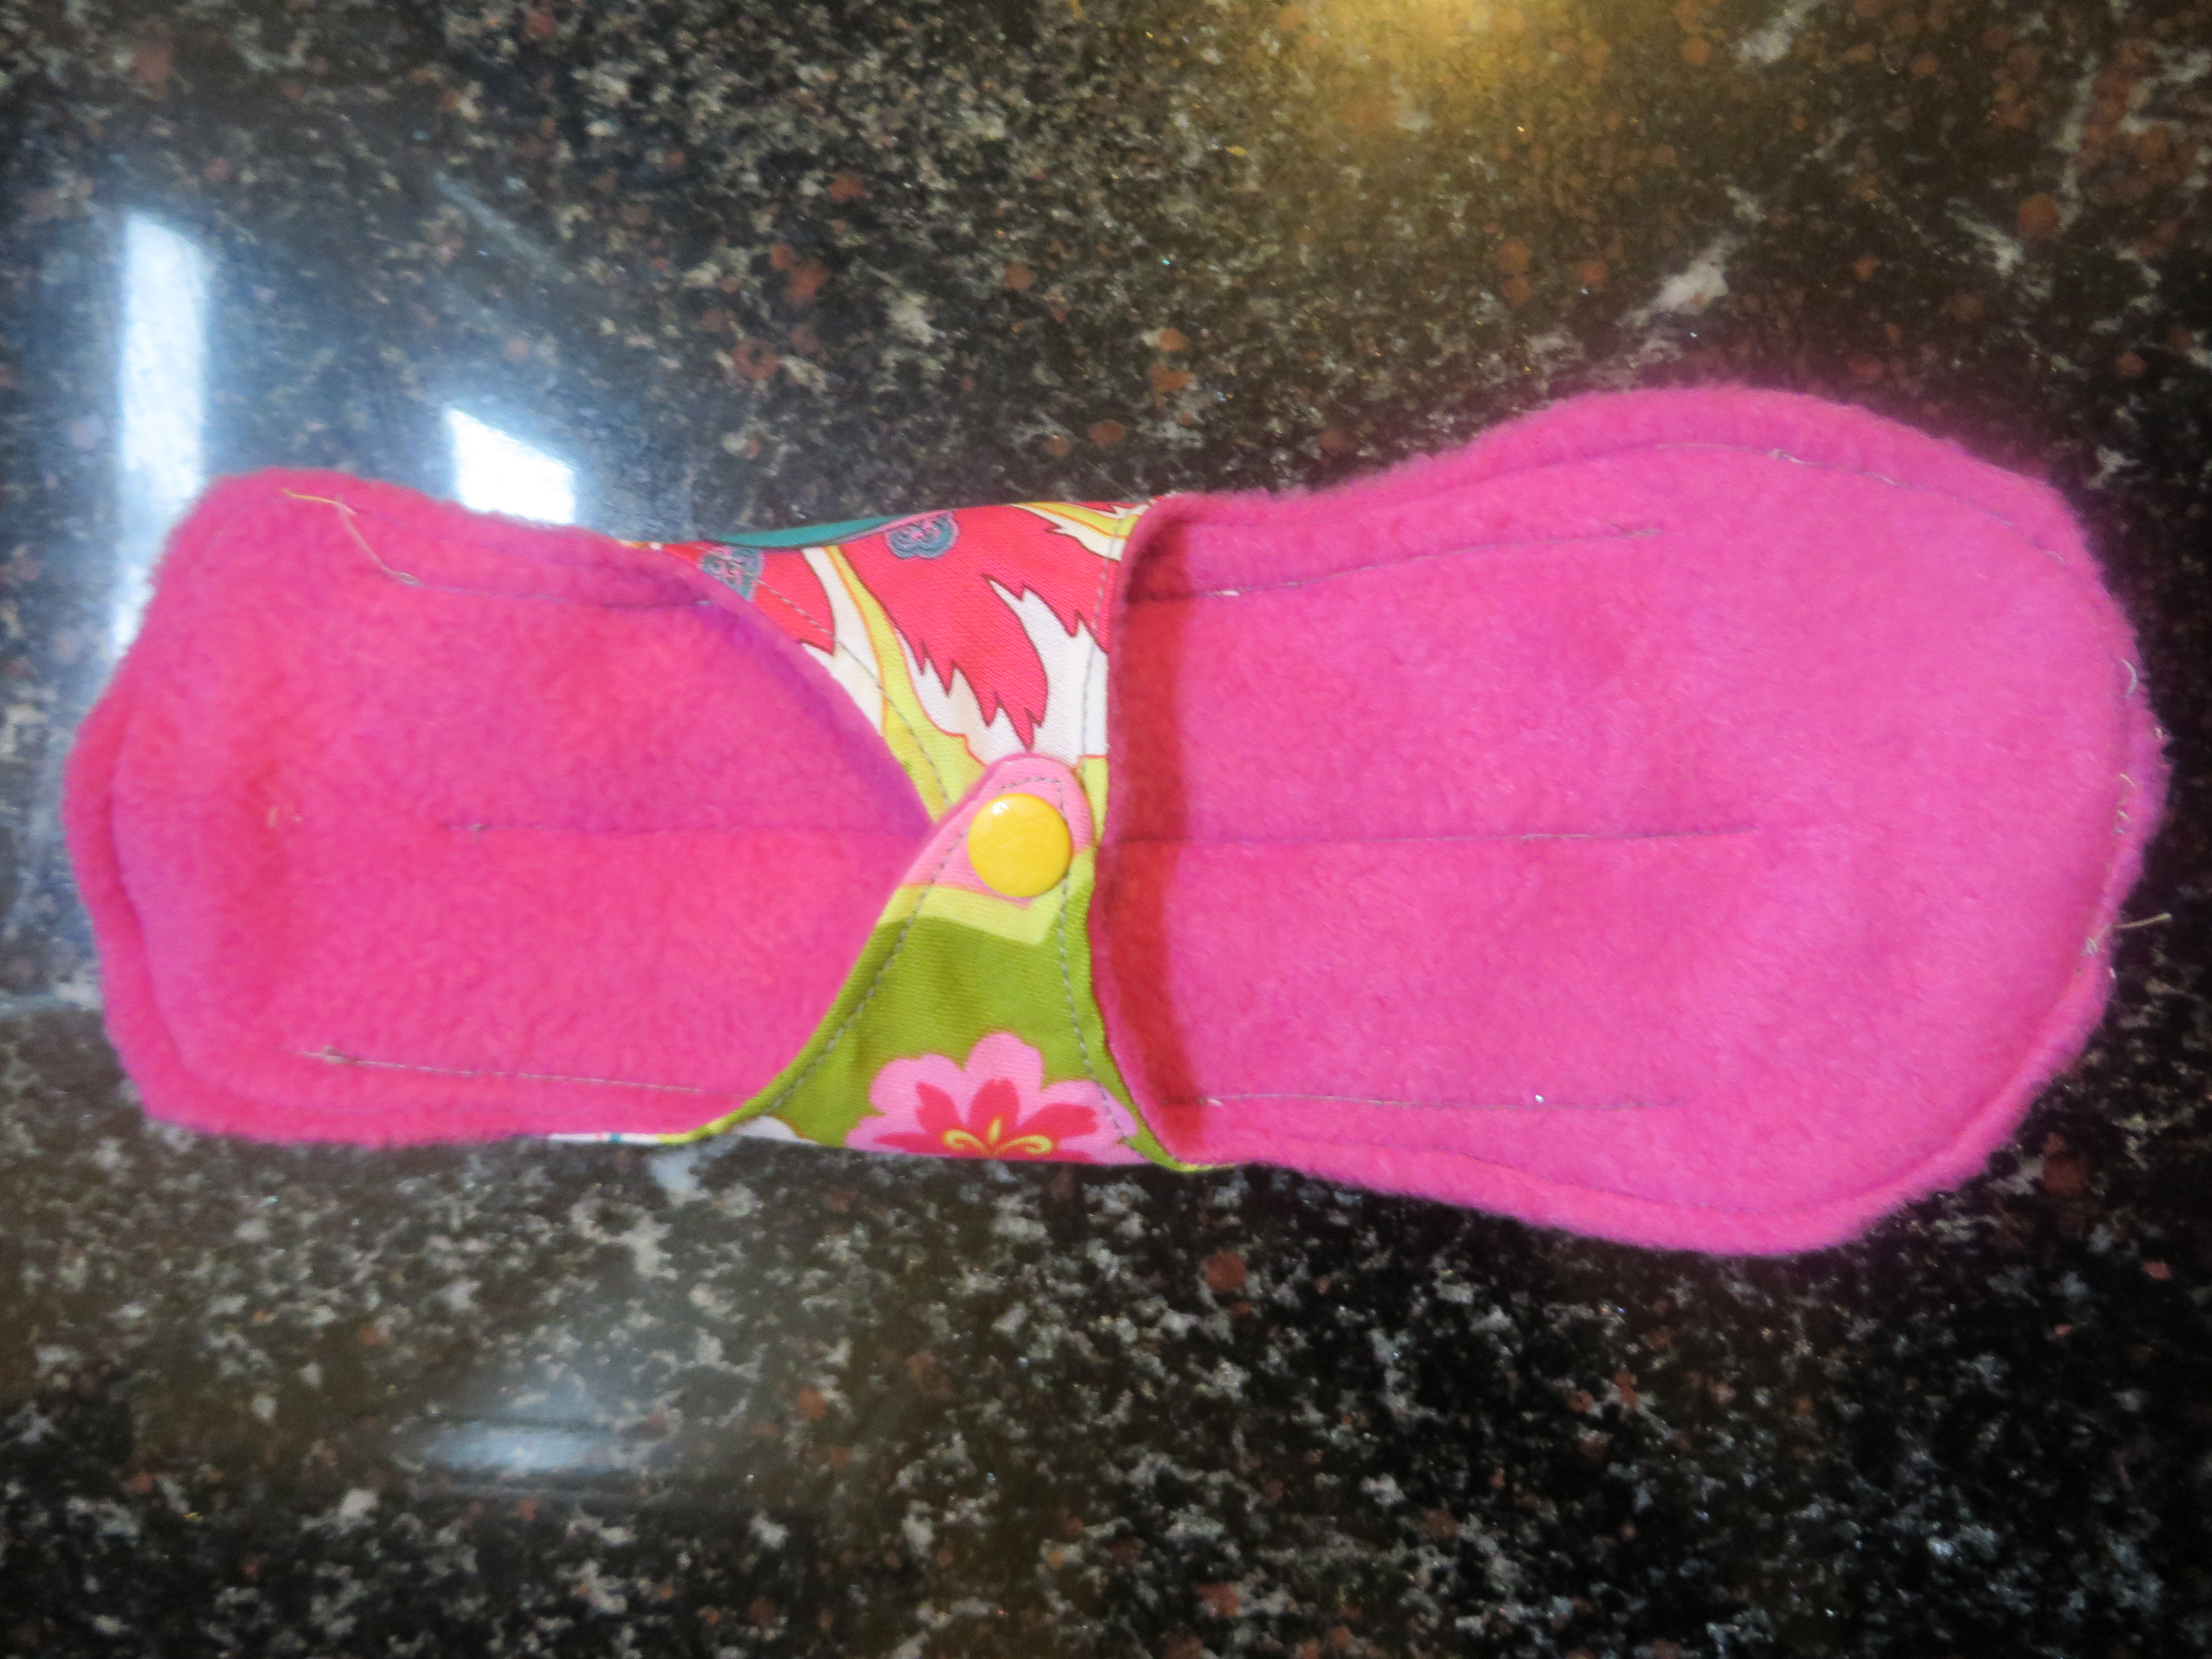
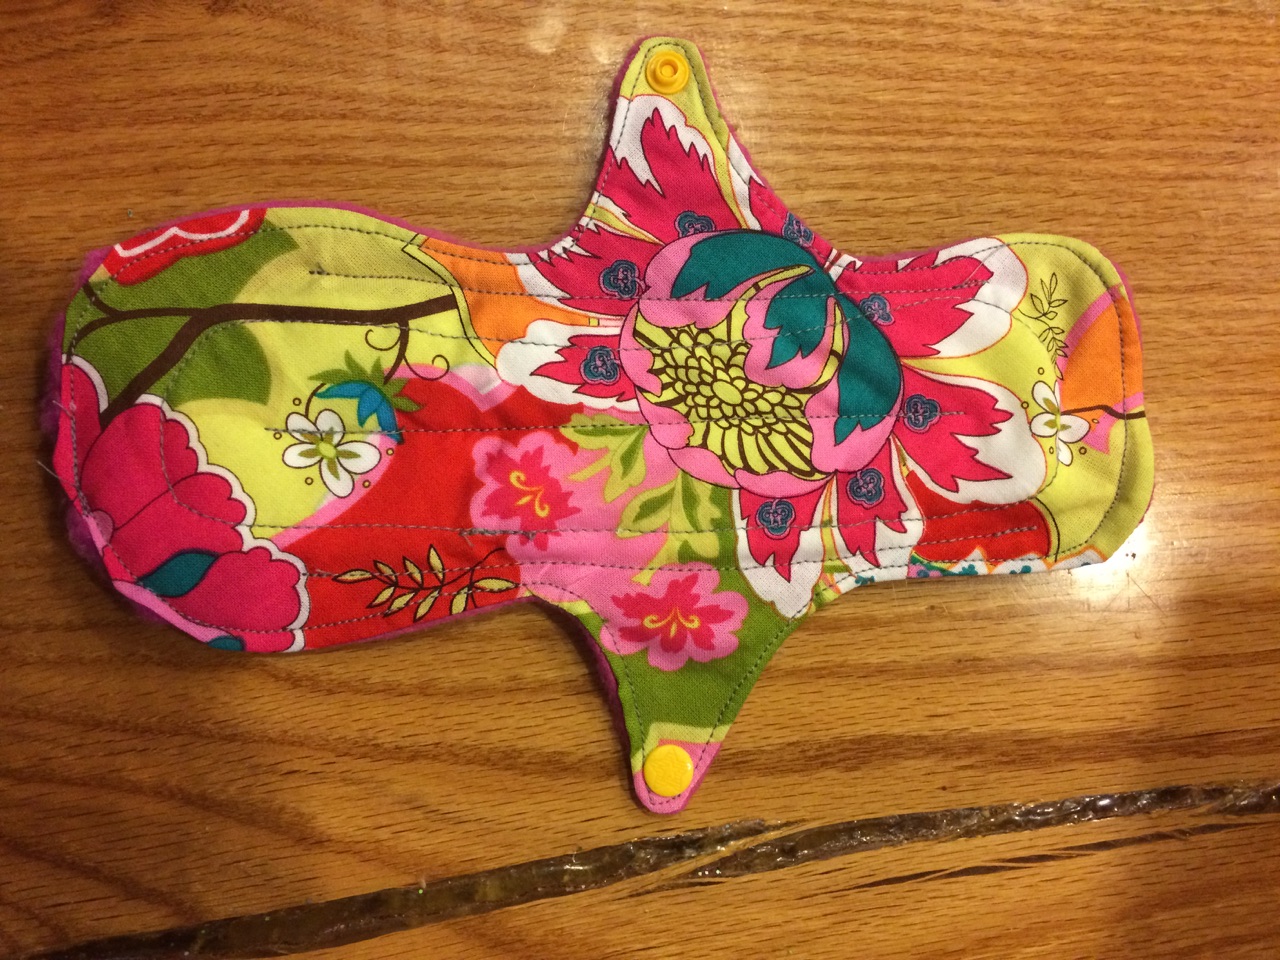
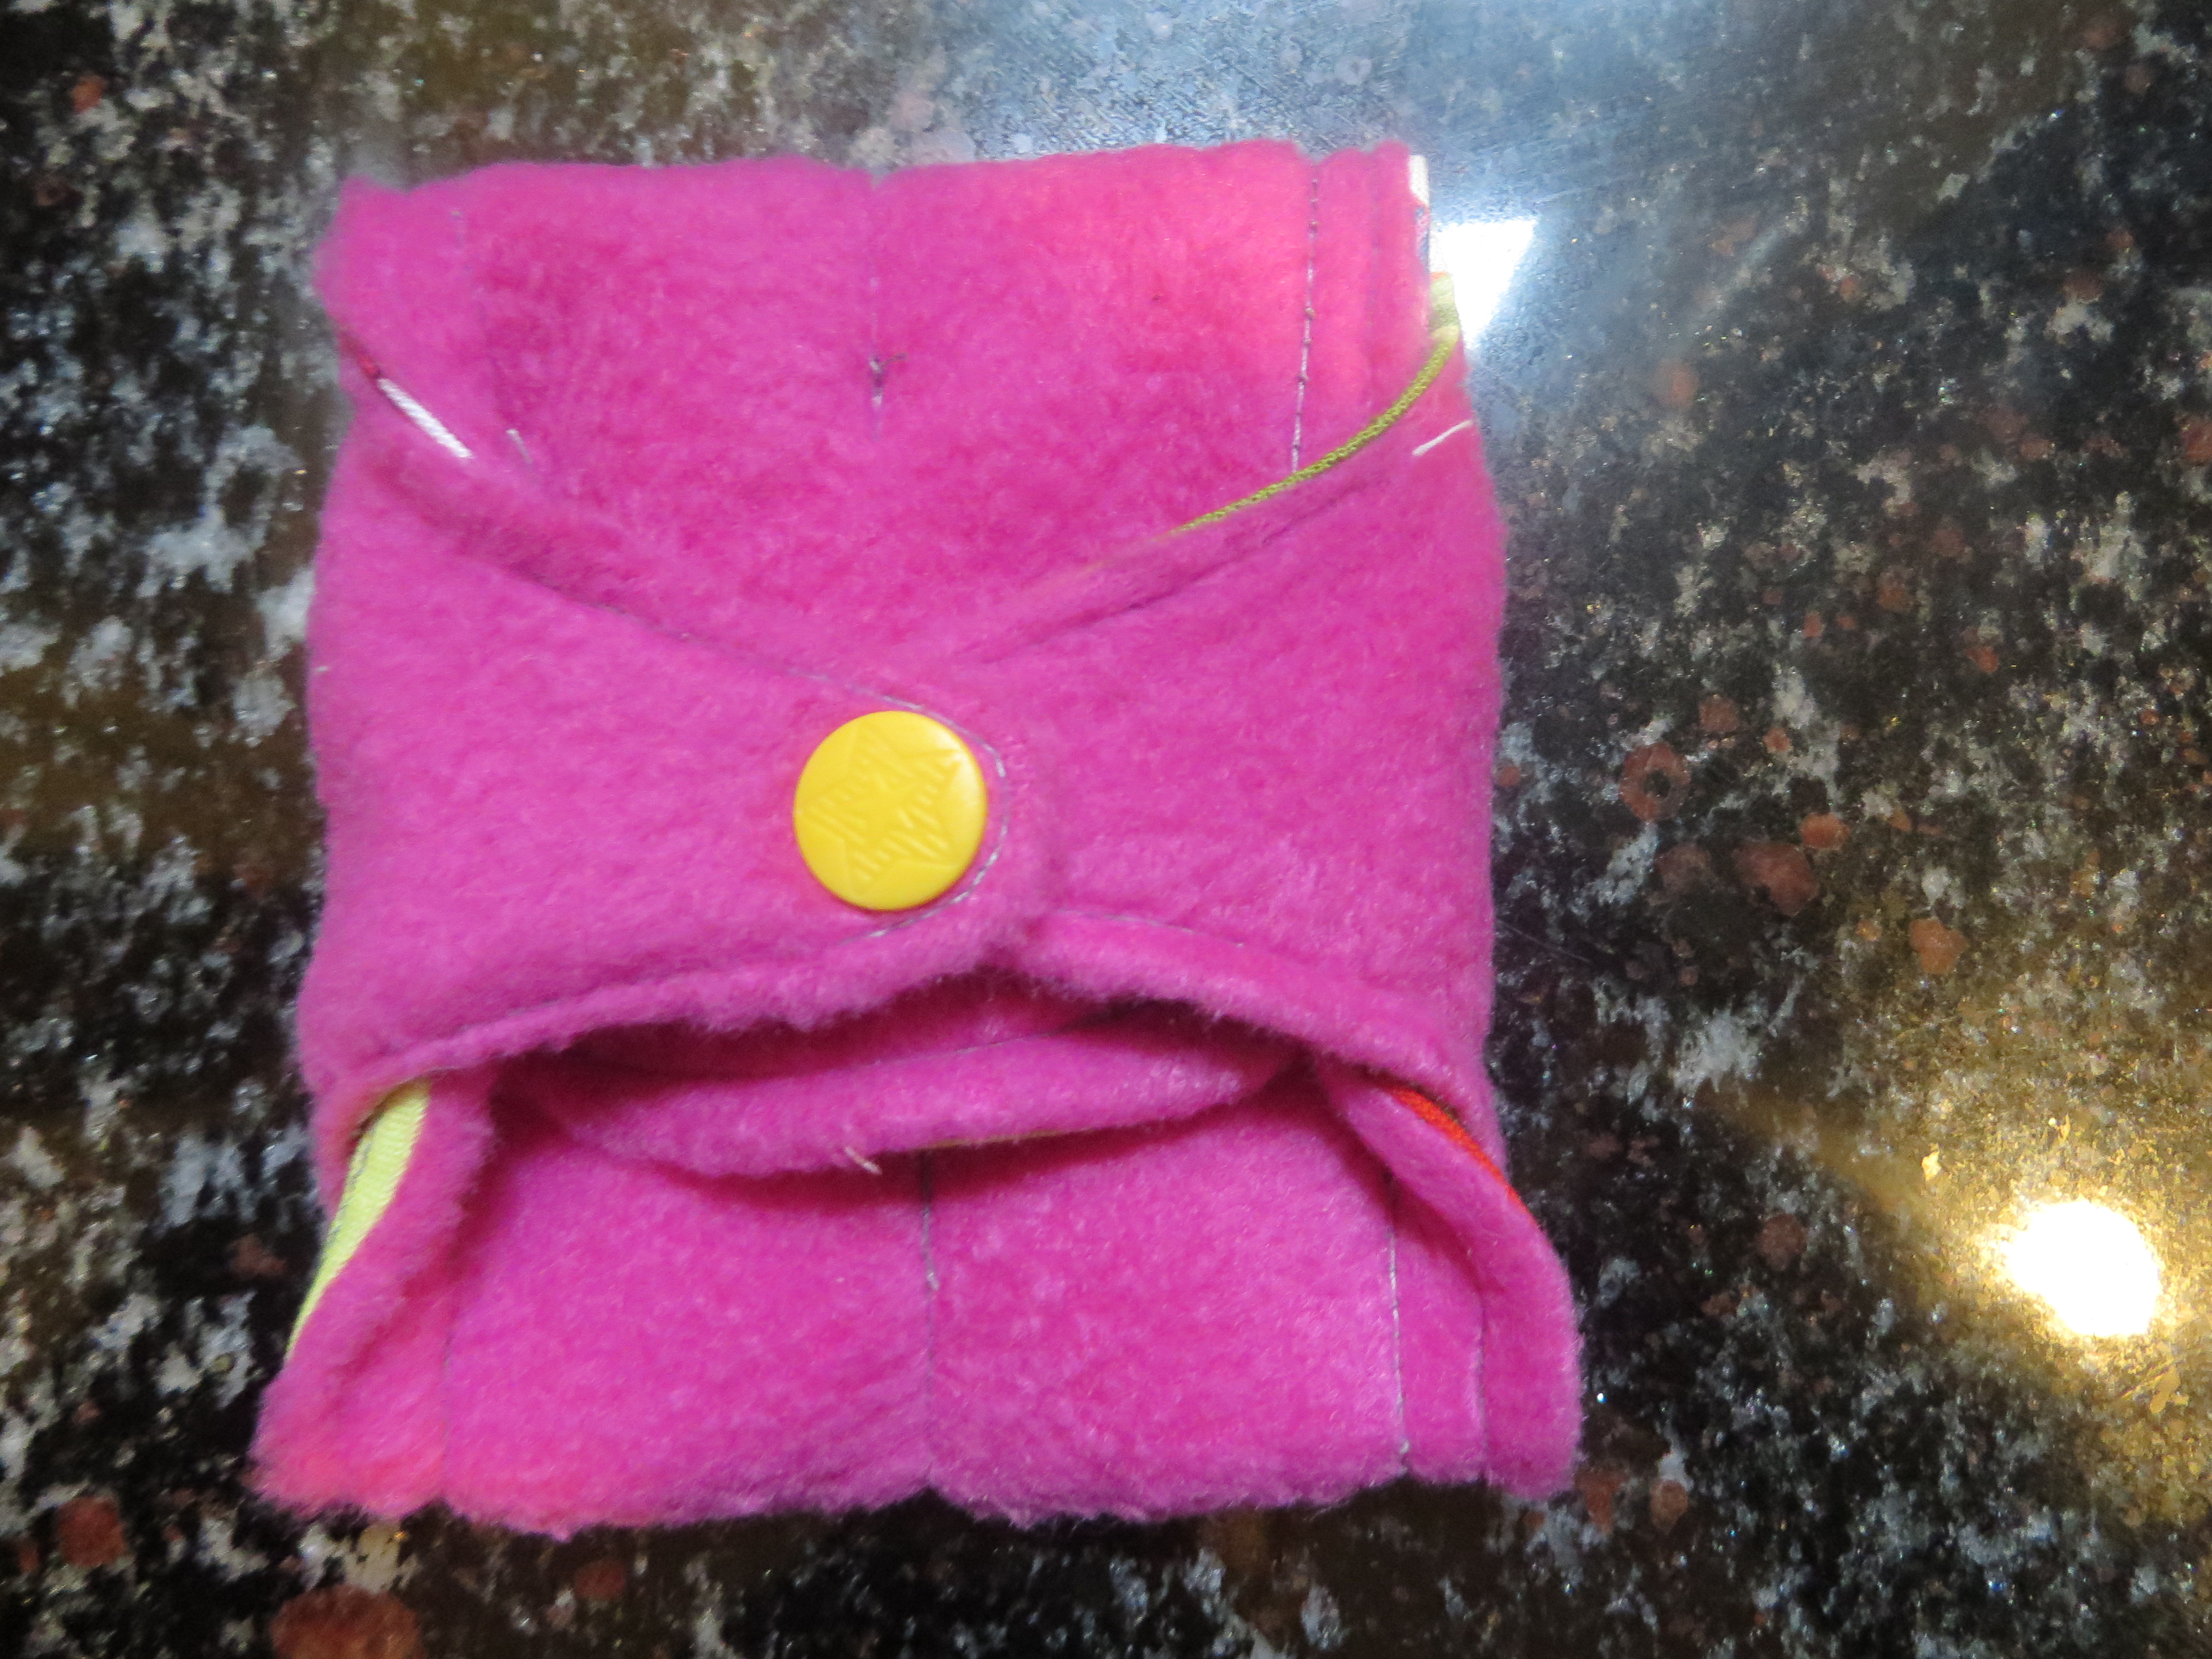
Finished!
And look how easy this is to travel with:
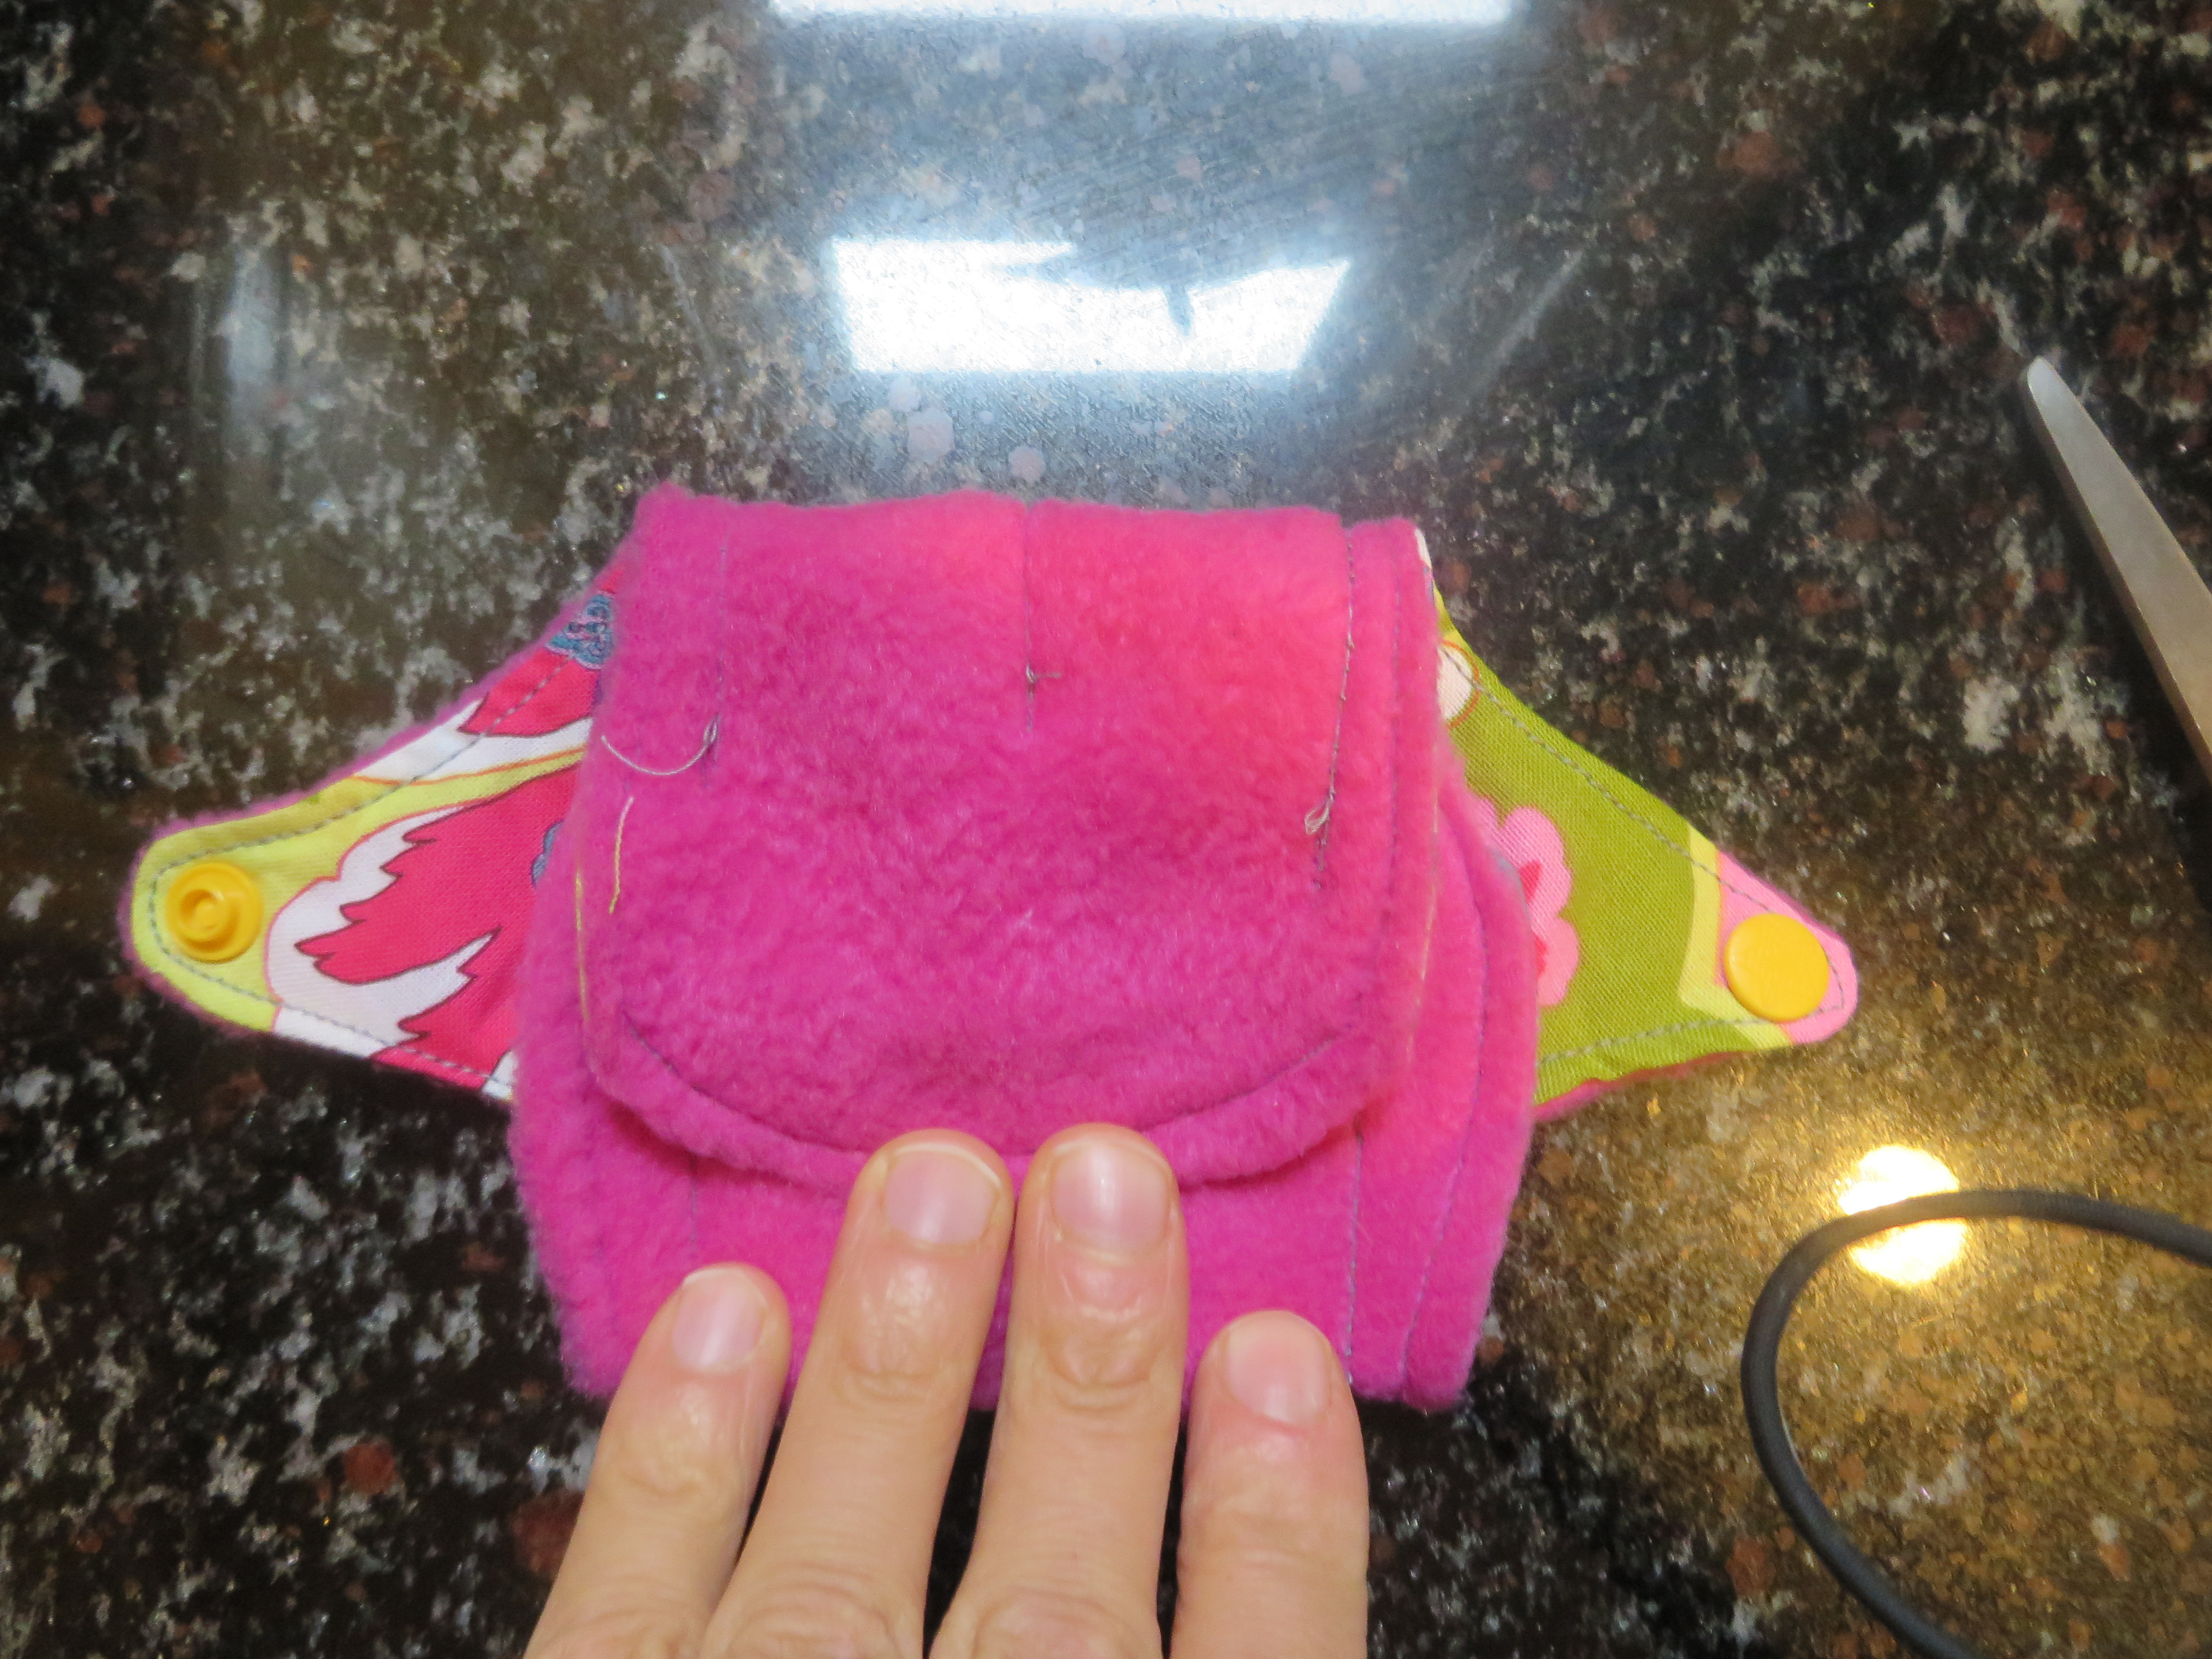
You may be wondering how this will look if you’re wearing tight-fitting clothes. Understandable! It really depends on how thick you make the pad. Honestly, though, you can’t wear painted-on yoga pants and think these will go unnoticed. Save those for next week! Throw on a tunic over some tights, though, and it’s your secret!
Eco-friendly, no weird chemicals, and you get to spend your StayFree/CareFree/o.b./Tampax money on whatever the heck you want! This is a good day!

Thanks for this!!! I found your blog via a link on FB…I’ve been wanting to make my own but most tutorials don’t give the exact types of material…this is perfect. I can’t wait to make some. thanks!
LikeLike
Annie, happy we found each other! Glad you’re going to give it a go! Come back and post some pics of your finished product- I love sew and tell!!😊
LikeLike
wow this is an awesome way to make pads. thank you so much for pasting this website!
LikeLike