Good morning!
I can’t believe we are already in December! I am so excited to be doing this tutorial. I love making tutorials where you, my reader and craft partner, can make your own completely custom patterns for yourself.
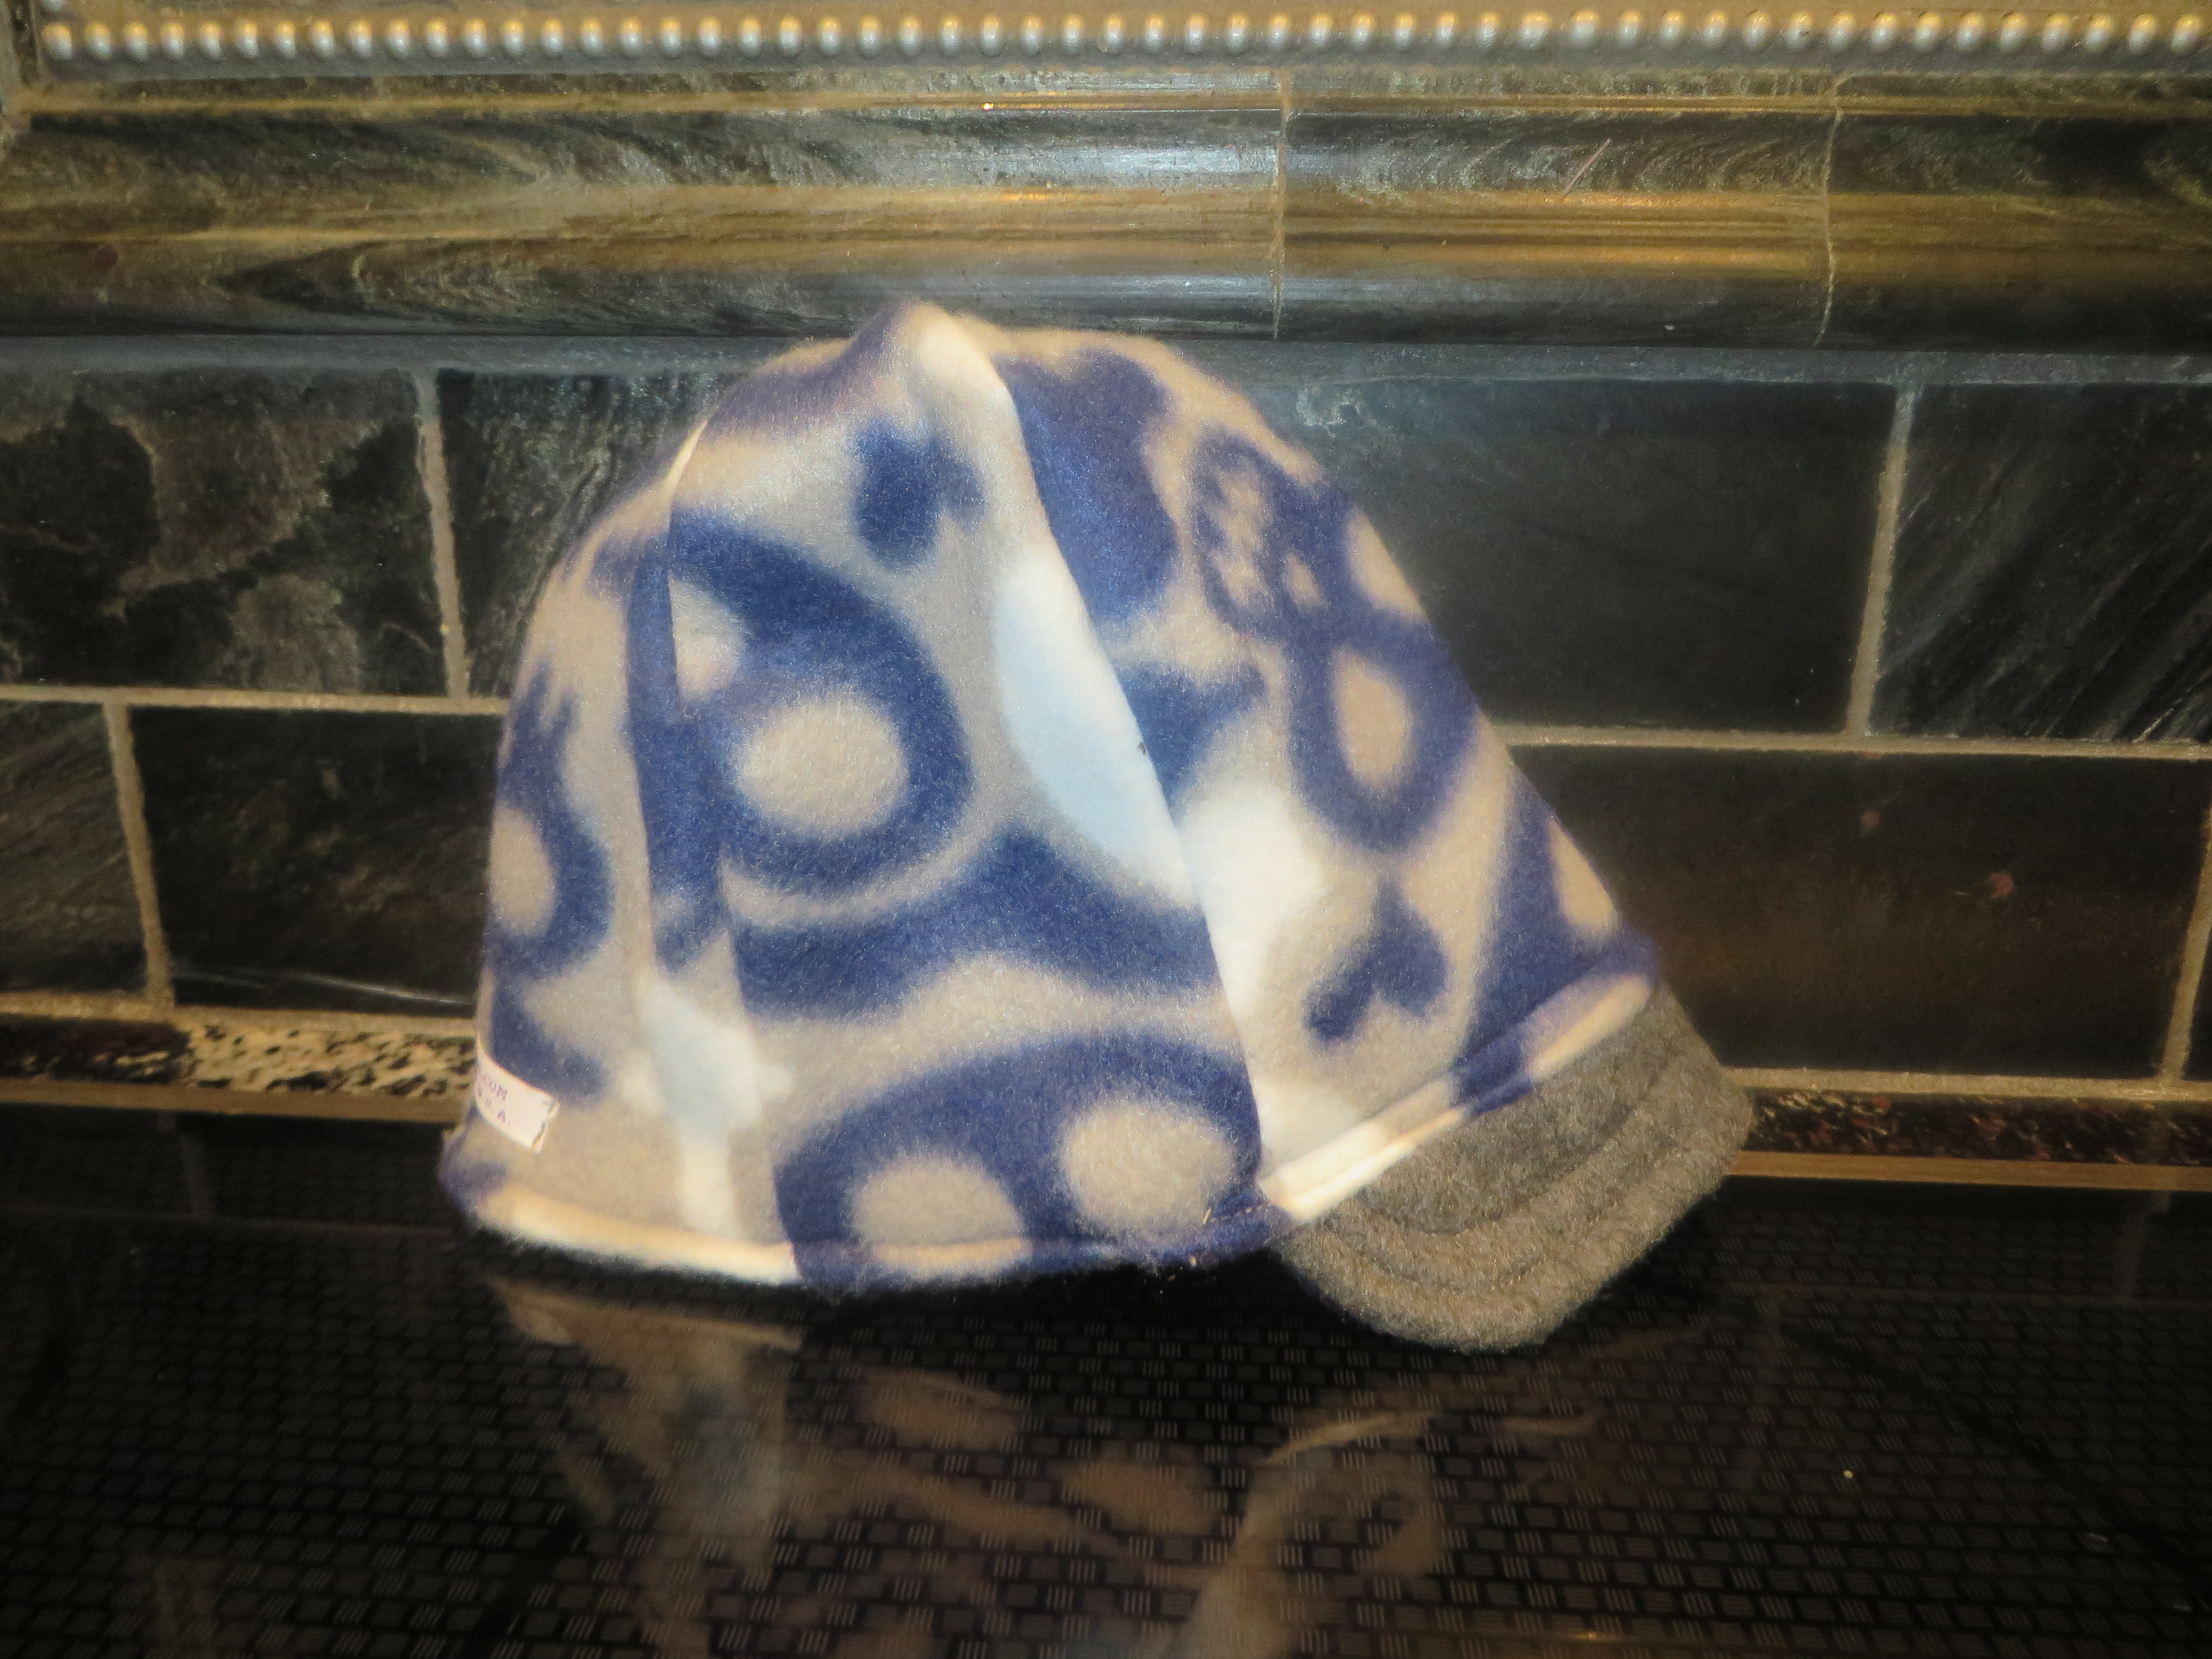
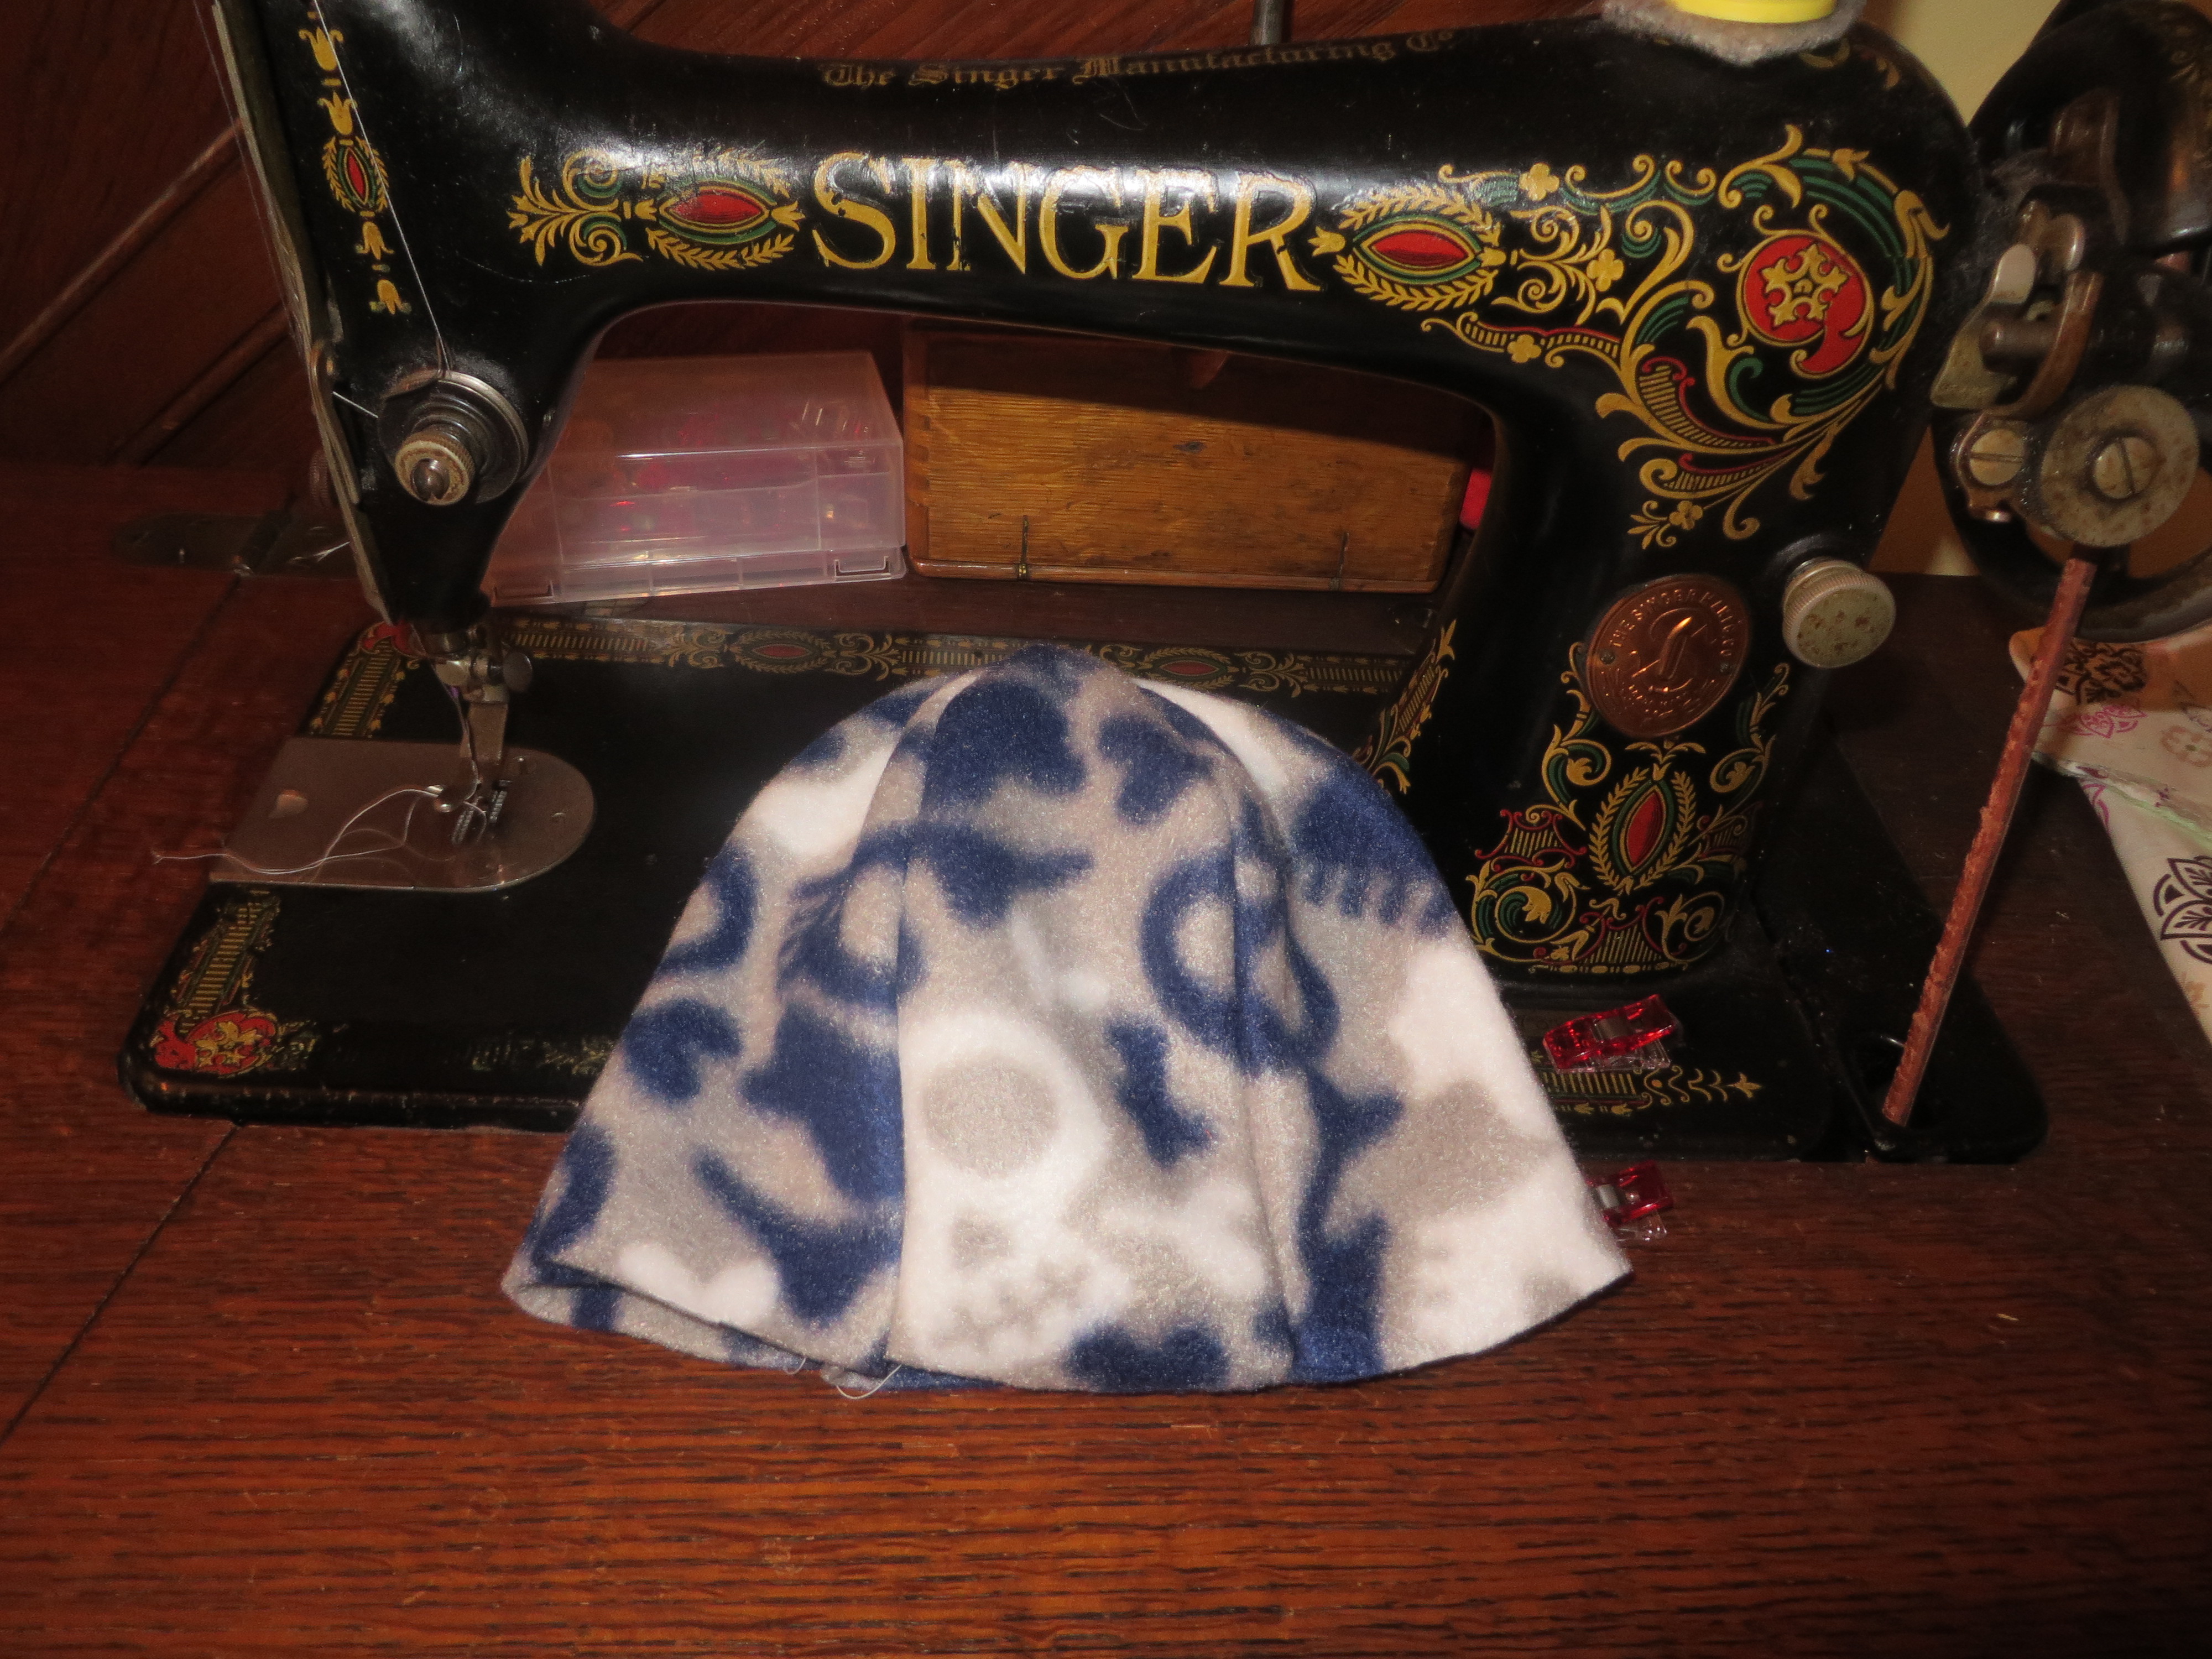
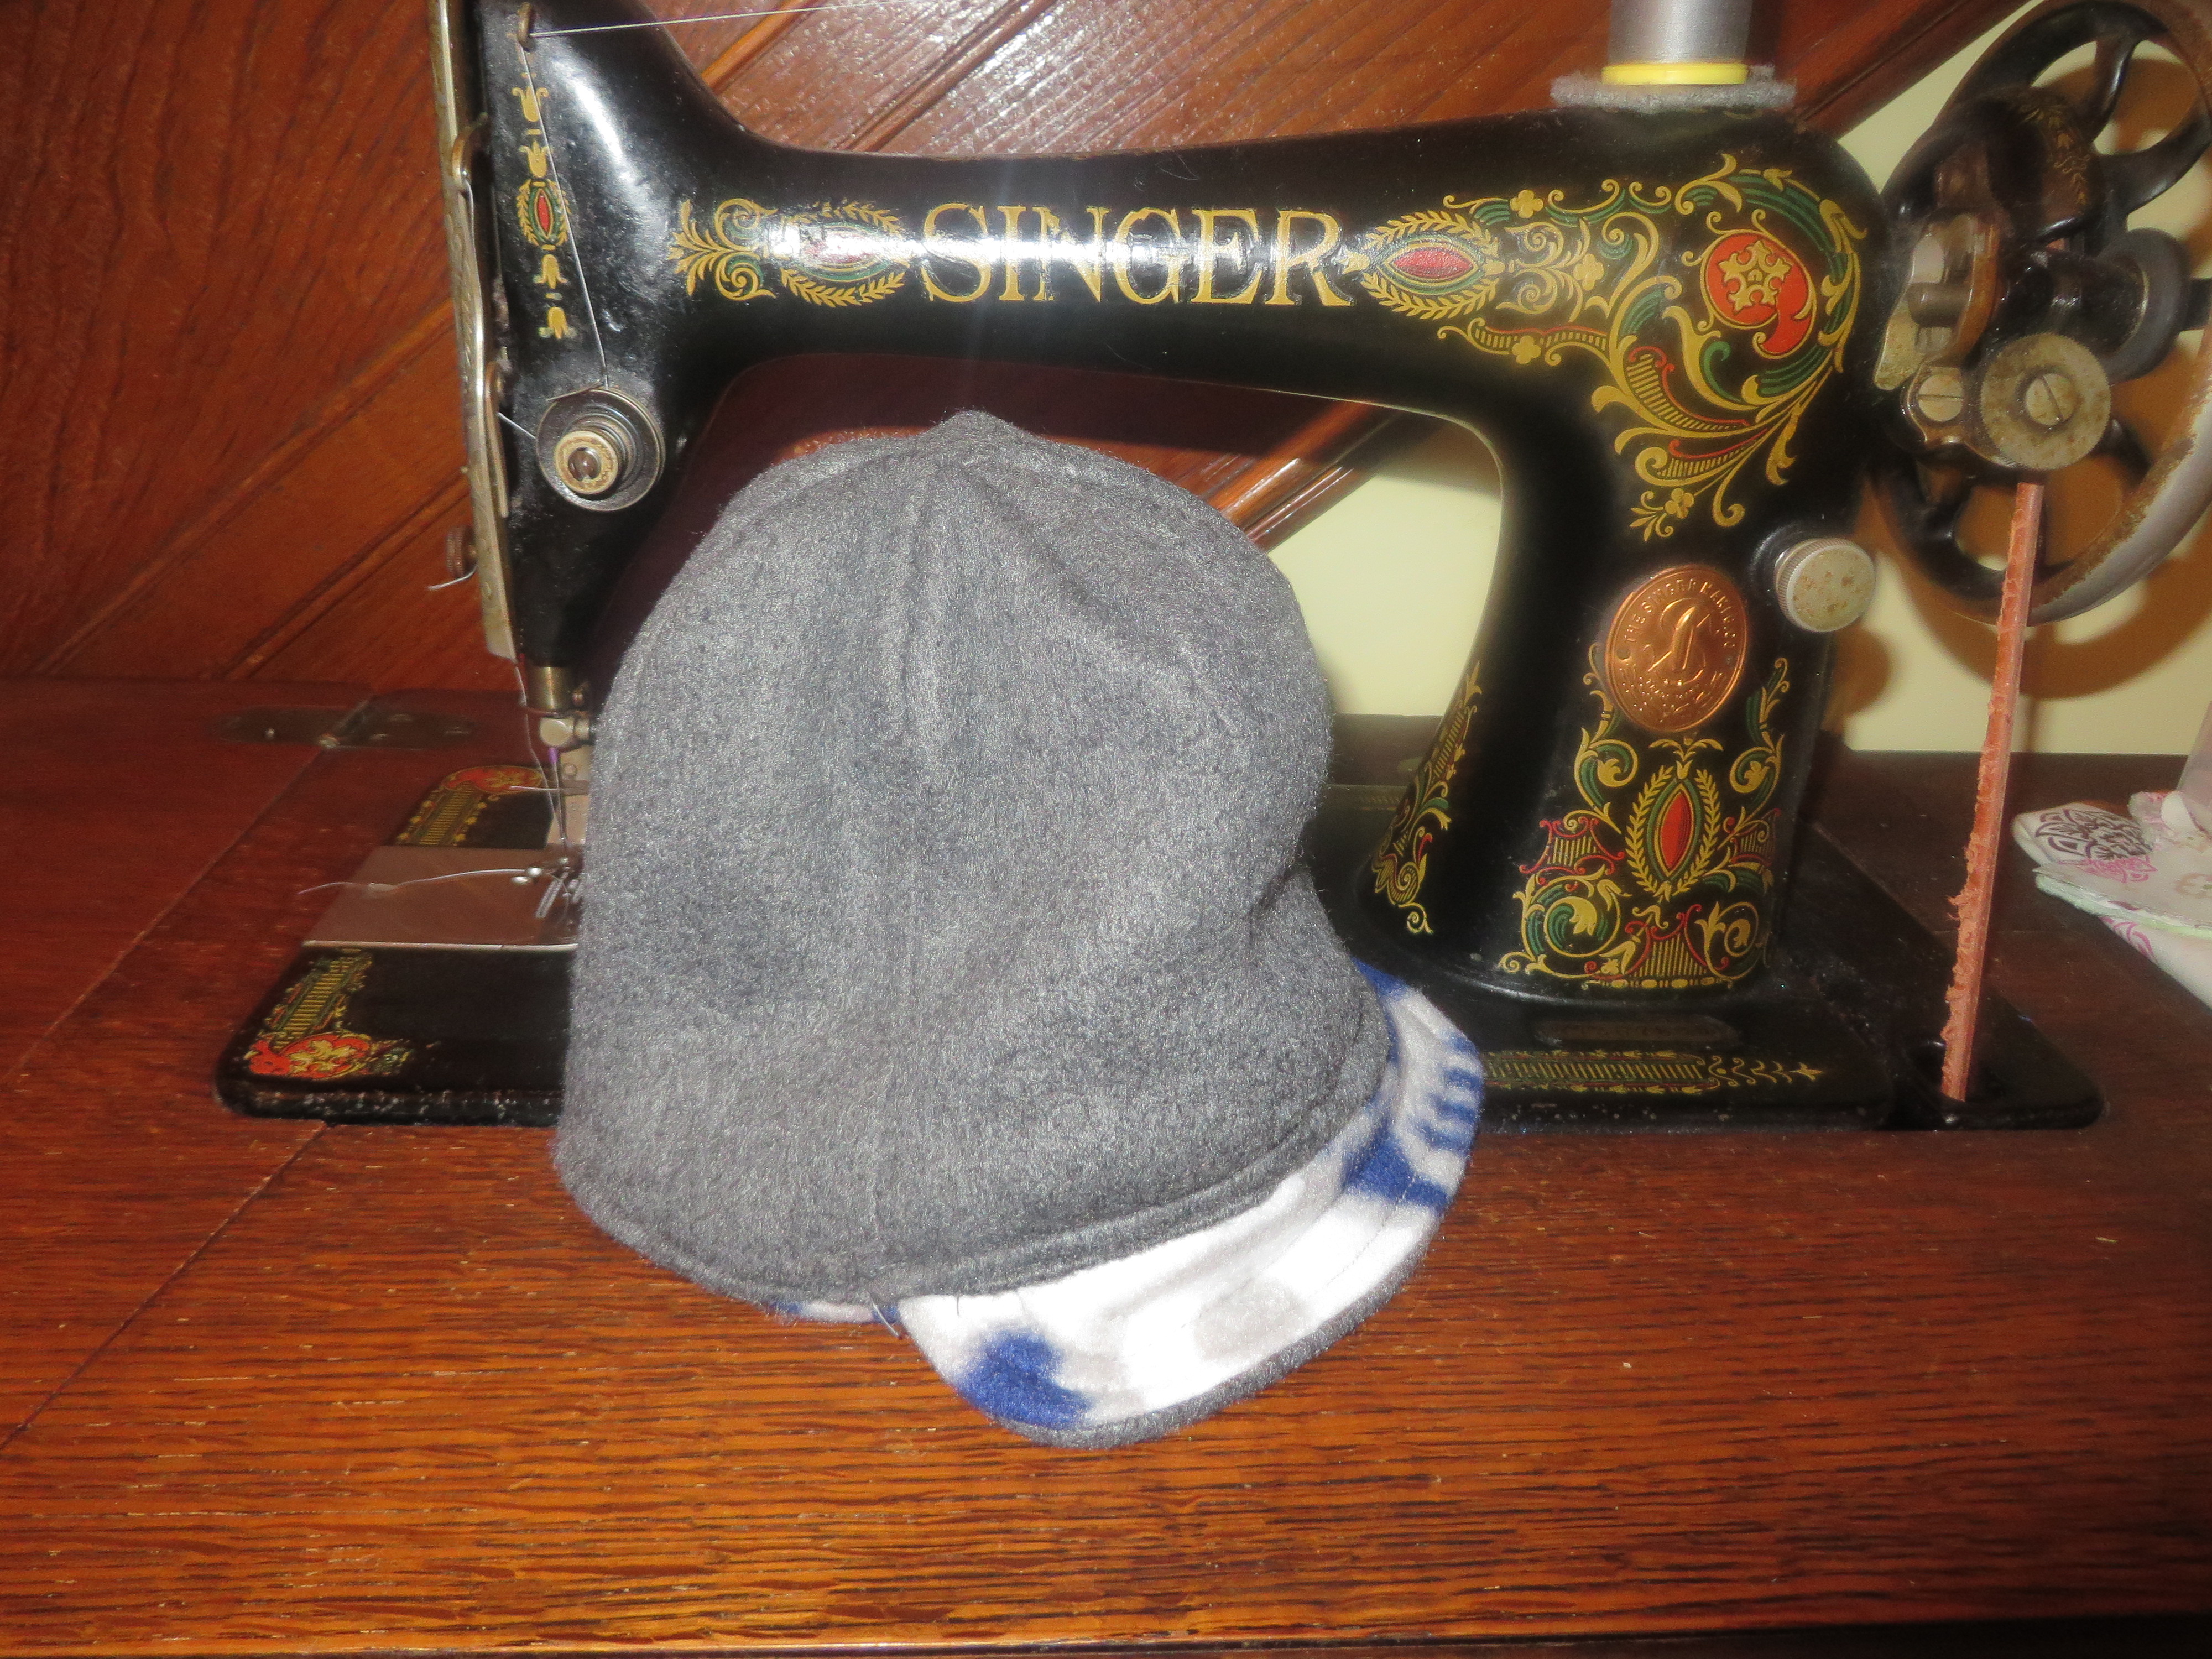
This is the hat we are going to make today:

First, let’s talk about what you will need to make this hat.

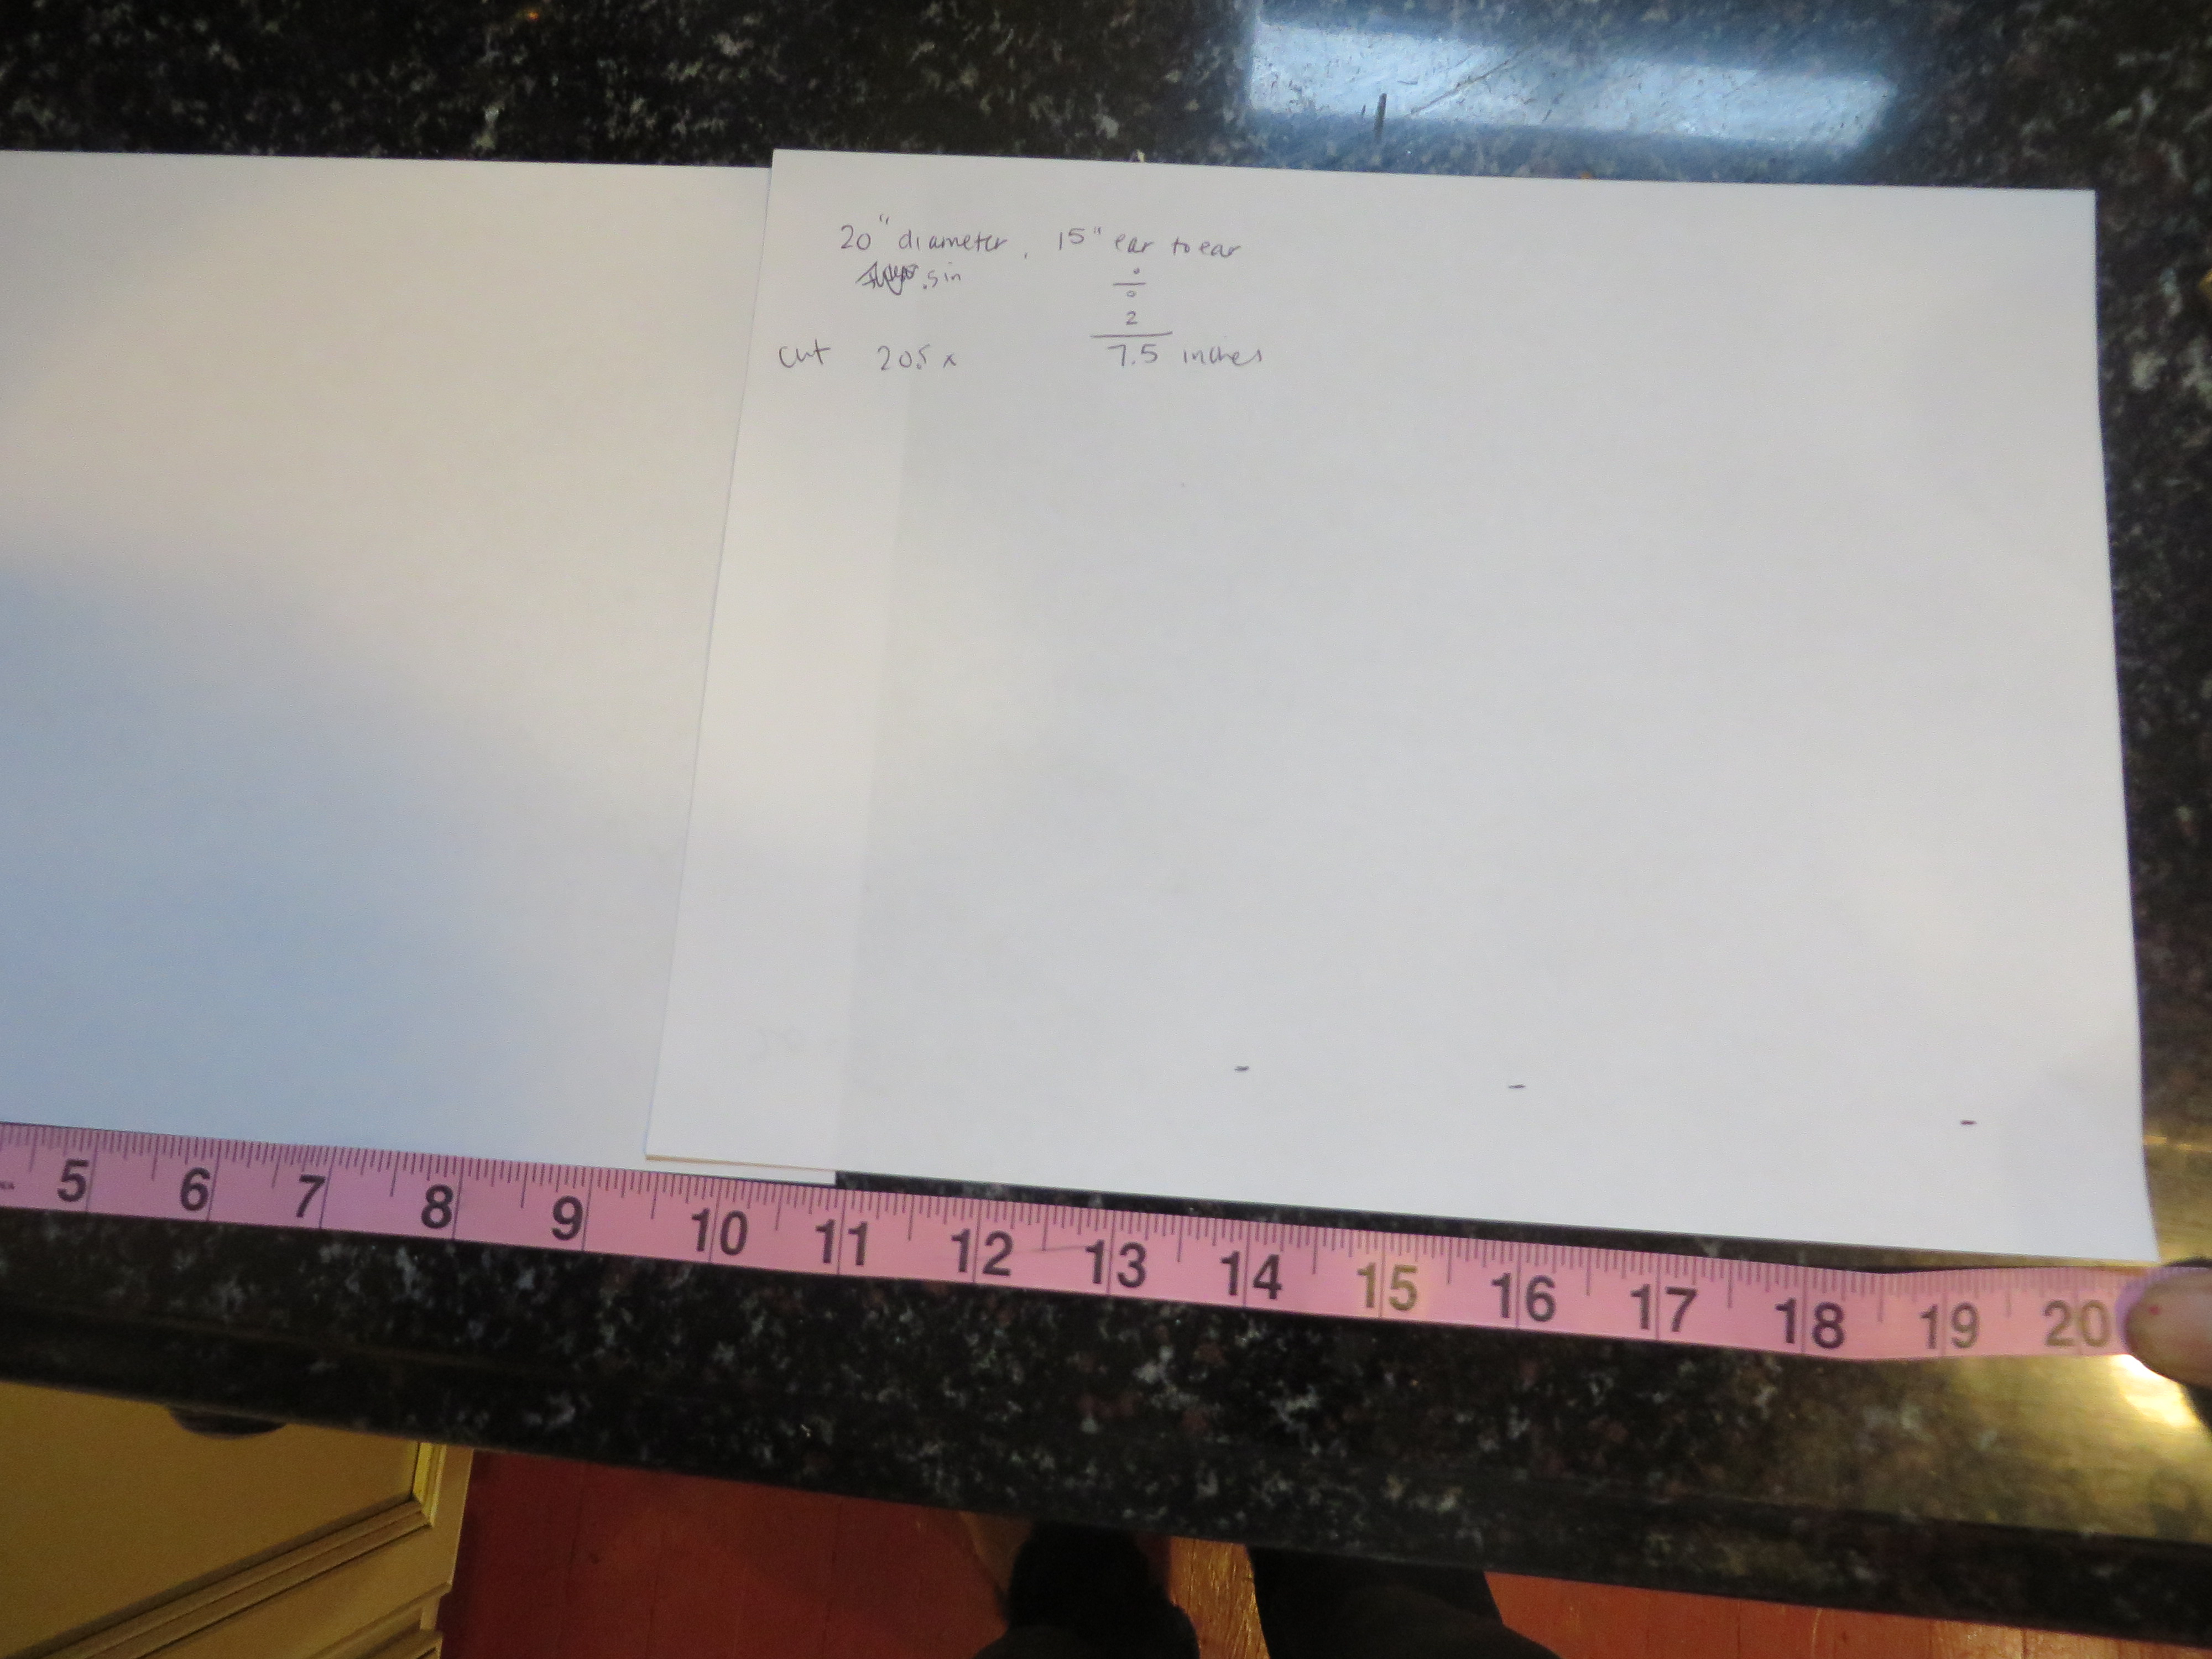
Also, I like to add a half and inch to an inch to the diameter measurement.
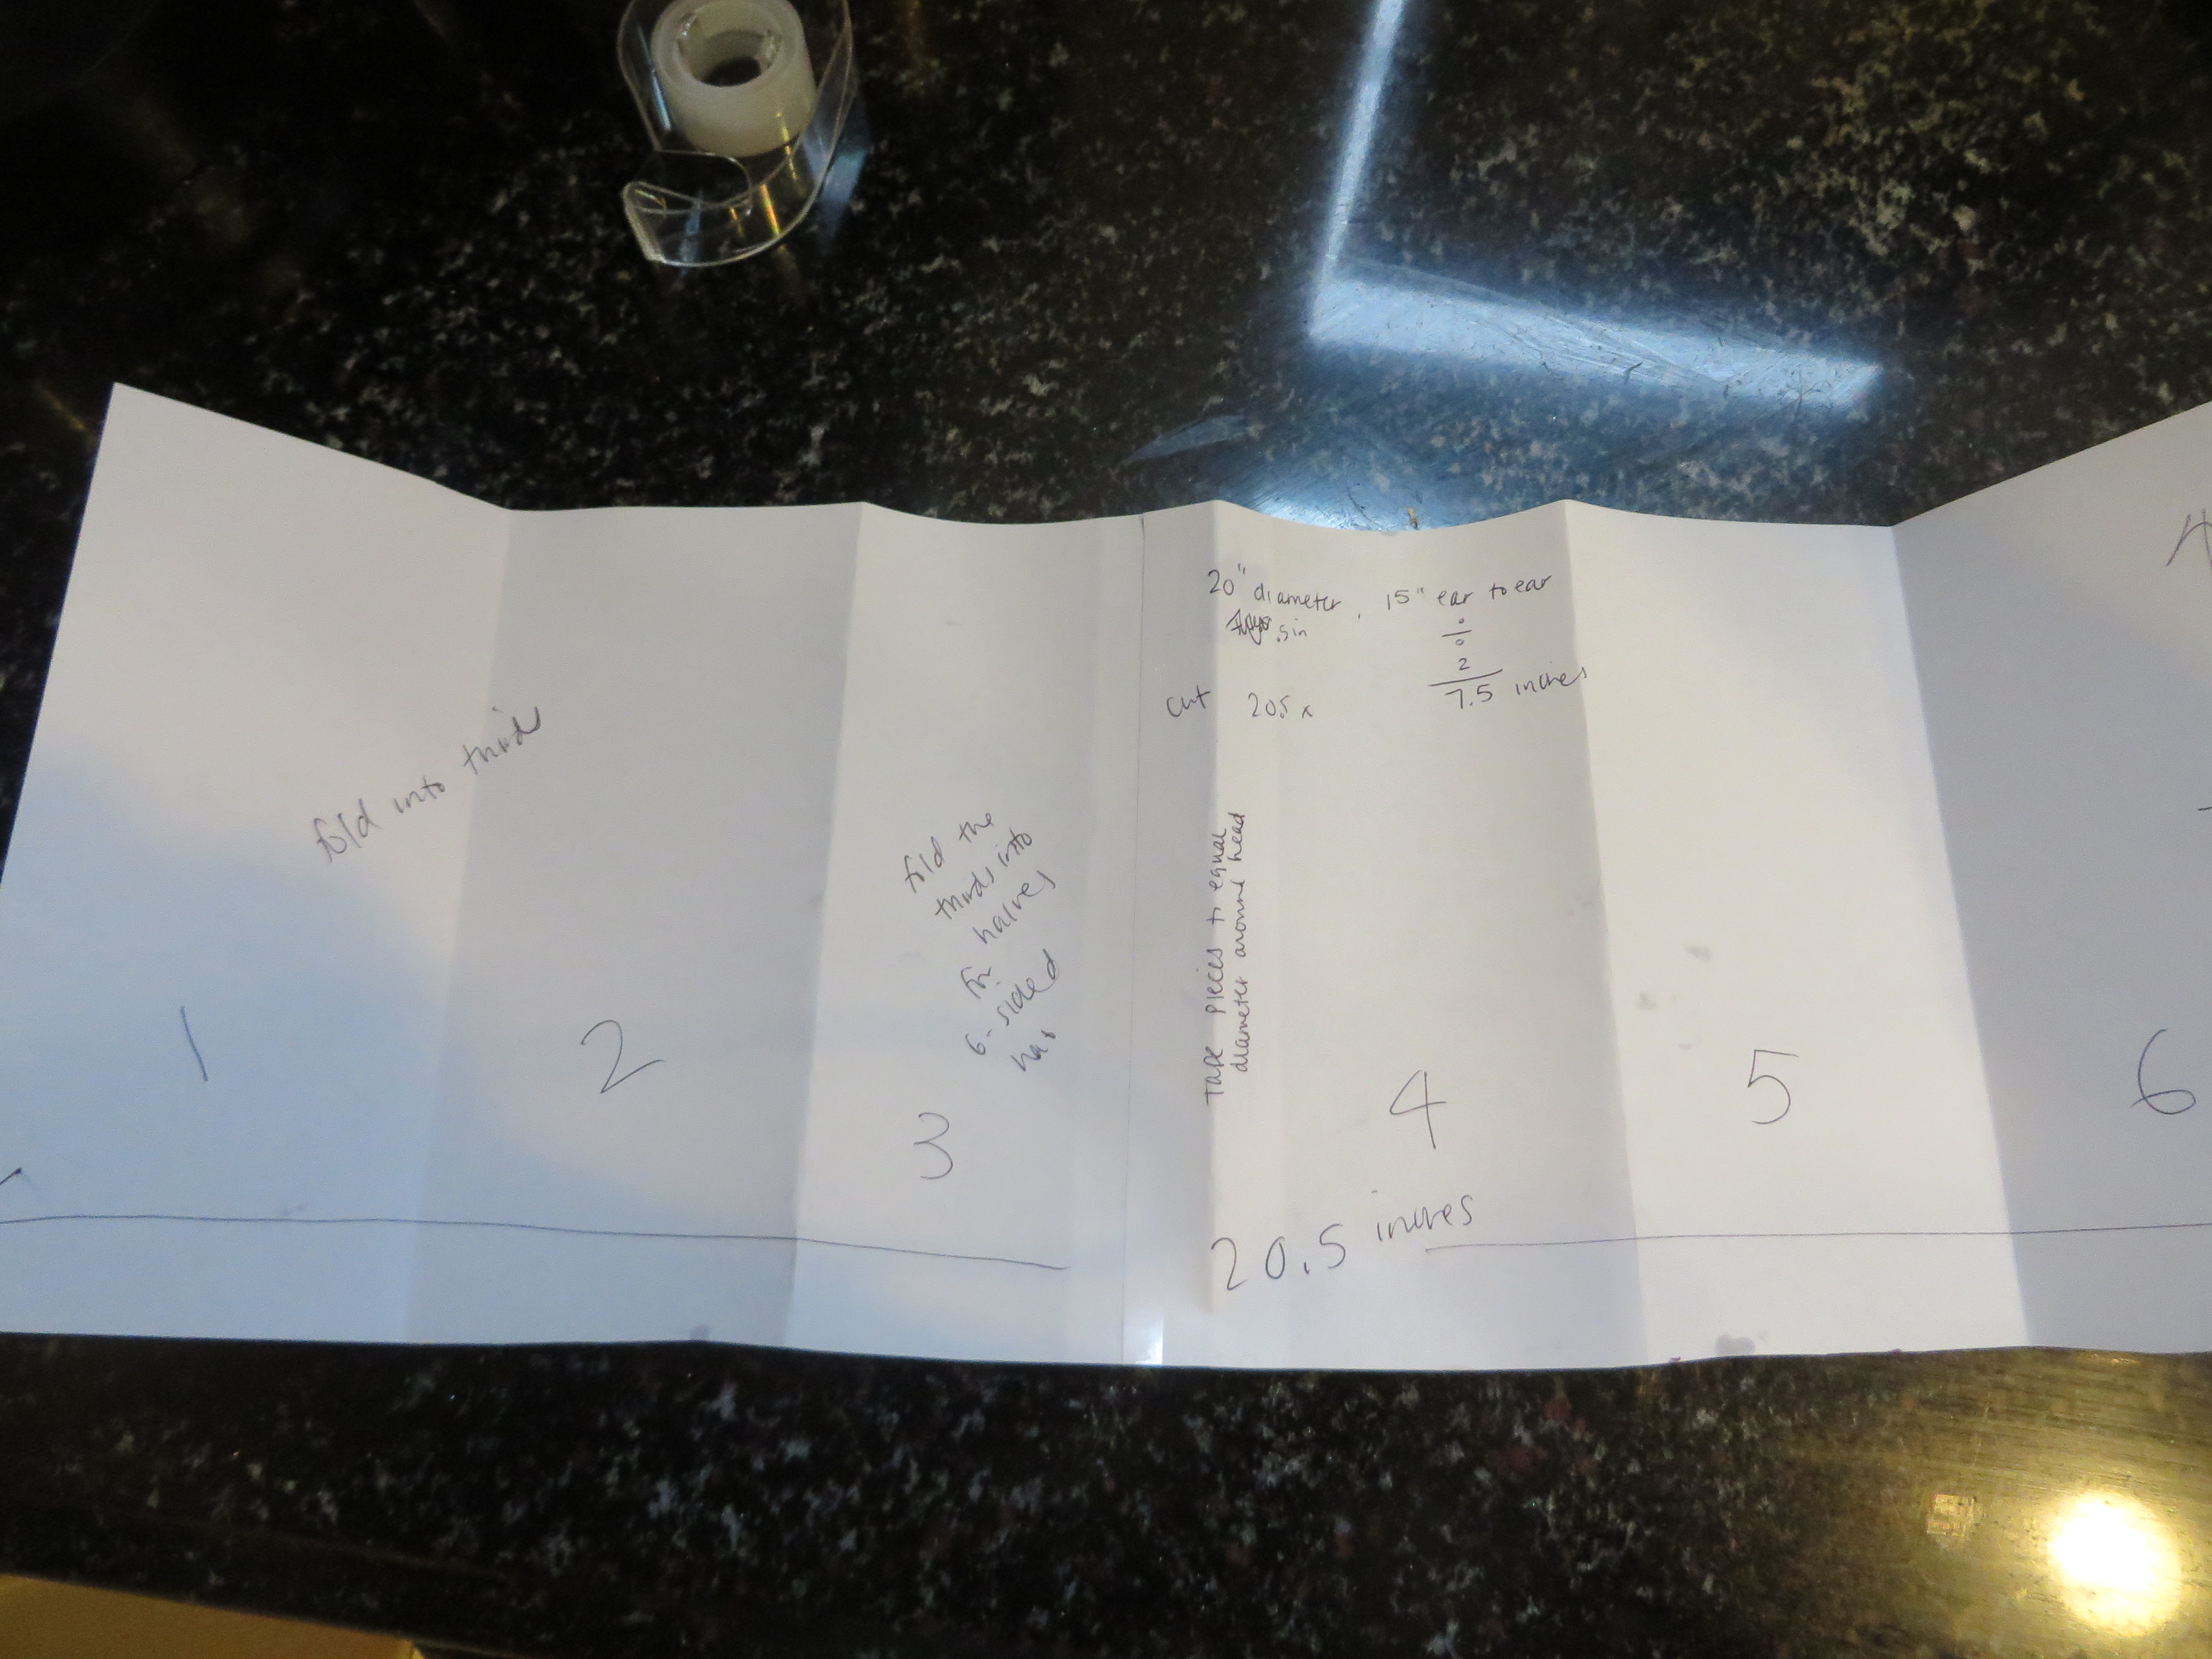
Now you want to tape up your paper to fit the measurements you need for your hat.
Looks like this:
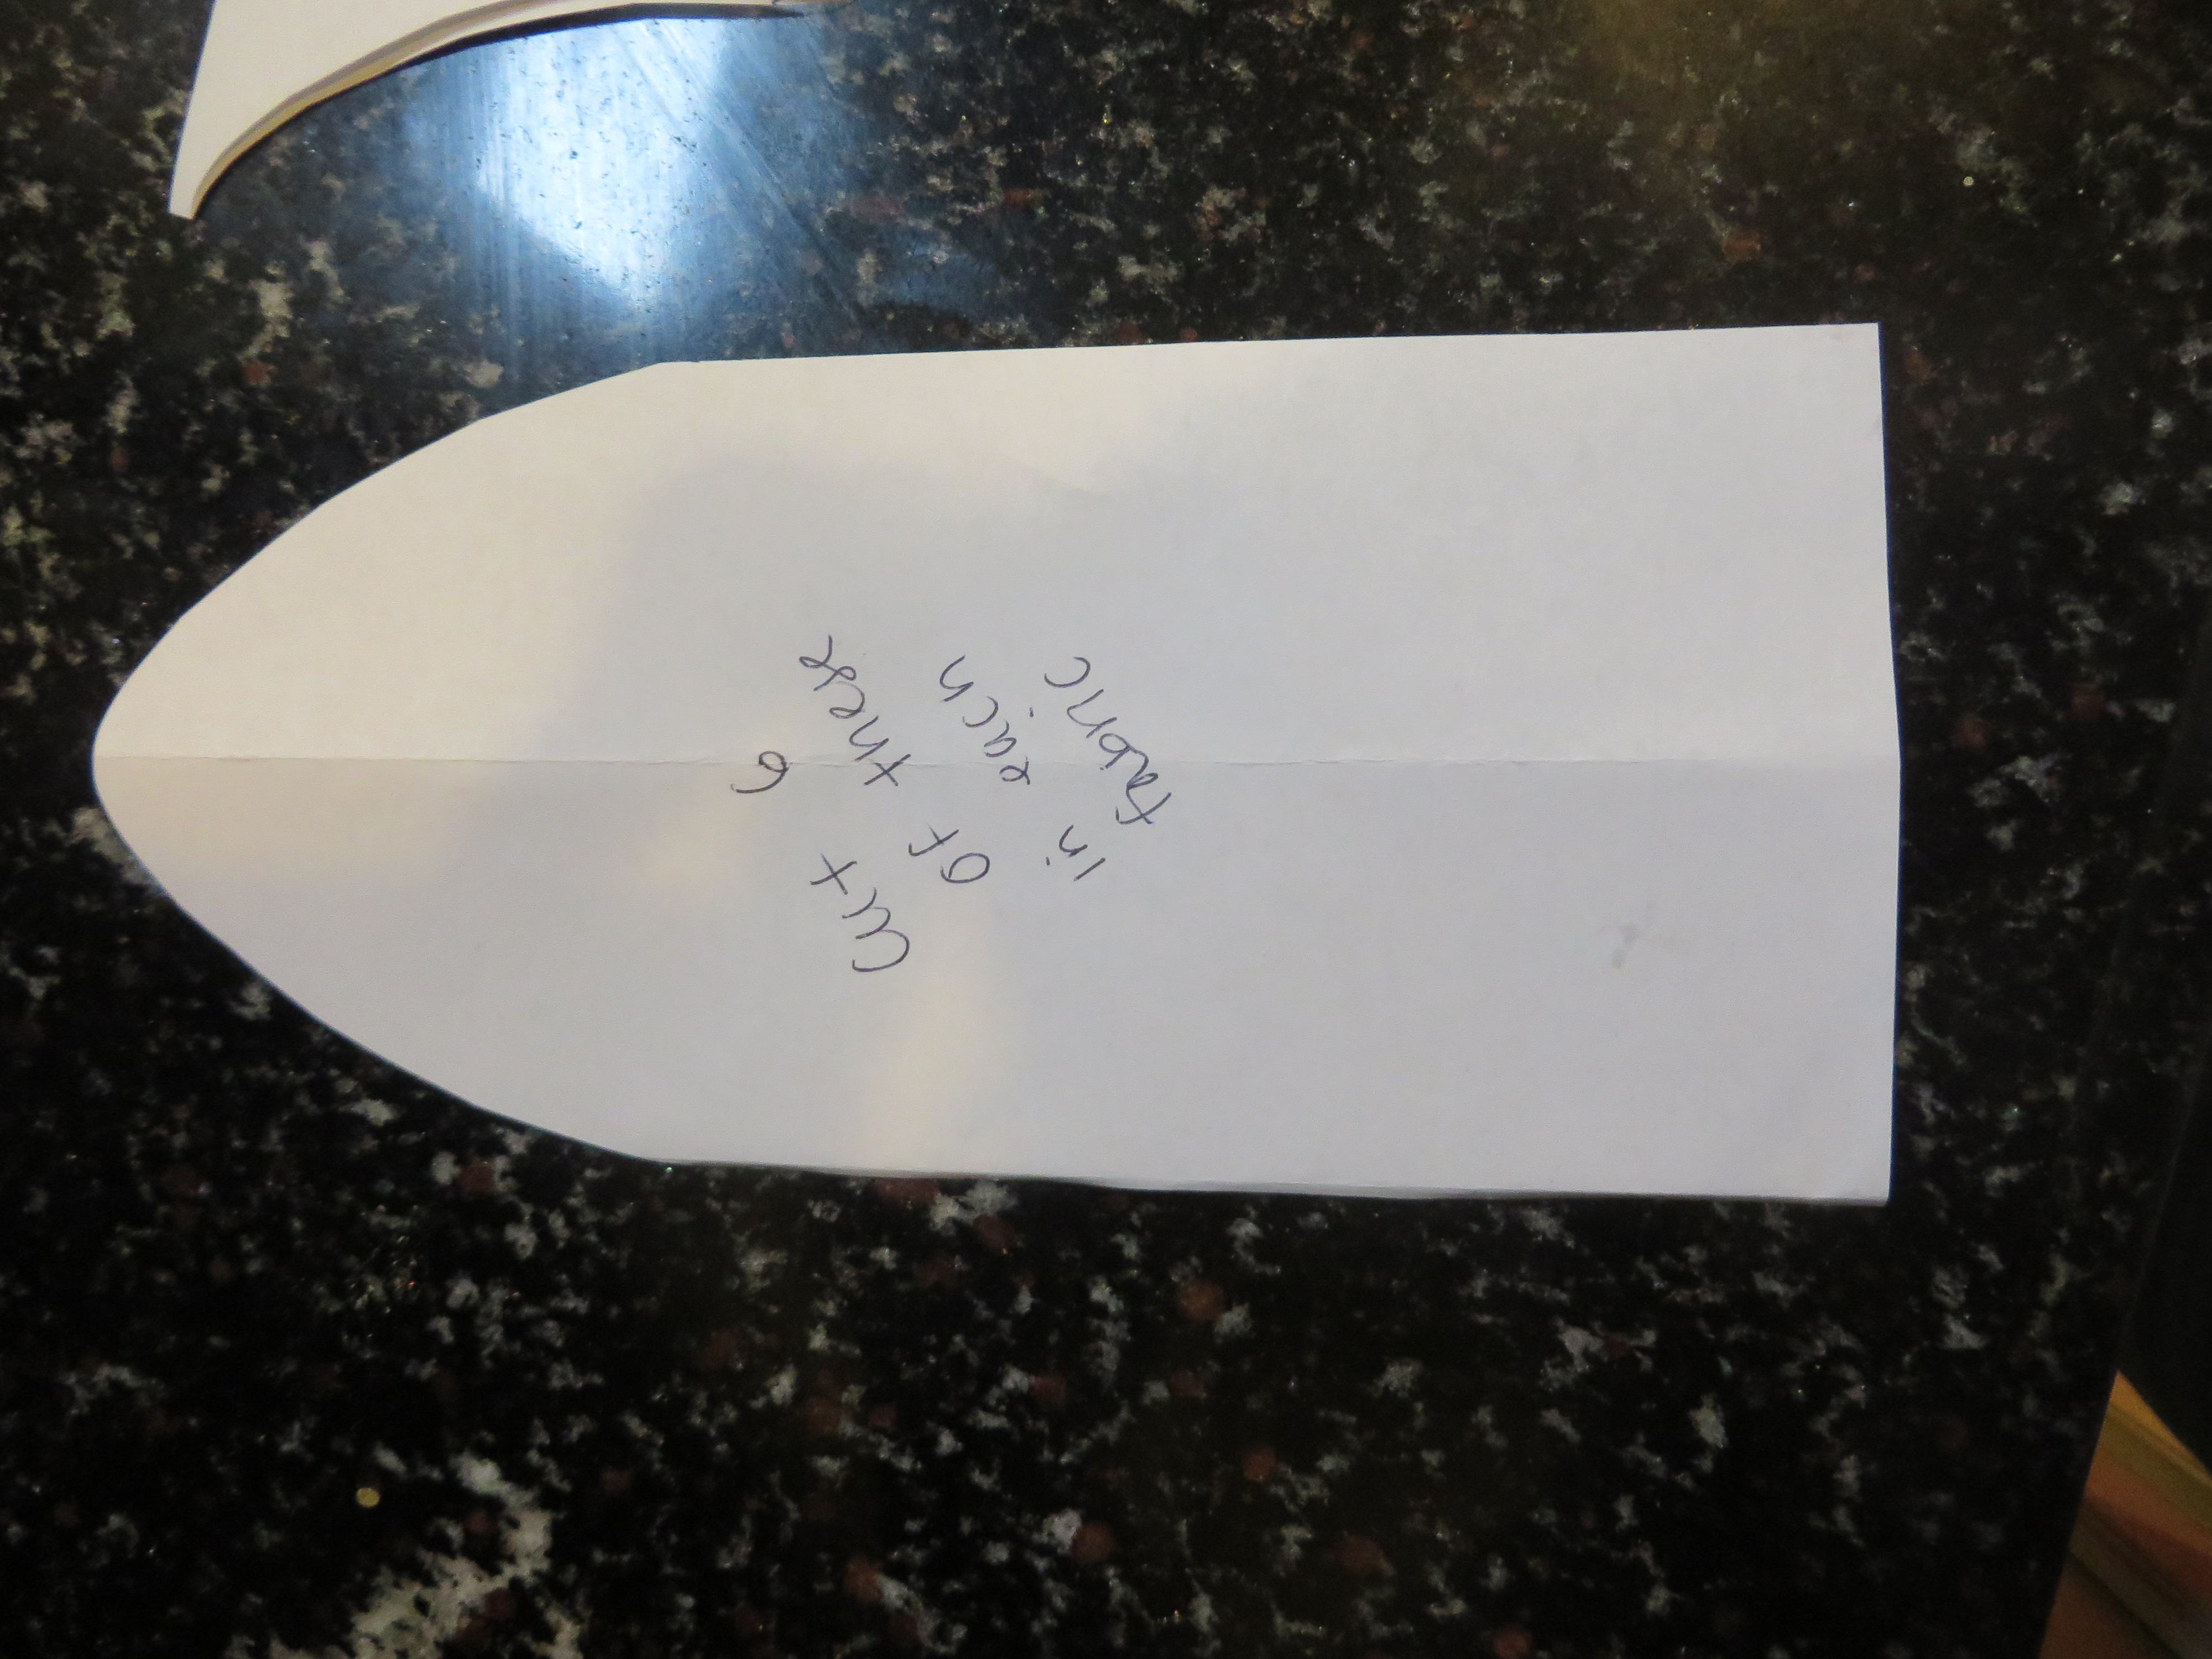
Since we are making a six-panel hat, we need to manipulate this piece of paper into six equal parts. (If we were doing a four-panel or an eight-panel hat, we would need to manipulate to four or eight equal panels, respectively.)
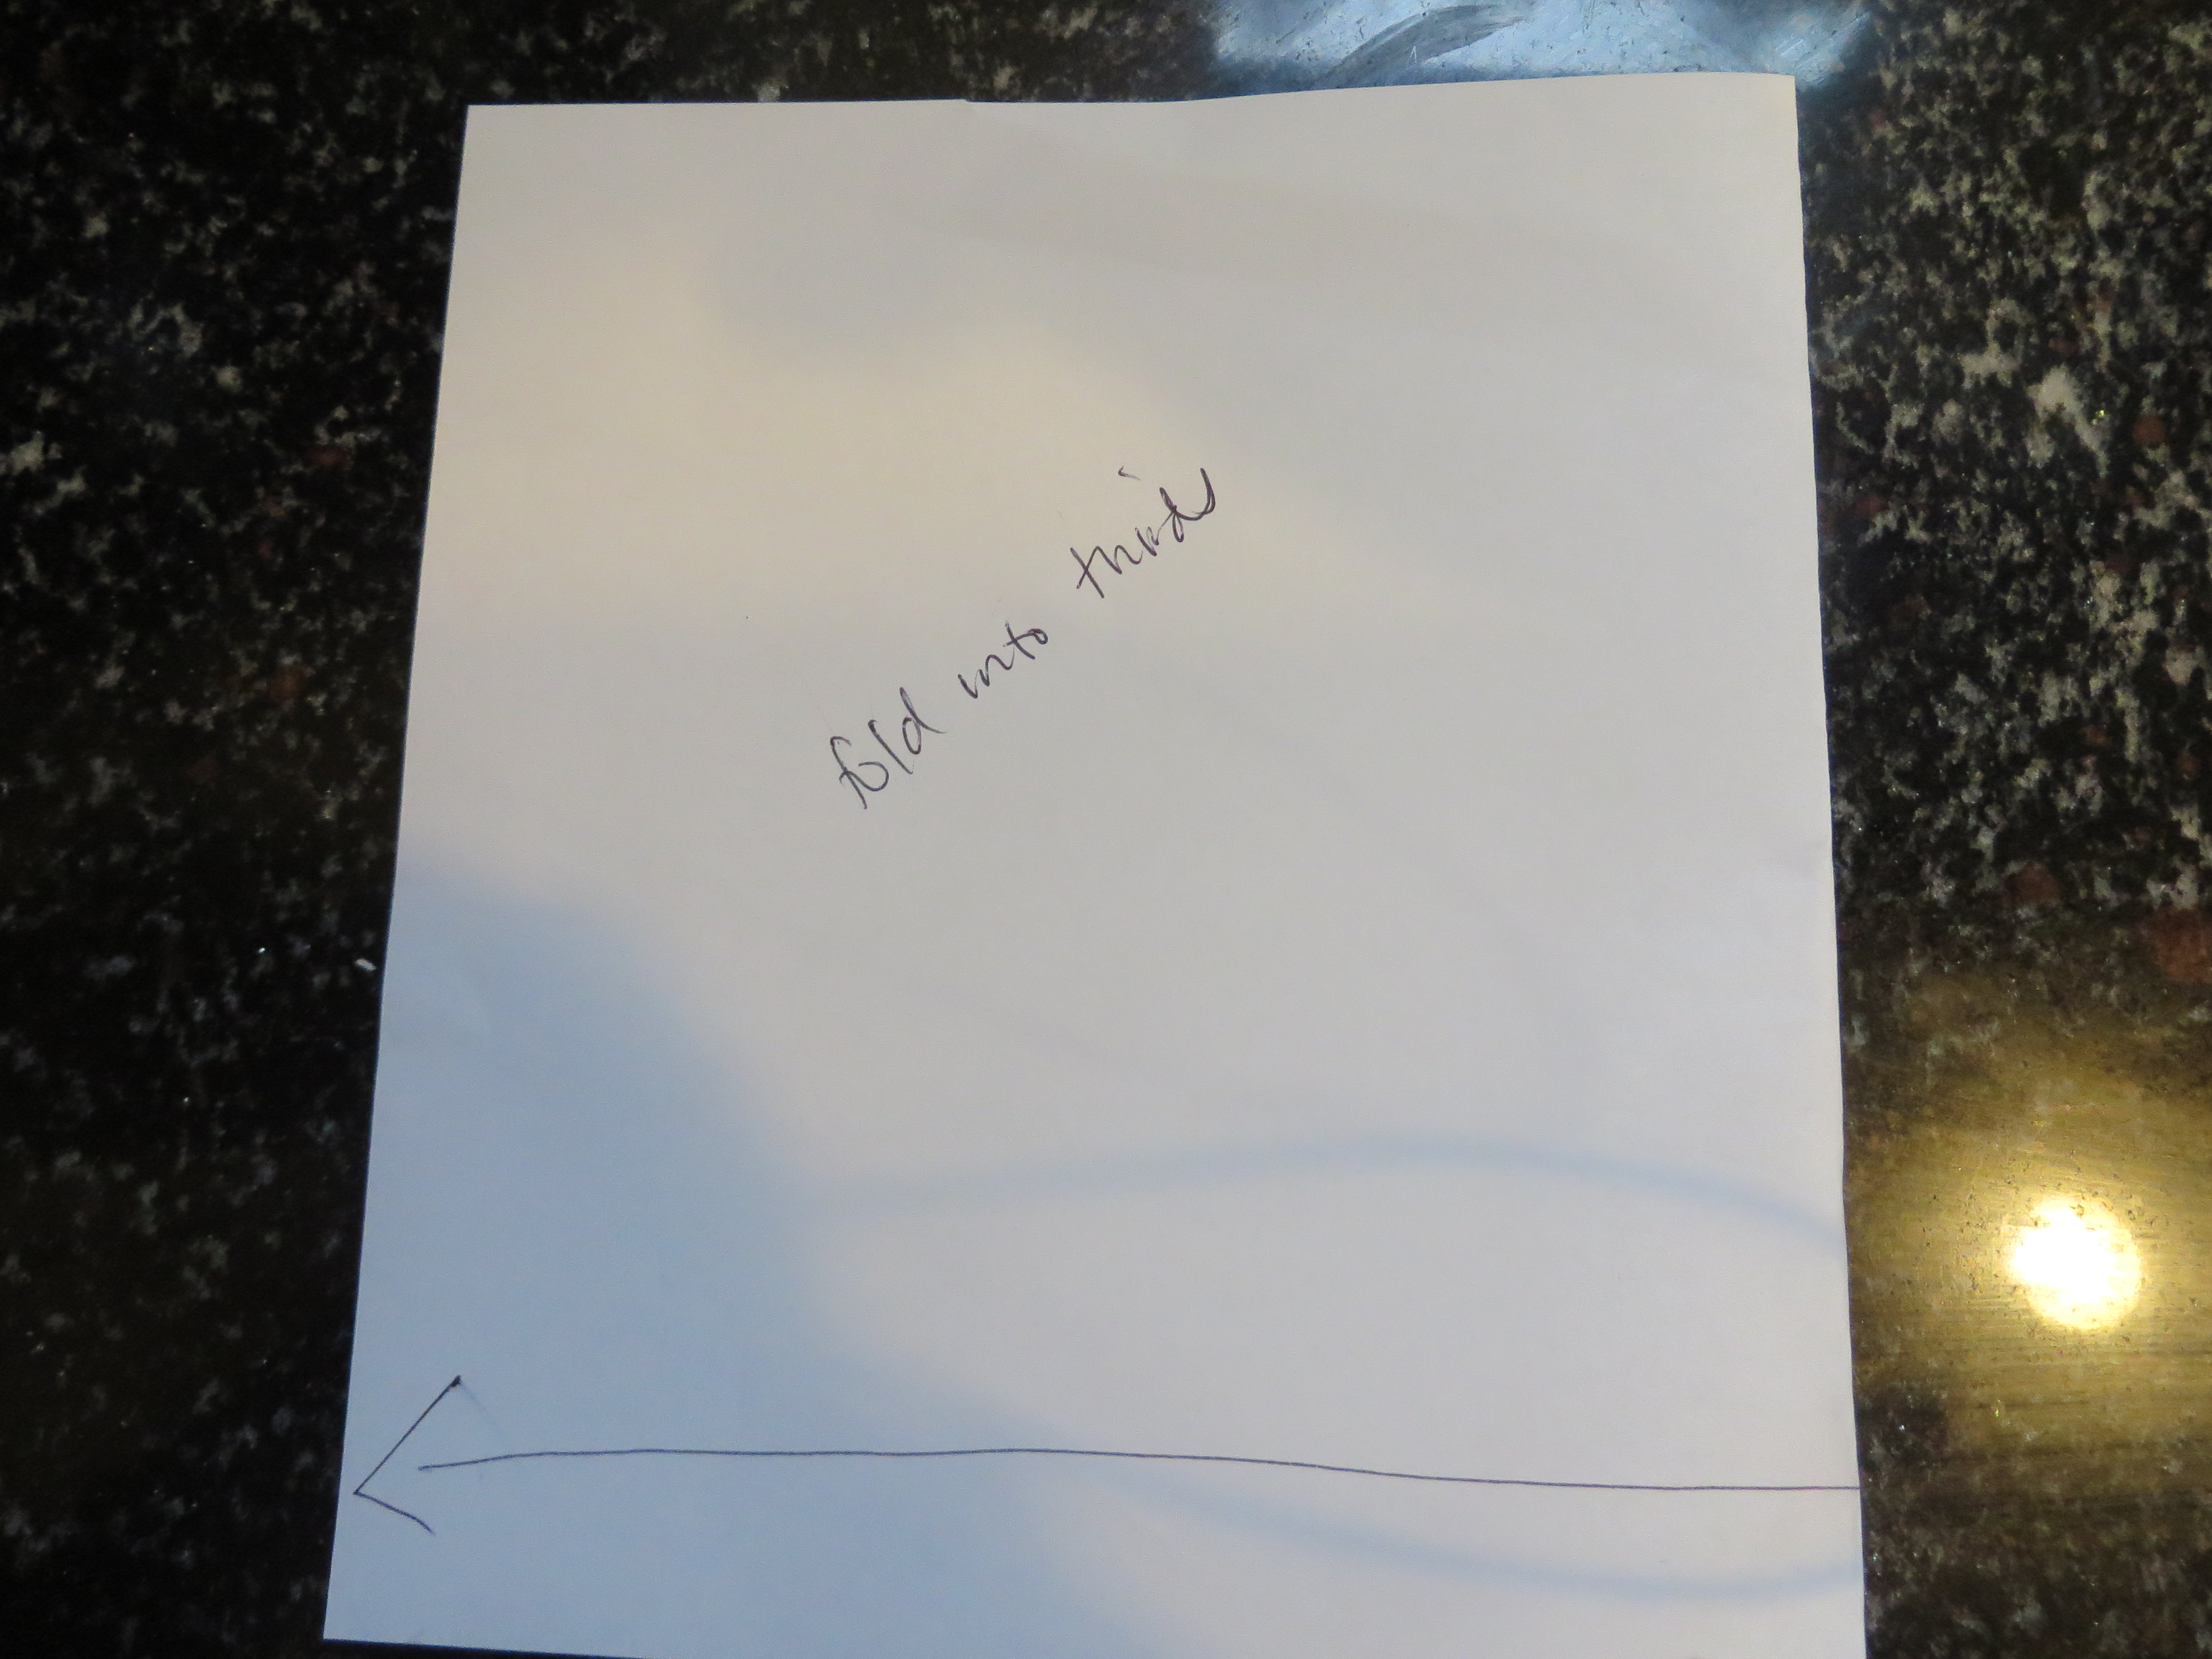
To do this, we need to first fold the paper into equal thirds, like this:
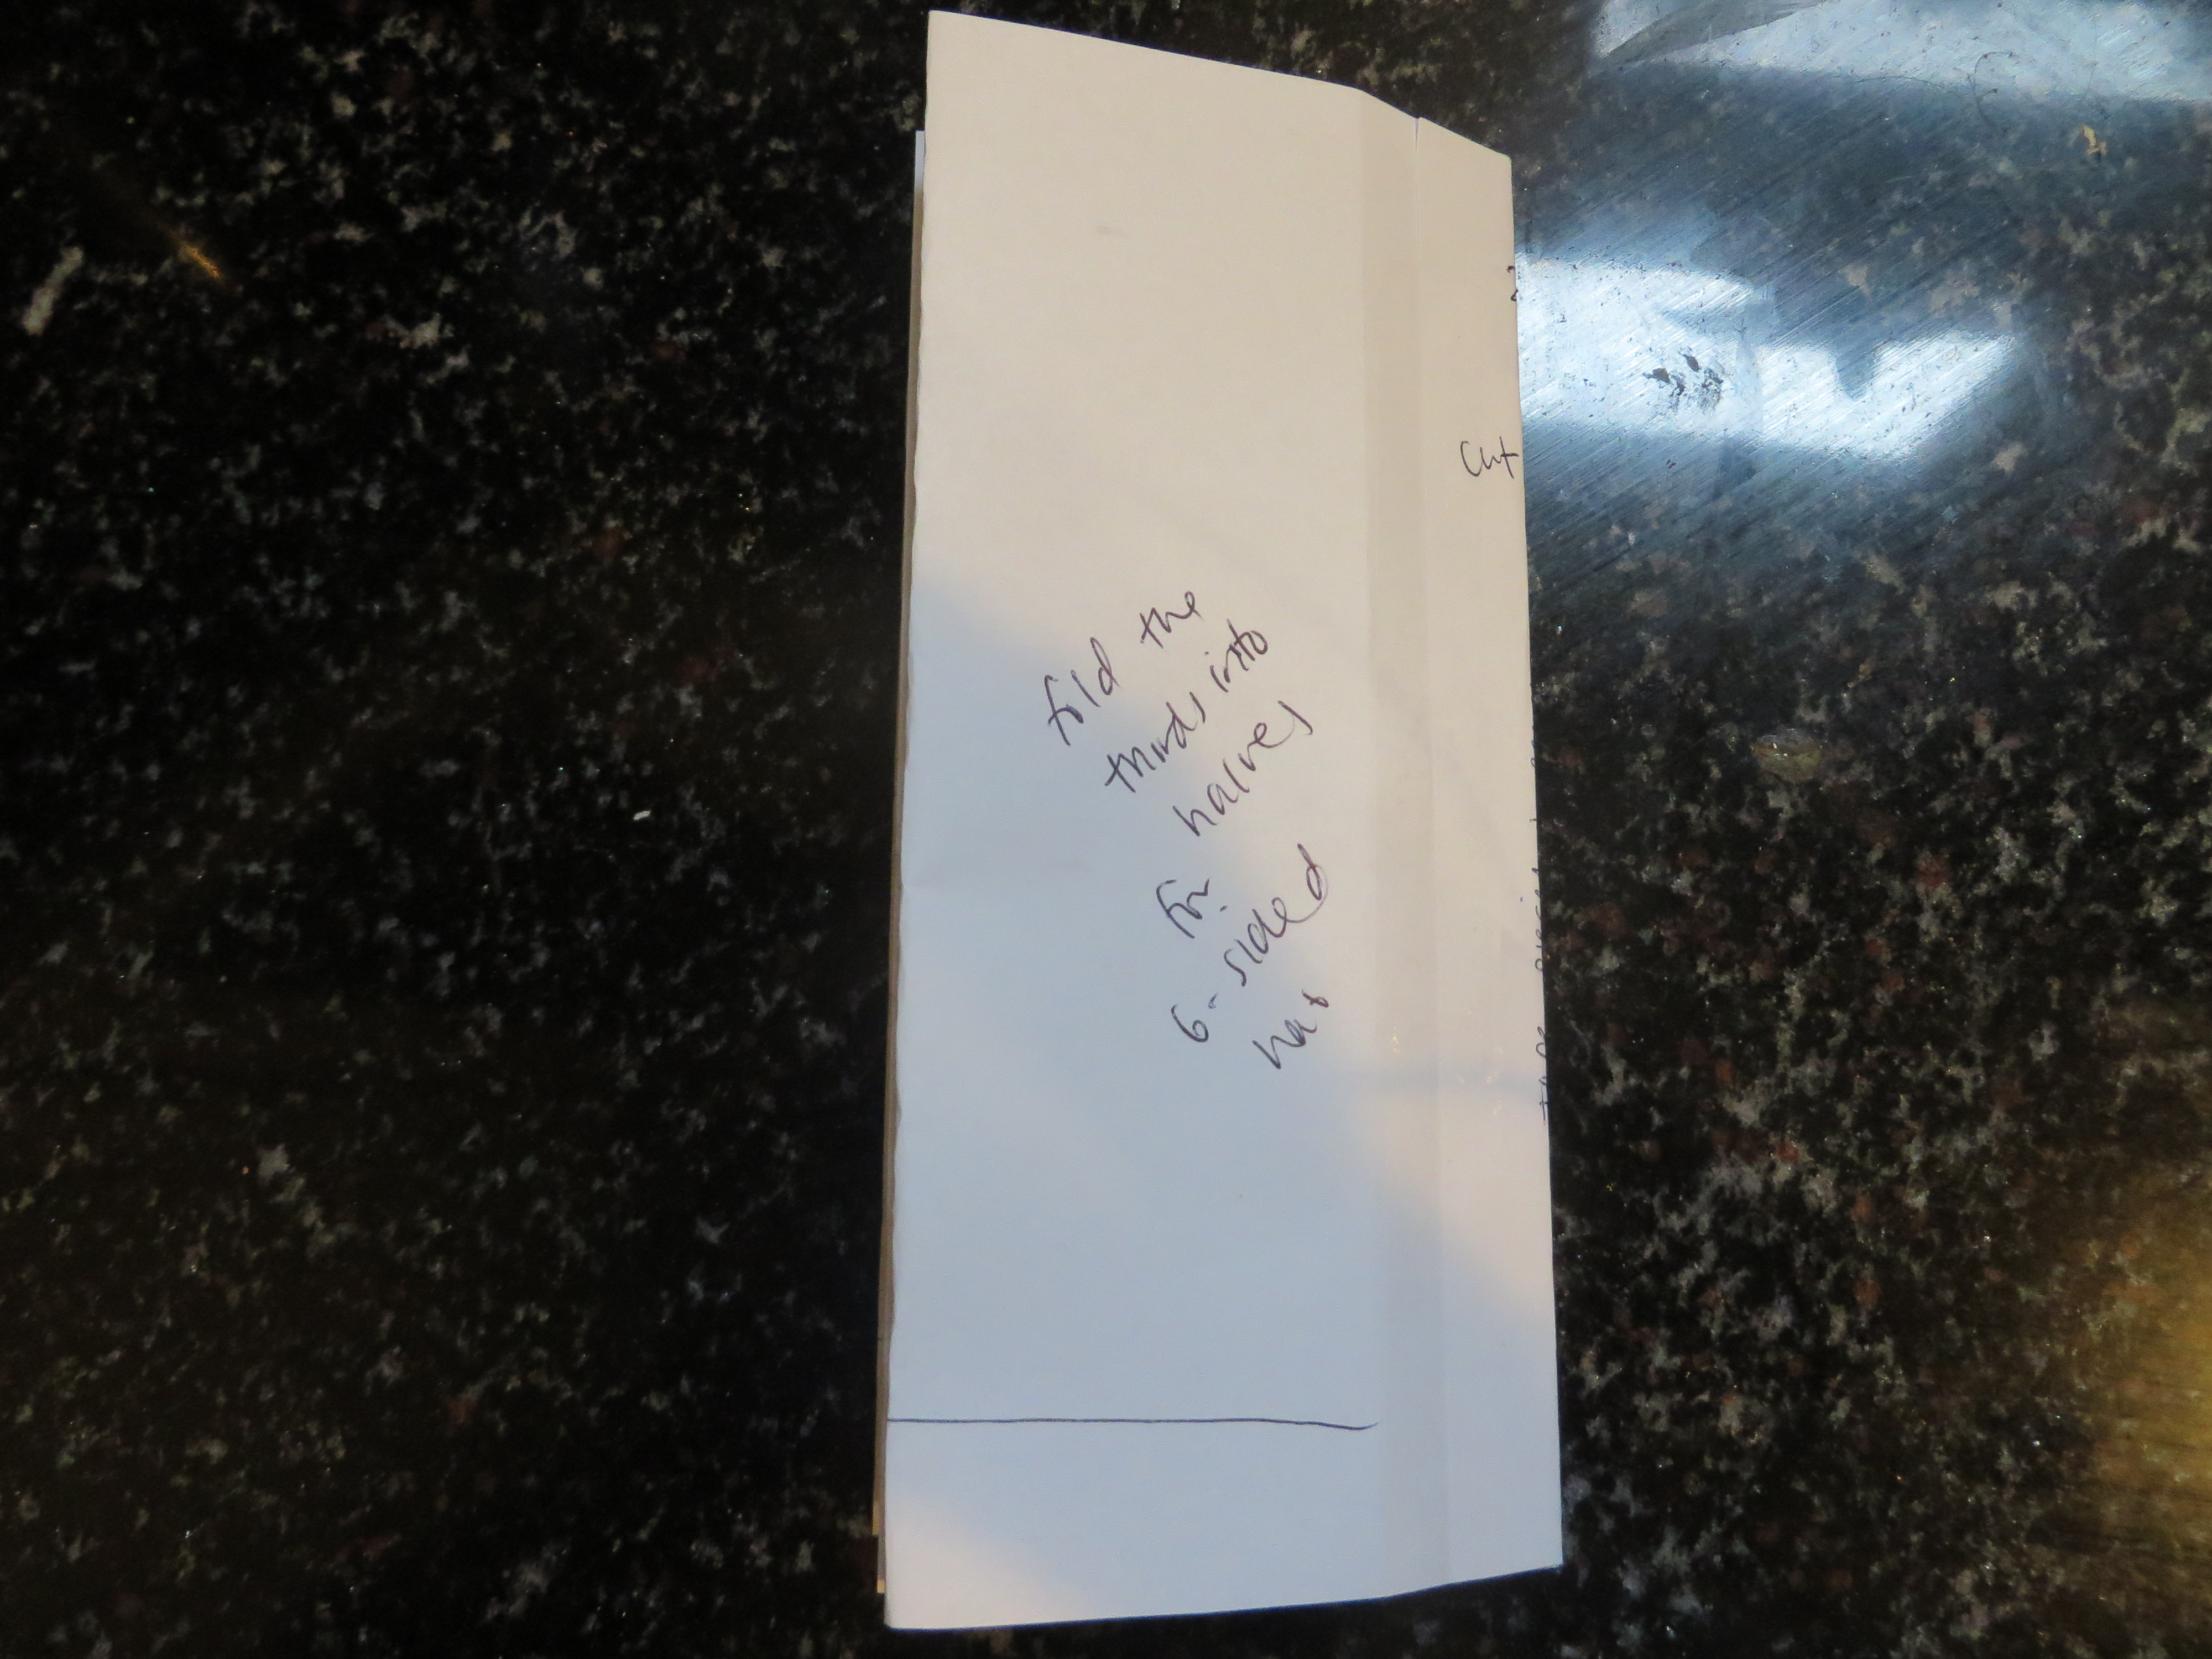
Now we have a three-panel hat, which we don’t want! So we have to fold what we have here in half, to make six panels.
So fold this in half.
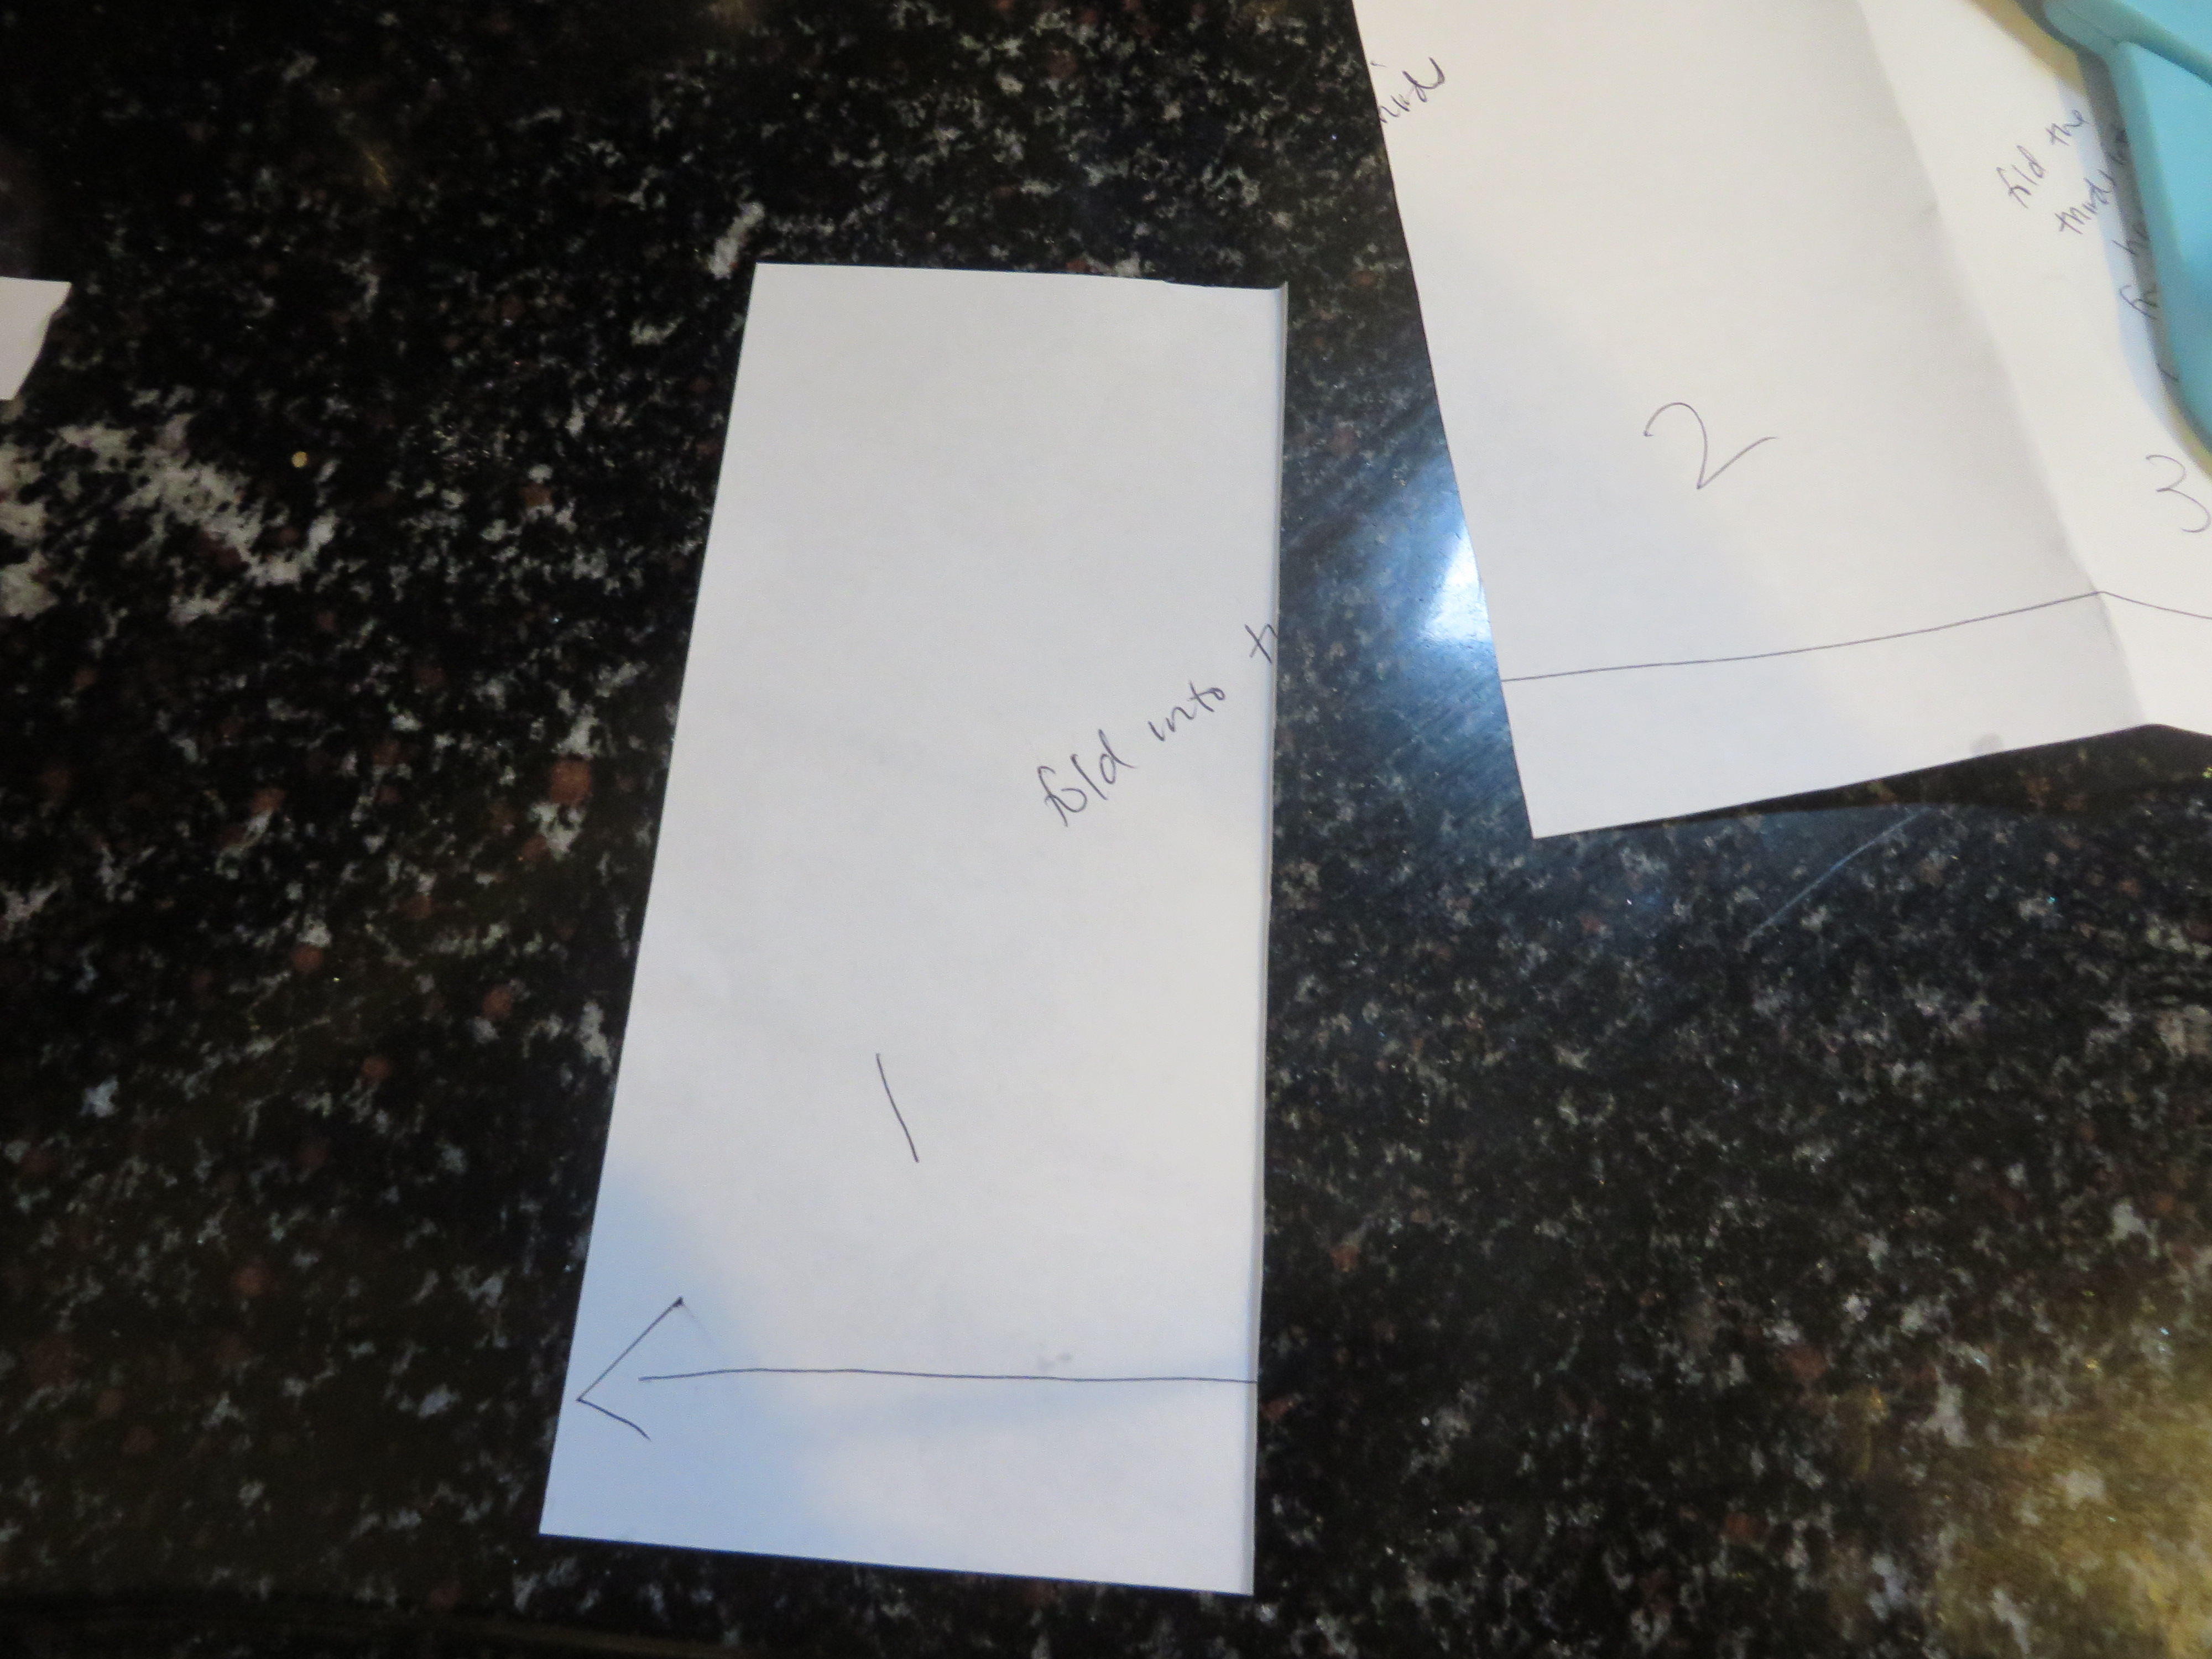
Now you want to cut on one of the lines to get one section of the pattern to make the shape of your hat.
Next, fold this in half, and cut a rounded edge on top. (You are folding in half to get this as symmetrical as possible.)

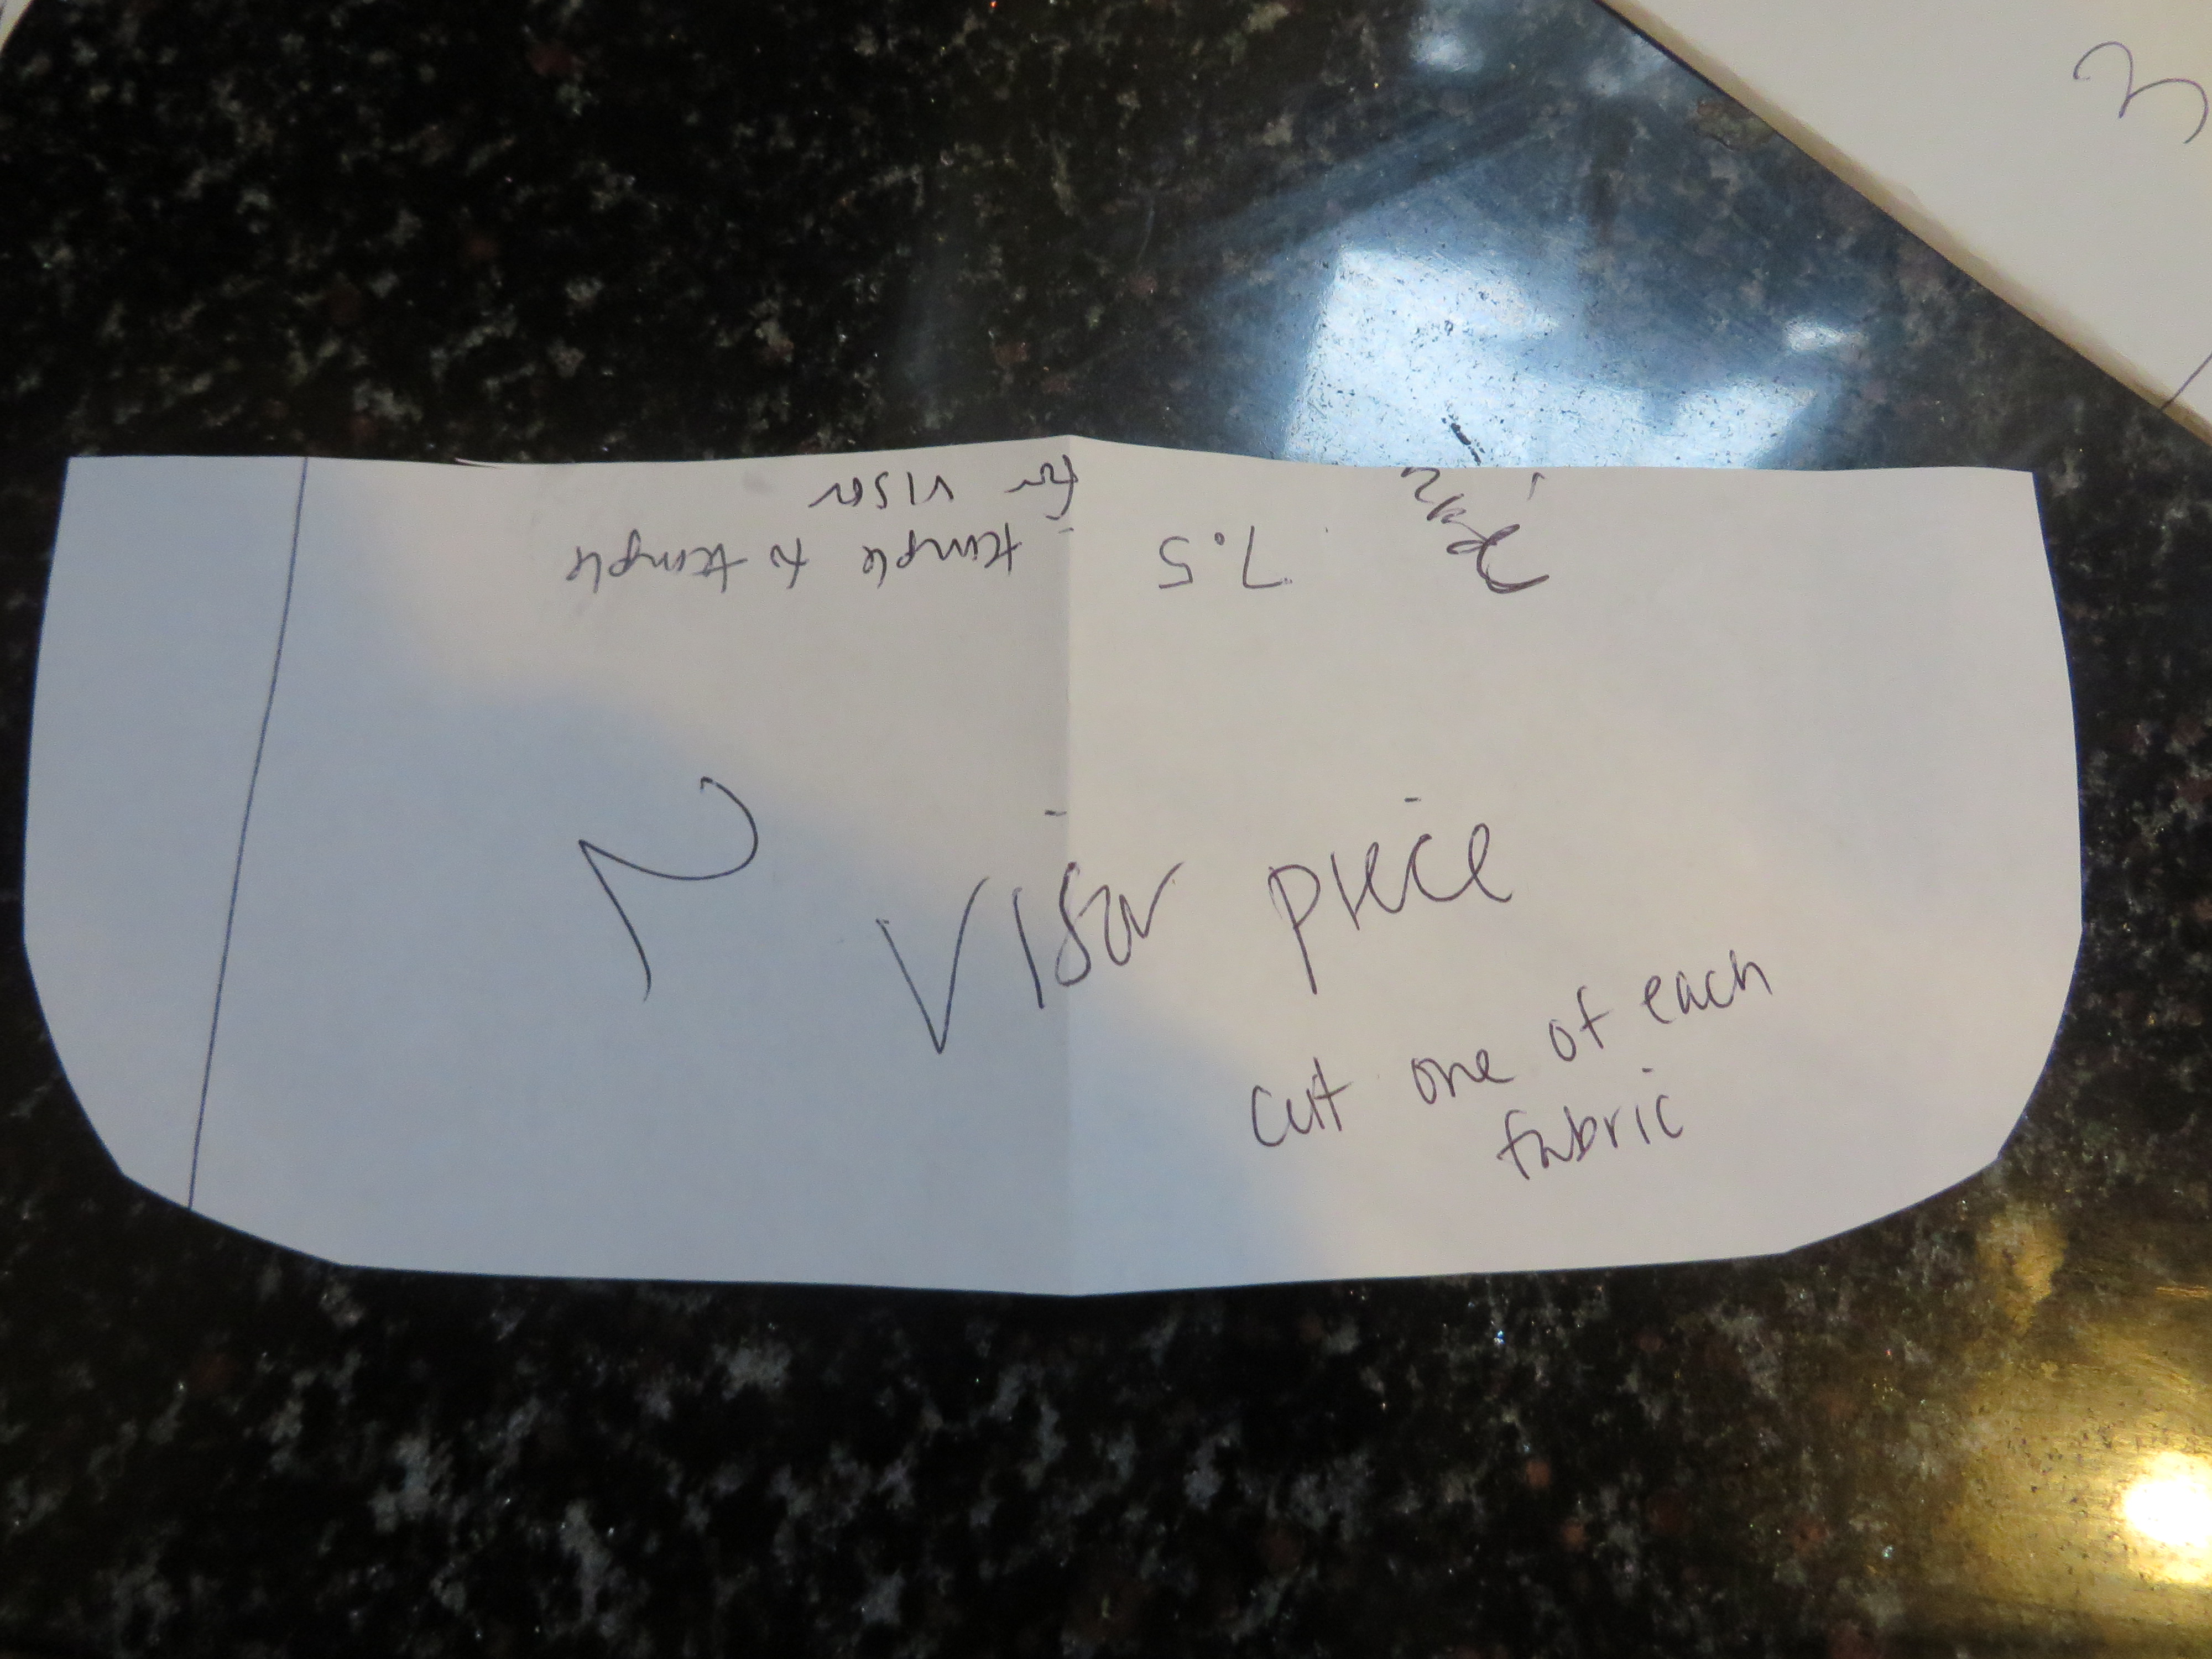
Set this aside, and let’s make a visor.
For the visor, I like to measure the forehead, temple to temple to get the width. For the depth, I usually do about four to five inches, but it’s really to eye. What I love about this pattern that we are making is that I literally just used an extra portion of the six panels we don’t need to create the visor!
Check it out:

Fold this in half and shape to a visor that is pleasing to you!

Open this up to reveal final visor shape.
Guess what?! You just created an awesome, totally custom pattern all by yourself! Seriously, if you’ve never done this before, it should feel awesome. (It still feels awesome to me every time I create a workable pattern from scratch!)
Now we can cut the fabric! As they used to say when I was young, fifty years ago, Holla!
Here’s what you need to cut out:
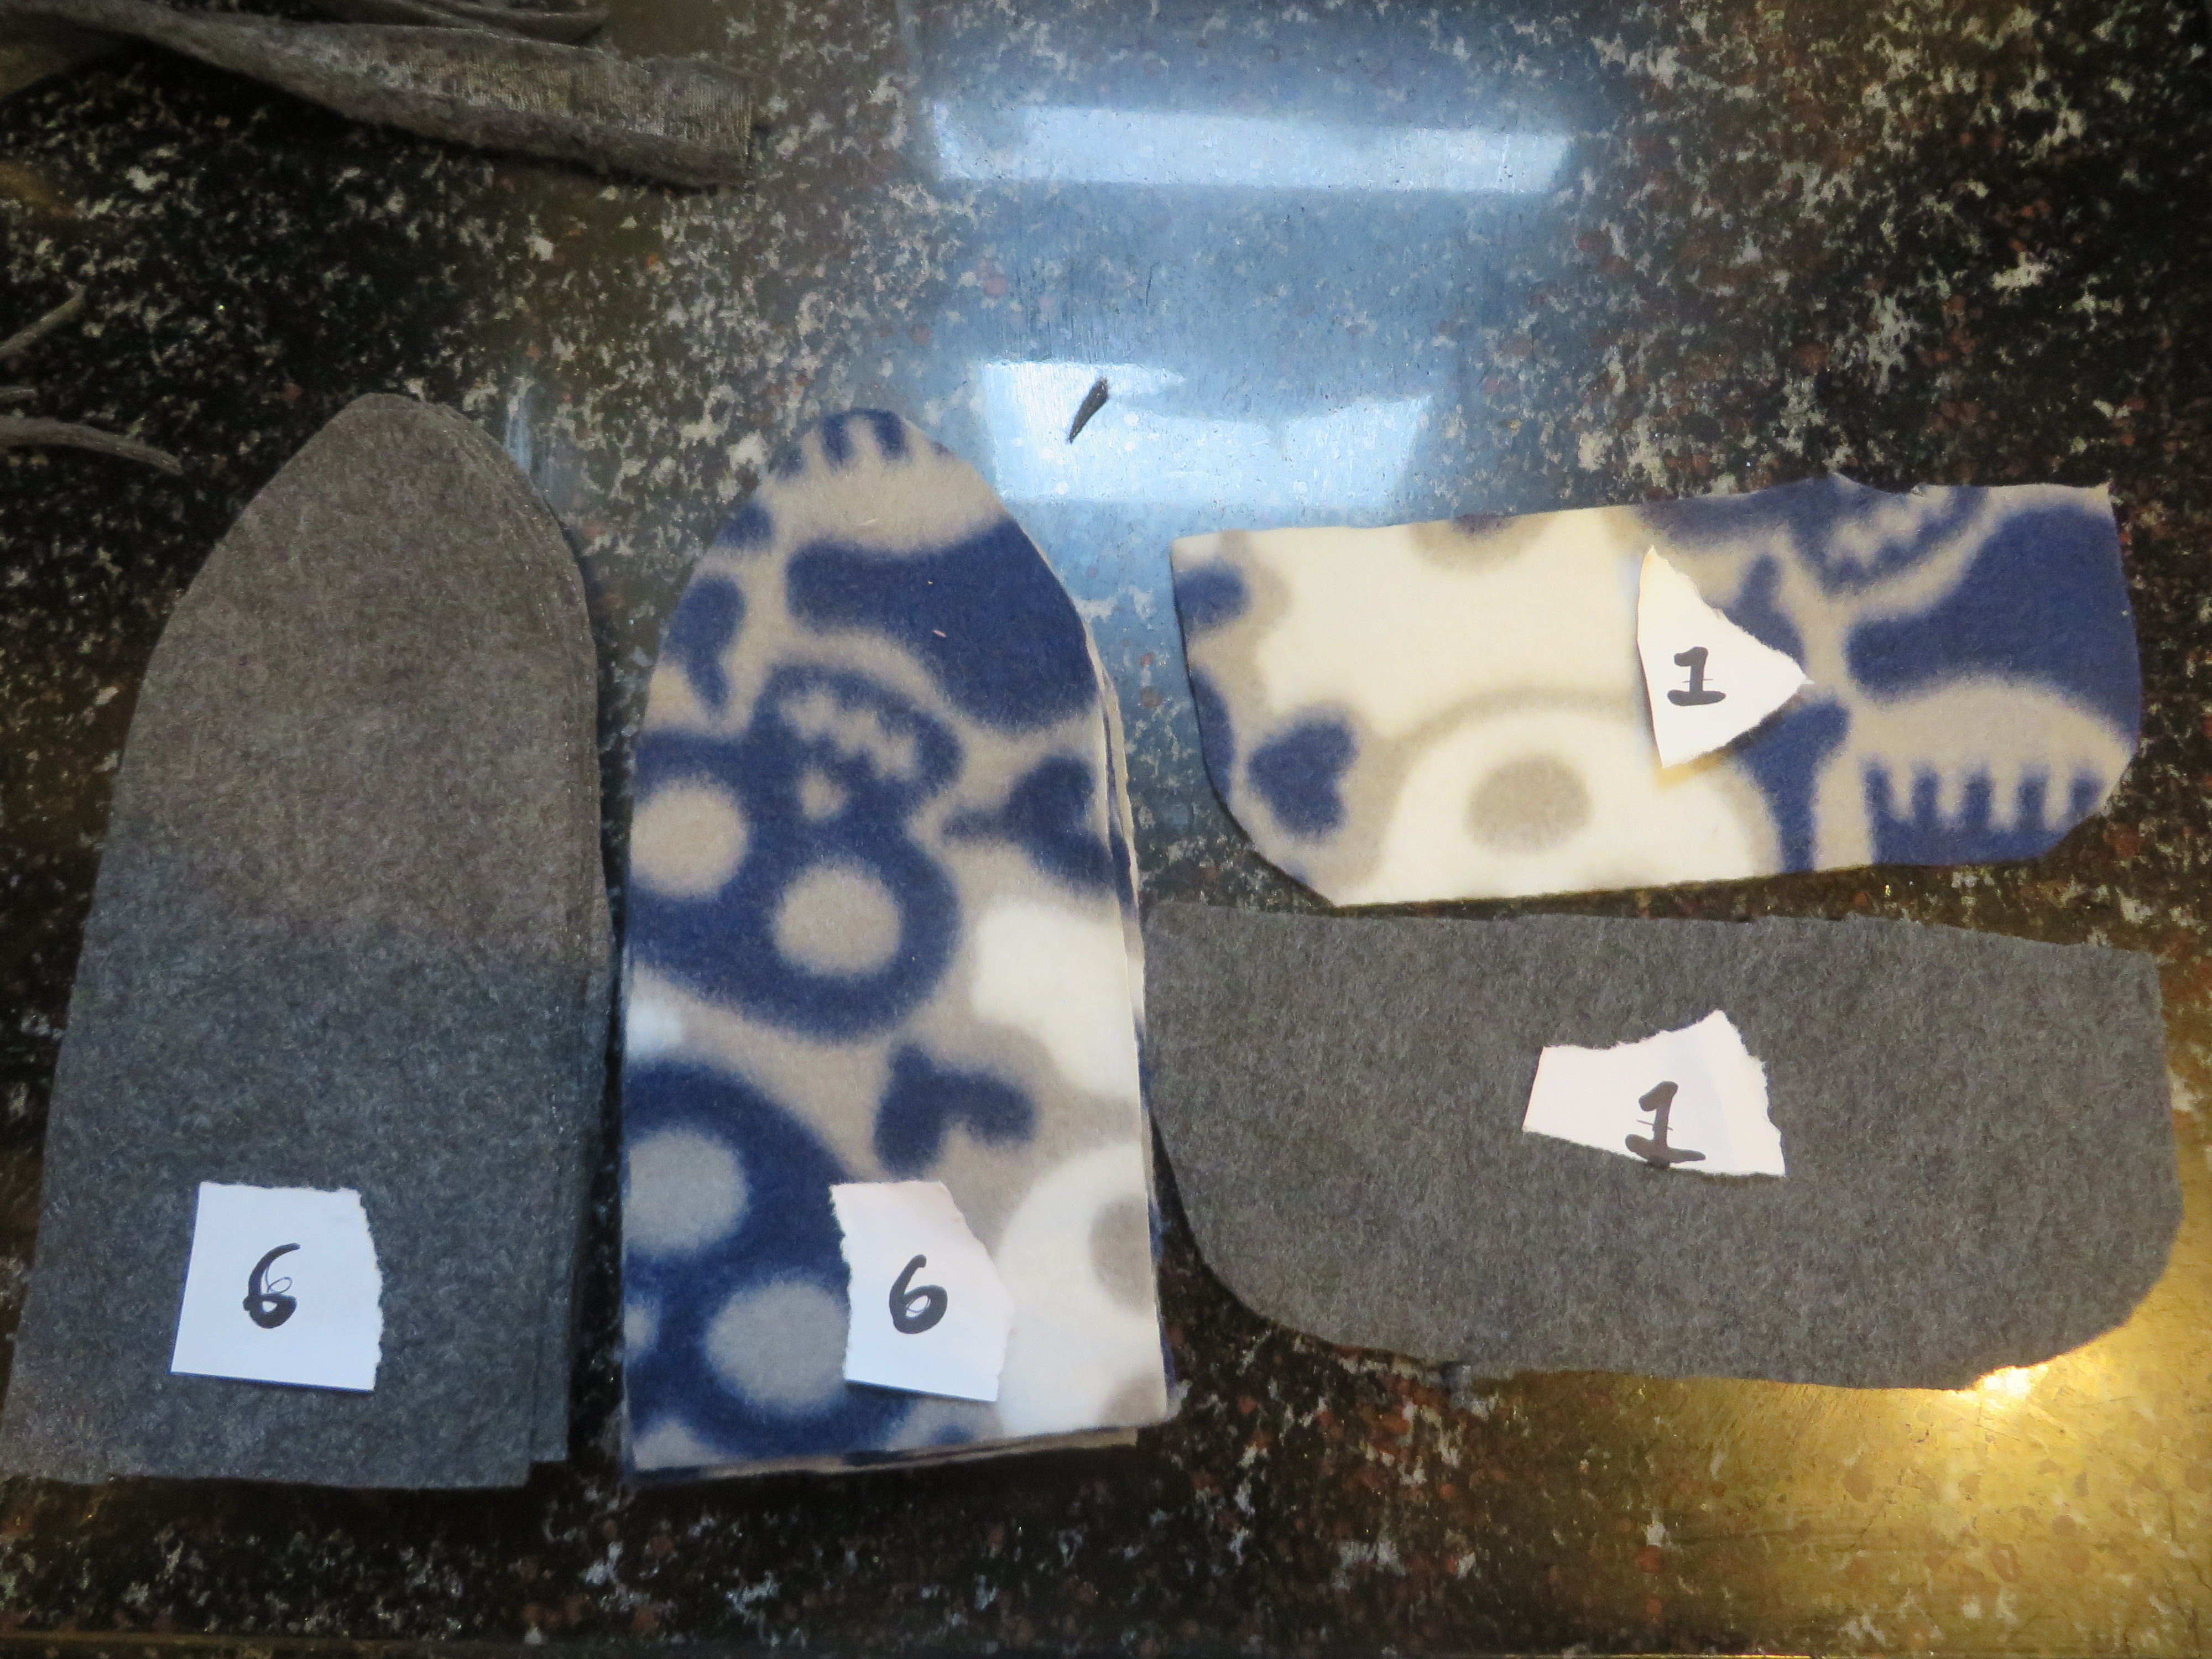
Should be obvious in the picture, but I want you to achieve complete success with this, so let’s just go over it. Cut six of each fabric into your hat panel piece, and cut one of each piece of fabric in your visor piece. You have a total of fourteen pieces to assemble this hat. Sounds like a lot, but, I swear, it’s really quick and easy.
Now for my favorite part. Let’s sew!
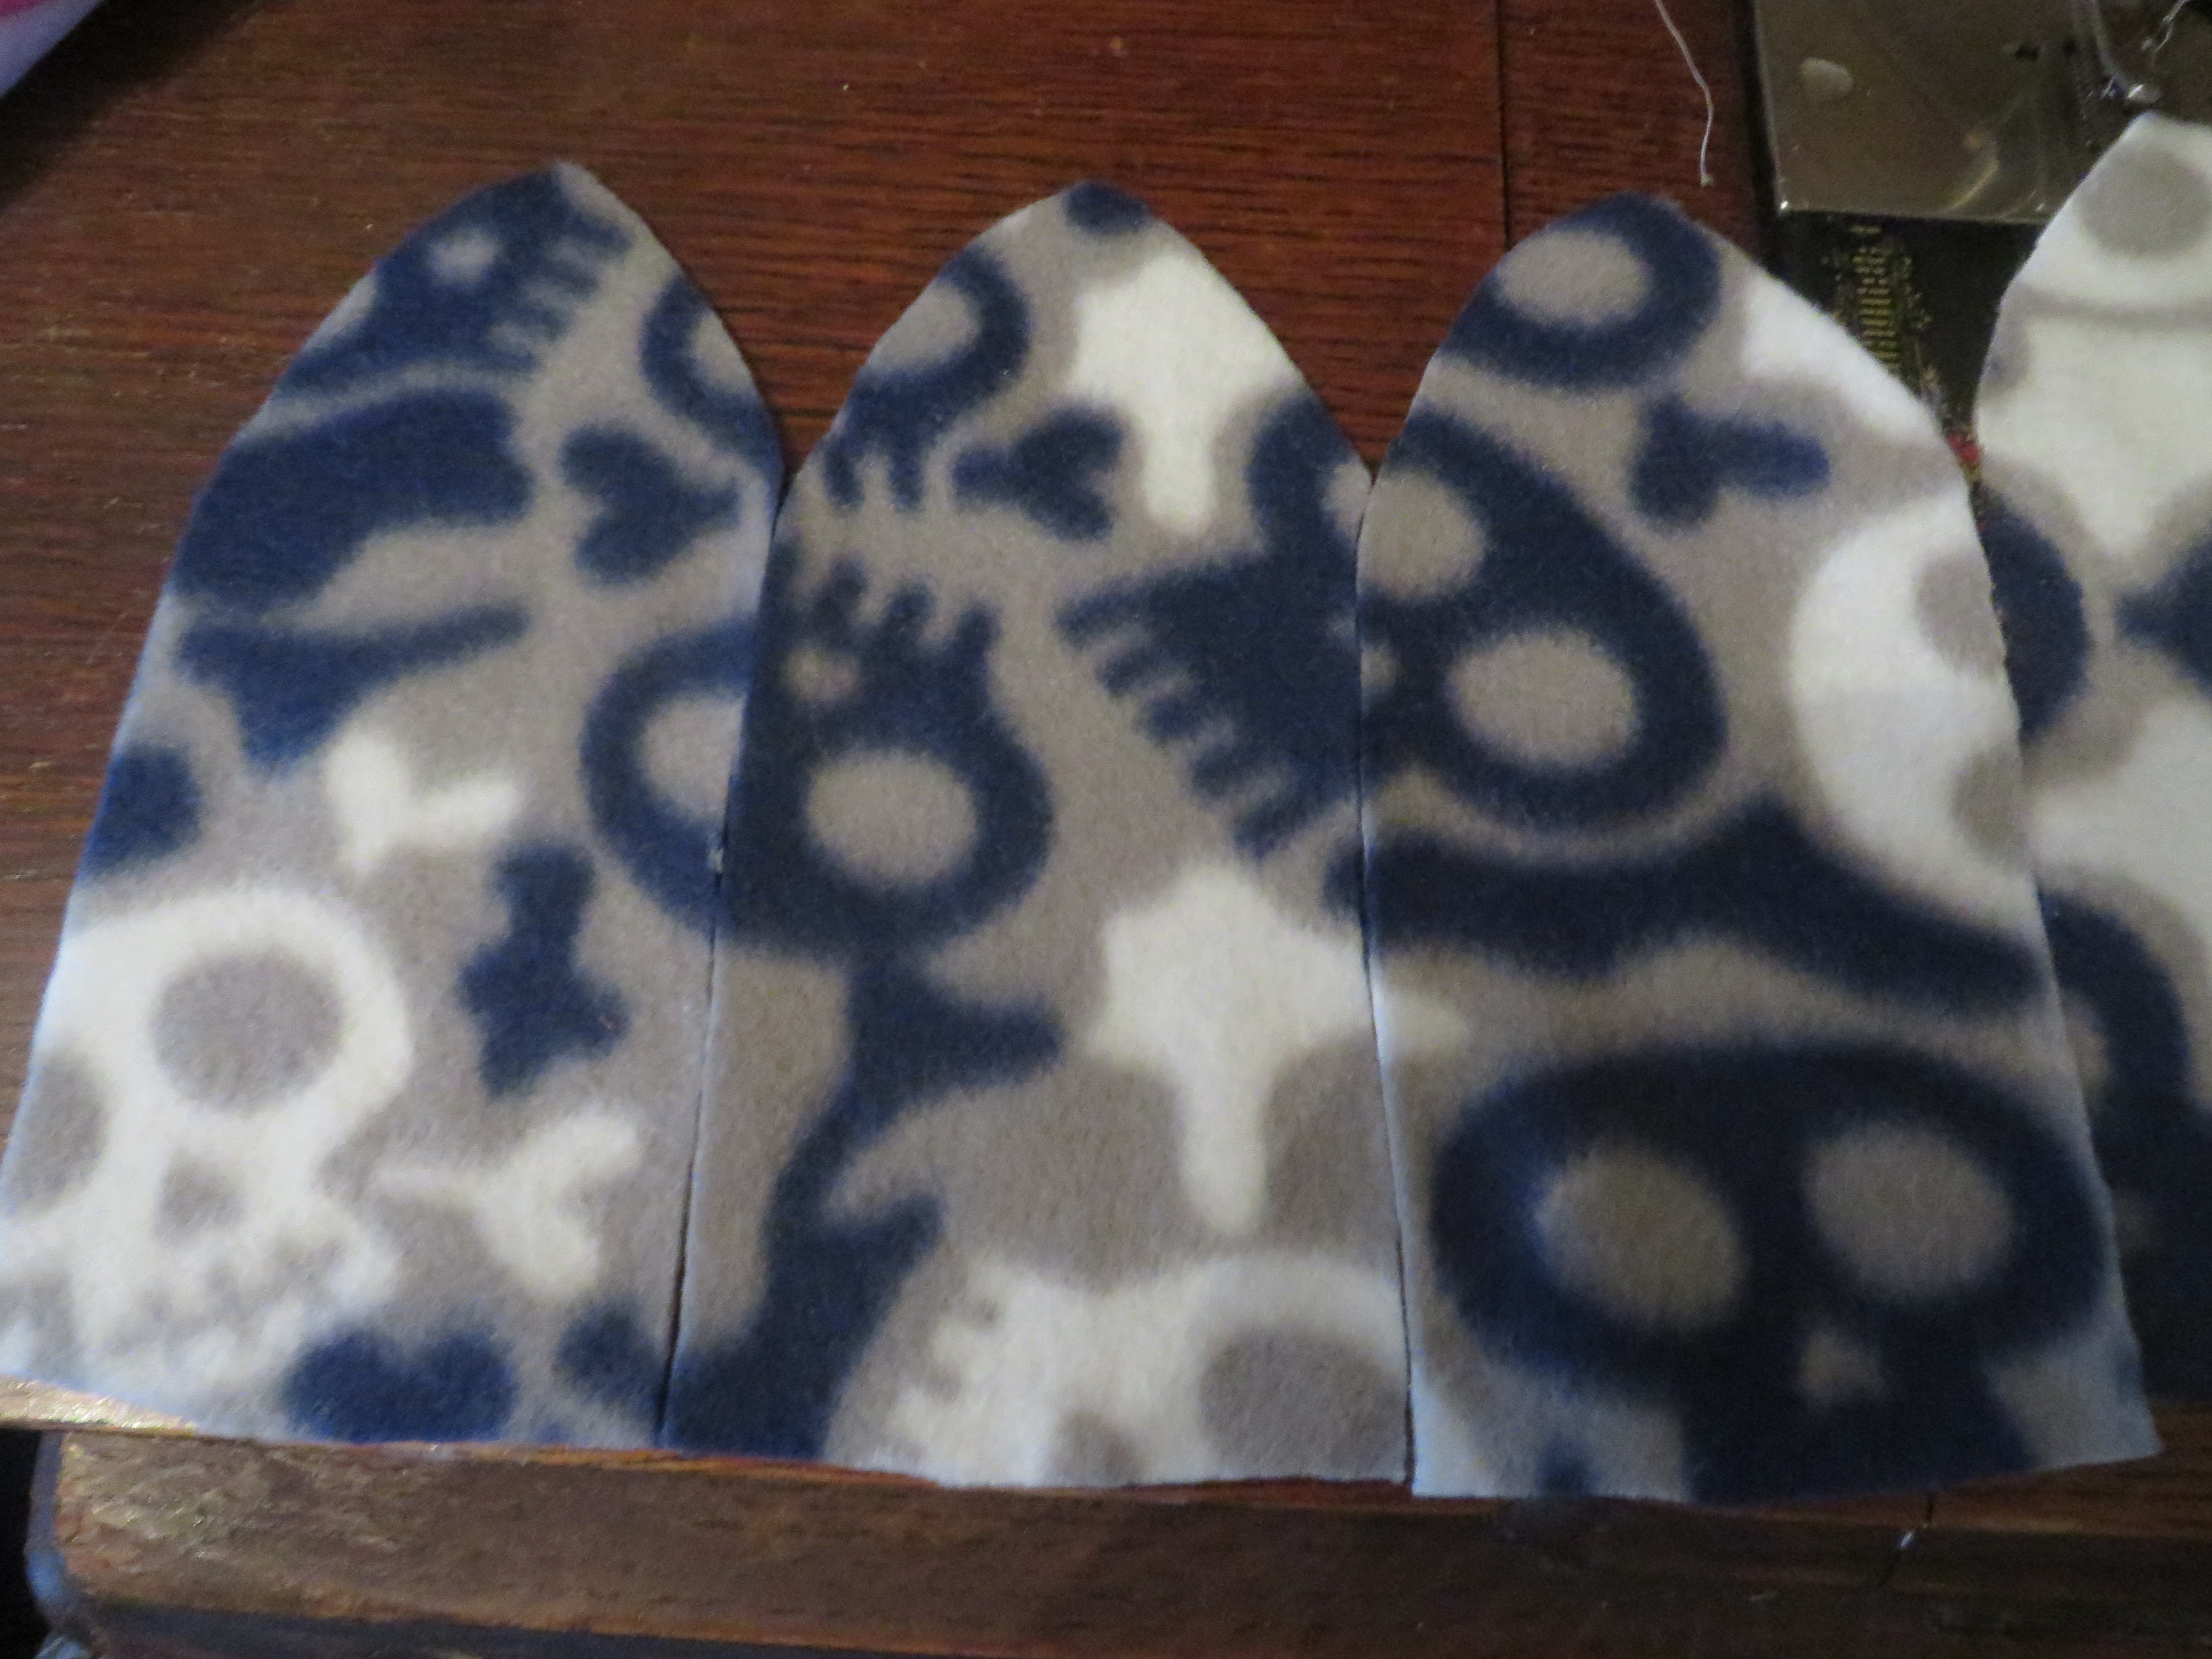
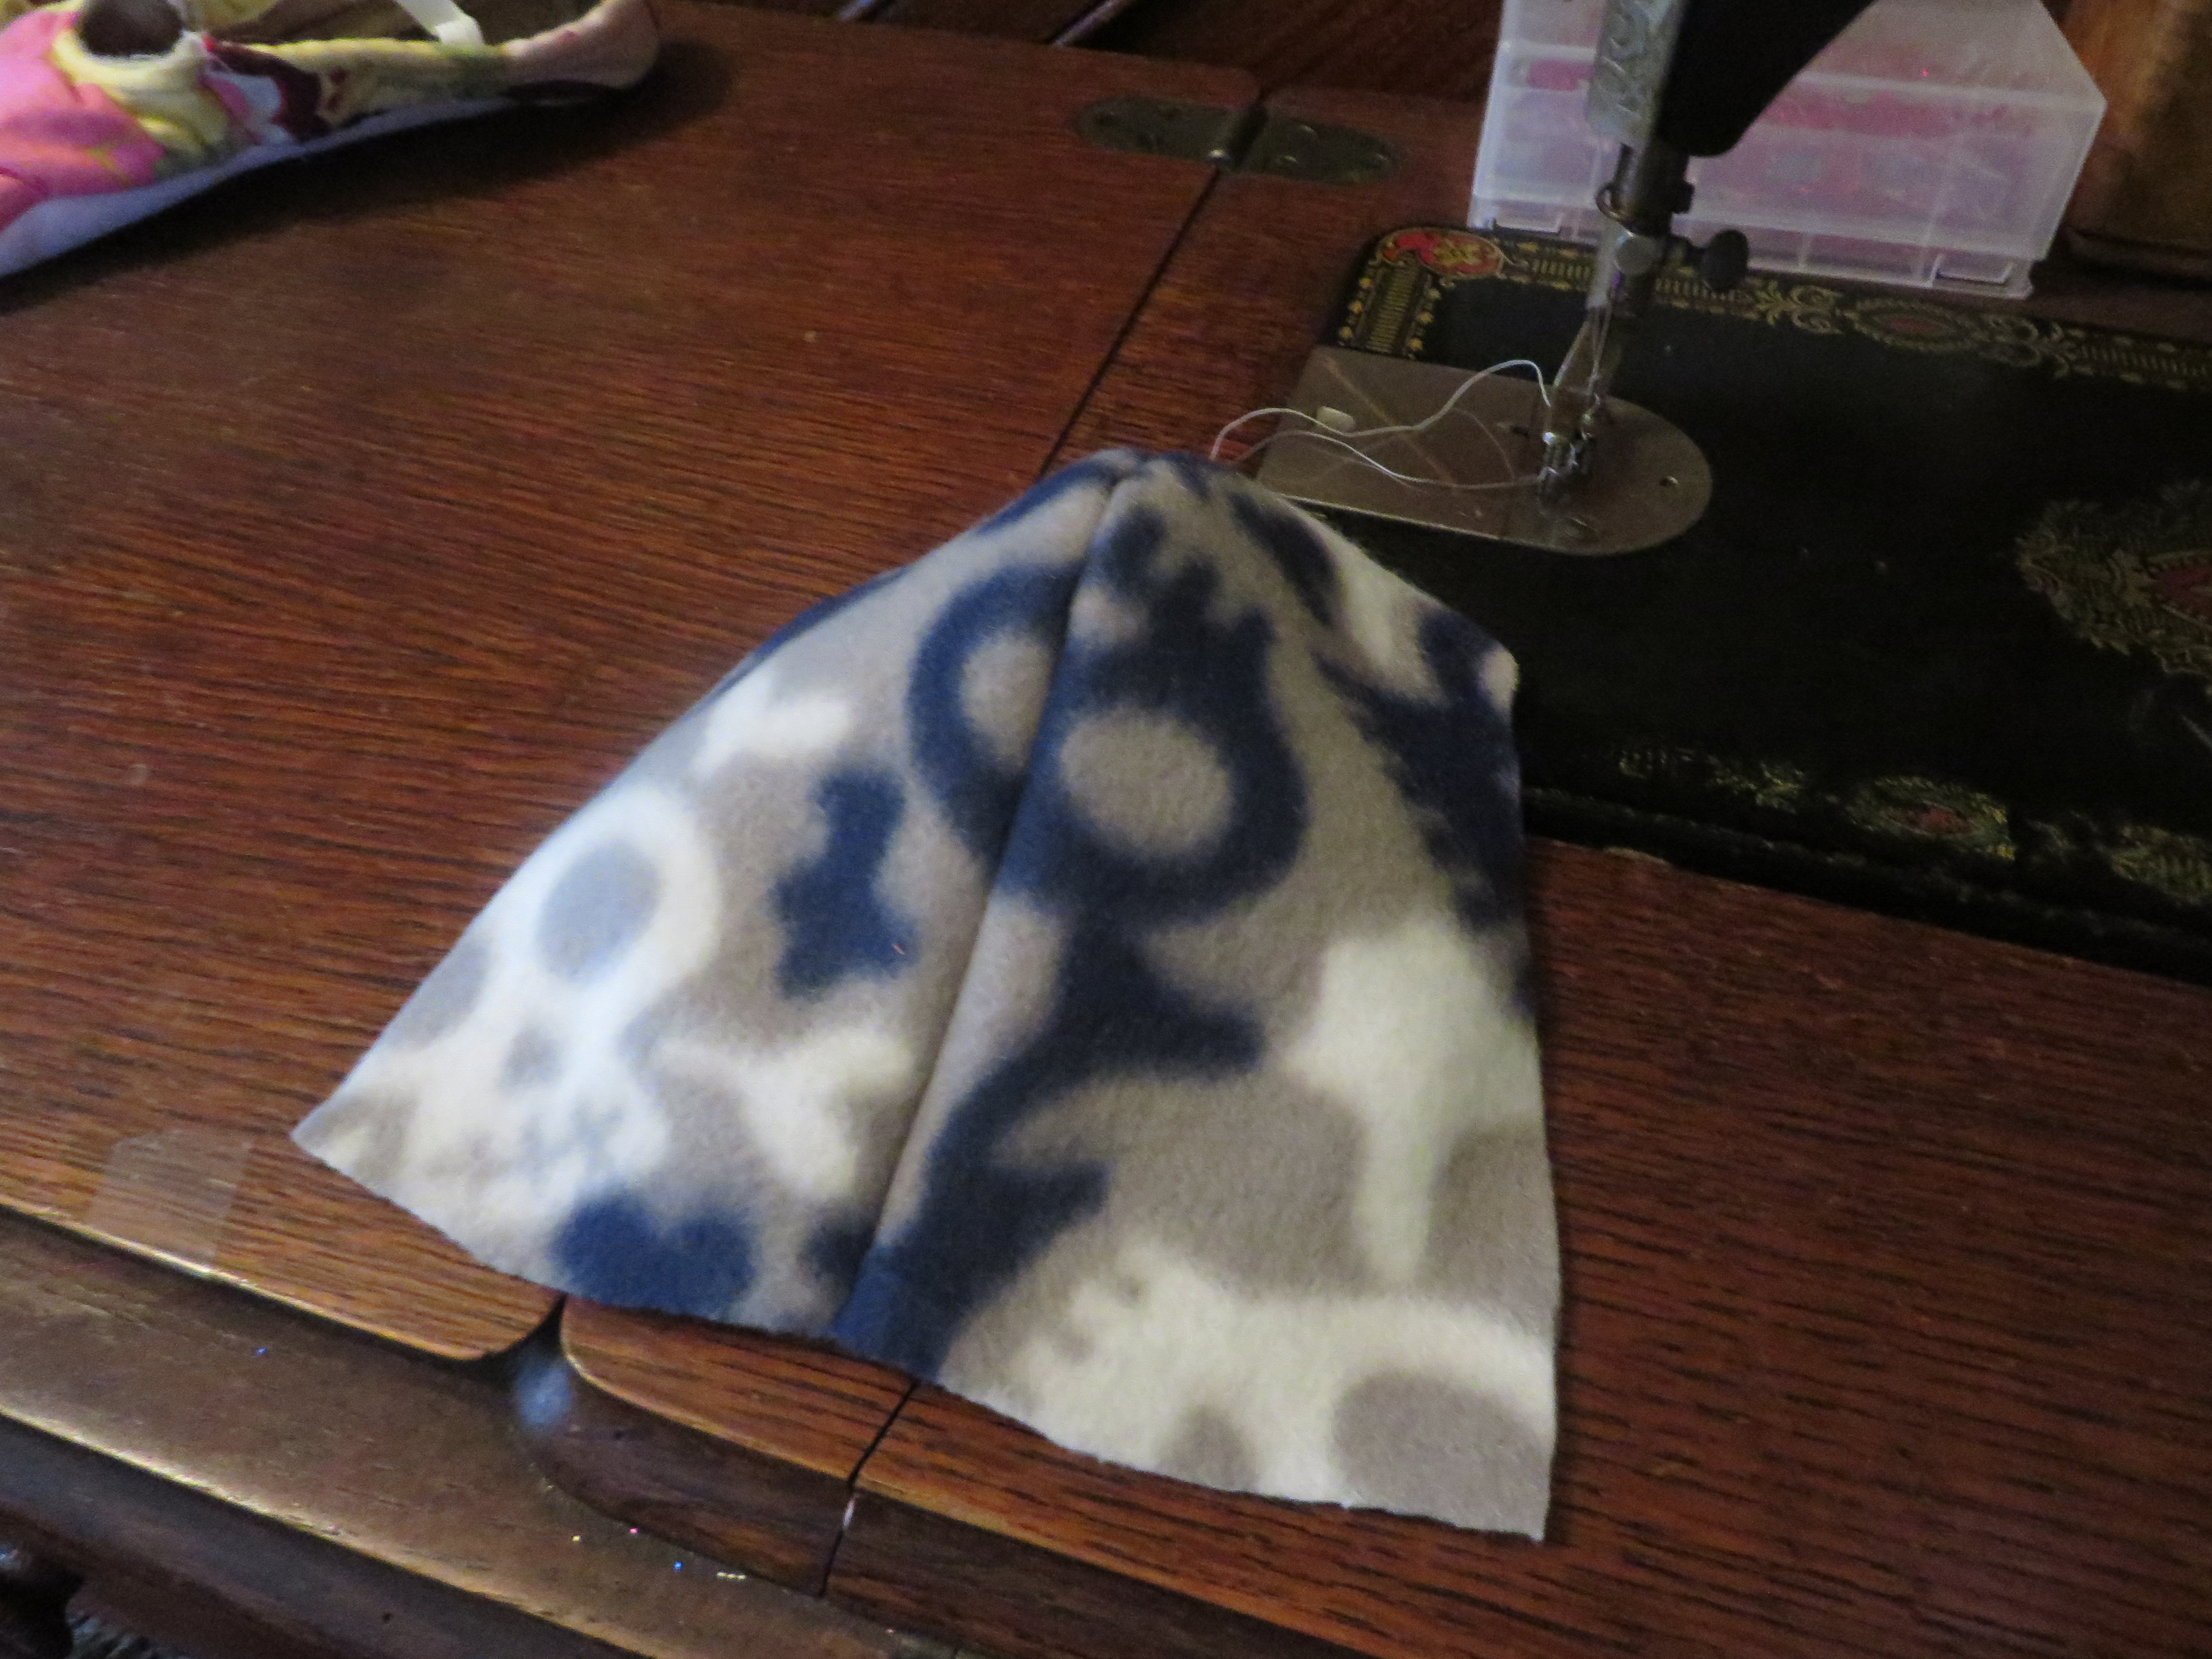
You want to take your like-fabric hat panels to your sewing machine and position two panels right sides together.
(Also, before I do any sewing, I like to lay out the panels to see if I can get the seams to line up and not look like seams. )
Like this:
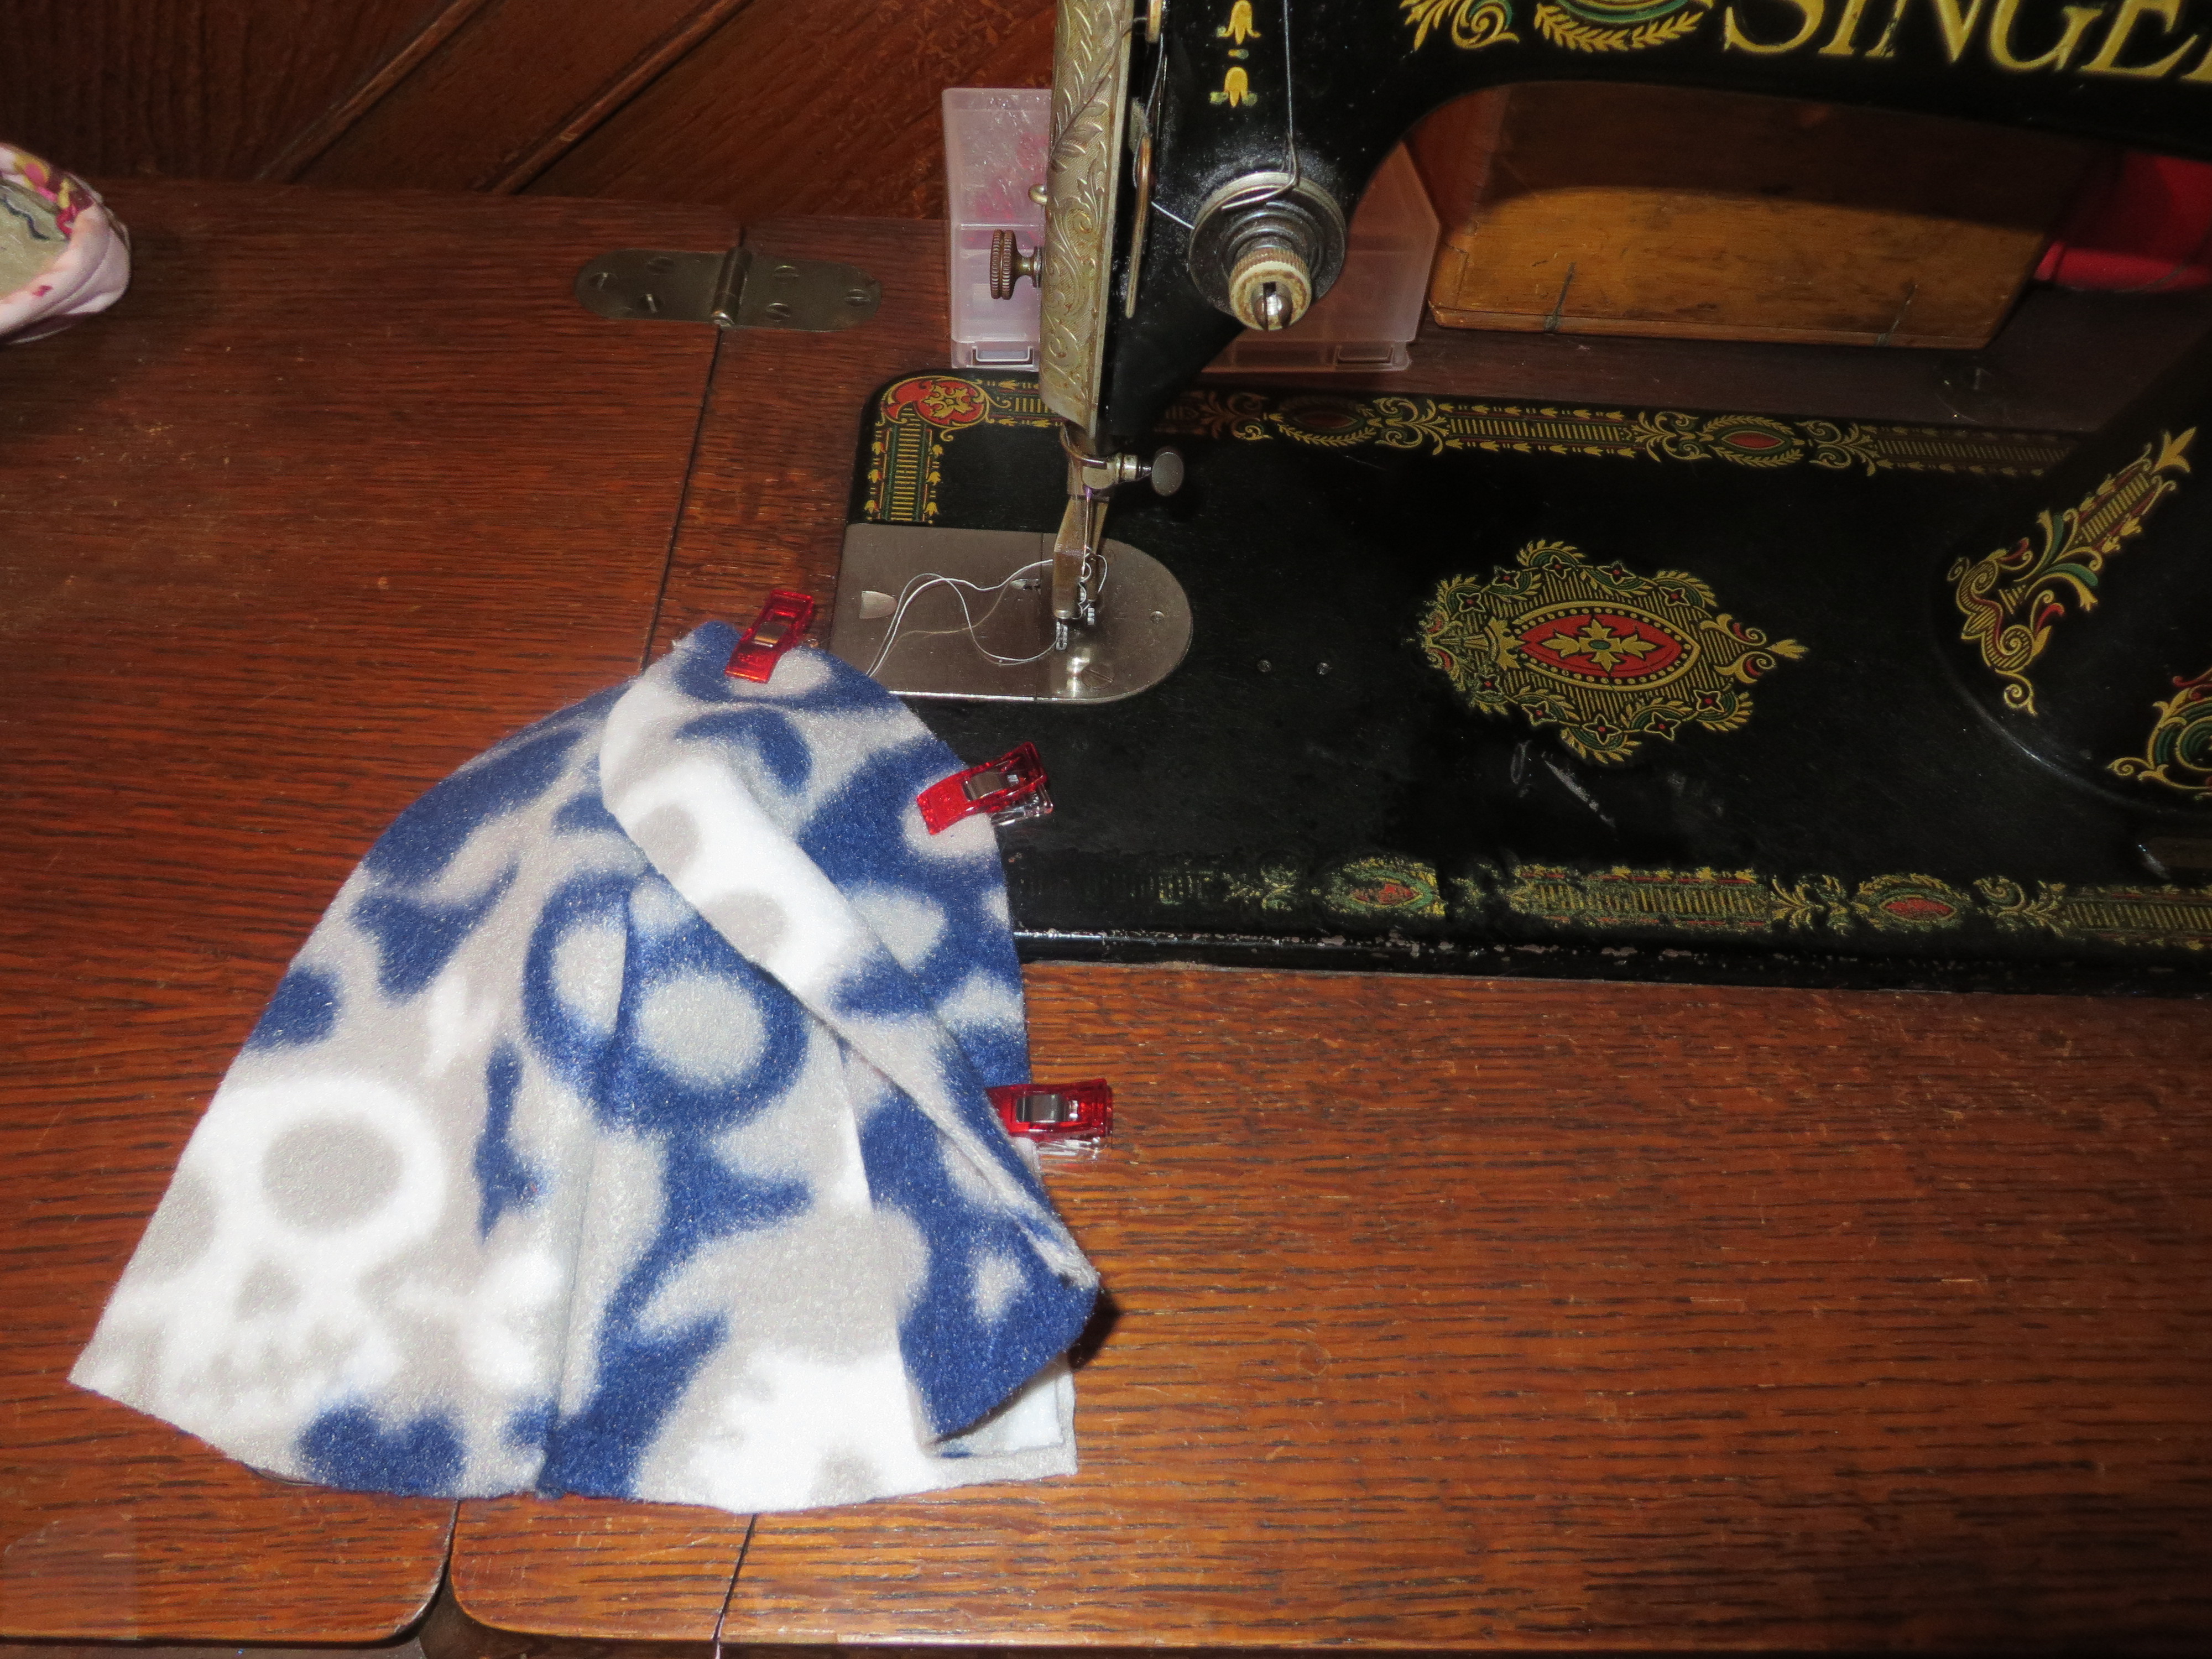
Pin or clip your fabric right sides together and sew only from the top point of your panel to the end of one side, like this:

Sew from the top middle point to the end of one side and turn right-side out.
Clip a third hat panel piece onto one of the already-sewn hat panels, right sides together.
Sew and turn right-side out.
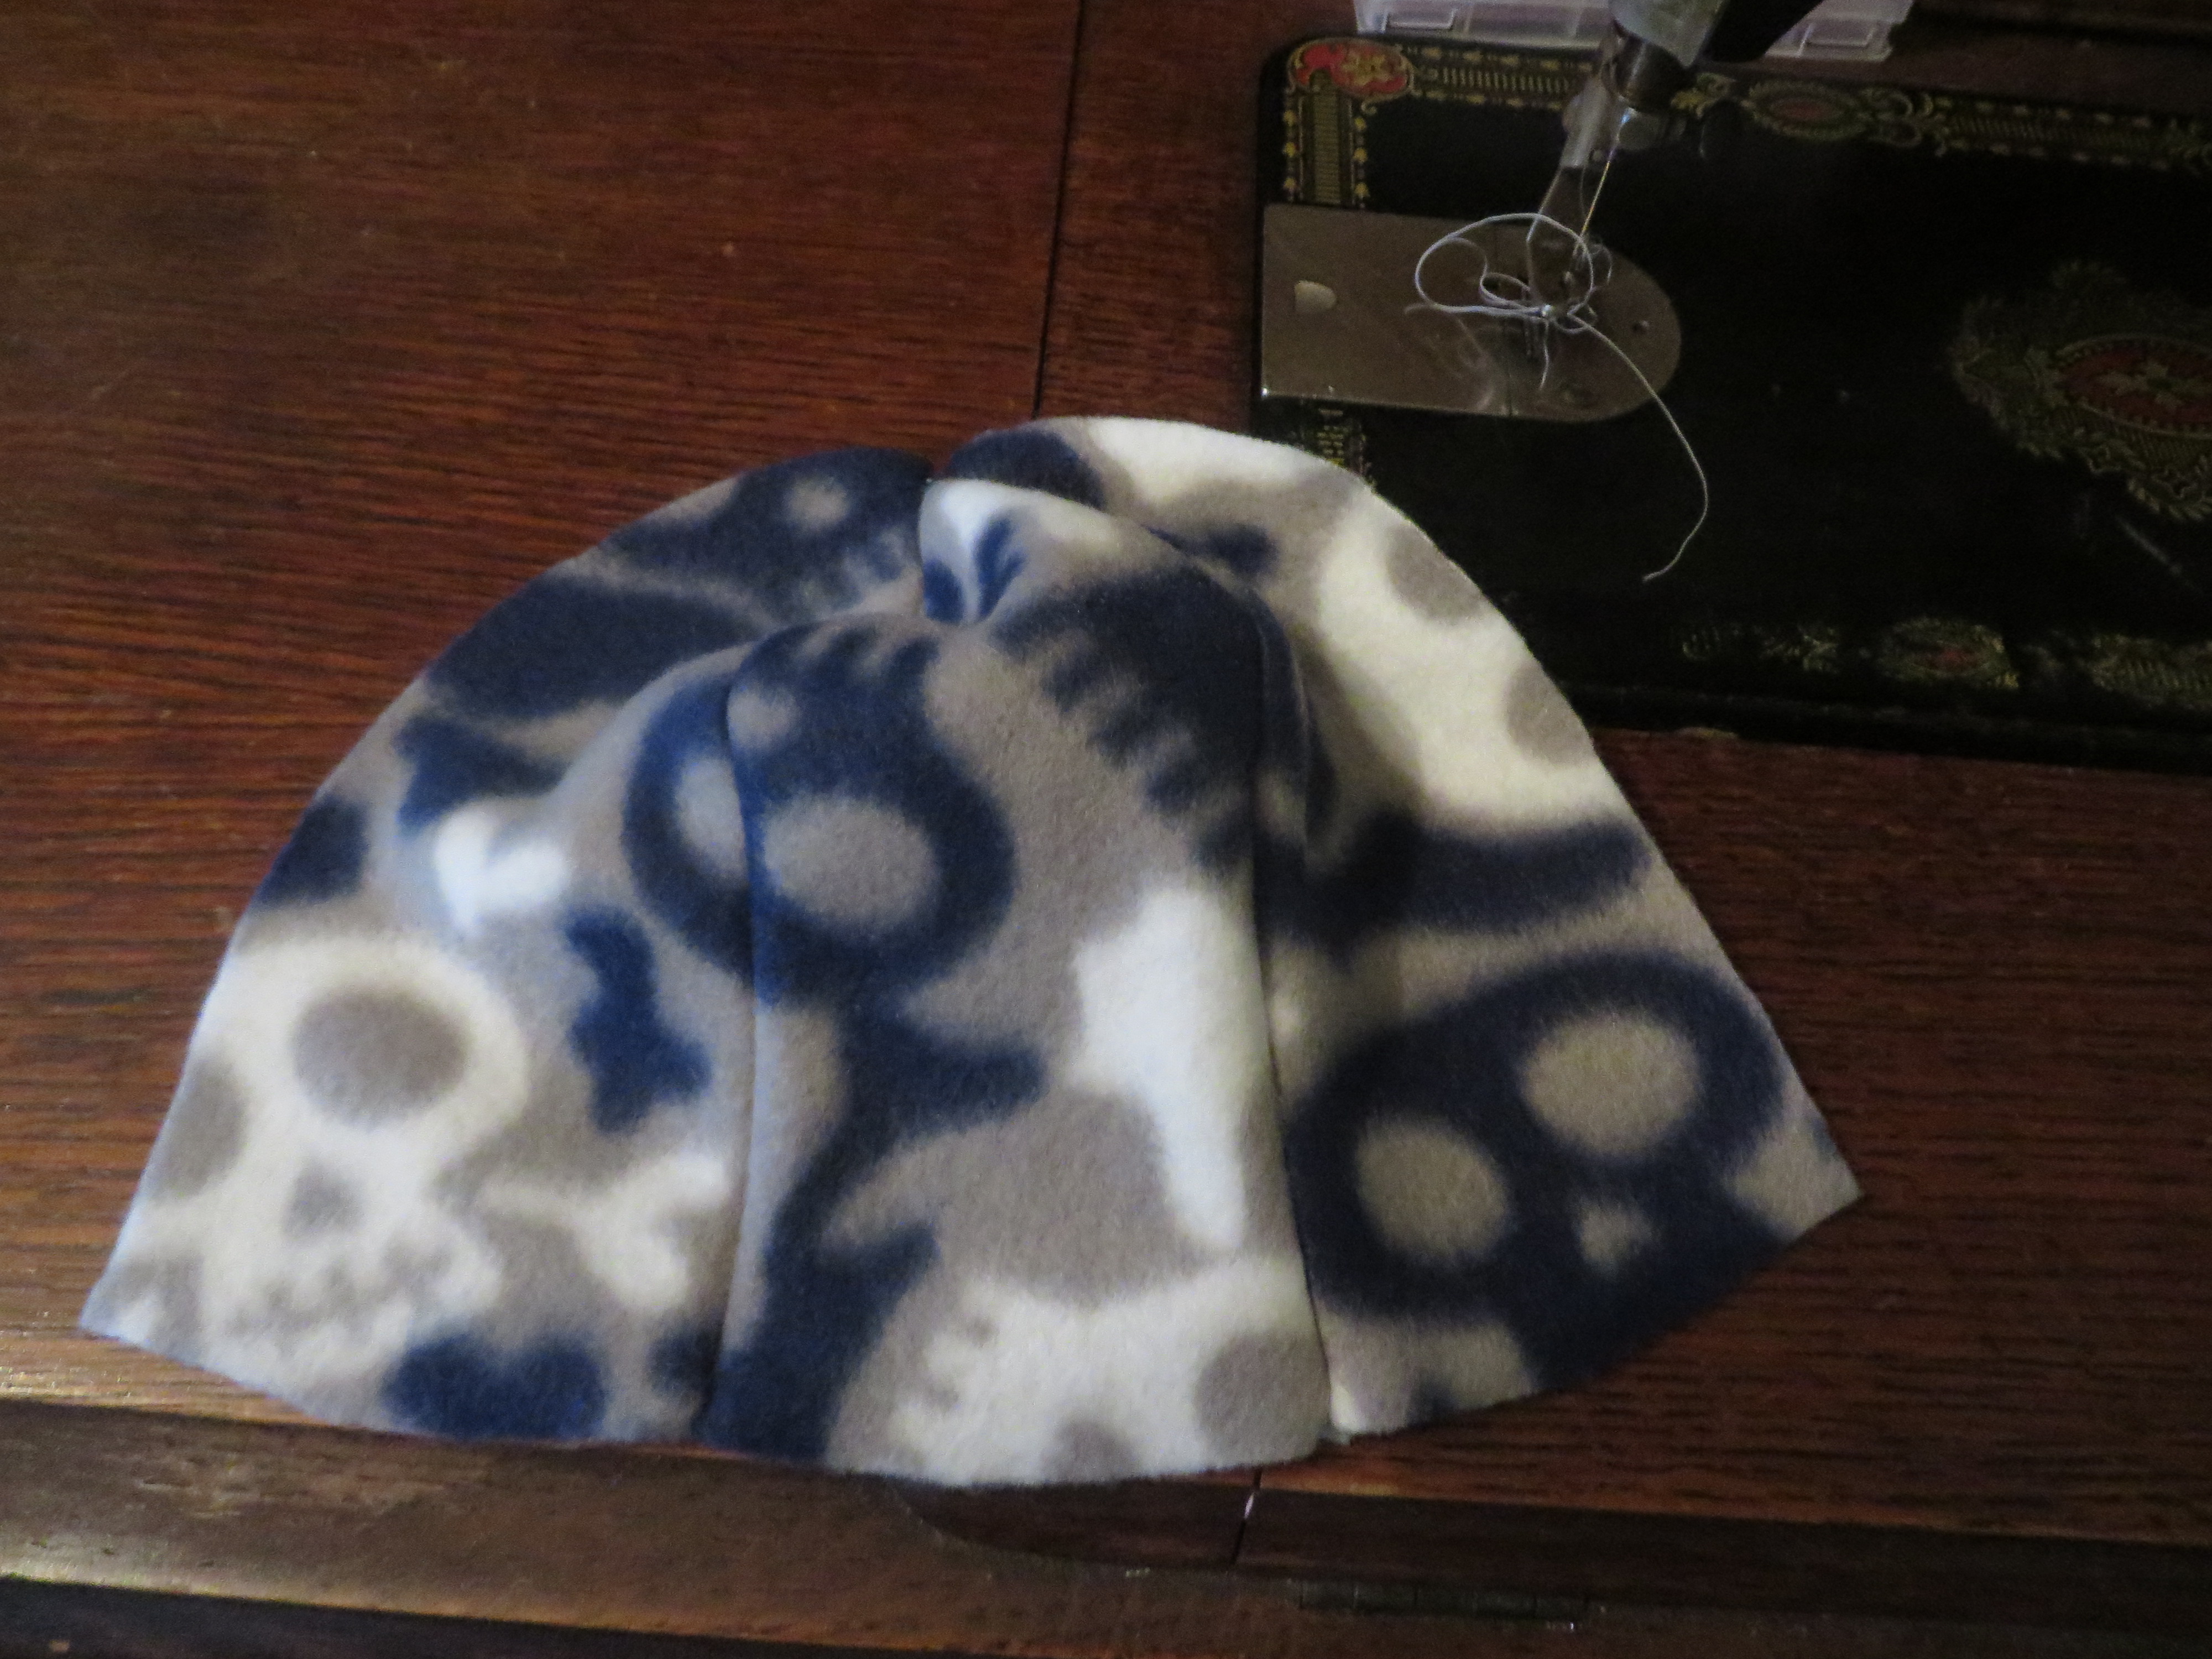
Set this section of the hat to the side for now.
Sew and turn right-side out.
Repeat same steps for your solid fabric now.
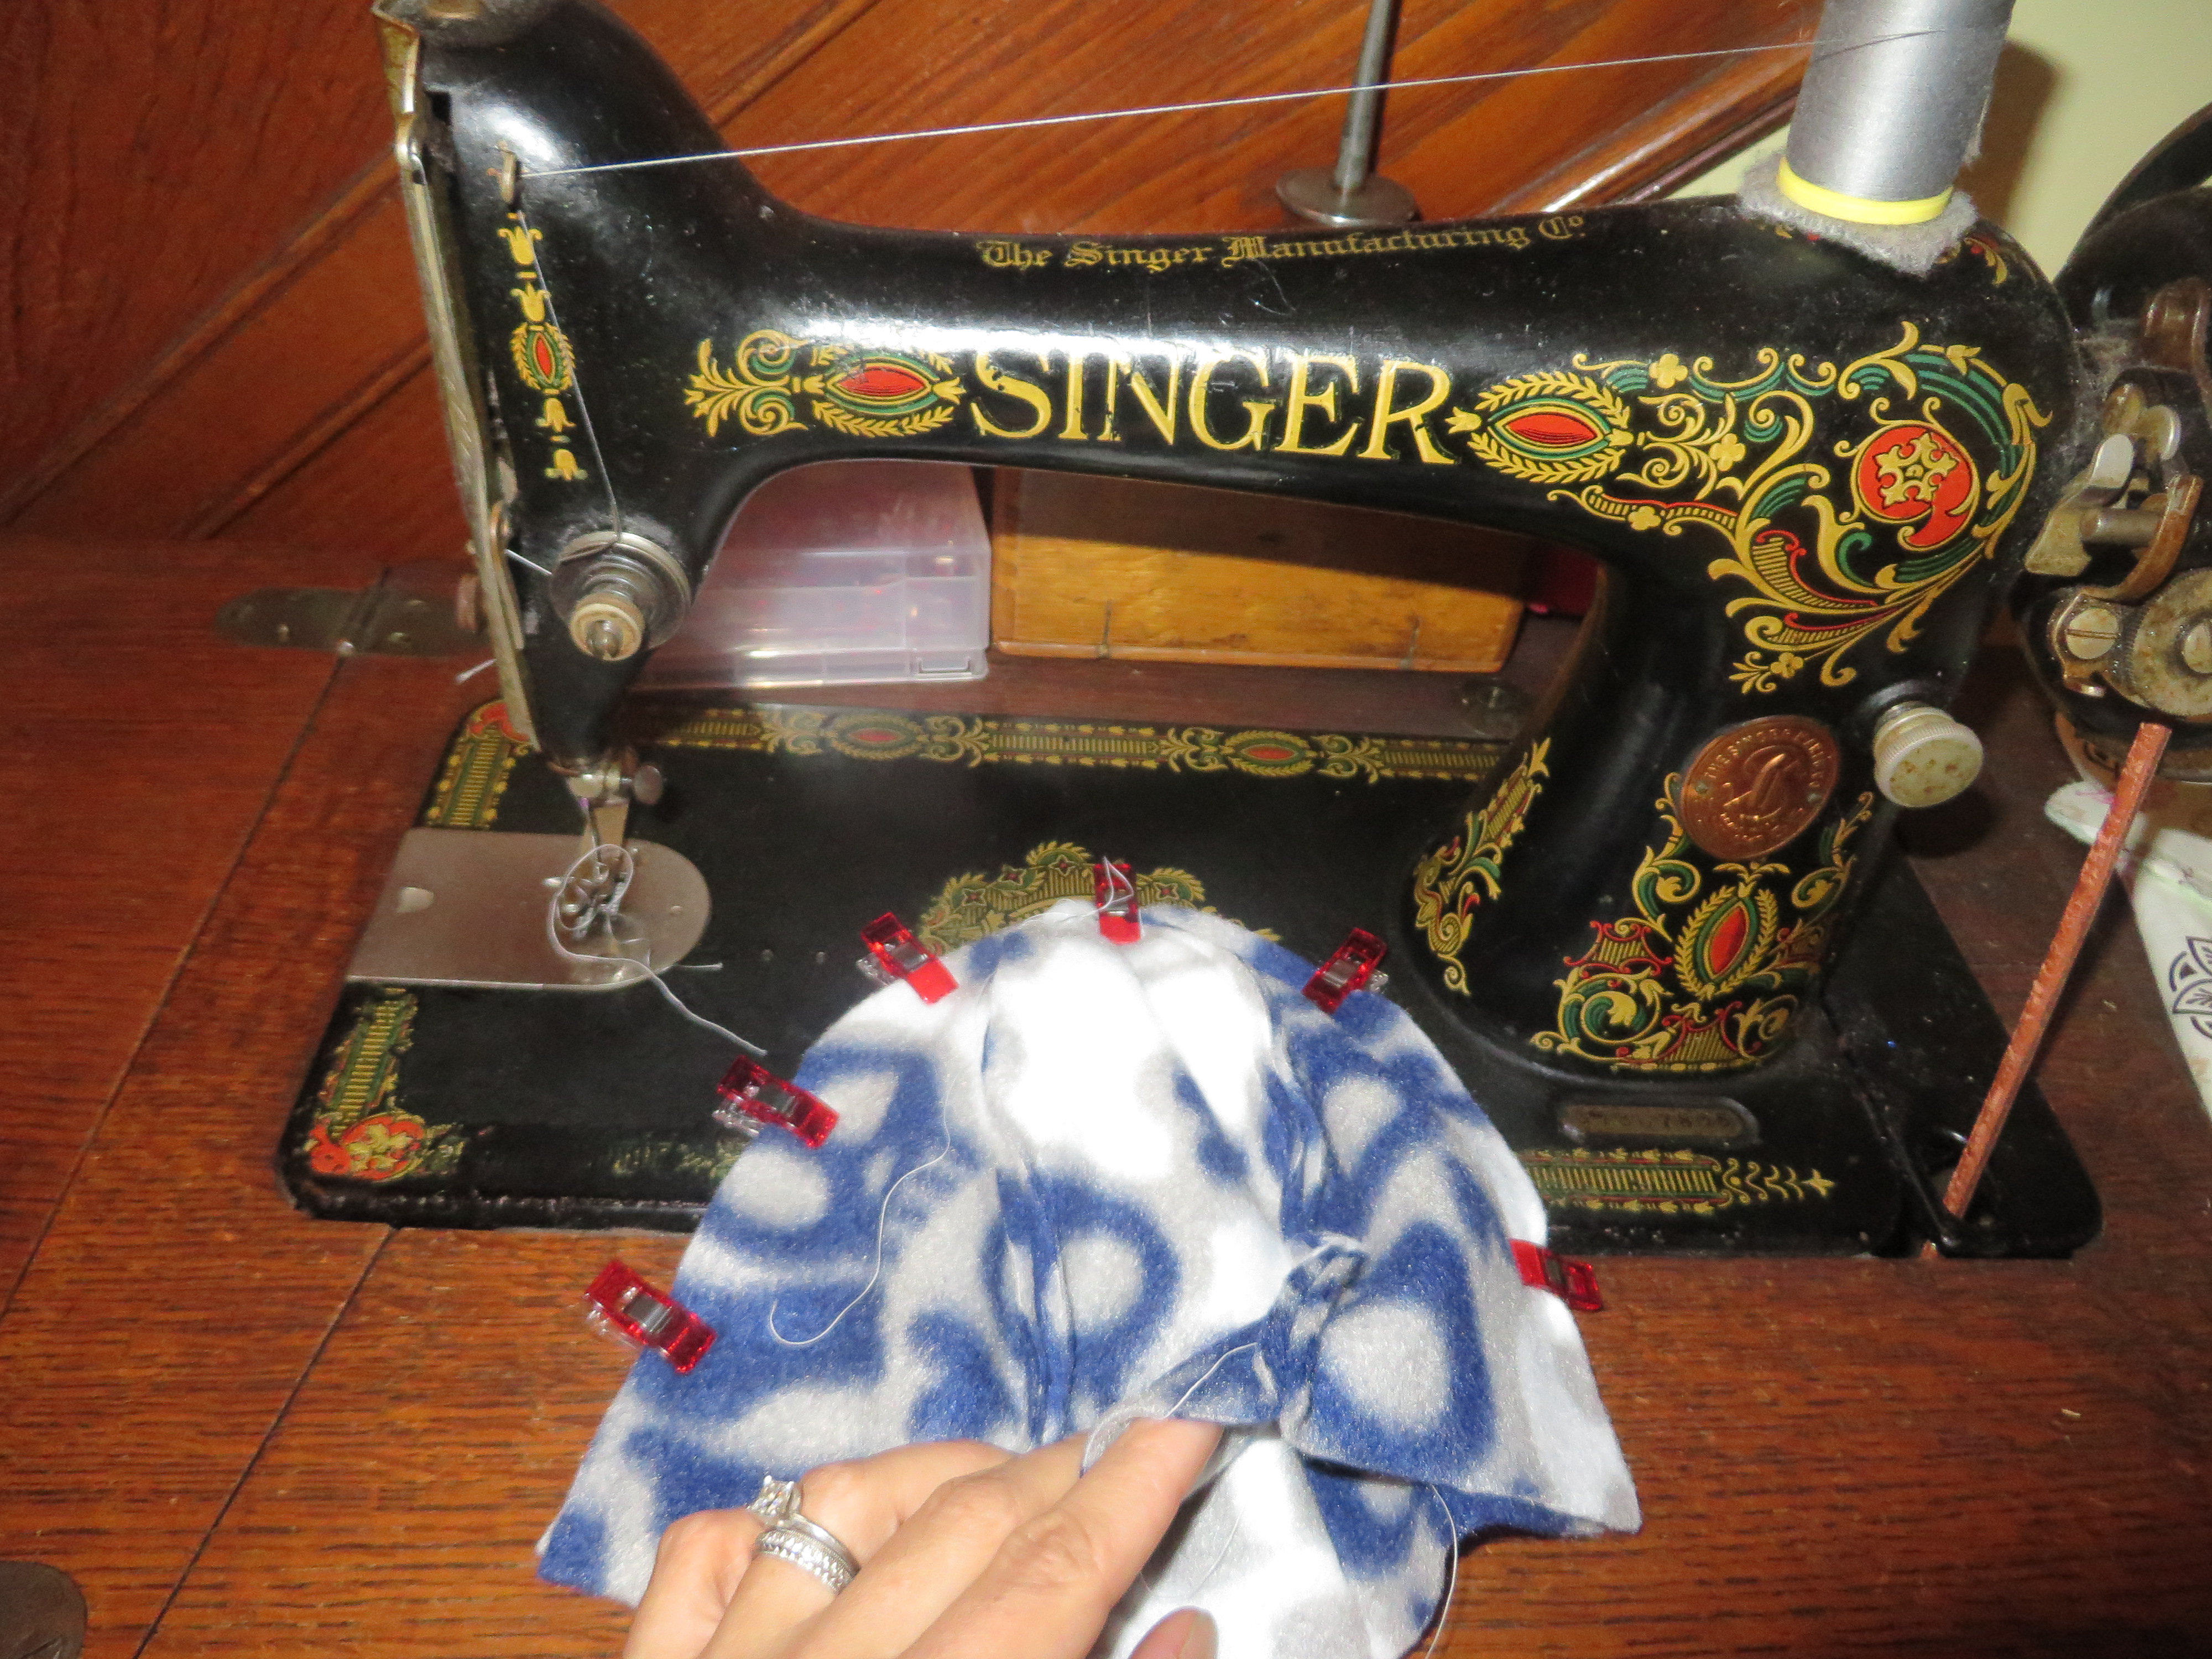
Once you have that done, you need to place your solid fabric inside your skull fabric, right sides together.
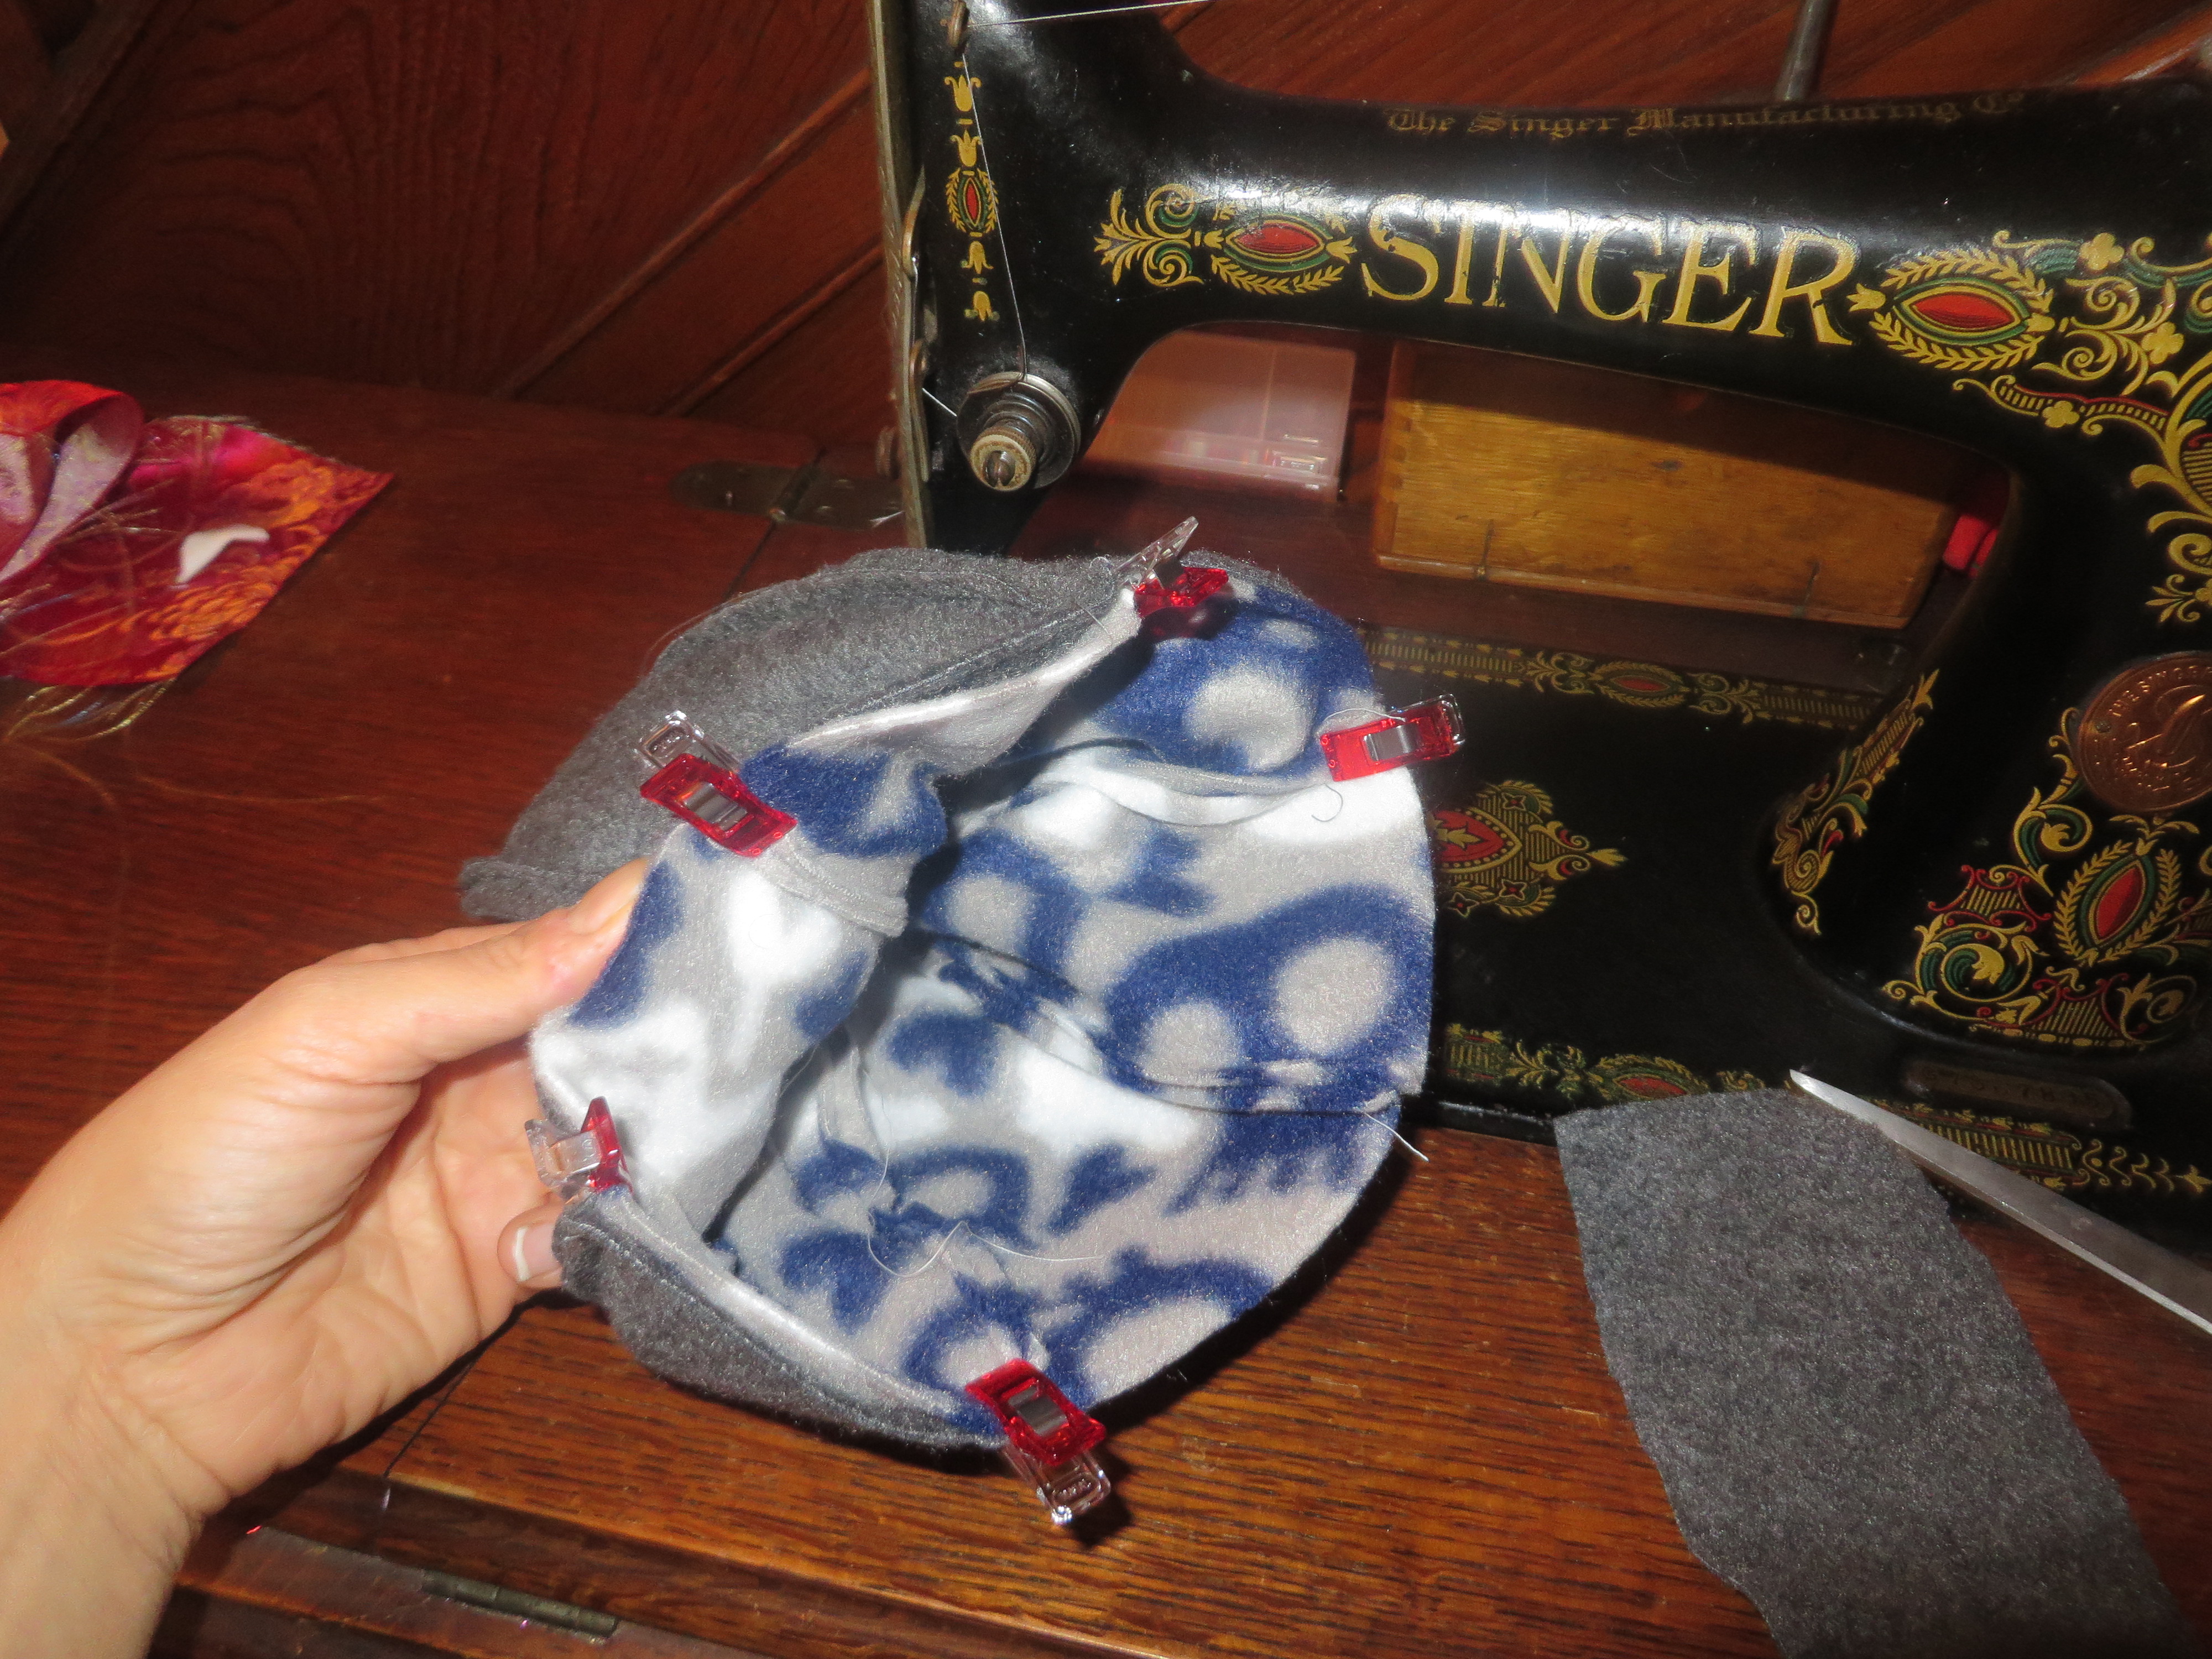
Clip or pin your hat together, trying to match the seams on either hat as best you can.
Set this aside for a moment so we can whip up that cute little brim or visor.
Clip or pin your visor pieces right sides together.
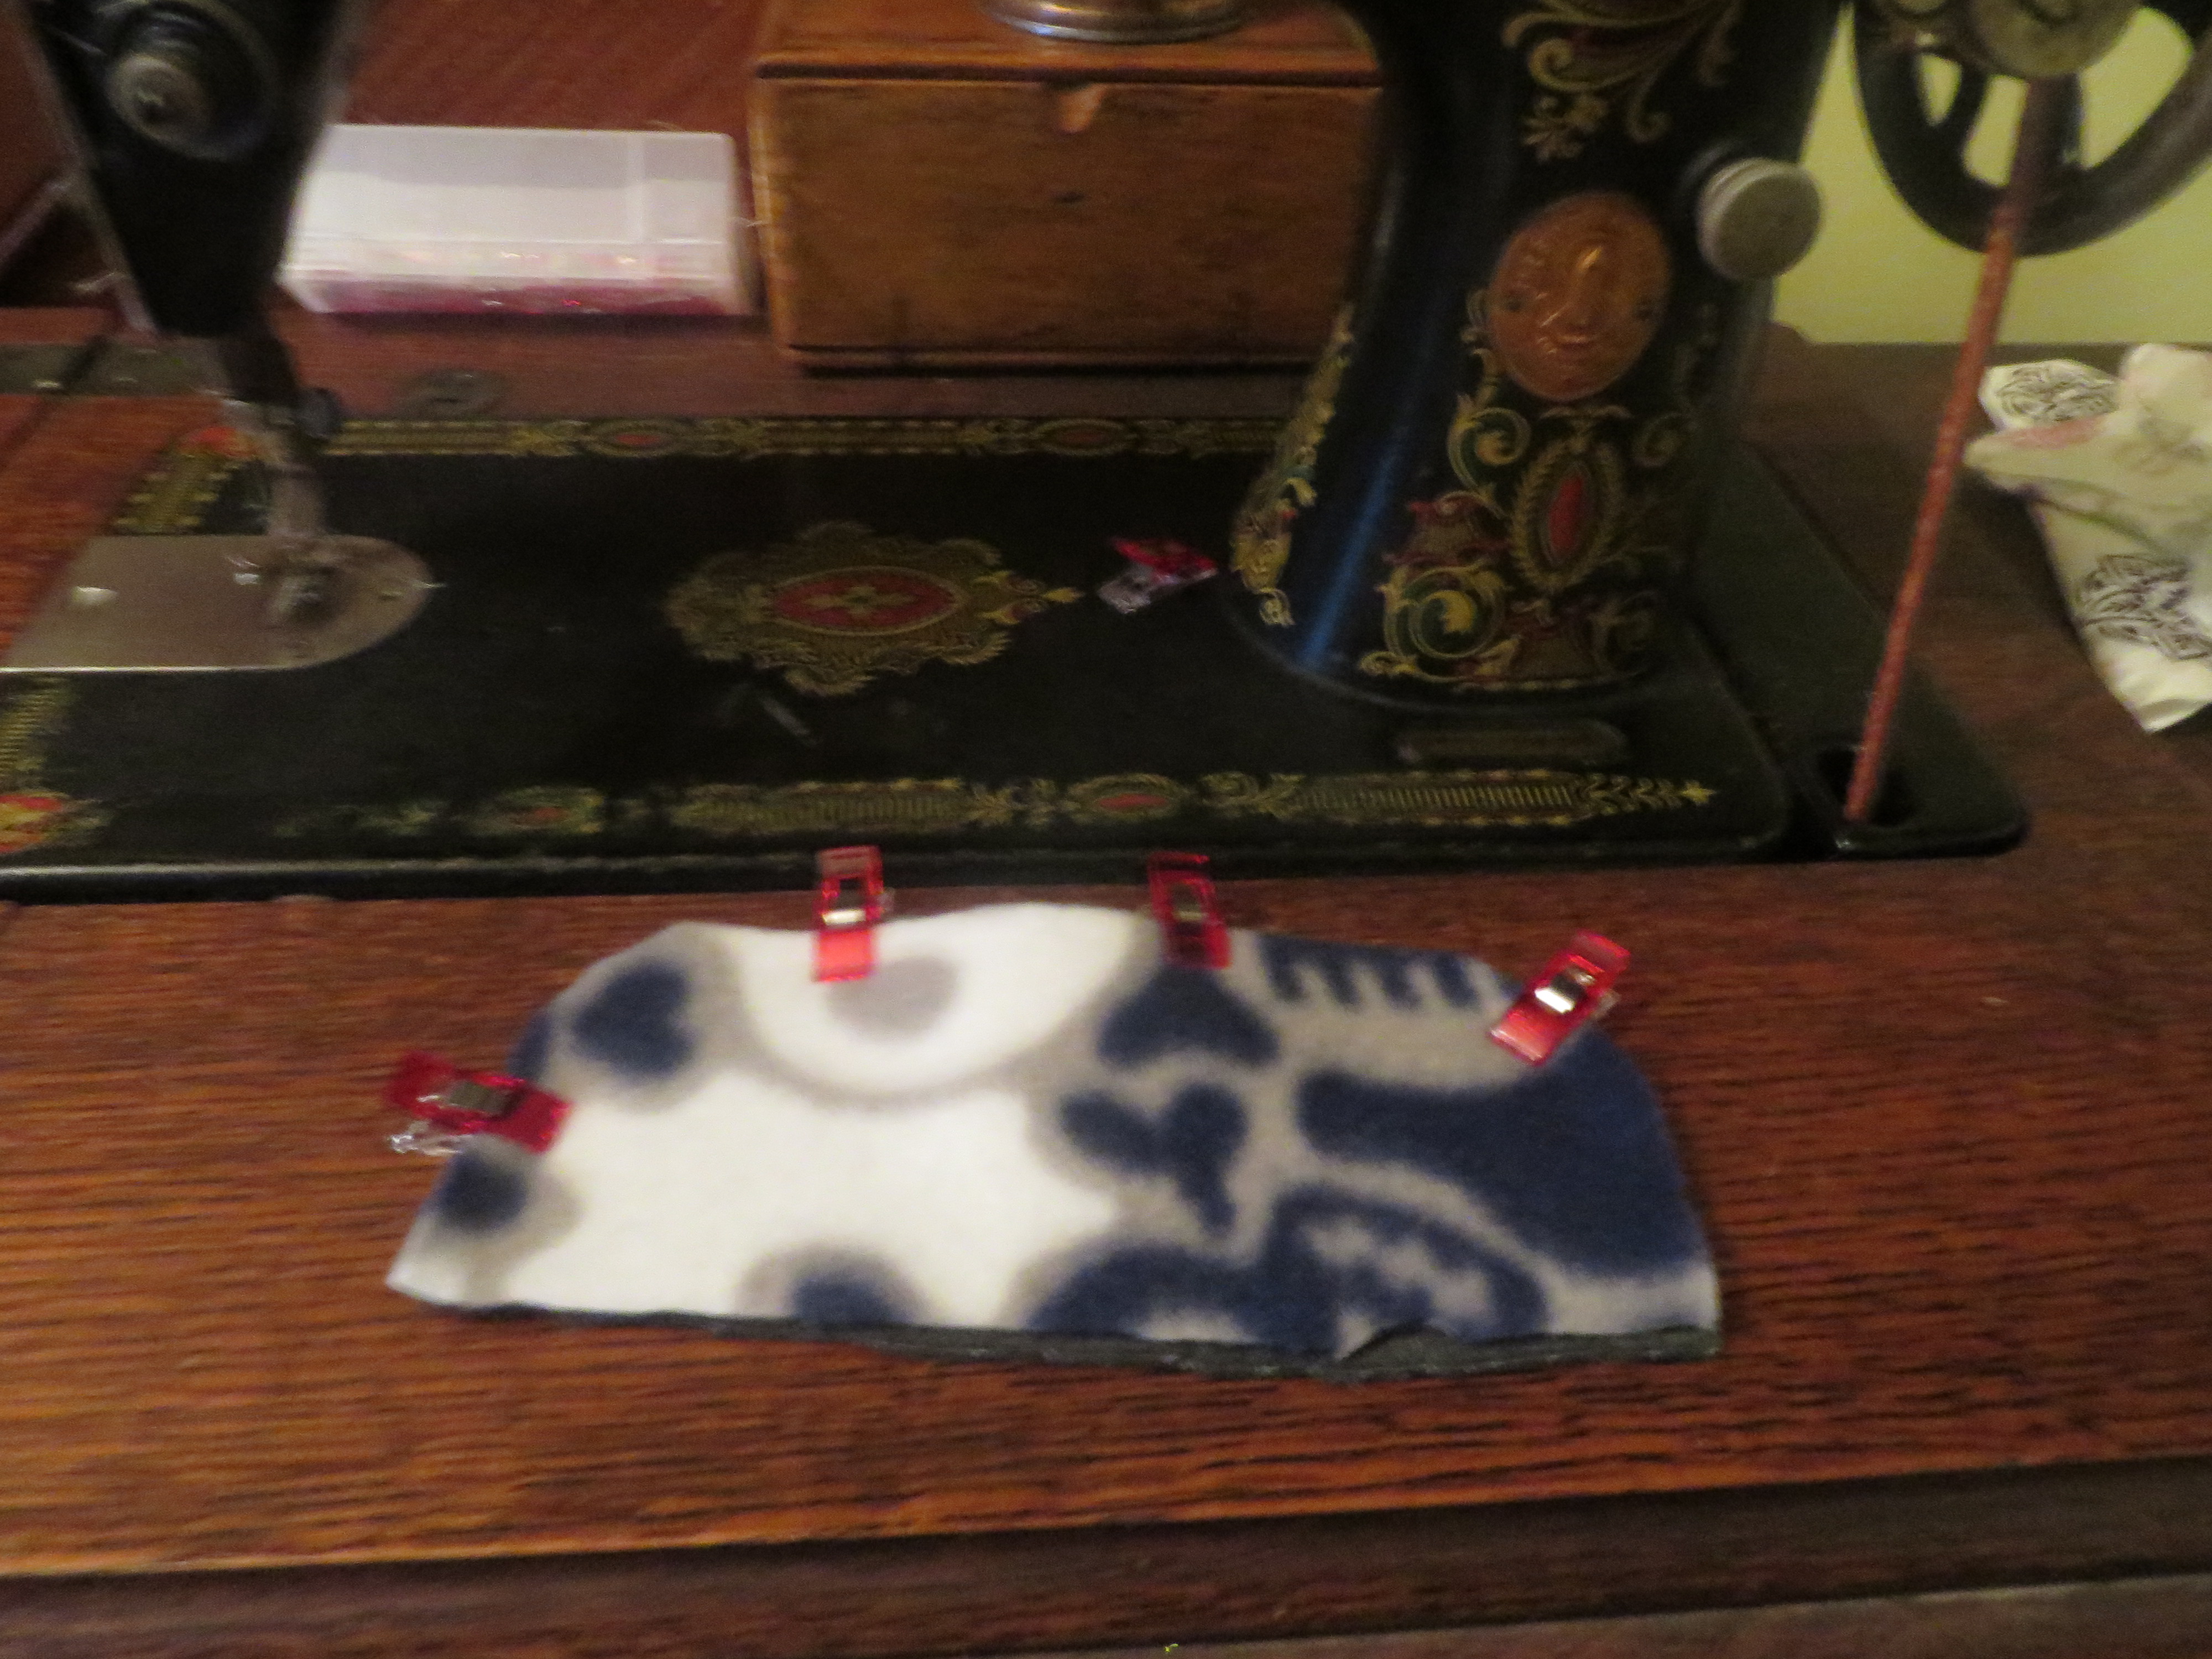
Sew and turn right-side out, making sure not to sew the long side, so you will be able to stuff that into your main hat, and, also, so that you have a turning hole. Again, do not sew on the portion where I do not have clips on the above picture. You need this side open!
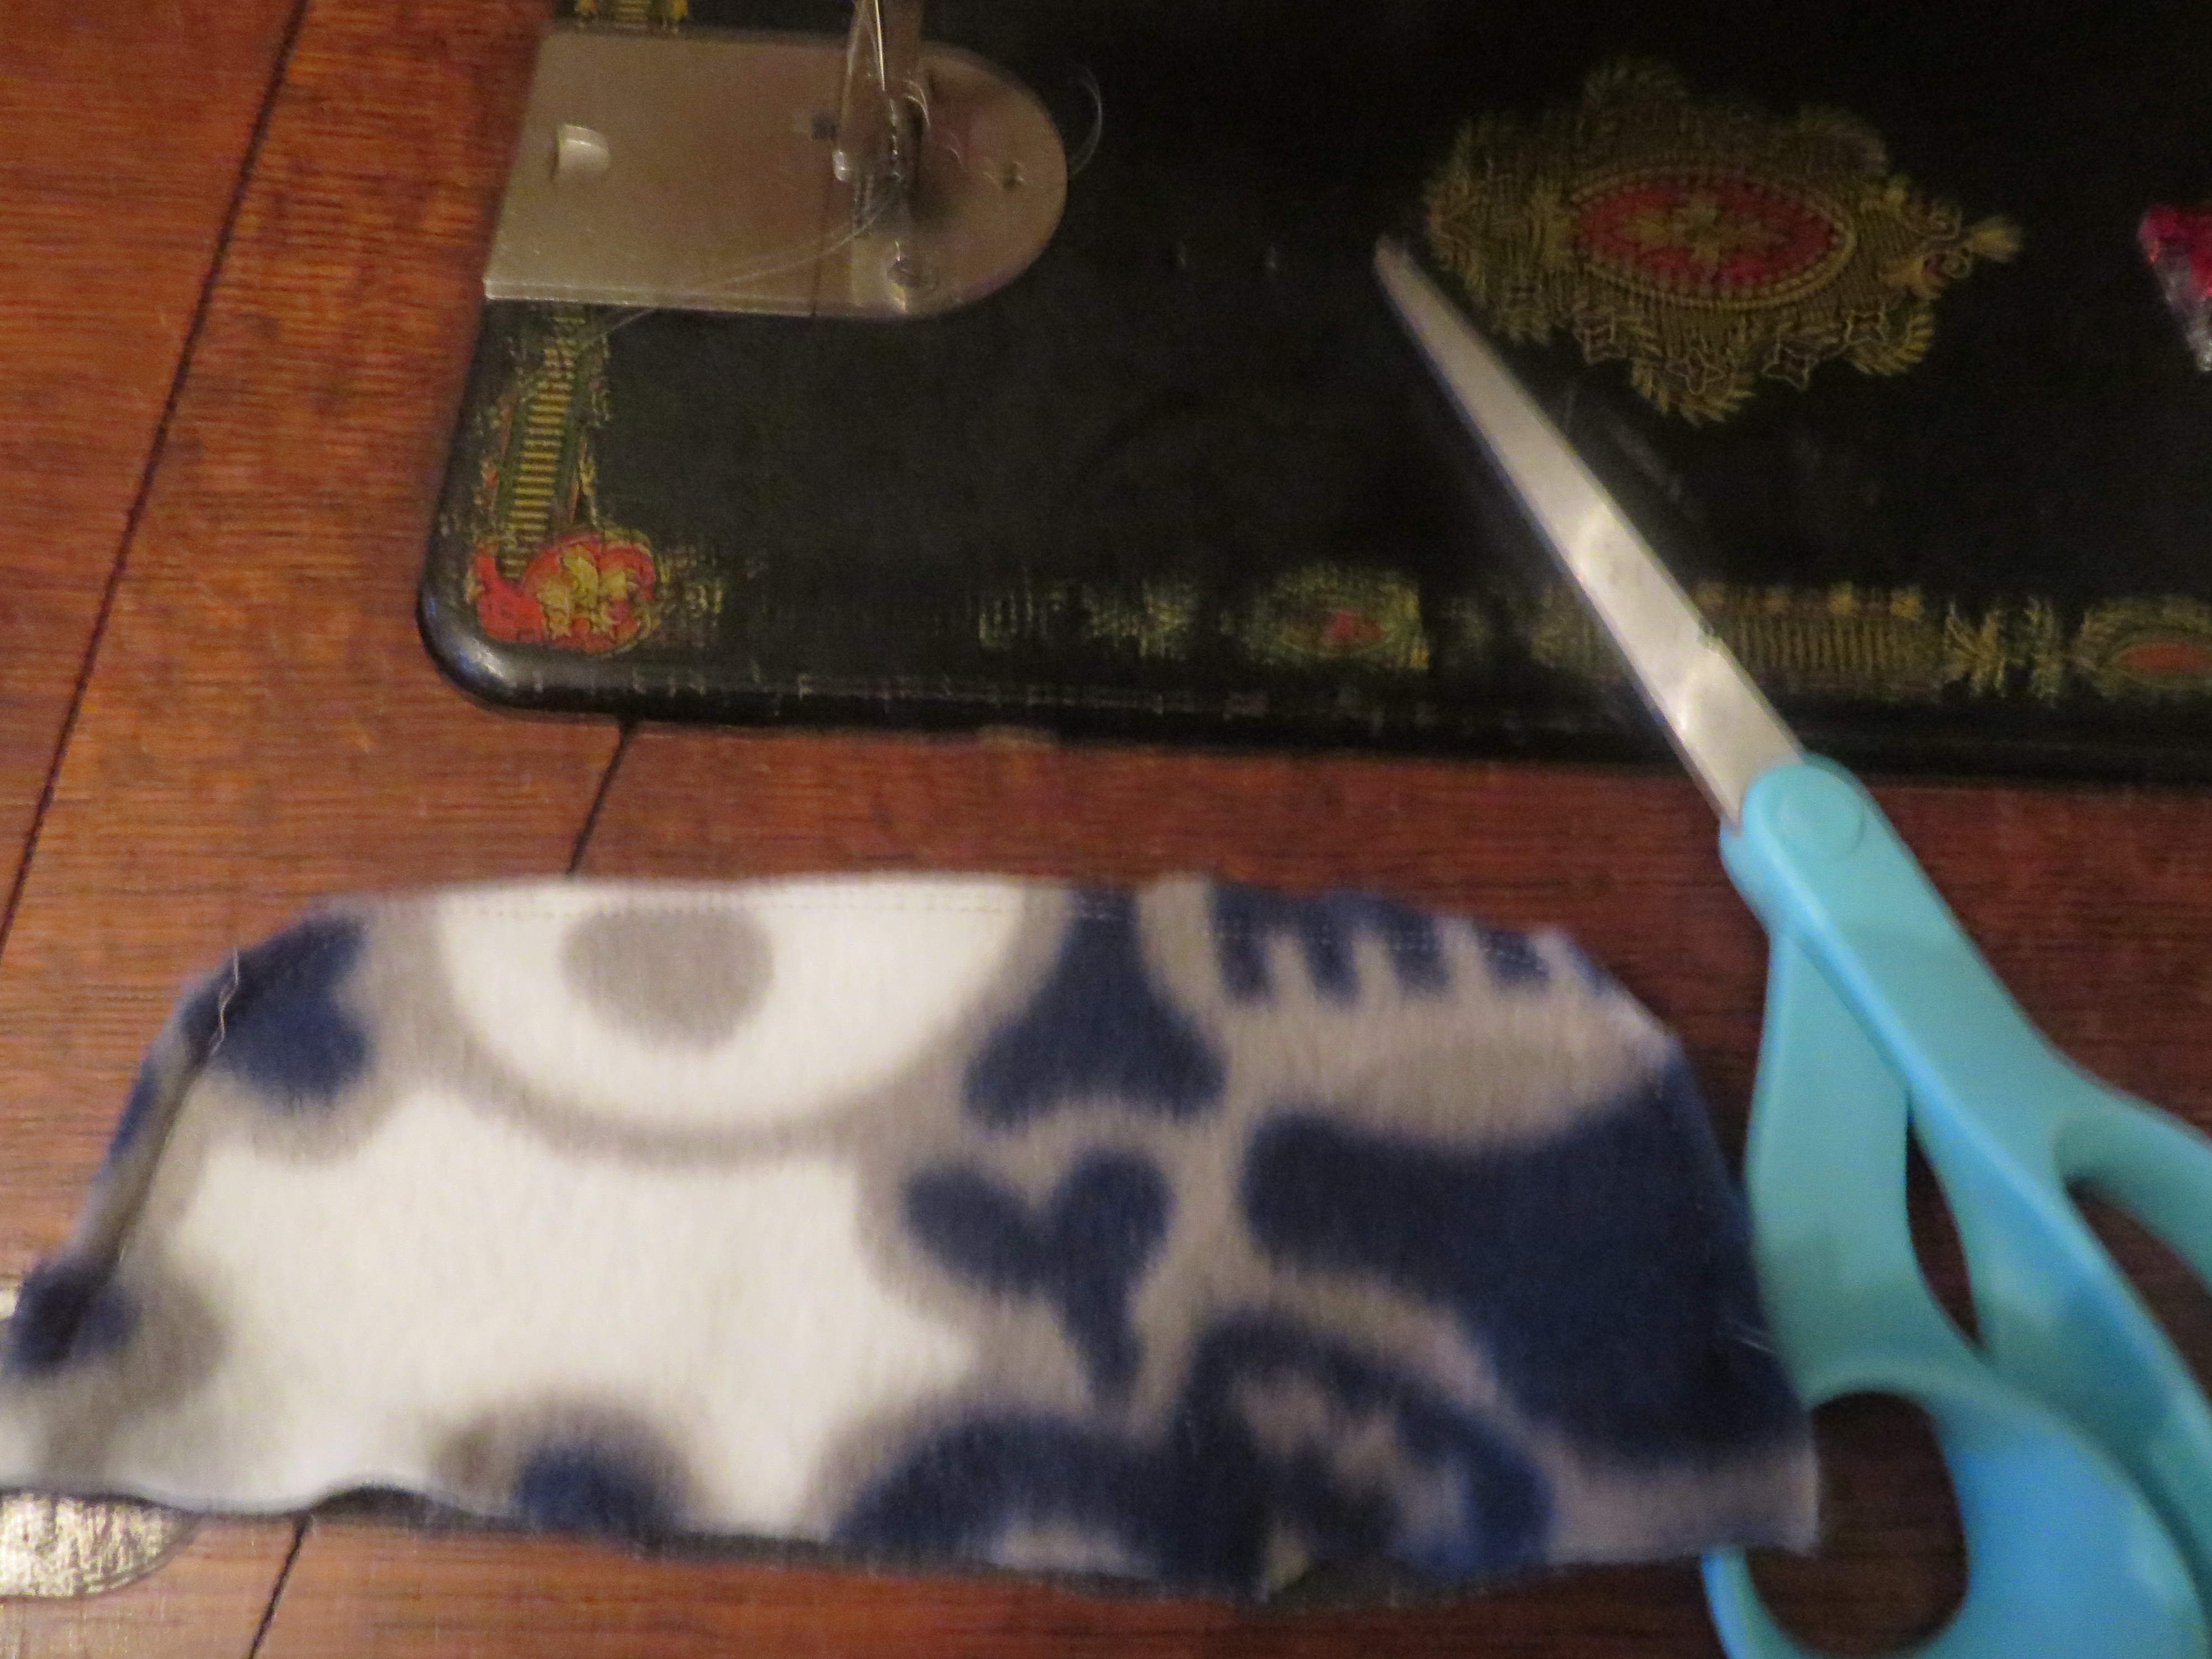
Pin the edges of your visor and add some freehand stitching to achieve a more professional-looking bill. I like two or three rows, usually.
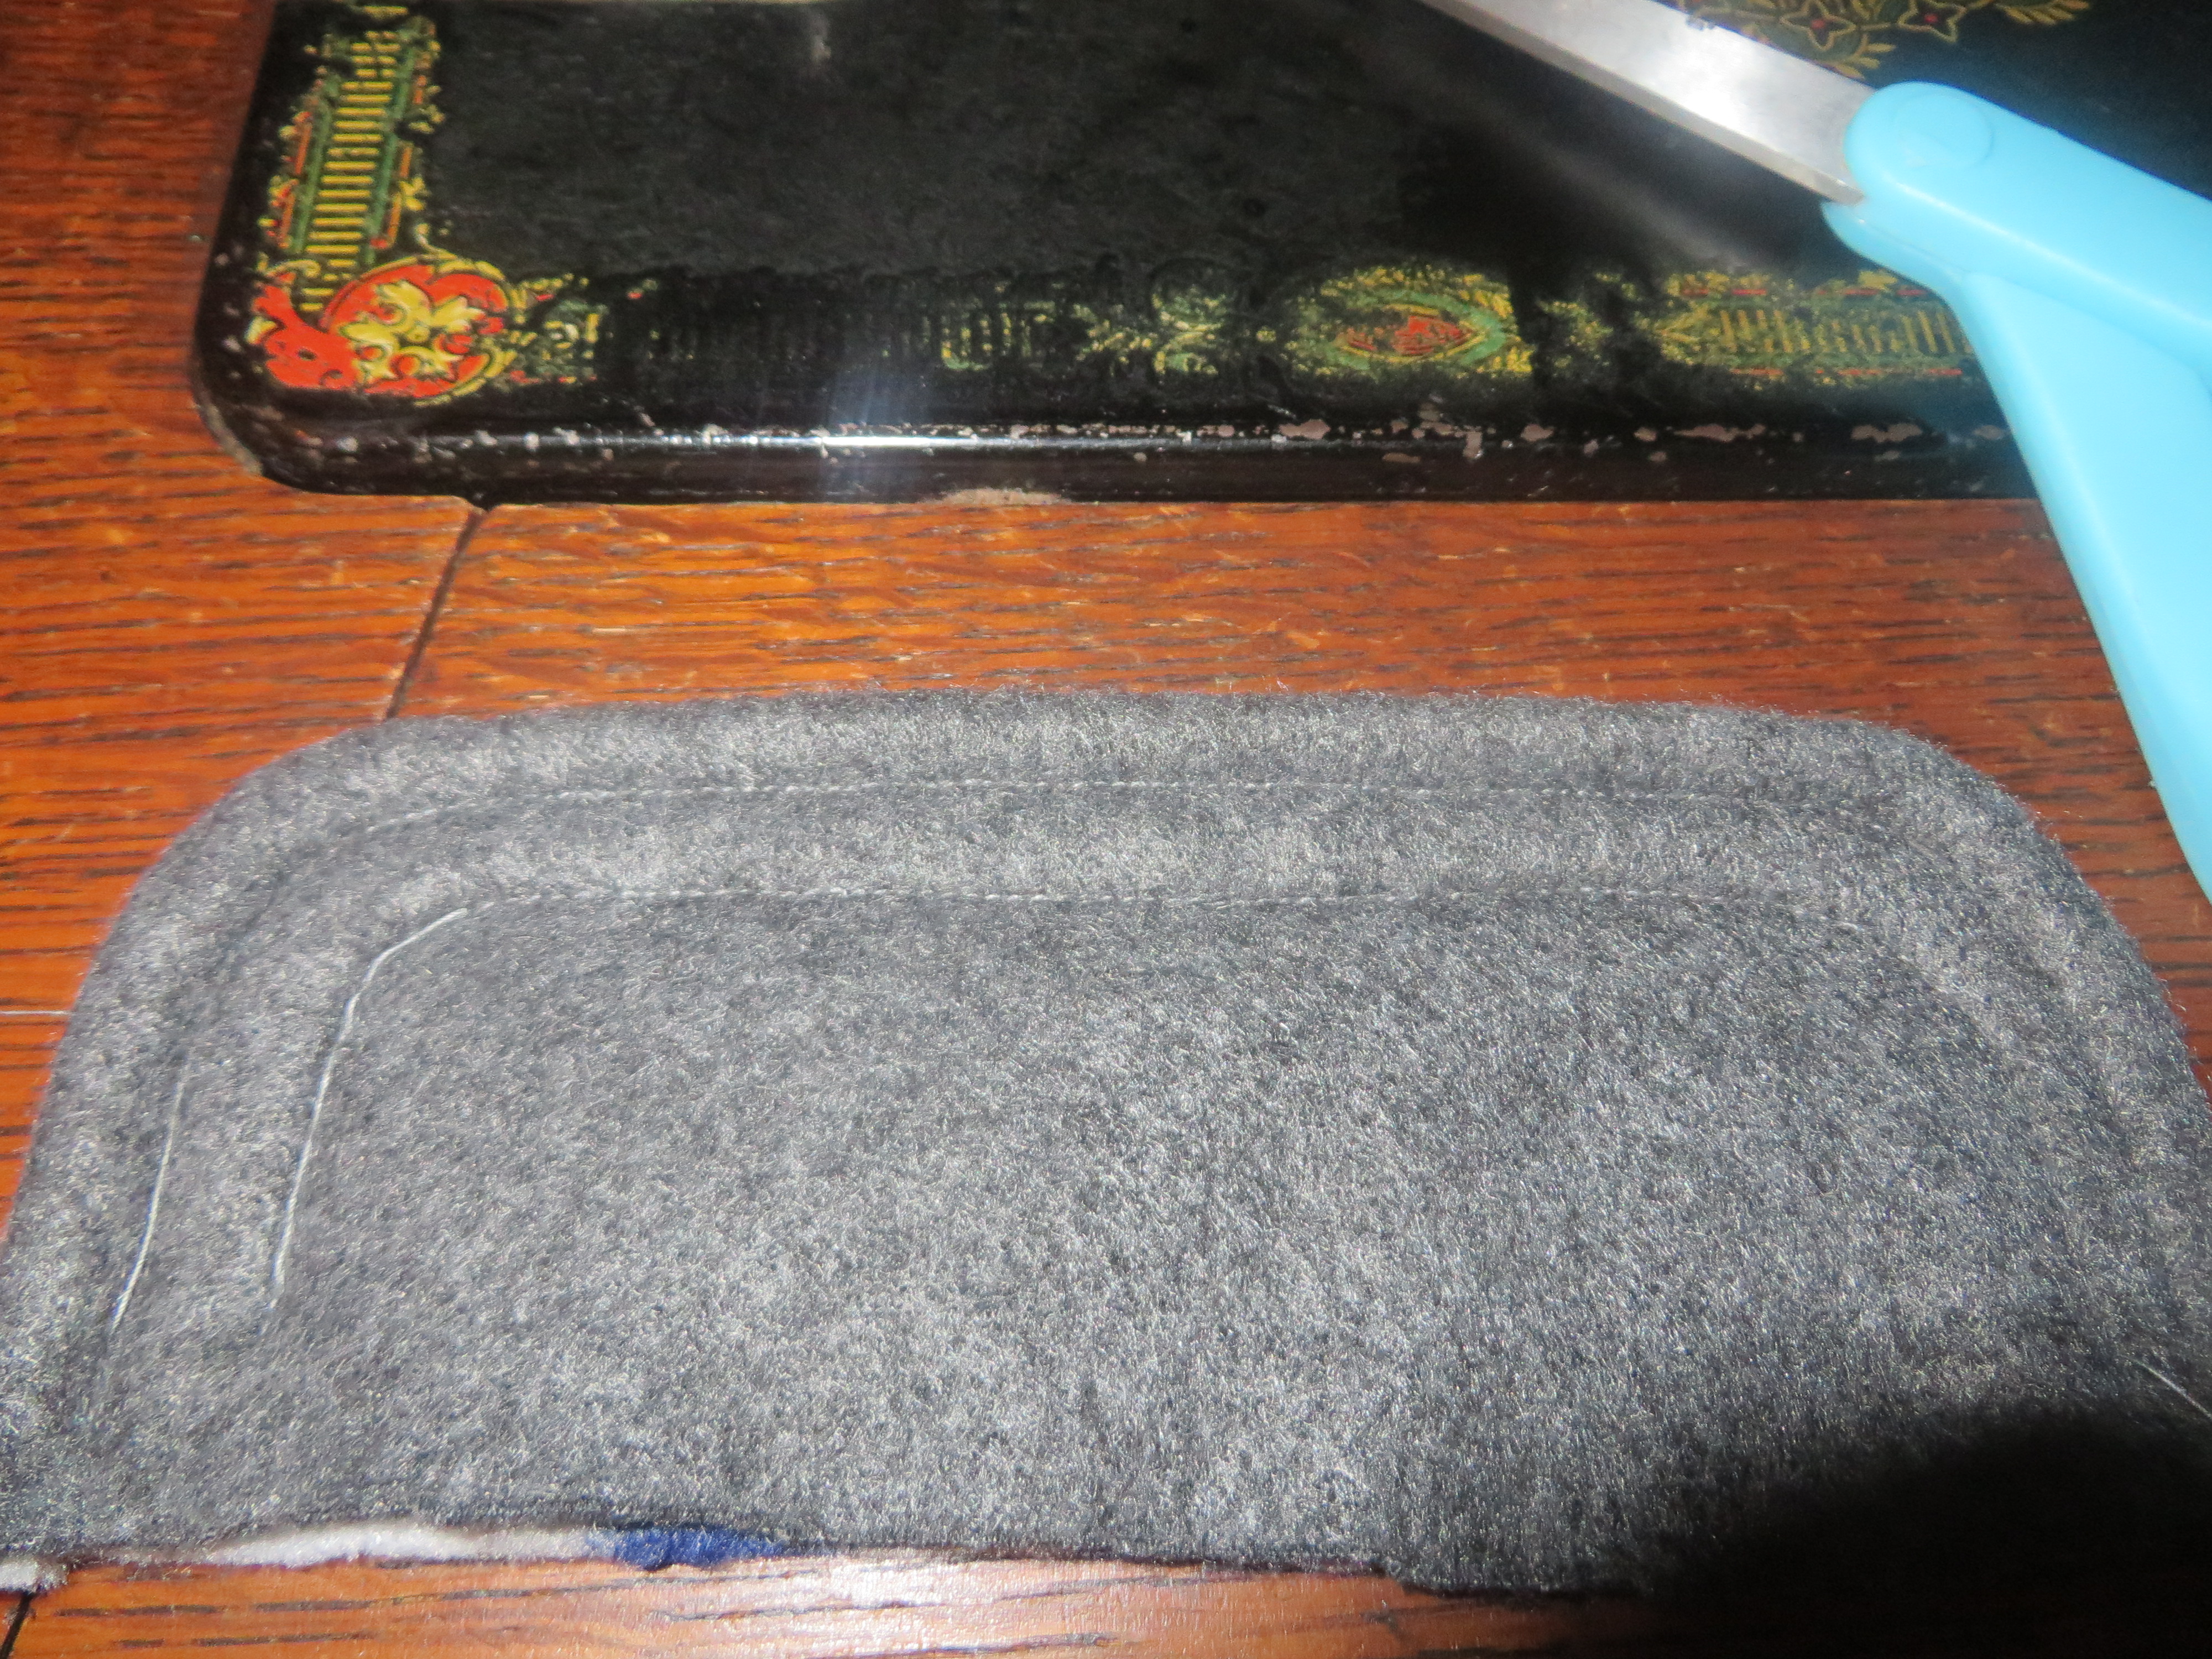
Now measure the length of the visor long ways.
Grab your hat that you have sitting off to the side and make sure to leave an opening to match the visor measurement.
Stuff and clip your visor into the hat. (I like to use the solid side of the brim facing up to contrast the busy print on the main hat, but this is totally up to you. I’m just funky like that!)
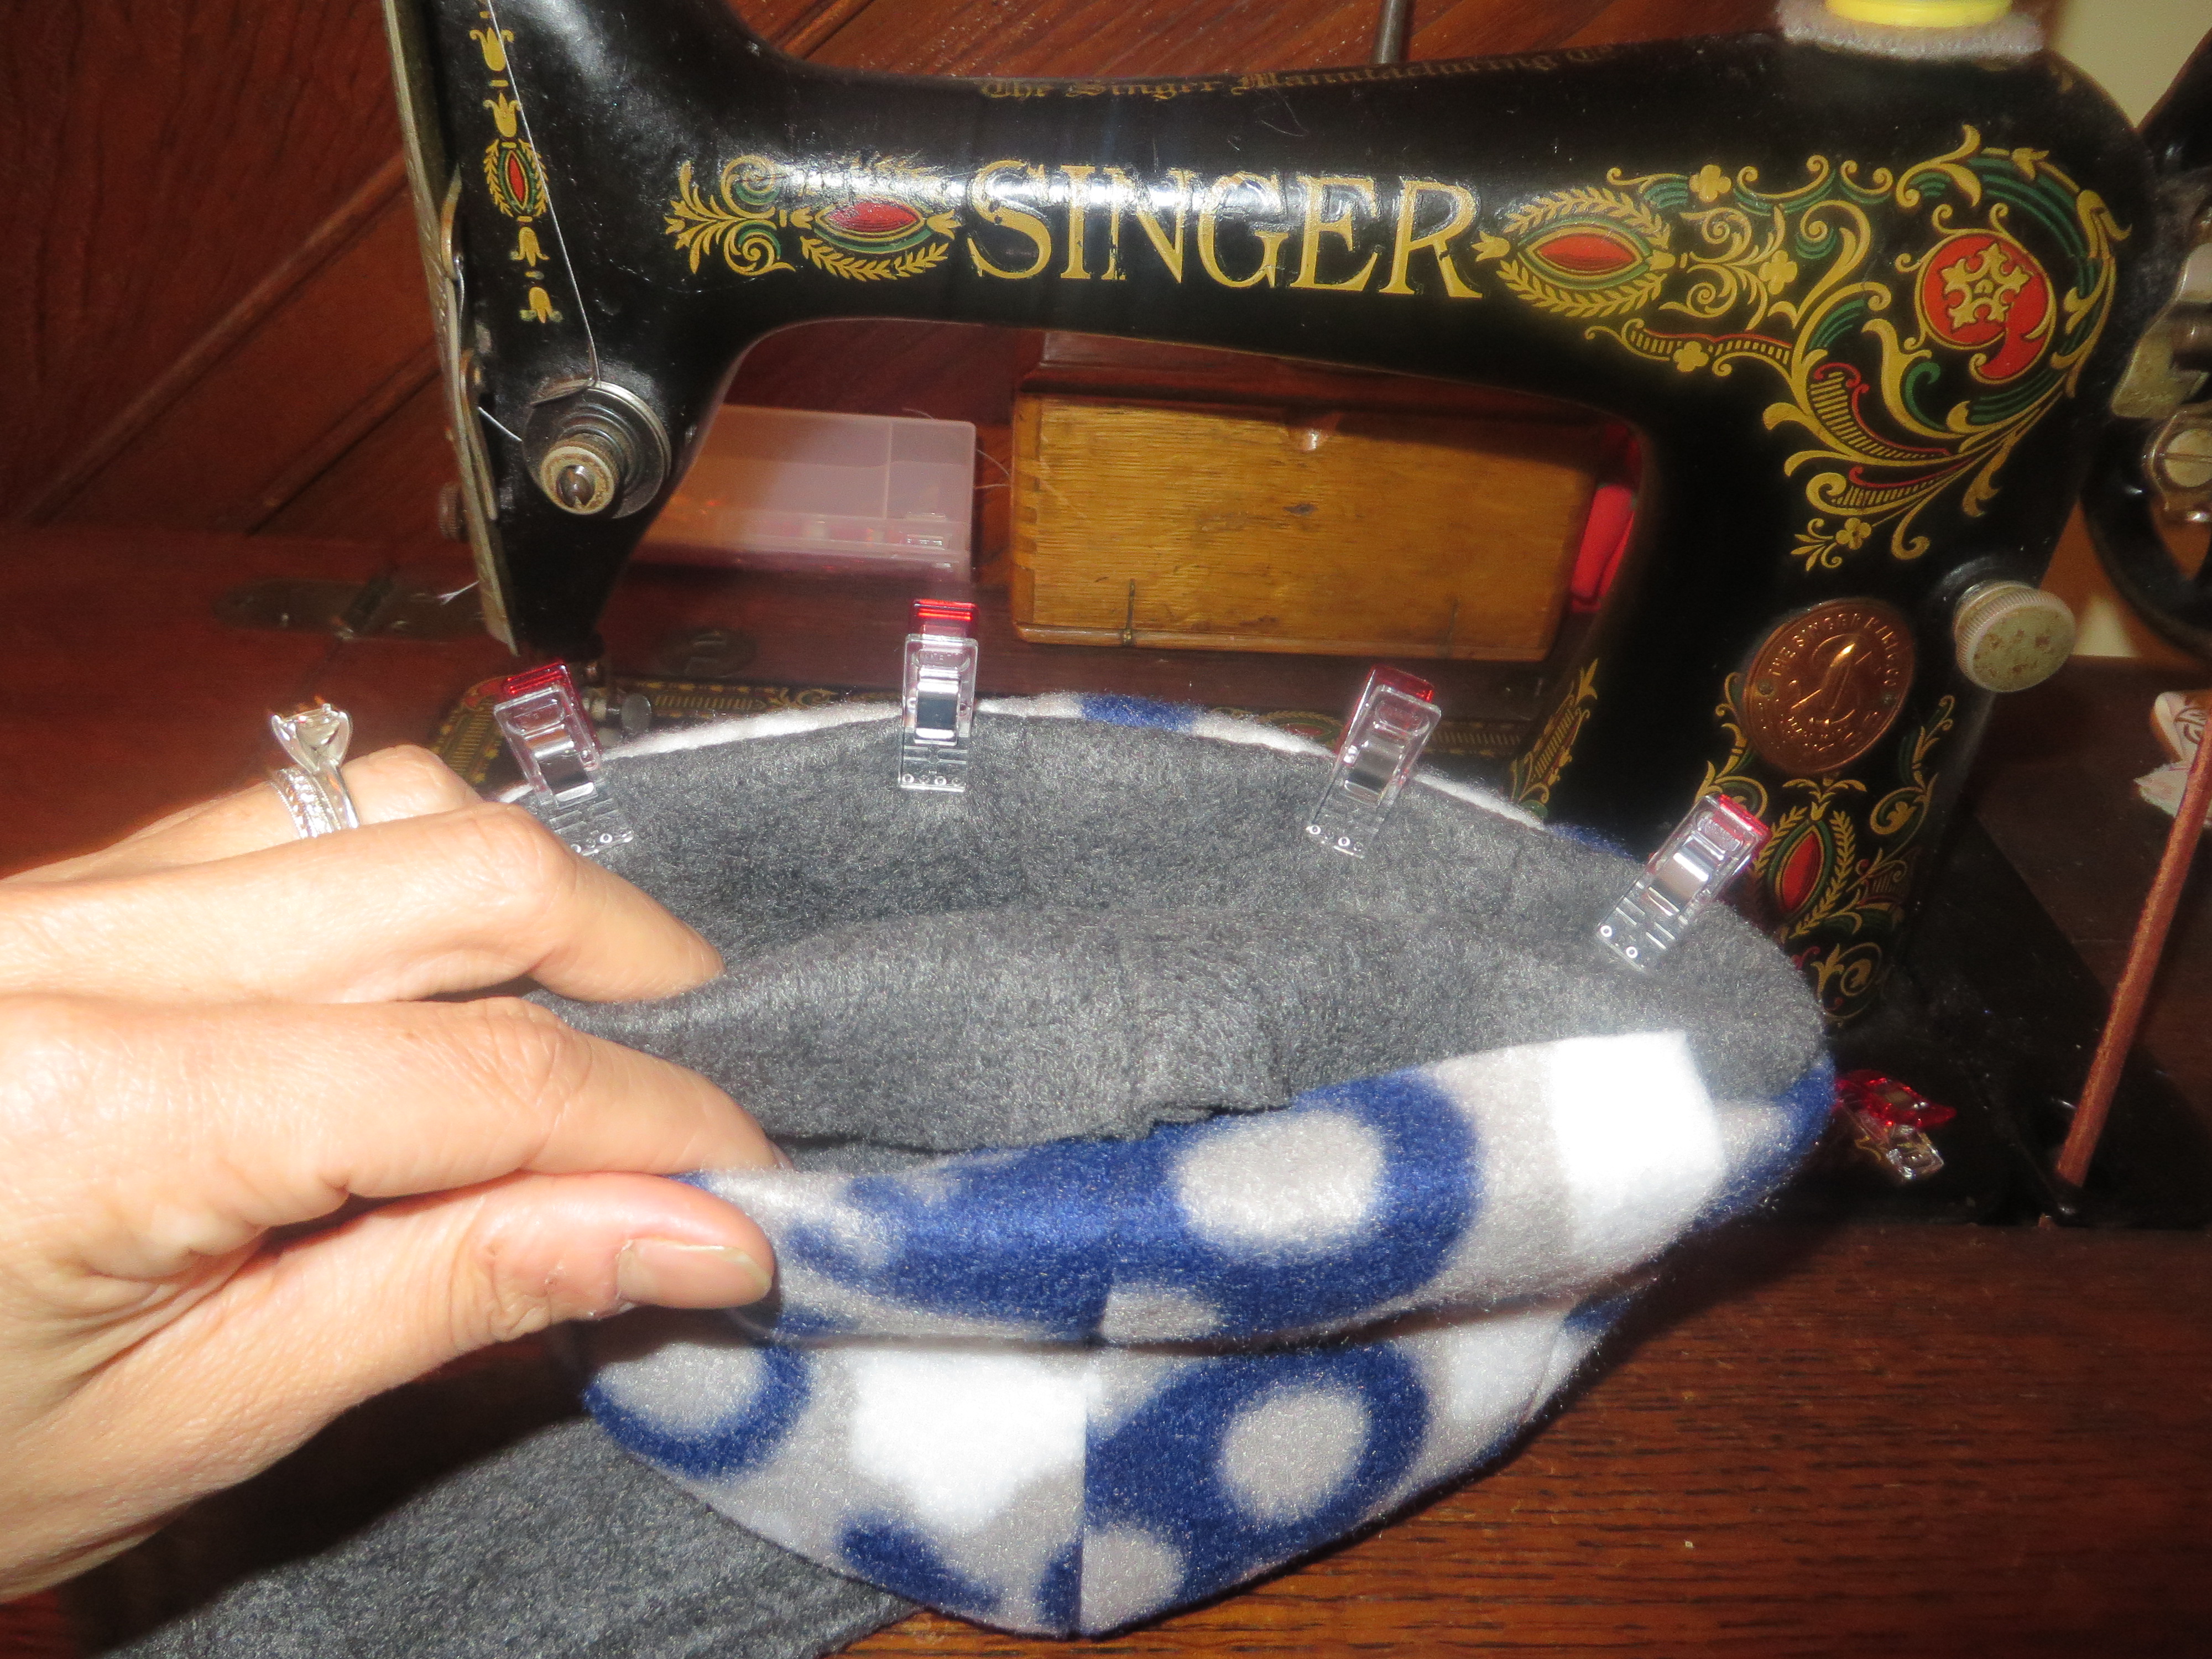
I like to use pins on the brim, because it’s really challenging for me to make sure I sew through all layers when I do this. (Even this hat is not perfect in that respect)
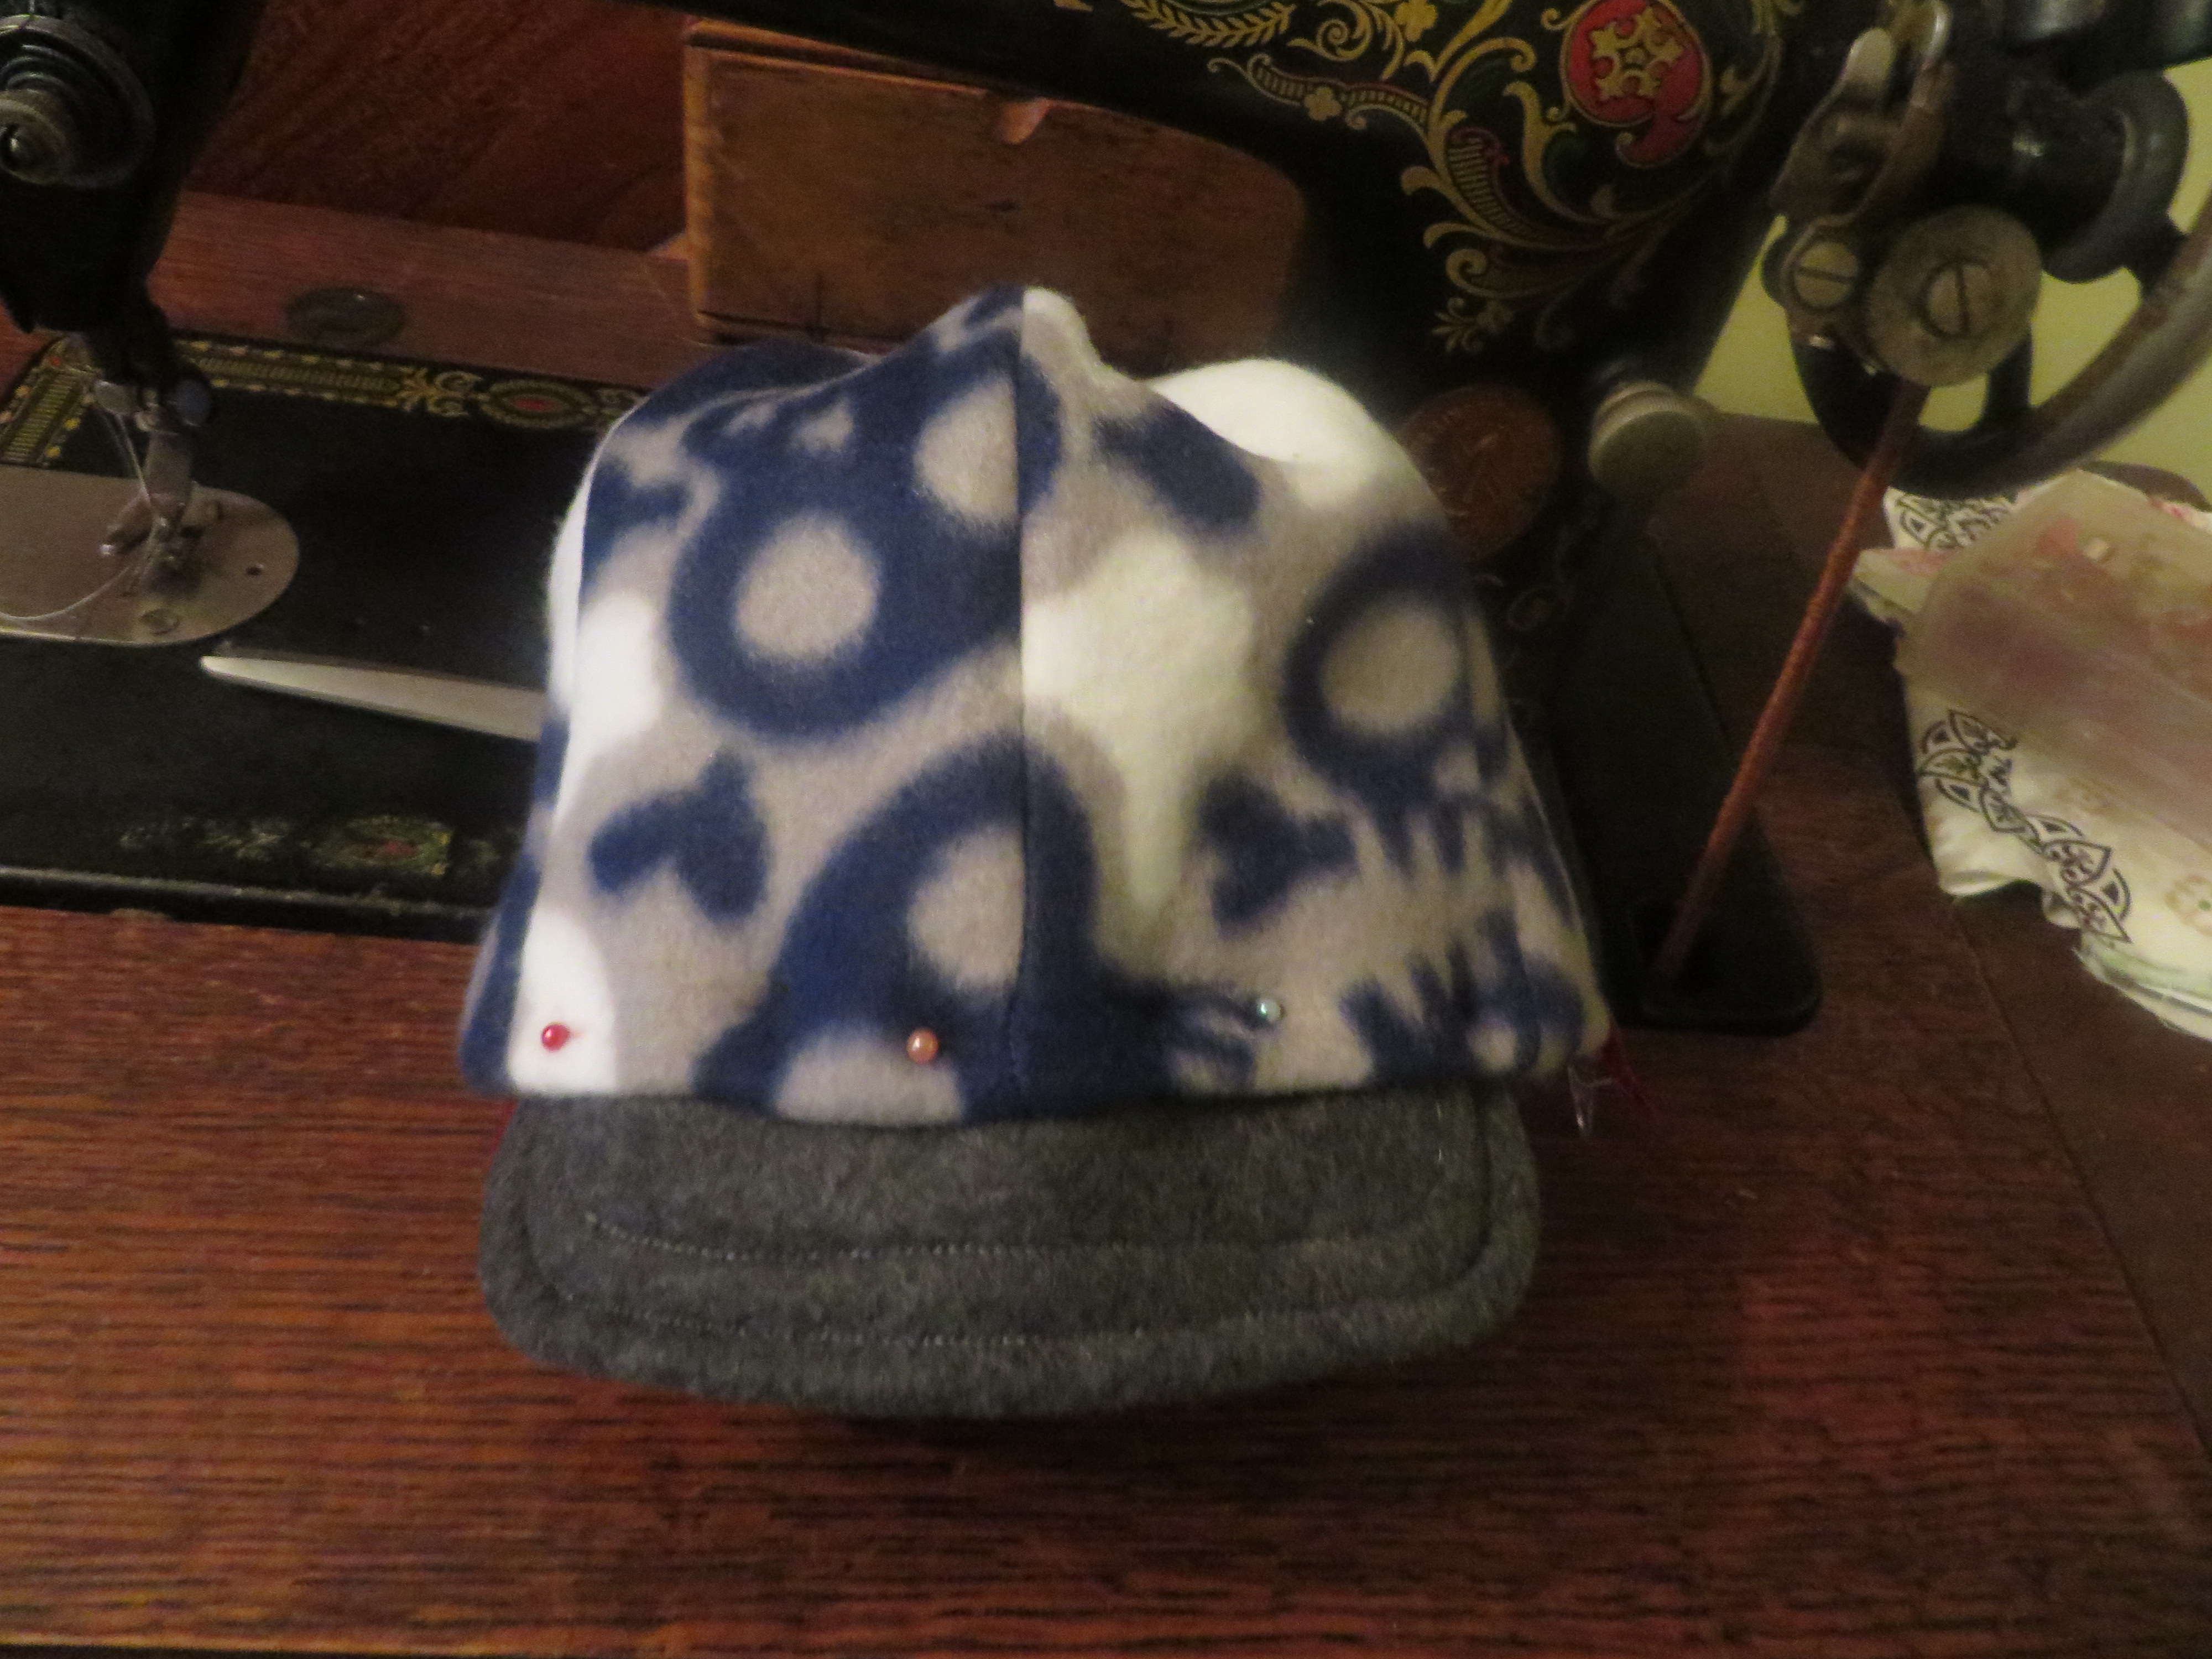
Sew around the entire bottom edge of the hat, securing the visor in place with an extra line of stitches across it.
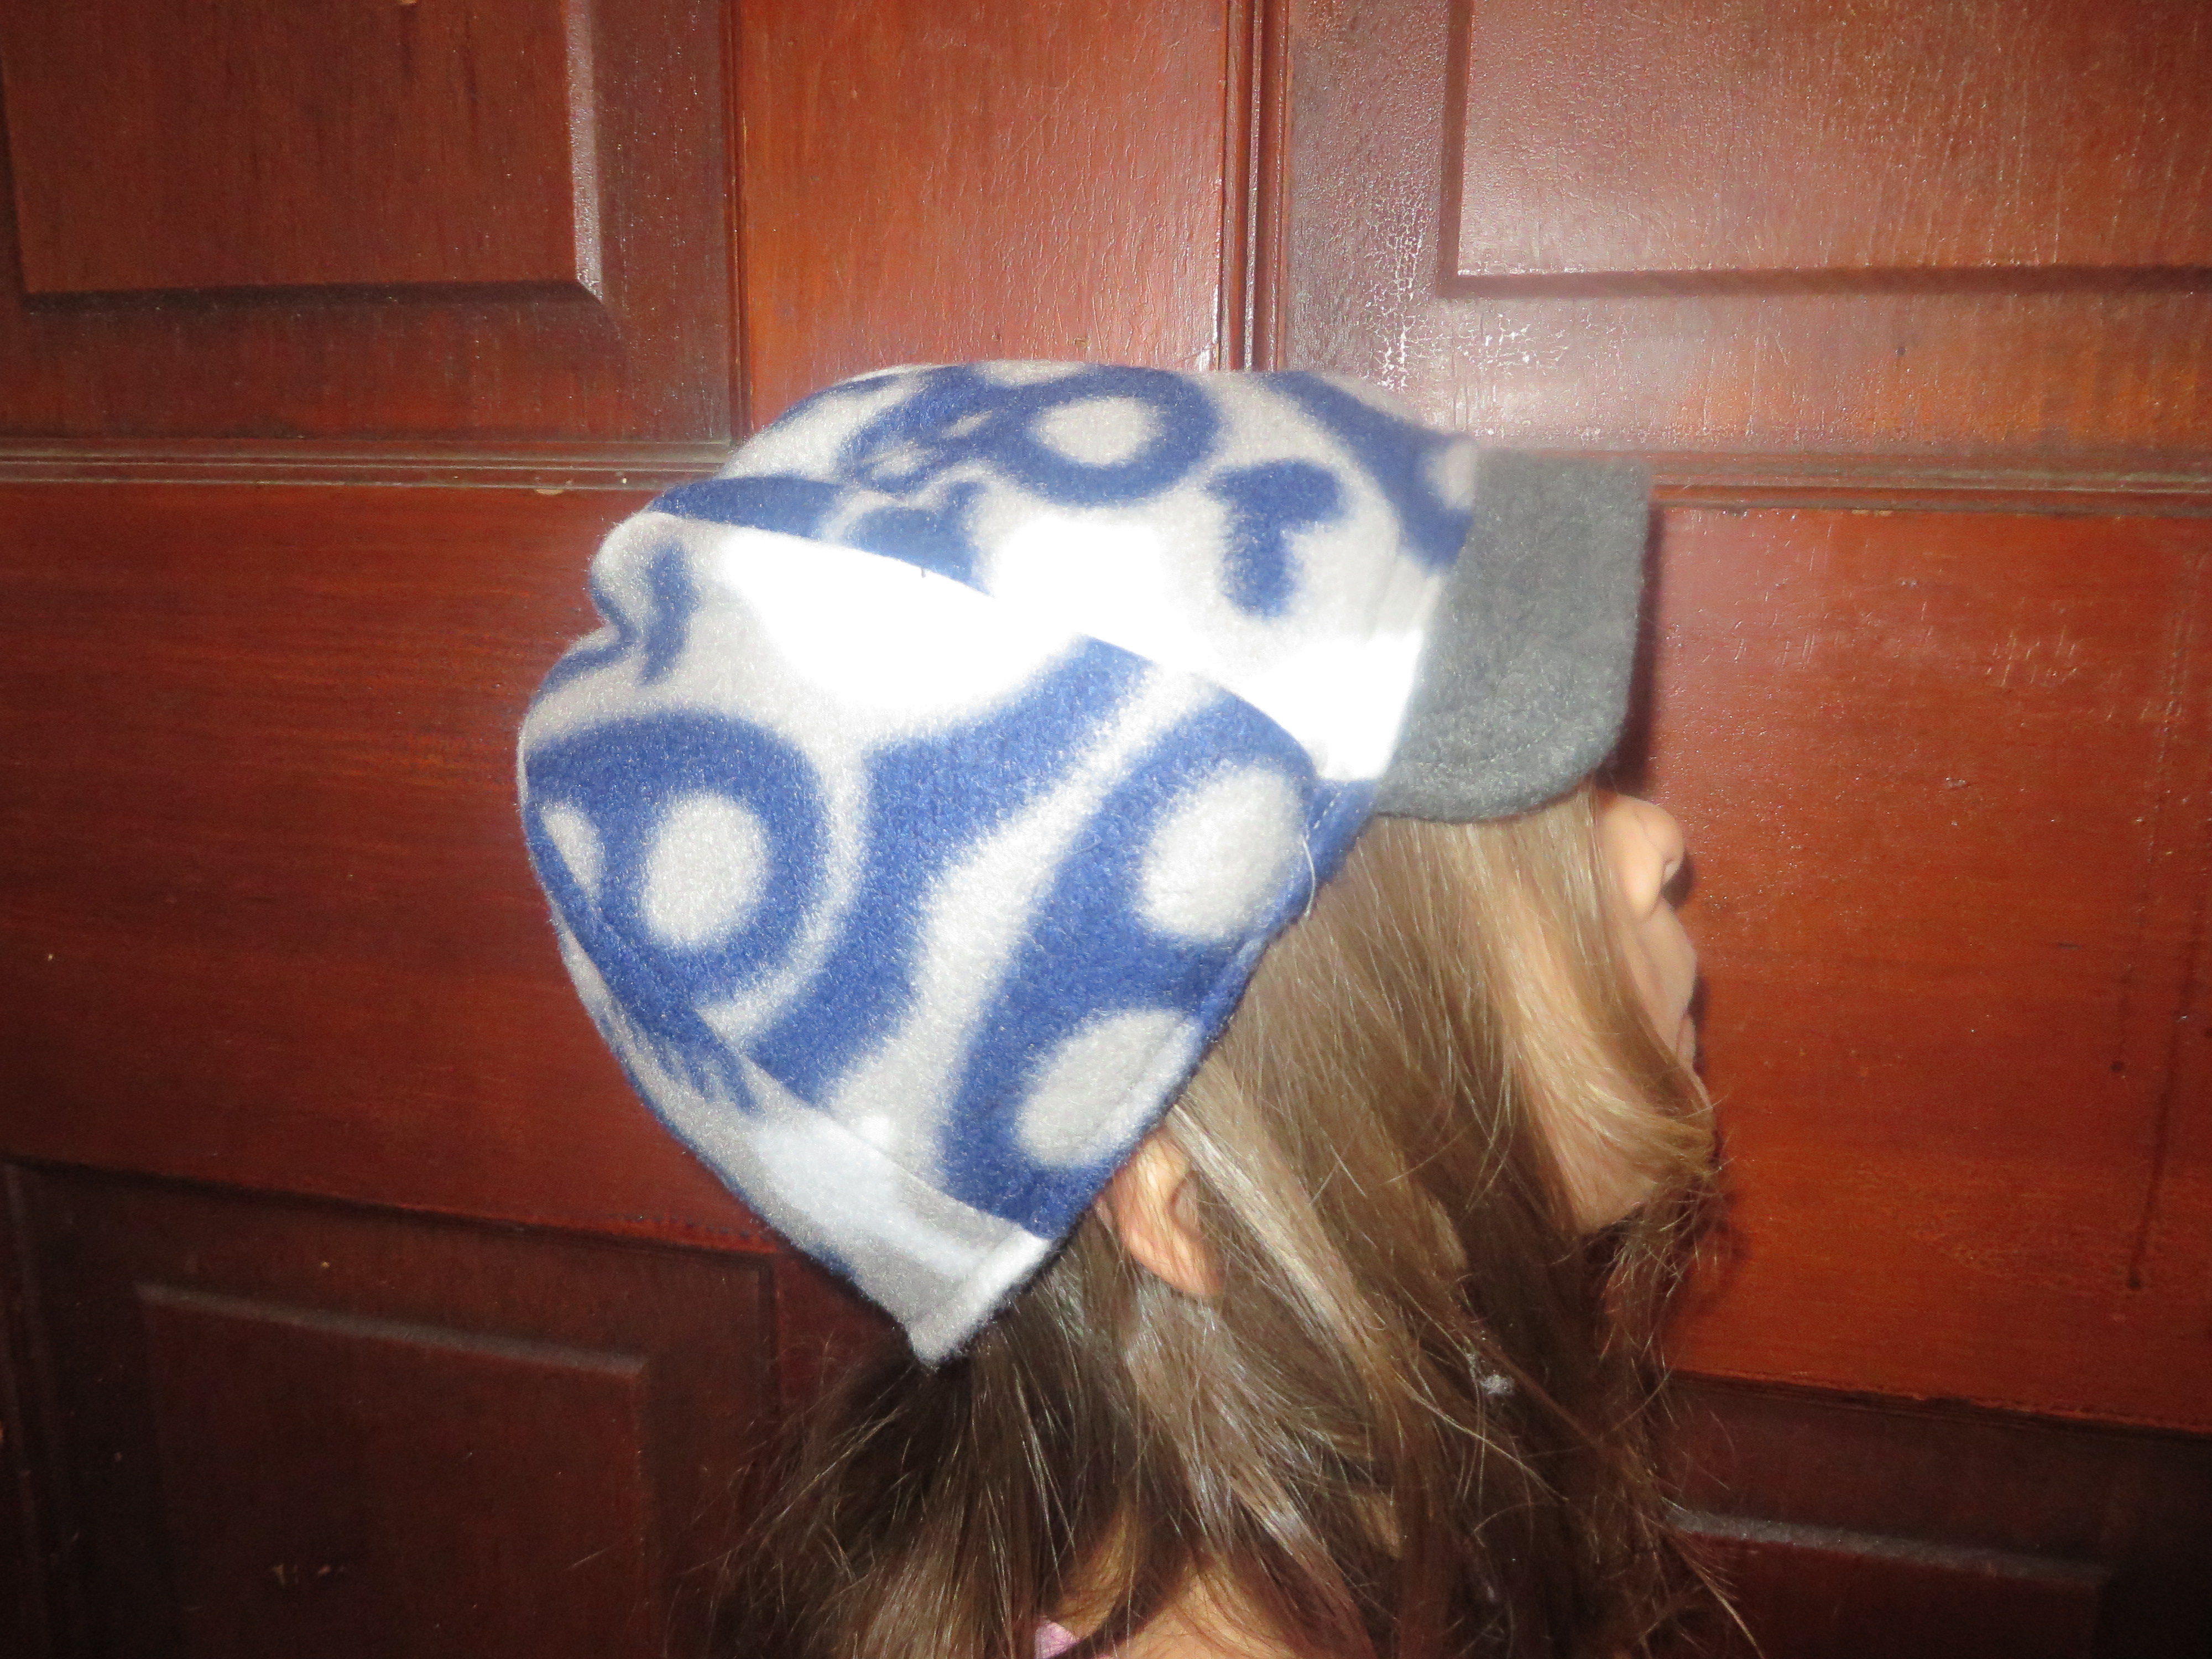
And, aqui esta! Here it is!
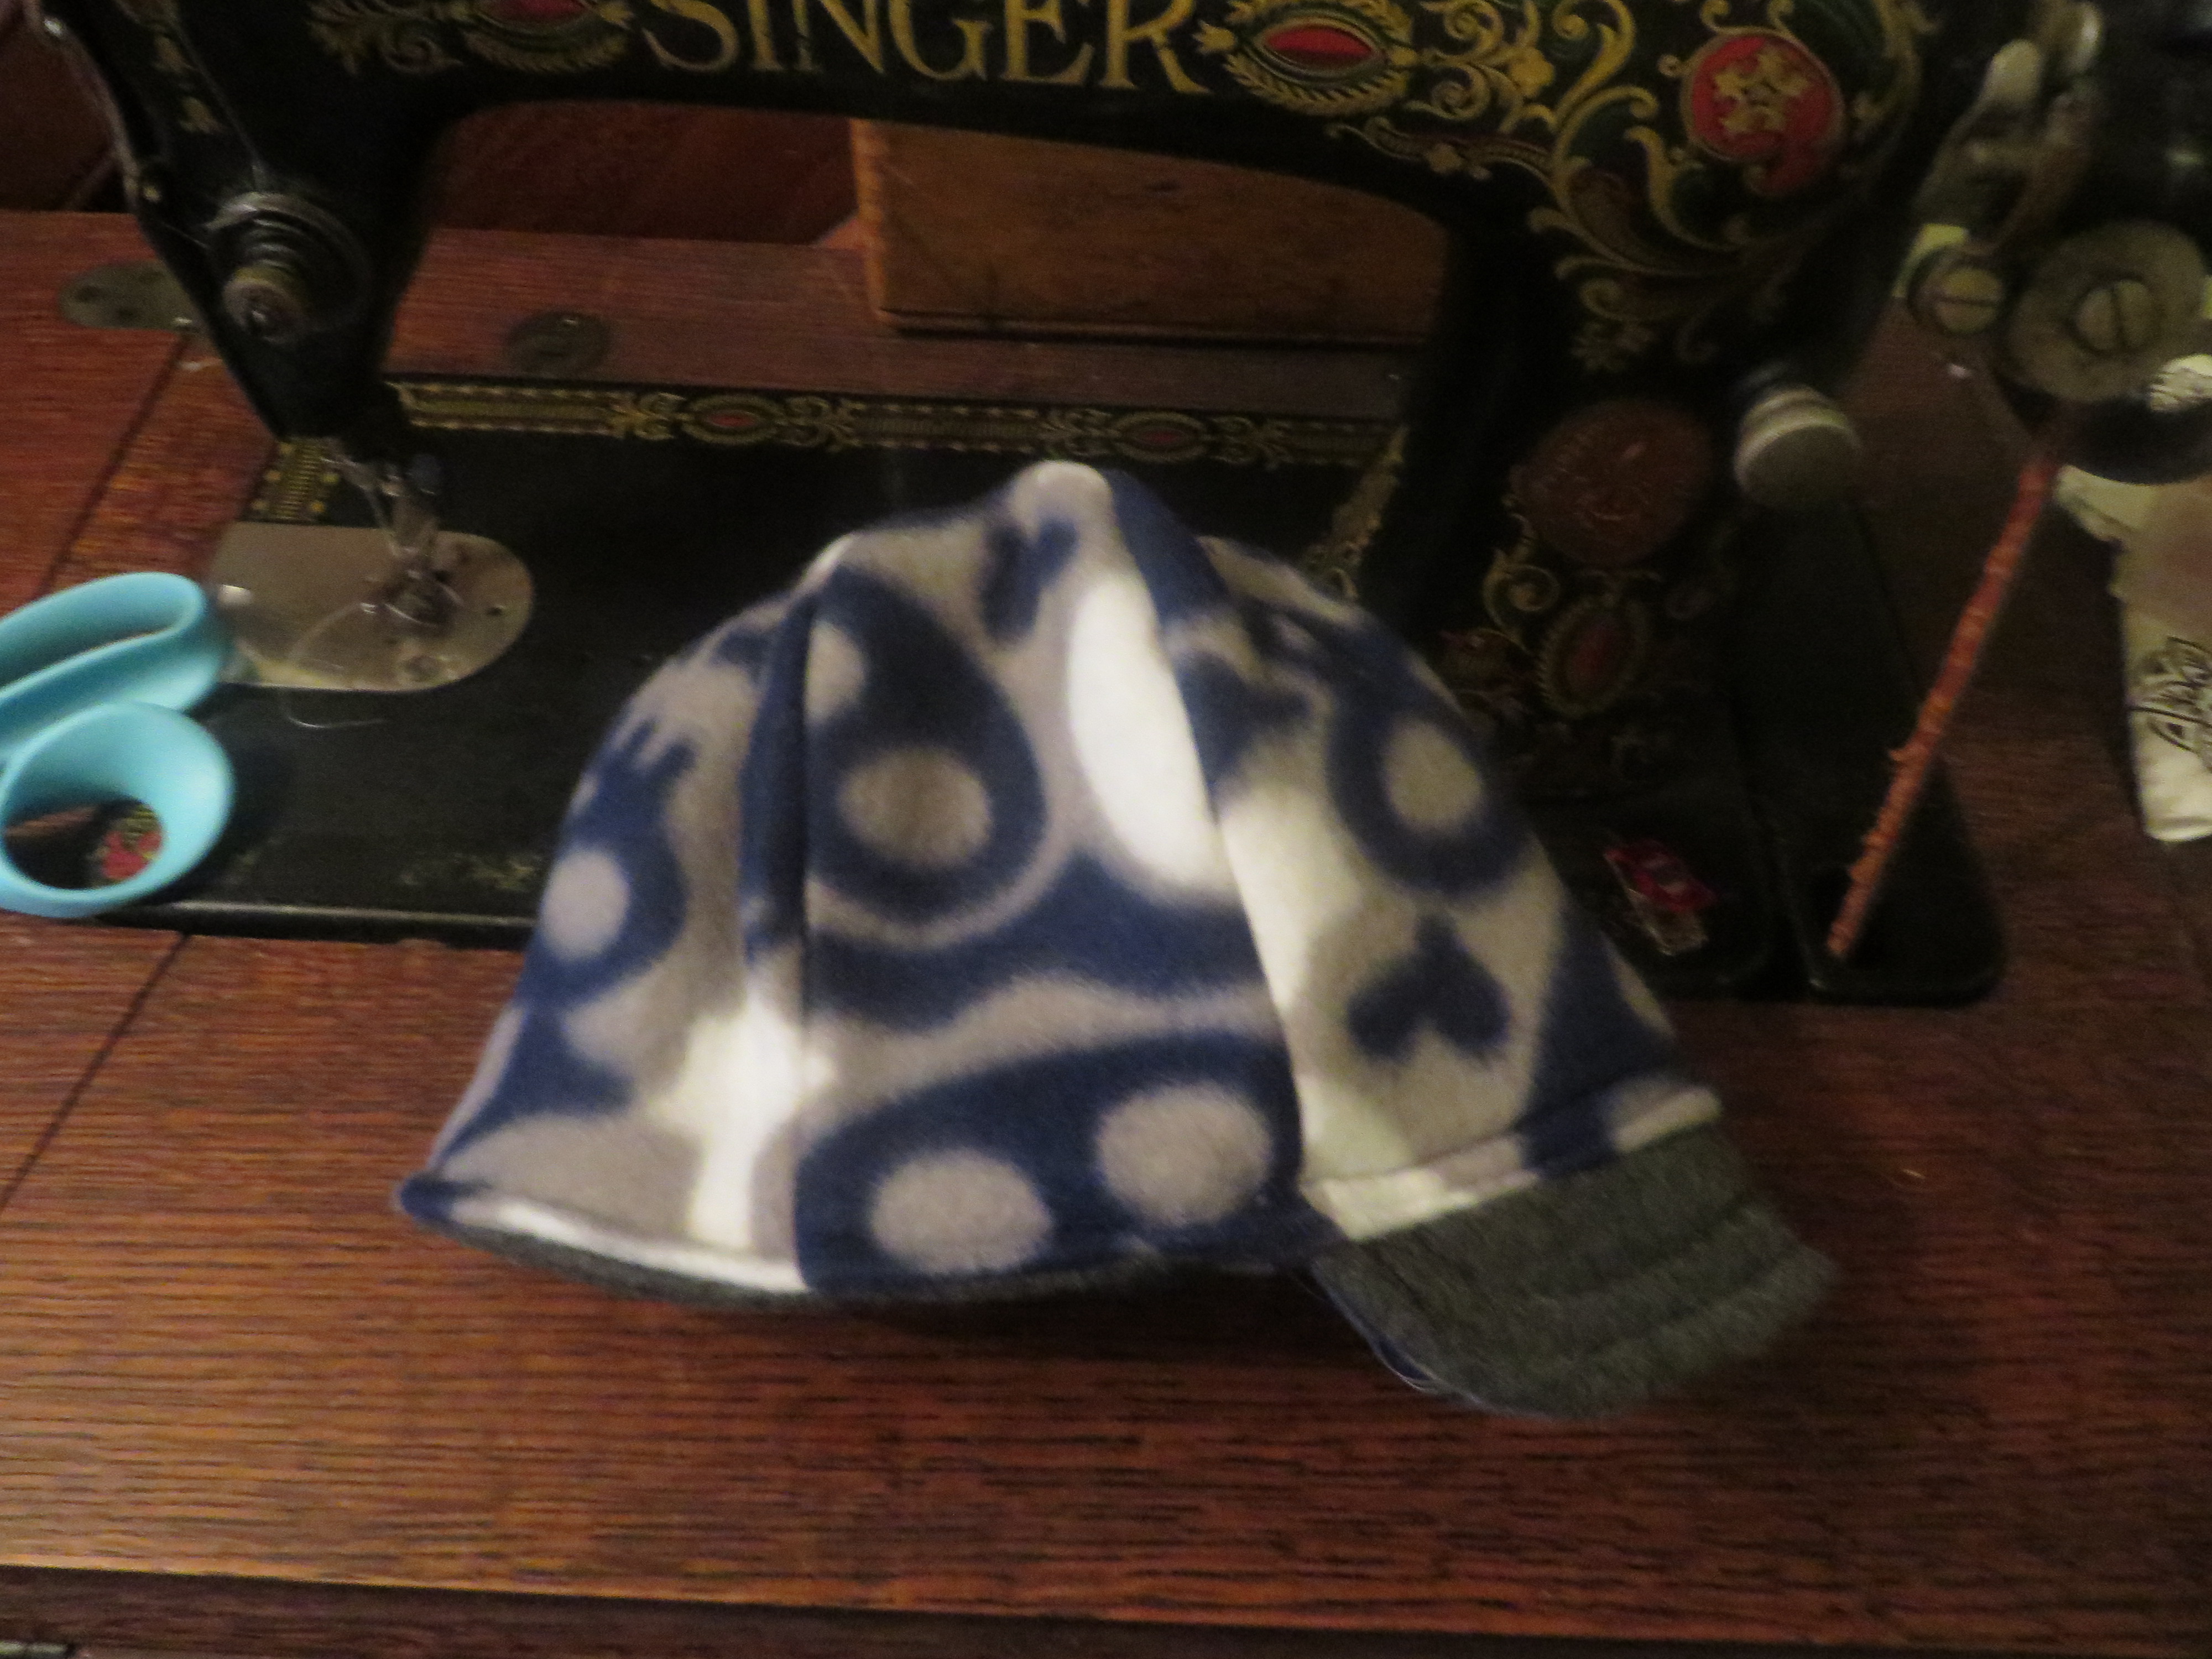
And, guess what? If you’re really meticulous, it’s reversible!
Thanks for sewing with me!