
Well, I am finally getting around to making the tutorial for the fleece Anna hat w/ the bonnet and braids. Finally! I always strive to keep my word, and it’s been bugging me that I didn’t put this up yet. Also, I made this hat weeks ago; and I fear, if I wait too long, I won’t remember the steps I used to make the darned thing!
Here’s the hat we’re making today:

Thinking this might be great timing for a homemade Christmas gift for your little Frozen fanatic!
Since this was a project that I made w/ scraps from other projects, I highly recommend reading through this entire tutorial, taking all your measurements, and calculating how much you will need of all material before beginning.
Here’s what you will need:
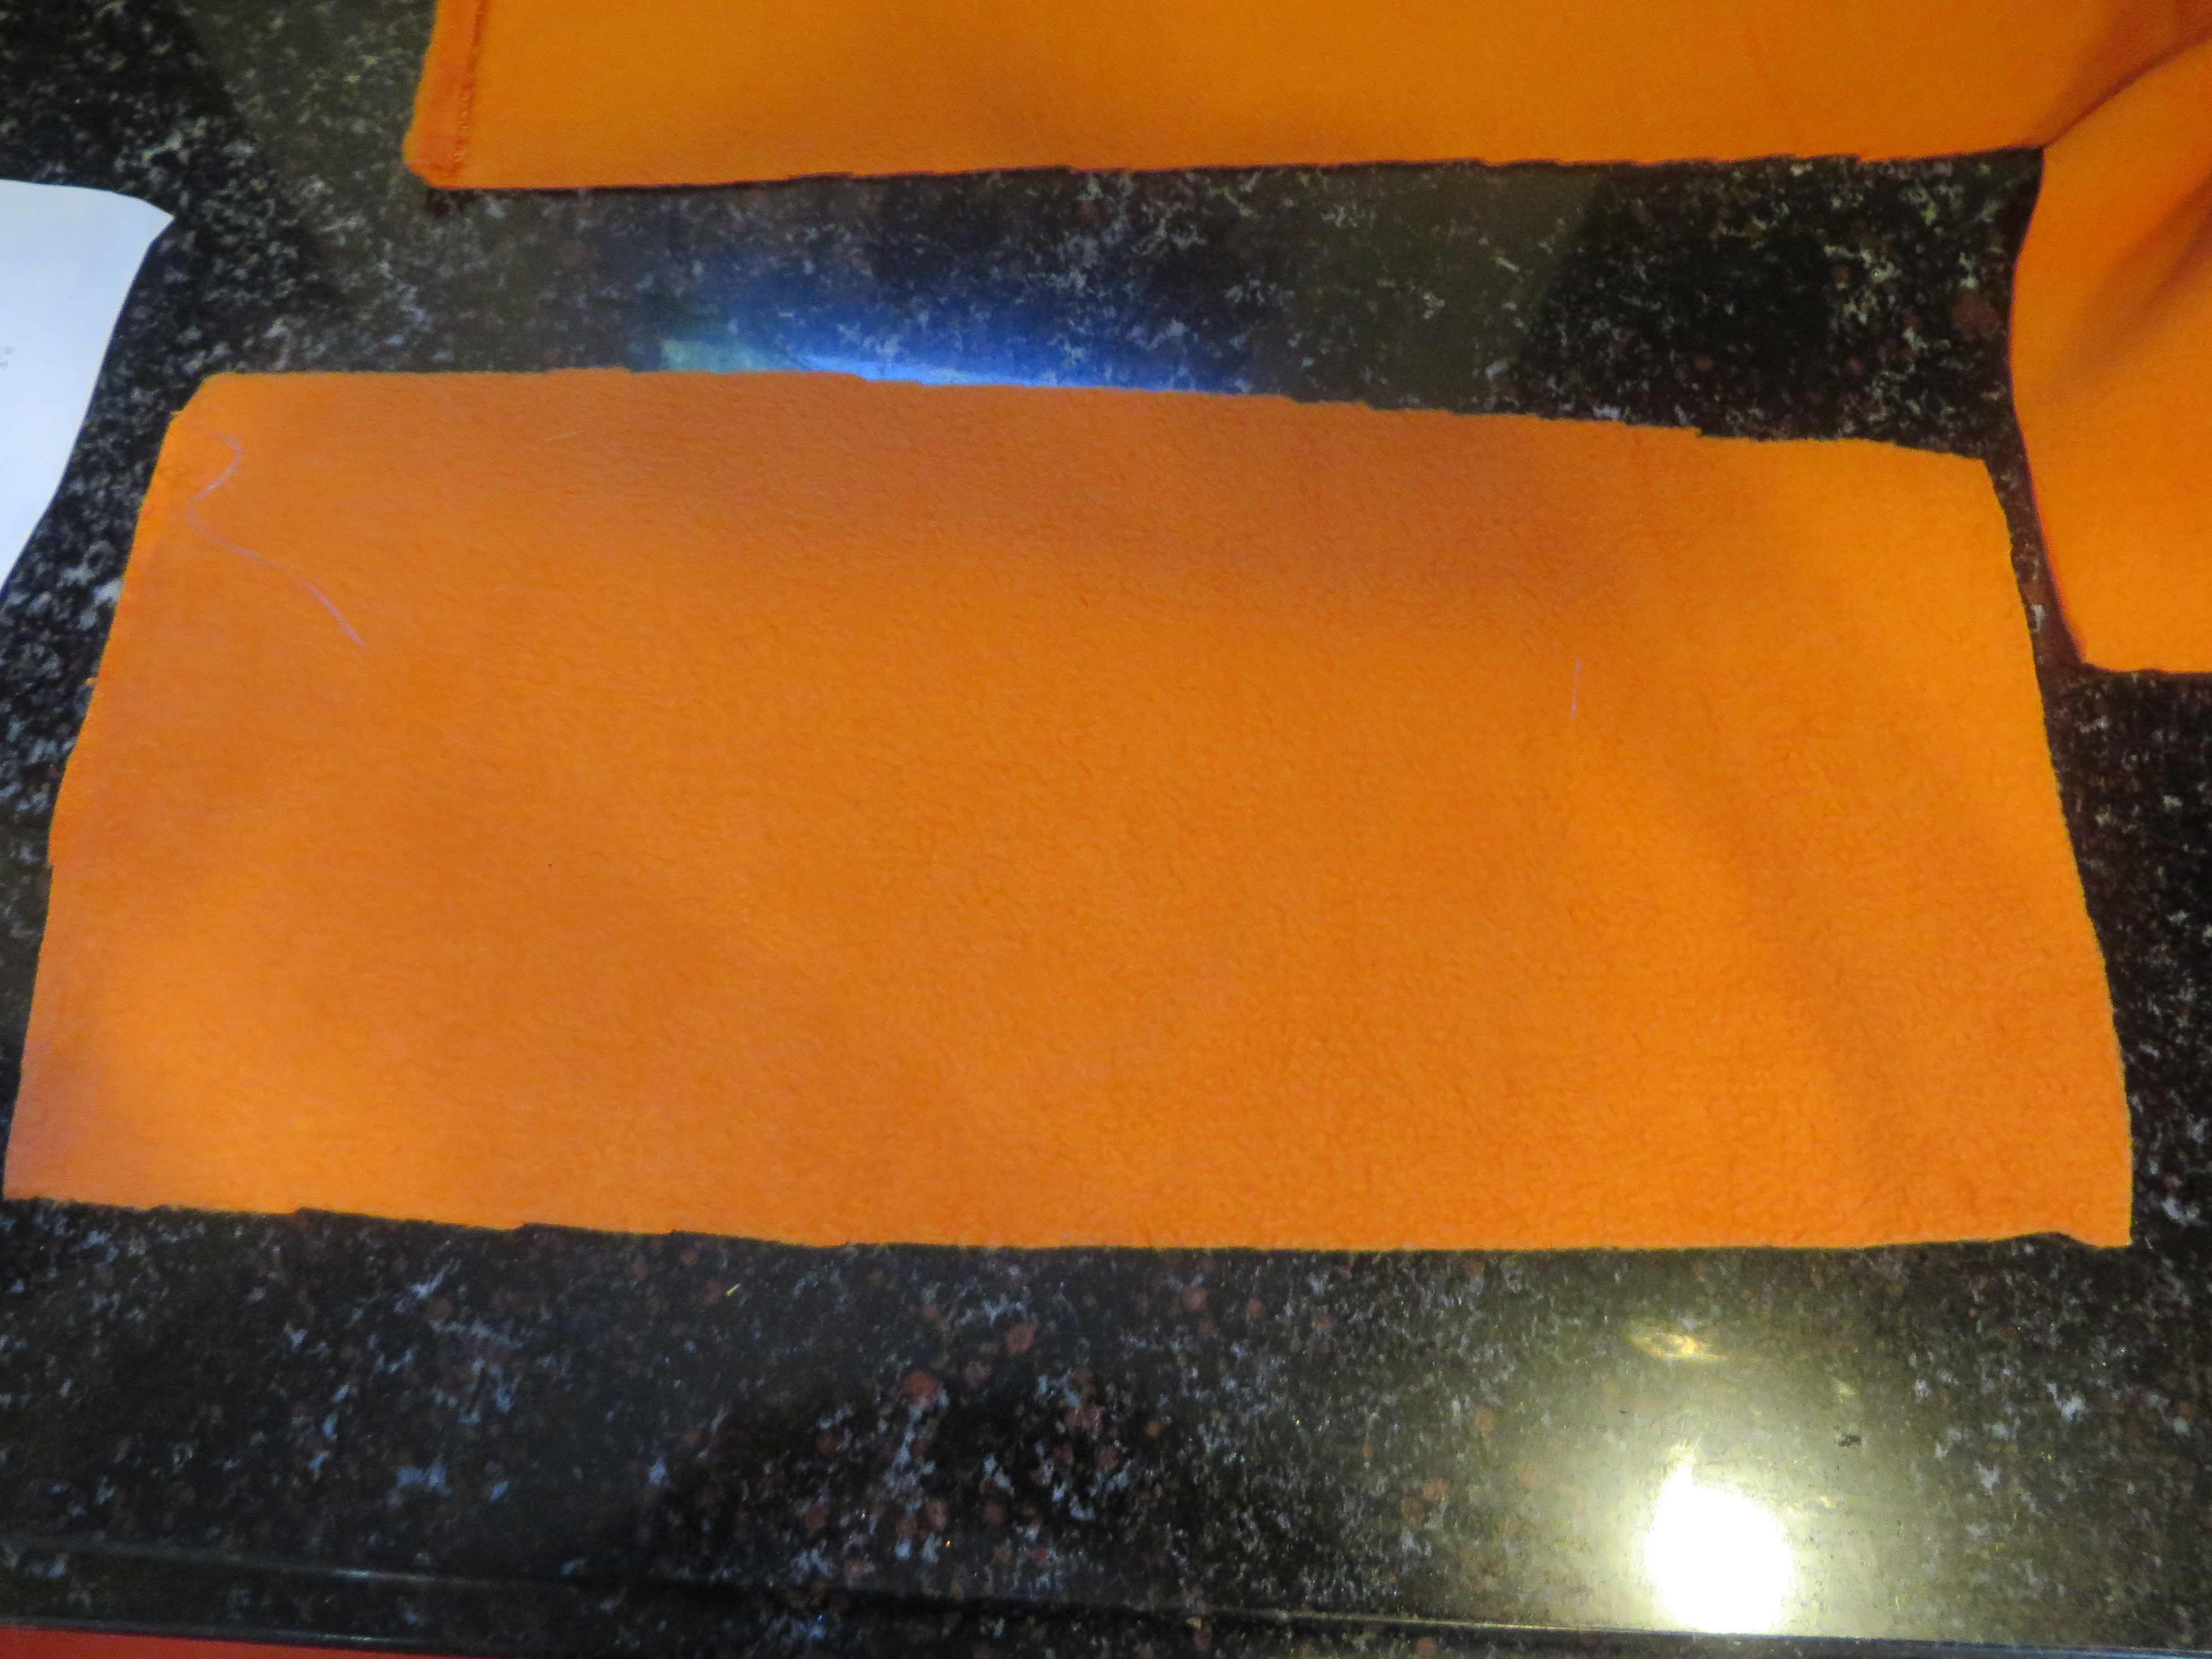
One rectangular piece of orange fleece (measurement is a rectangle of head around the head and then half of the total of ear-to-ear measurement), plus extra for braids and bangs.
A small piece of pink fleece (size will be determined when you make your pattern).
A small piece of faux fur trim or faux fur purple fabric (about 5 inches by desired width of visor across forehead).
Pin or clip your hat together and sew.

Turn your hat right-side out and set aside for a minute.
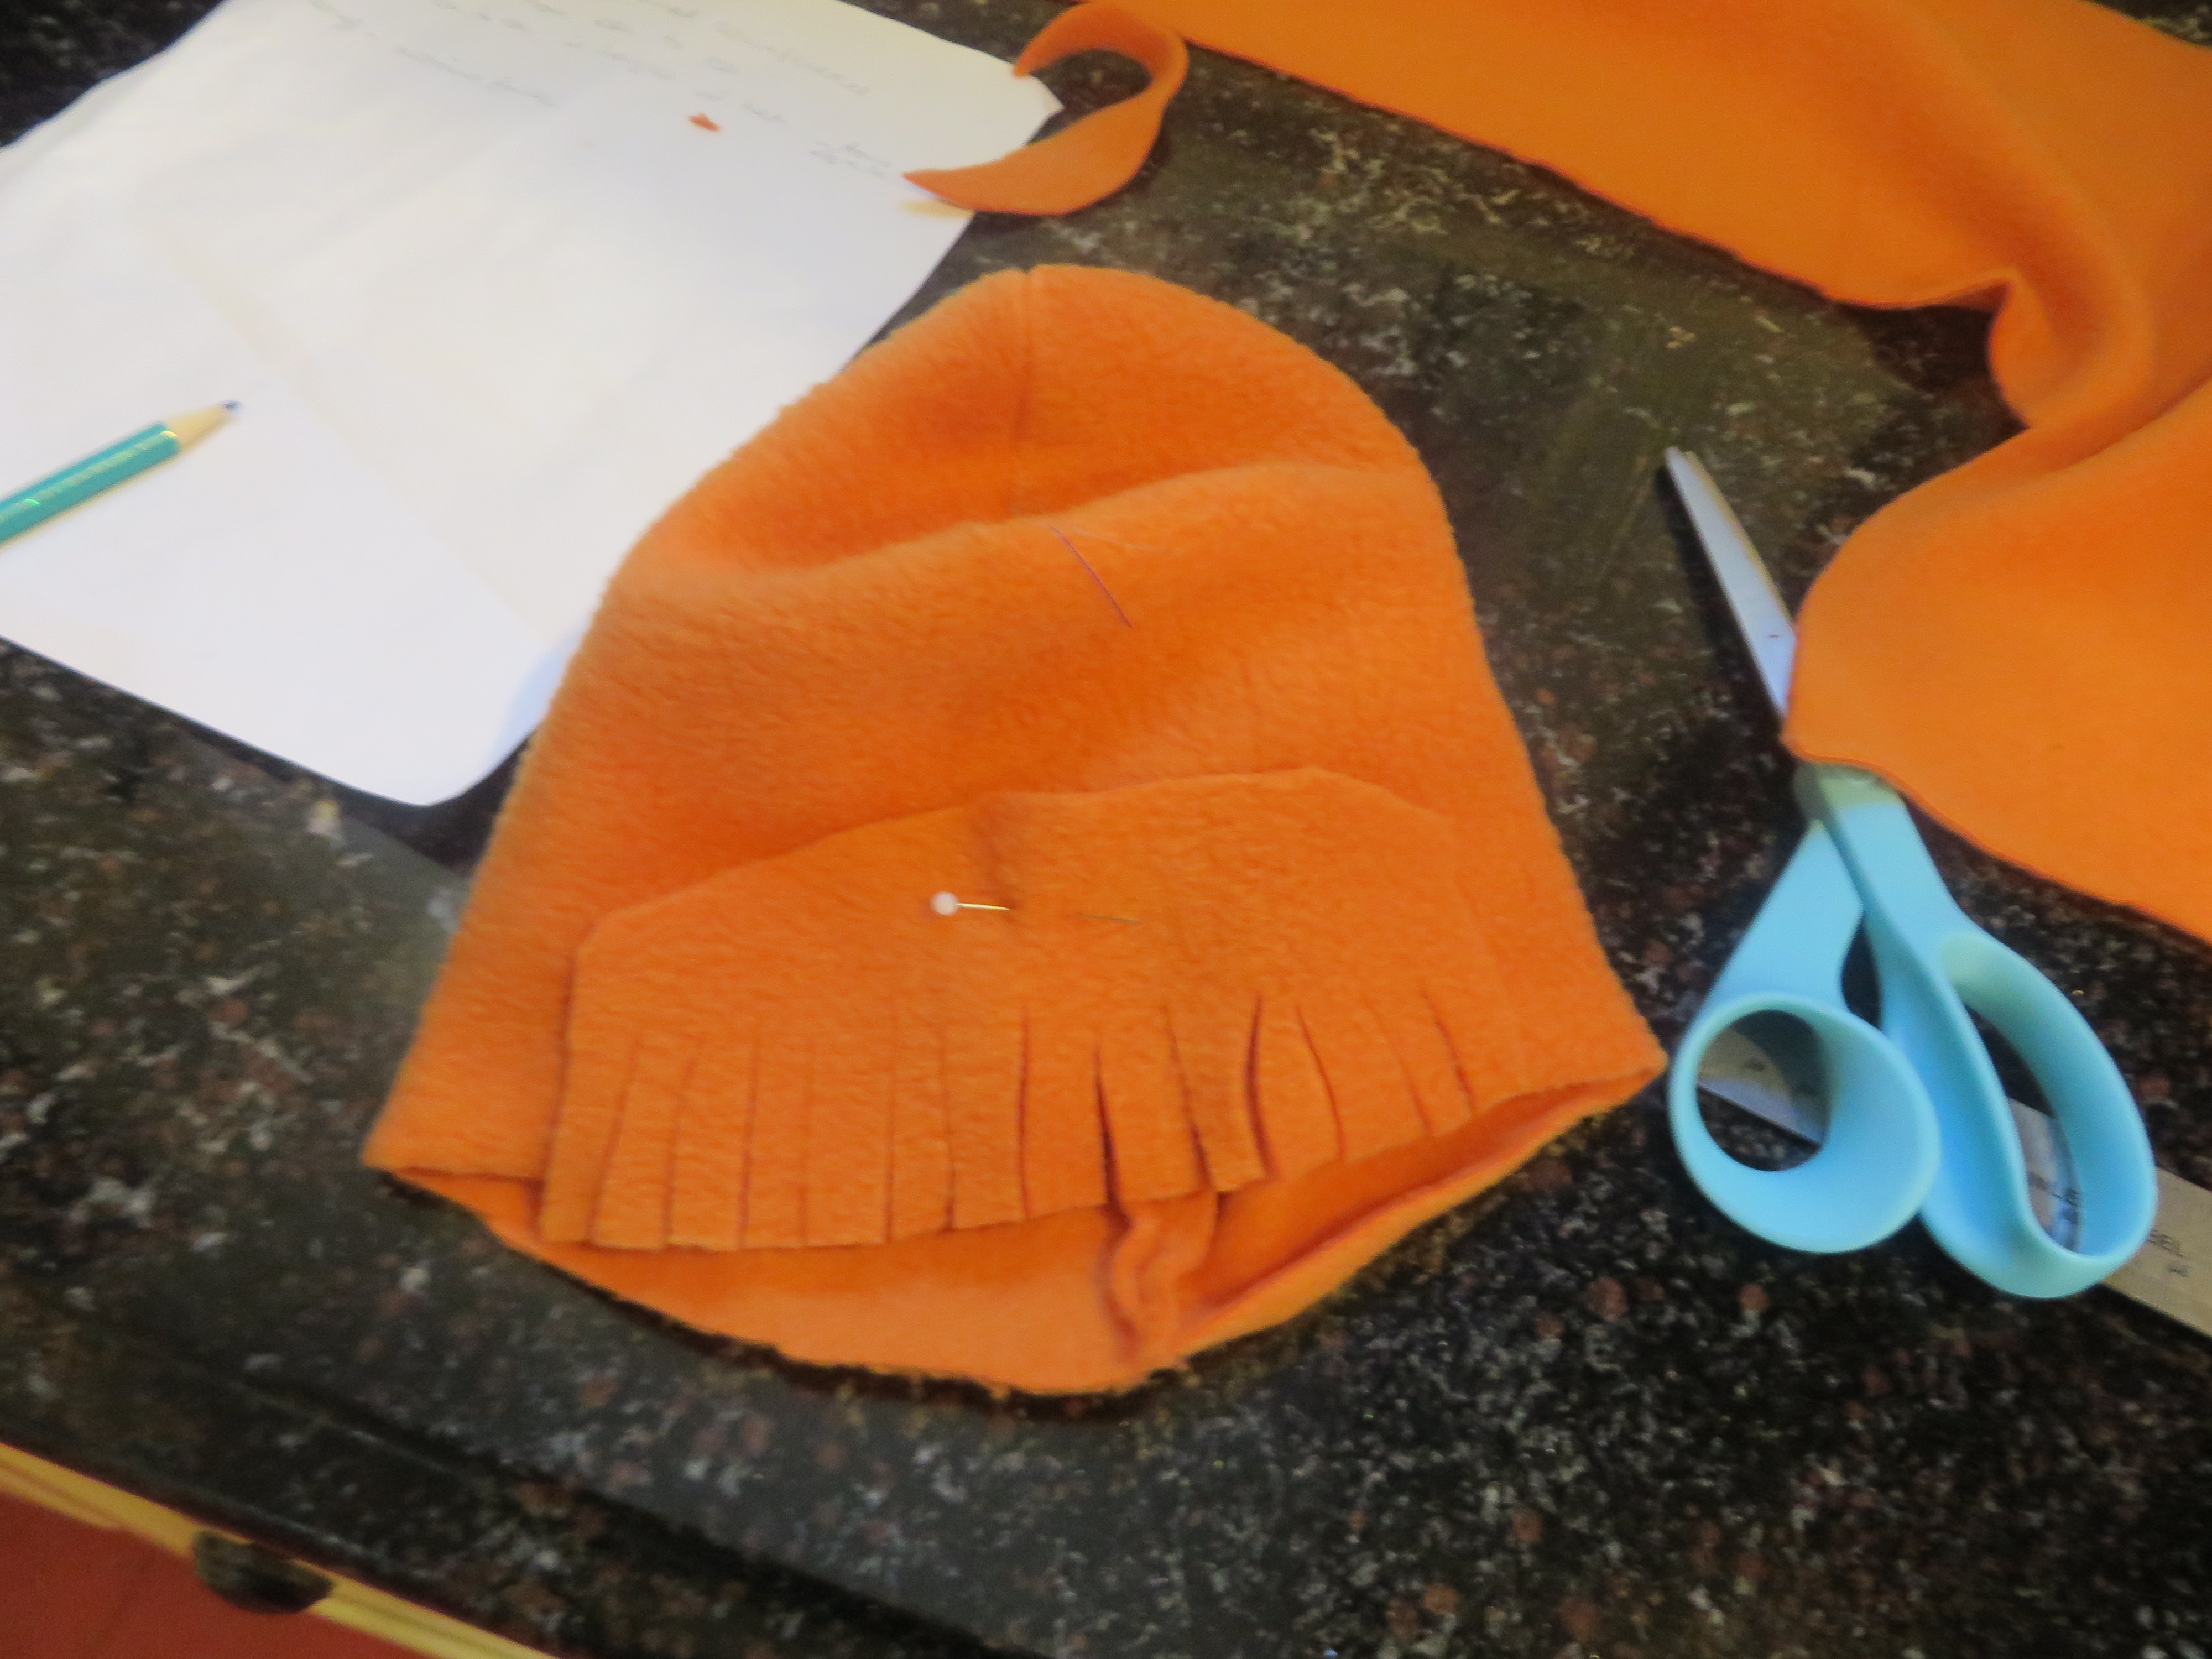
Now you can use your orange fleece scraps to cut some bangs.
I just eyeball this, but you can take a measurement of your child’s forehead and use that for reference.
I cut two layers of these bangs for a little more whimsical dimension.
Cut some little fringes in the front of your bang pieces.
Pin to your hat and sew, making sure that the seam goes down the middle back of the hat, just like it would if you parted your hair down the middle.
Repeat this for a second row, if you’d like.
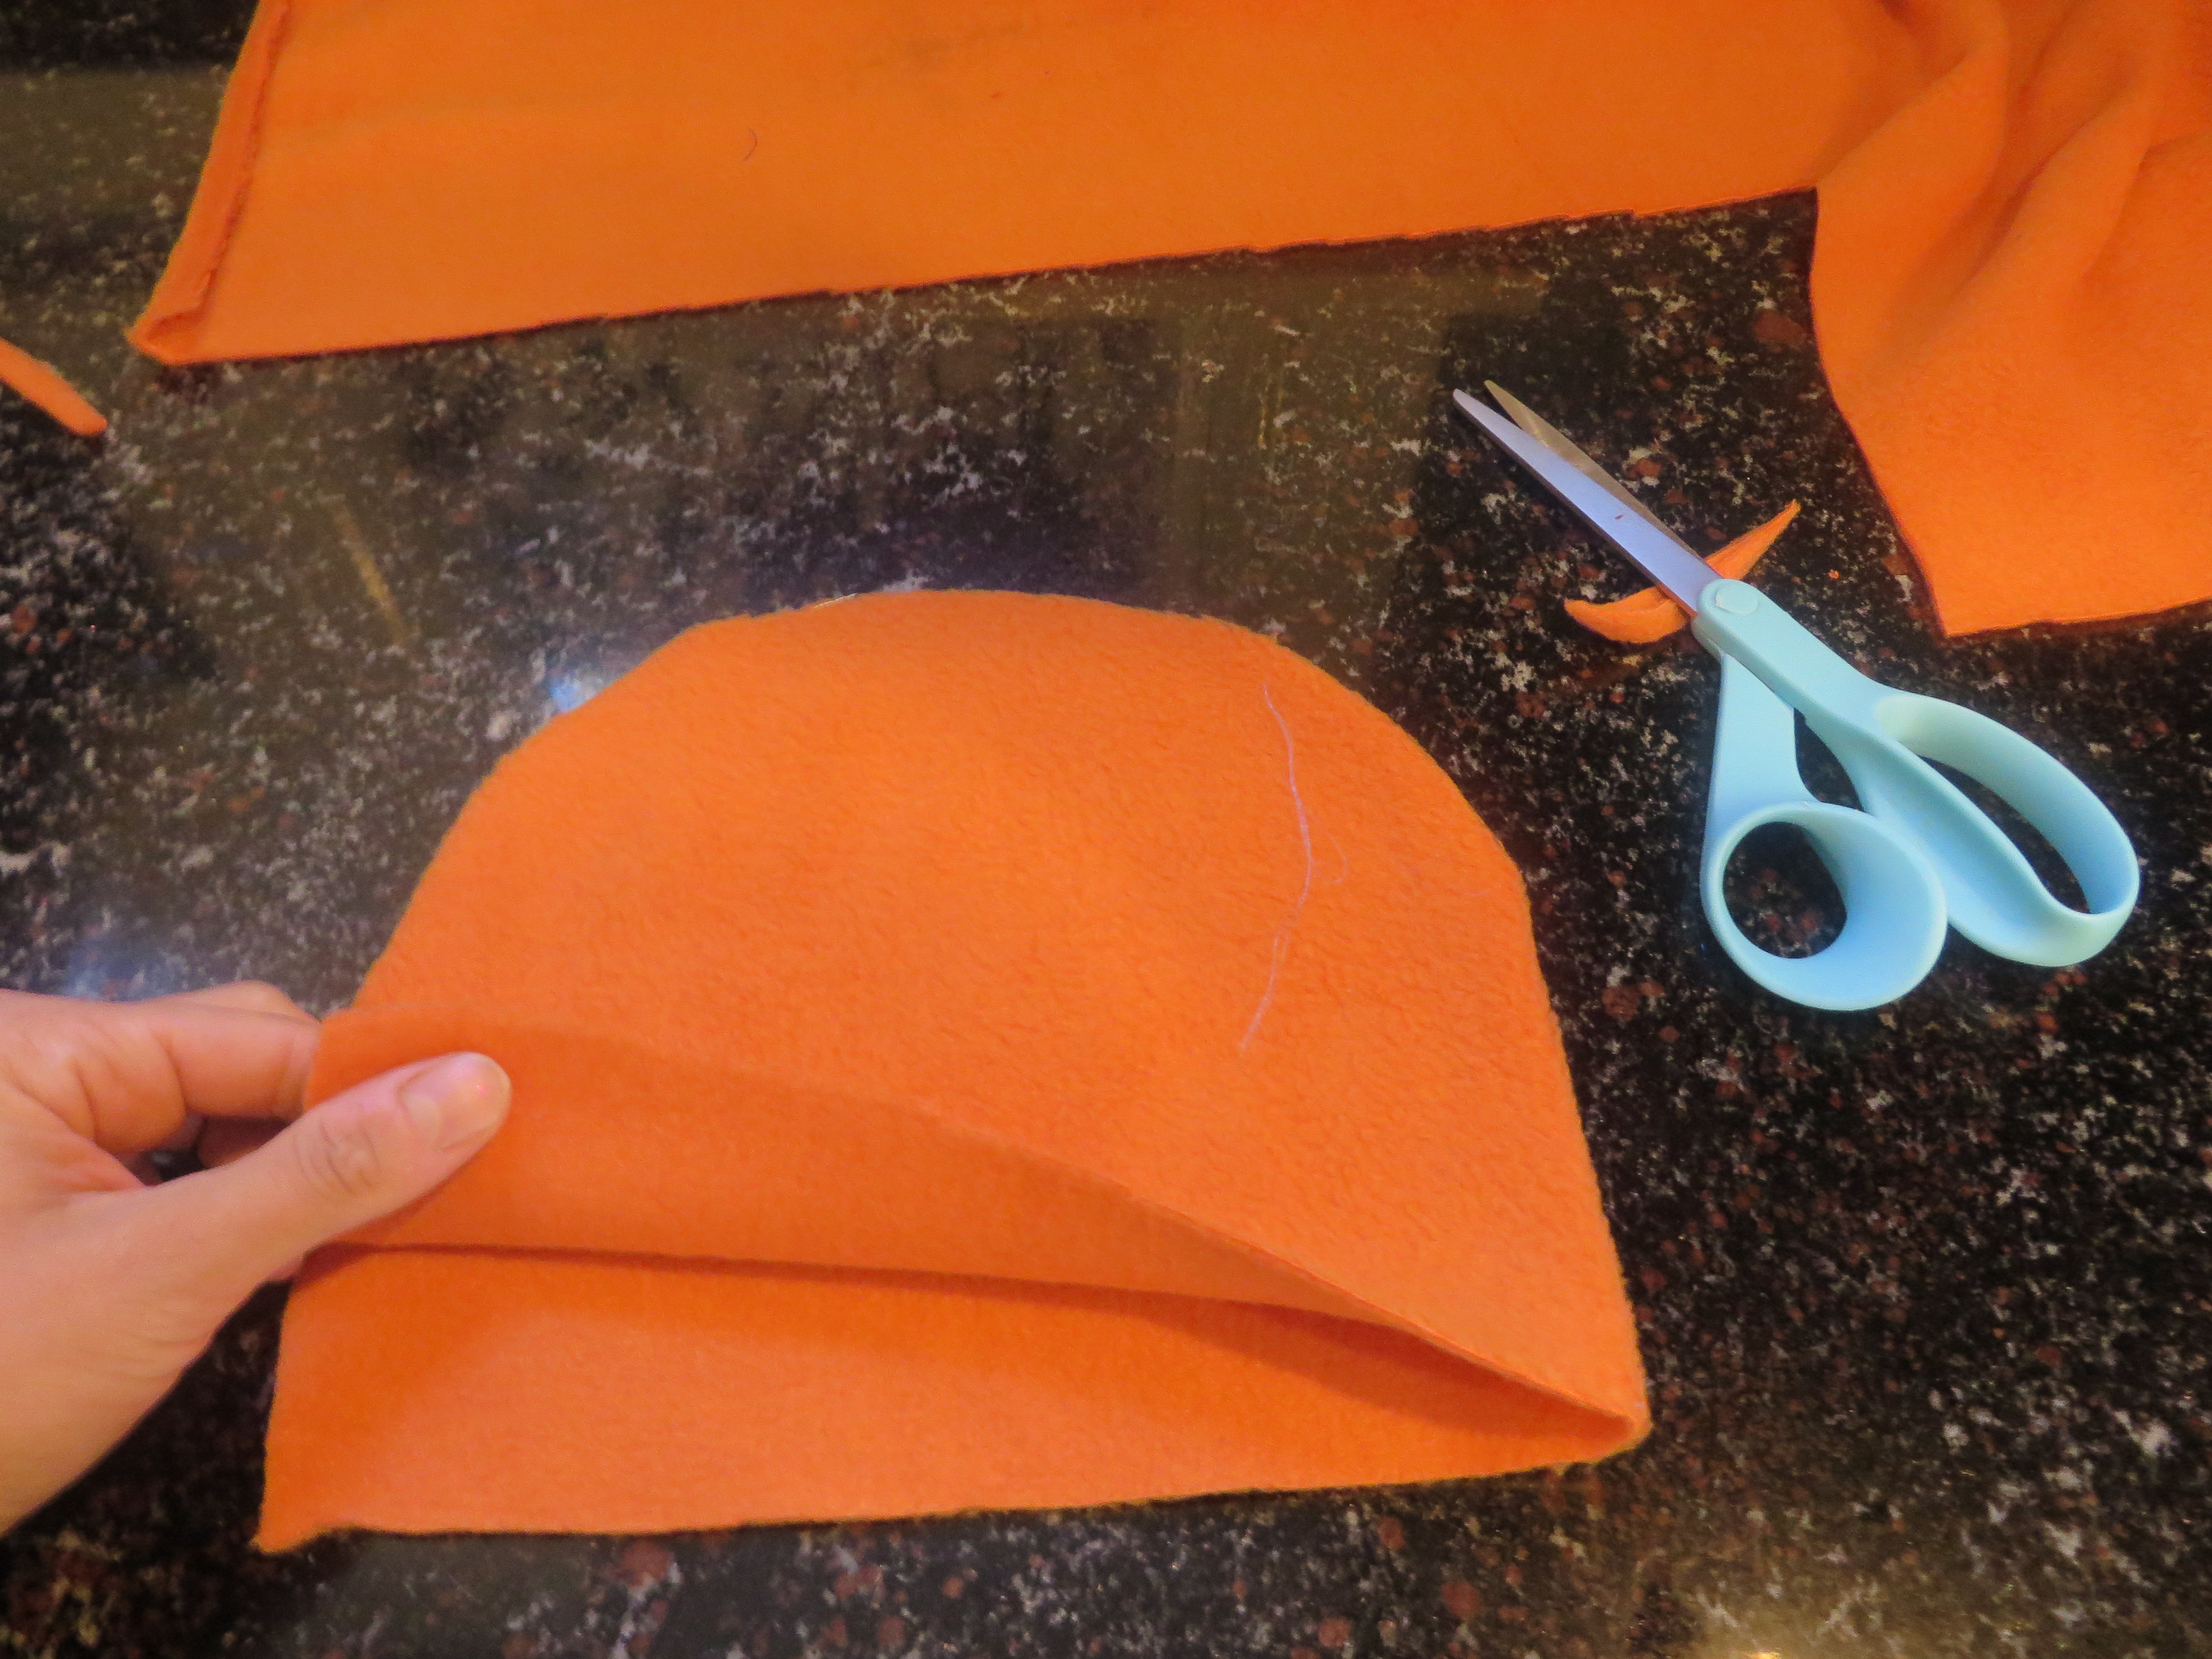
Now we need to make a pattern for the bonnet part of the hat.
You want to take your hat and fold it in half, letting your back seam be your guide. So basically you will have your bangs folded in half. Next, you want to lay a piece of paper over your folded hat and cut a shape for your bonnet. I turned and top-stitched this bonnet section, so you will need an inner and outer layer of pink fleece if you are following this tutorial exactly as written.
Looks like this:
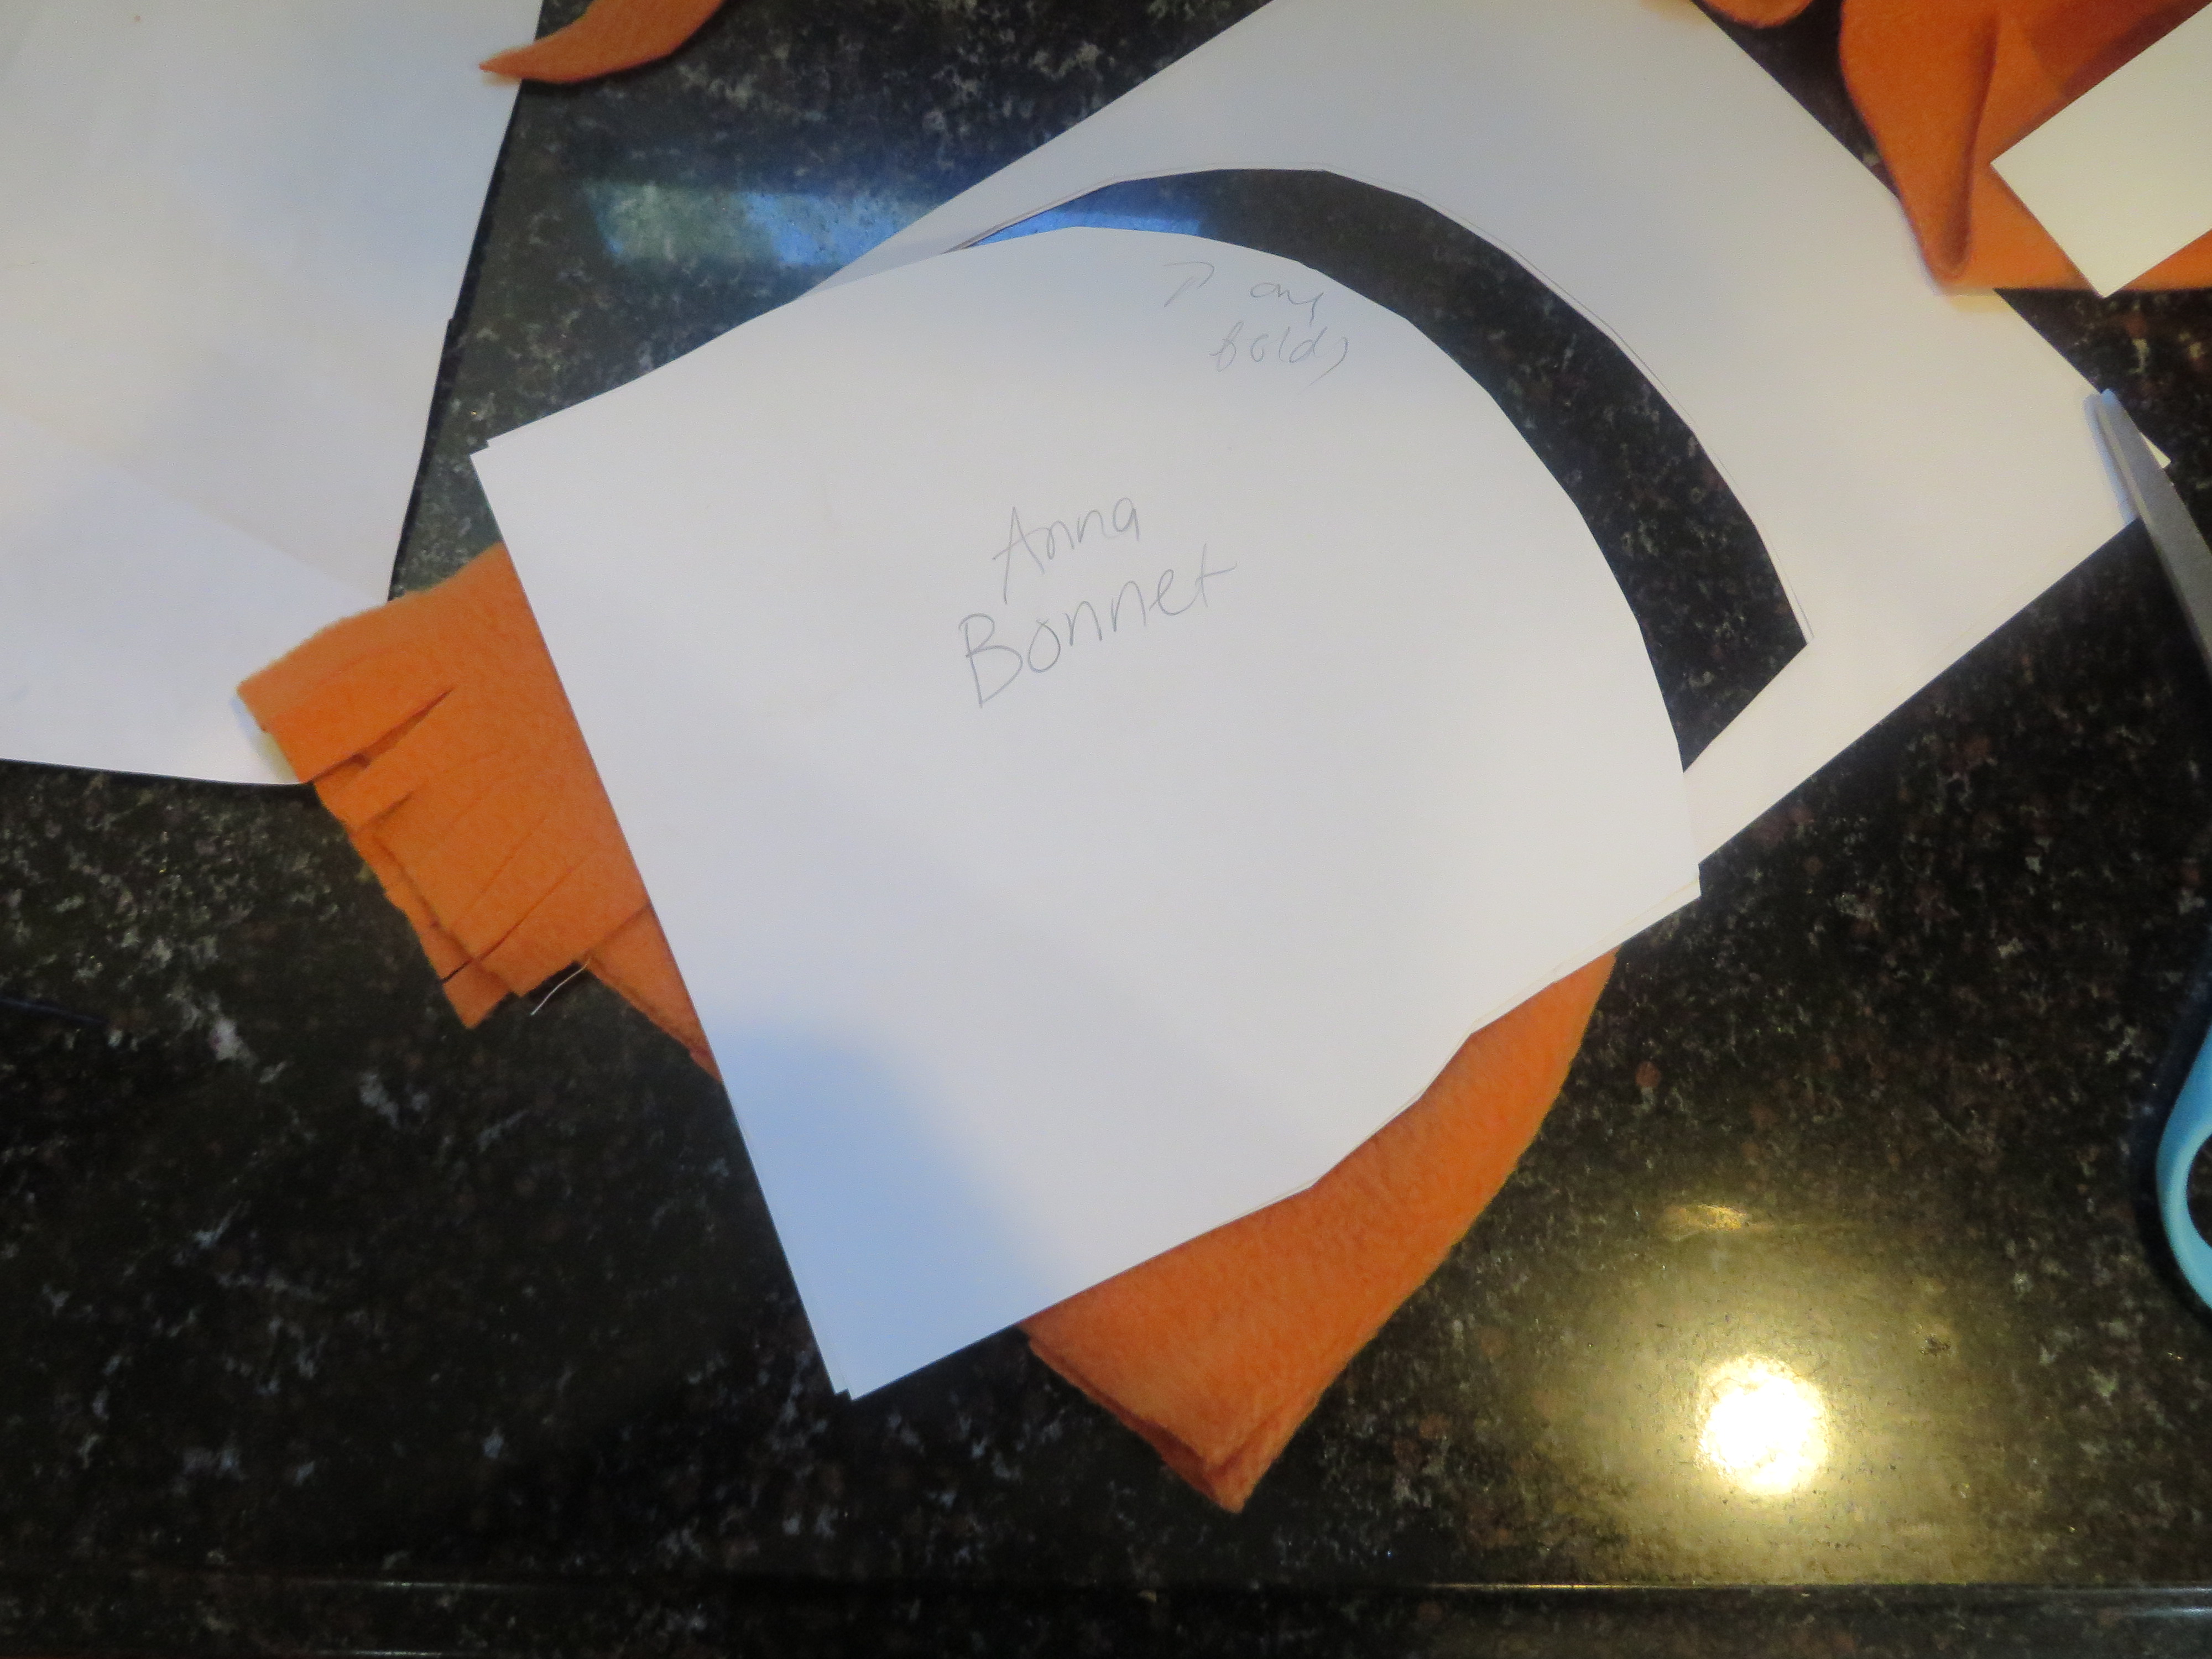
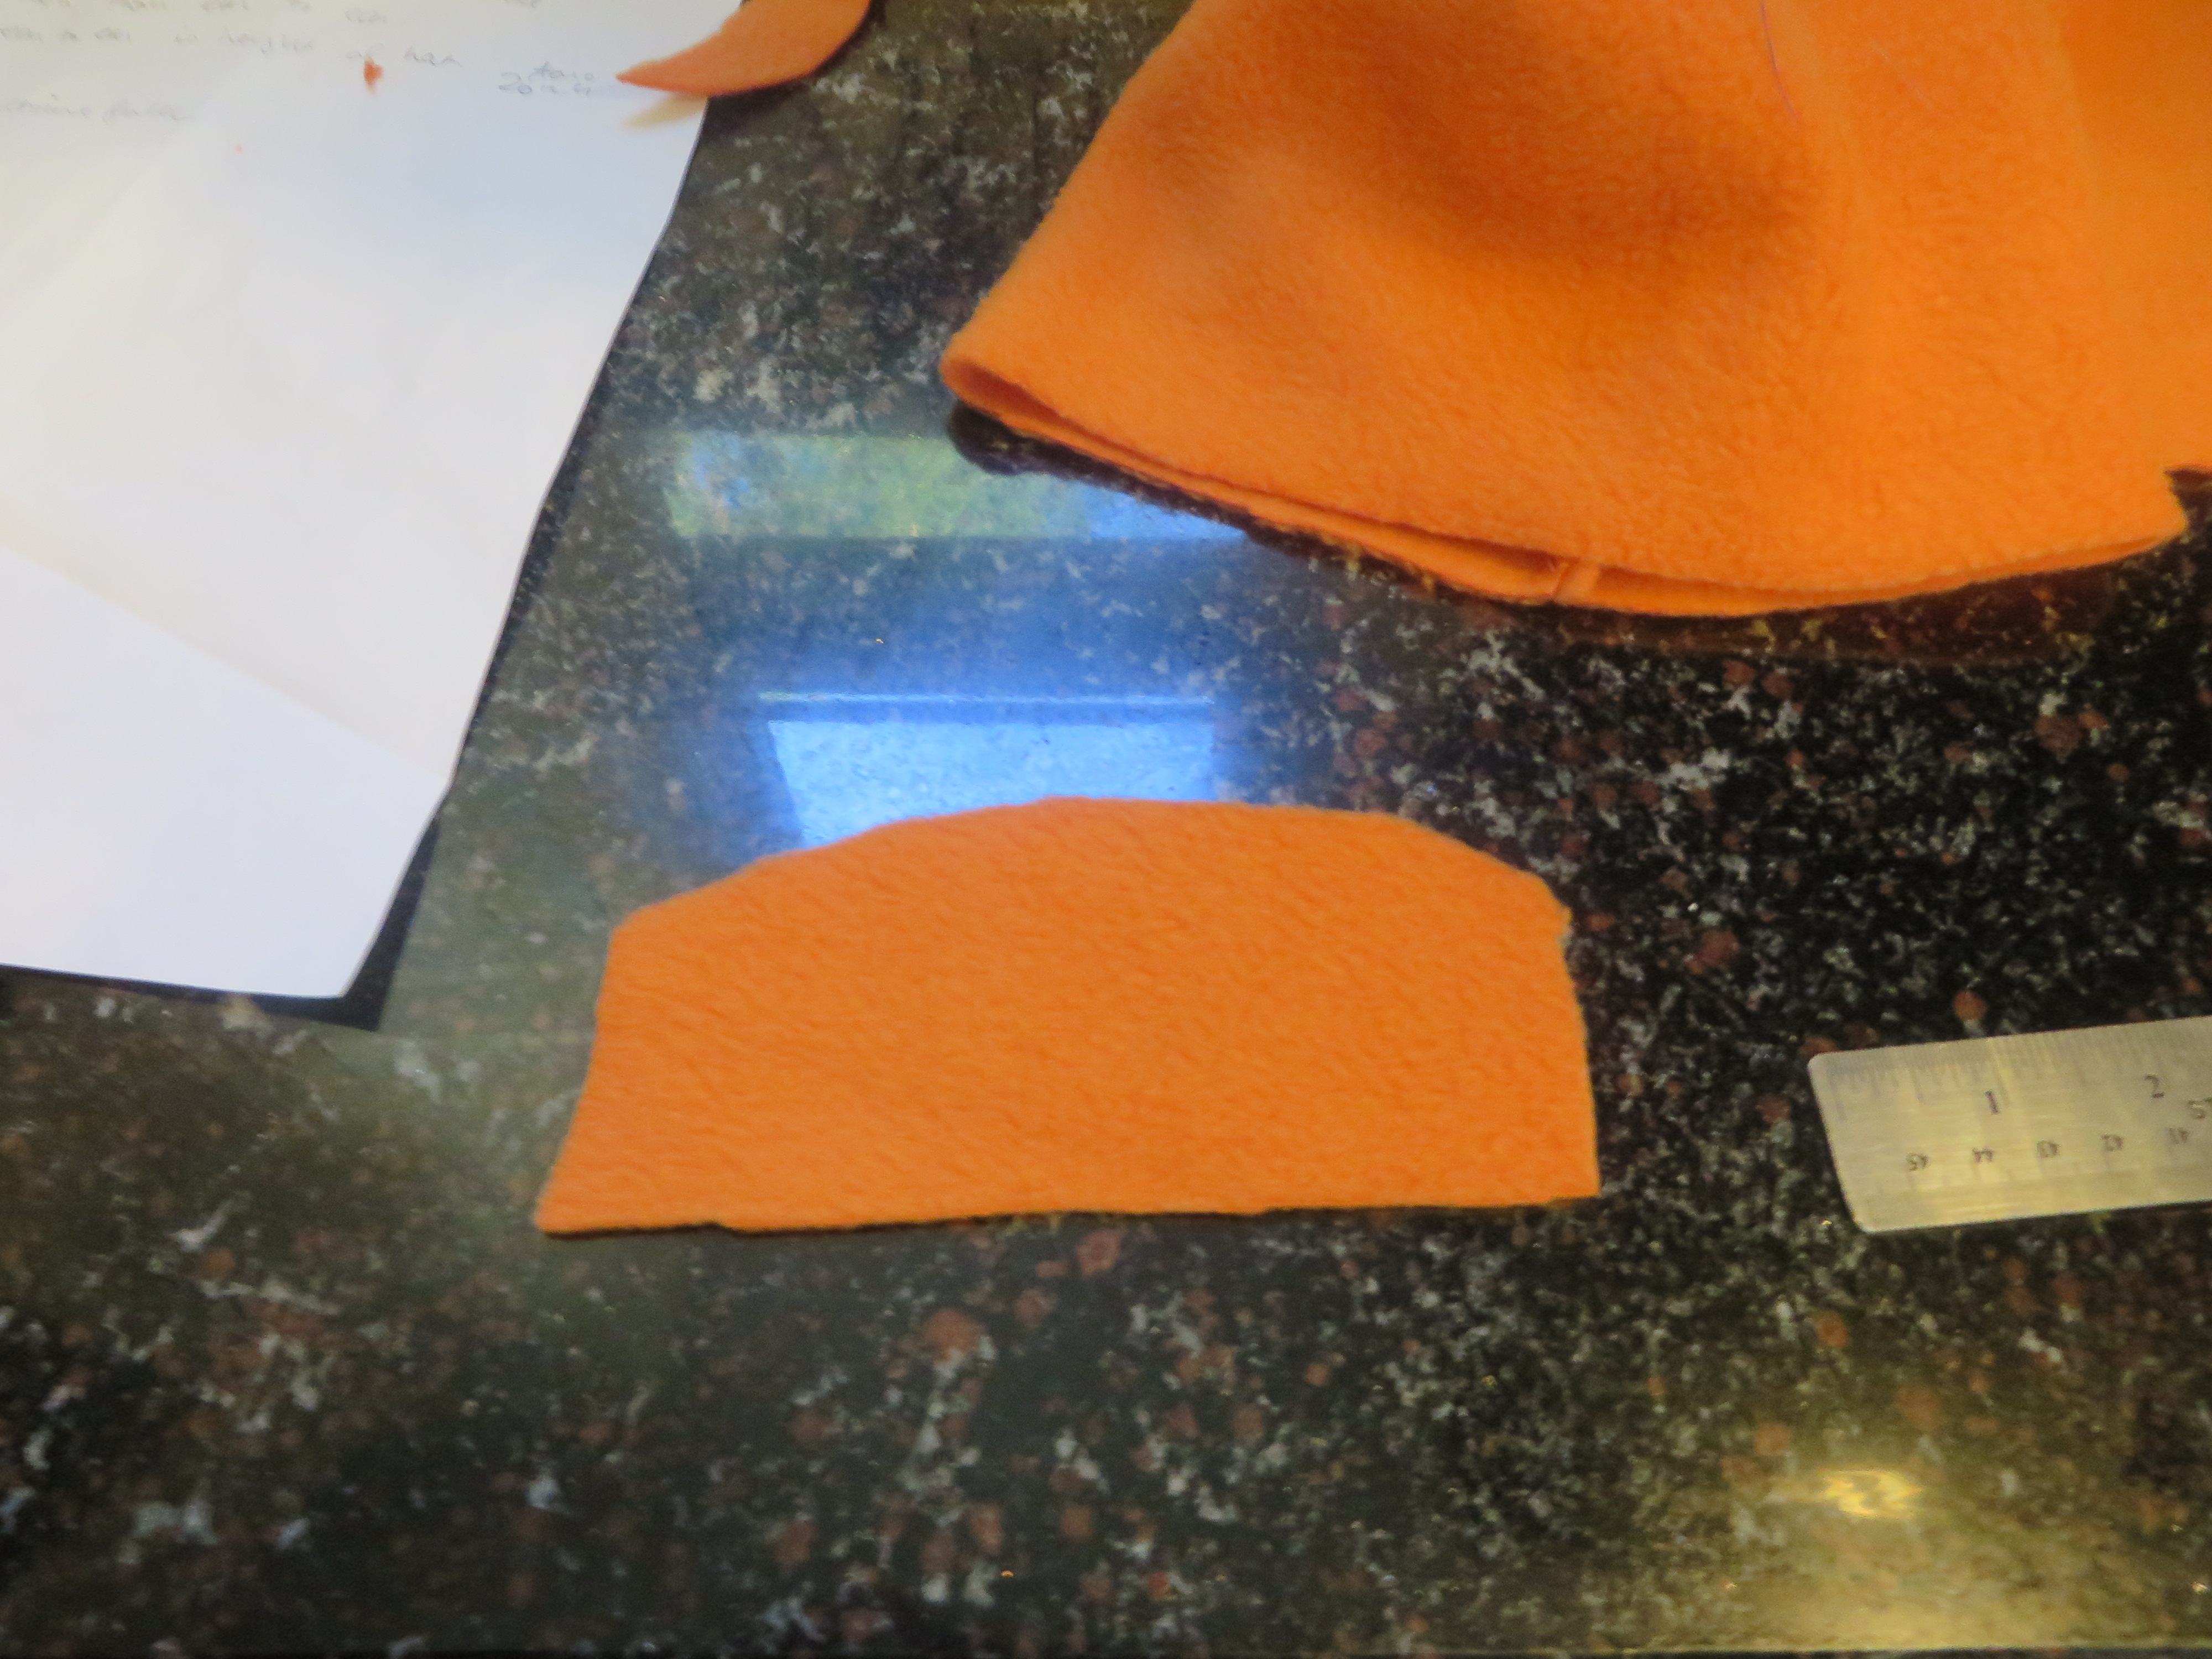
Once you get a shape you like, fold your pink fleece and cut this making absolutely sure that you cut on a fold so that you have enough fabric to go around the entire hat. This will be one piece of pink fleece for the inside and one for the outside layer of the bonnet. *If you do not have enough fabric to cut on a fold for two pieces of fabric total, four pieces of your bonnet pattern will also work. You will just have to do a little more sewing.
Here’s a picture to help this make sense:

I am sorry I didn’t get a picture of the pattern piece for the bonnet opened up. I cut mine so that there would be one continuous piece of pink fabric w/ just a seam at the top.
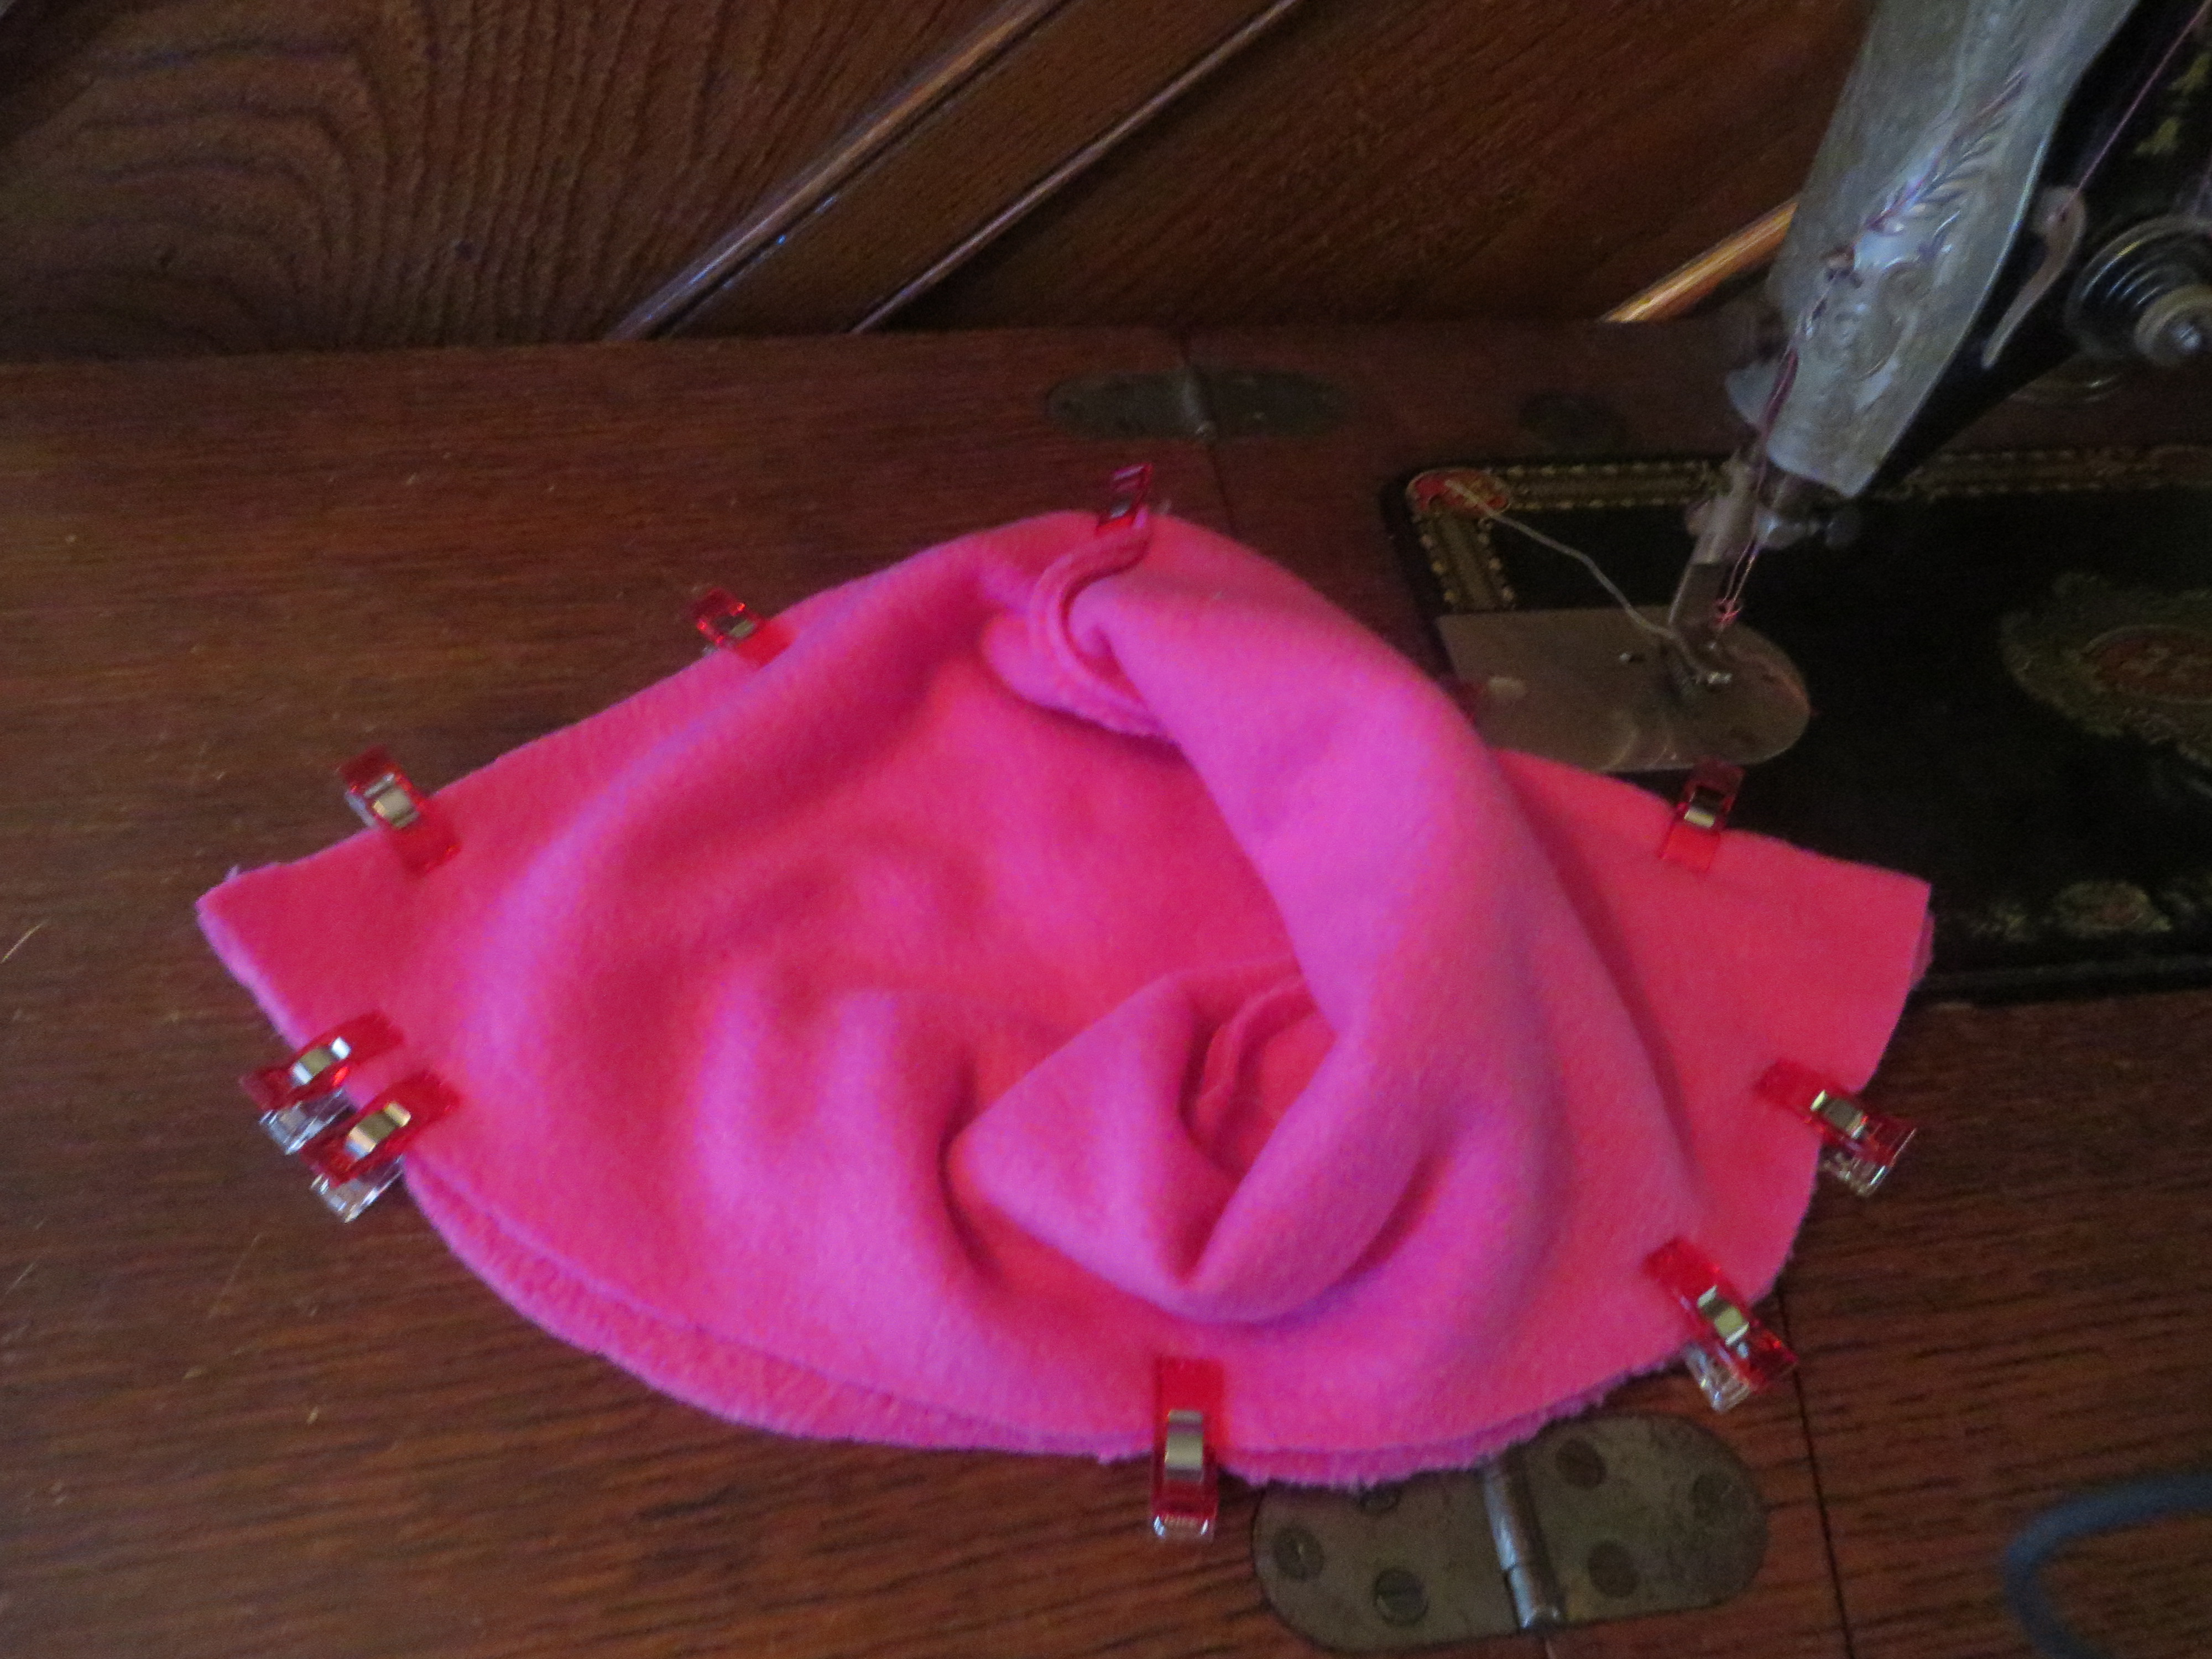
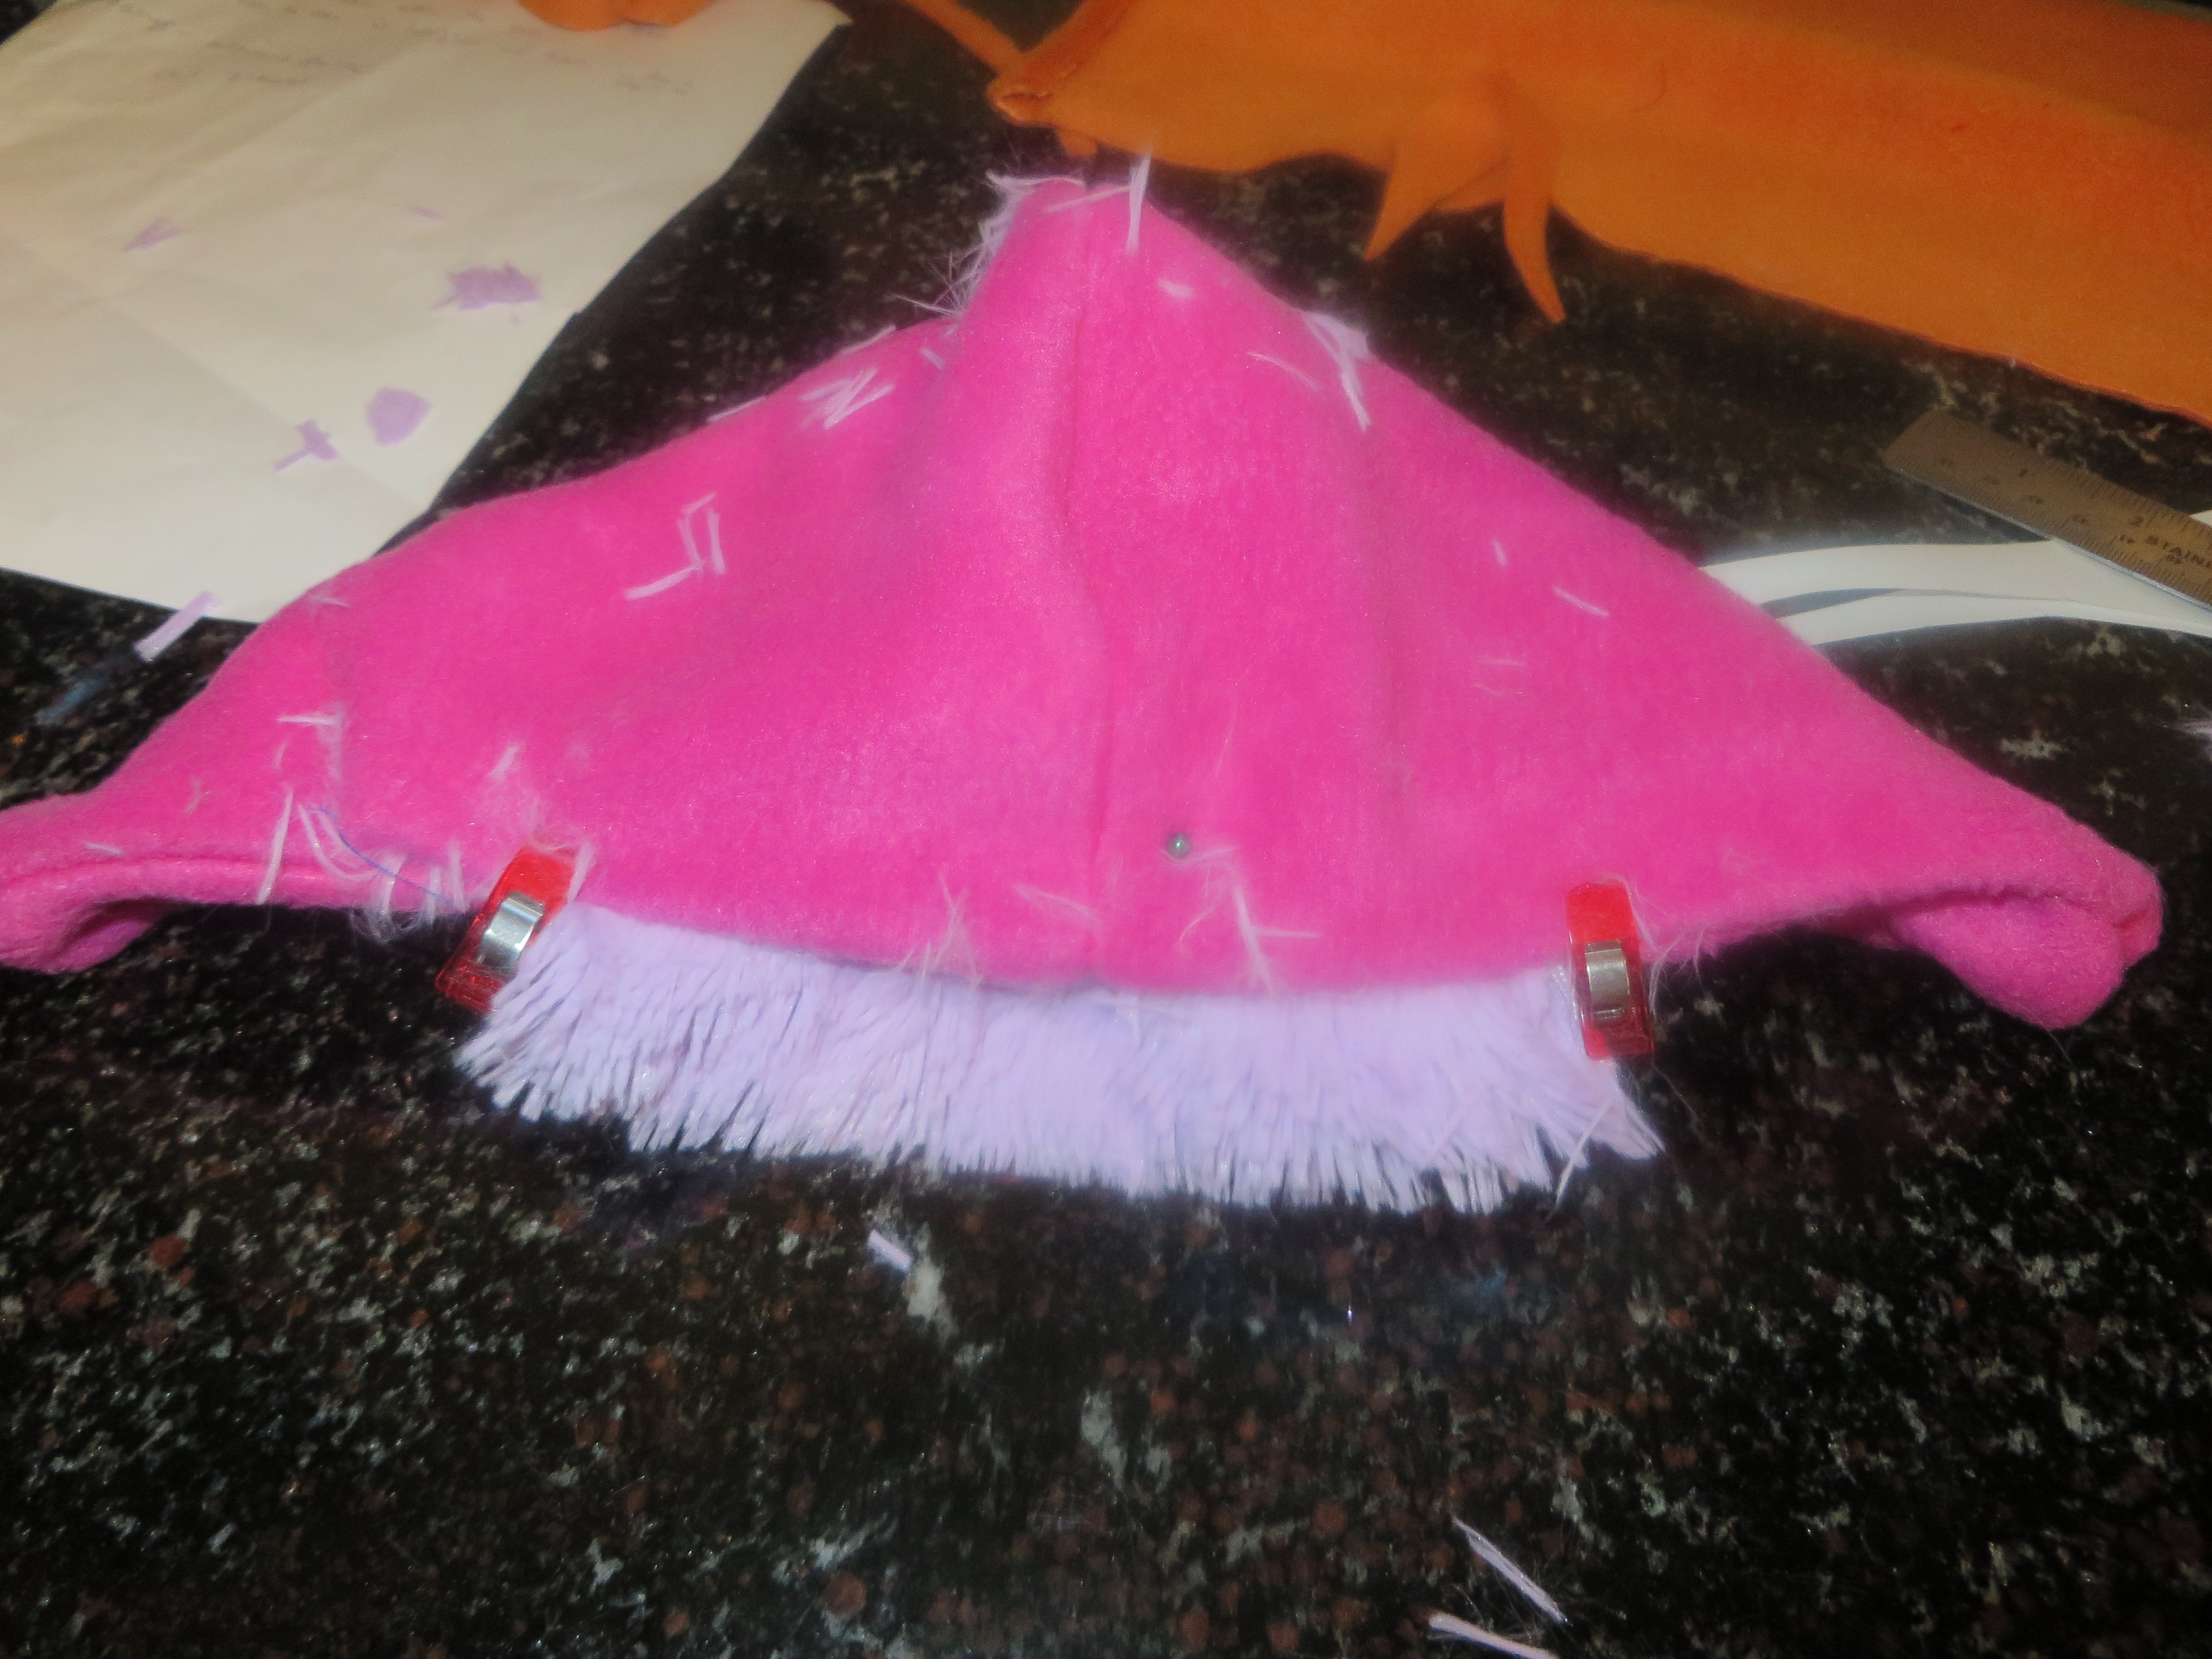
Next, we need to sew the bonnet pieces, right sides together, leaving turning holes to sew on the braids and the fuzzy purple visor. *Mark where you want your turning holes before you start sewing! Sew pieces together, turn right-side out, and set aside for the moment.
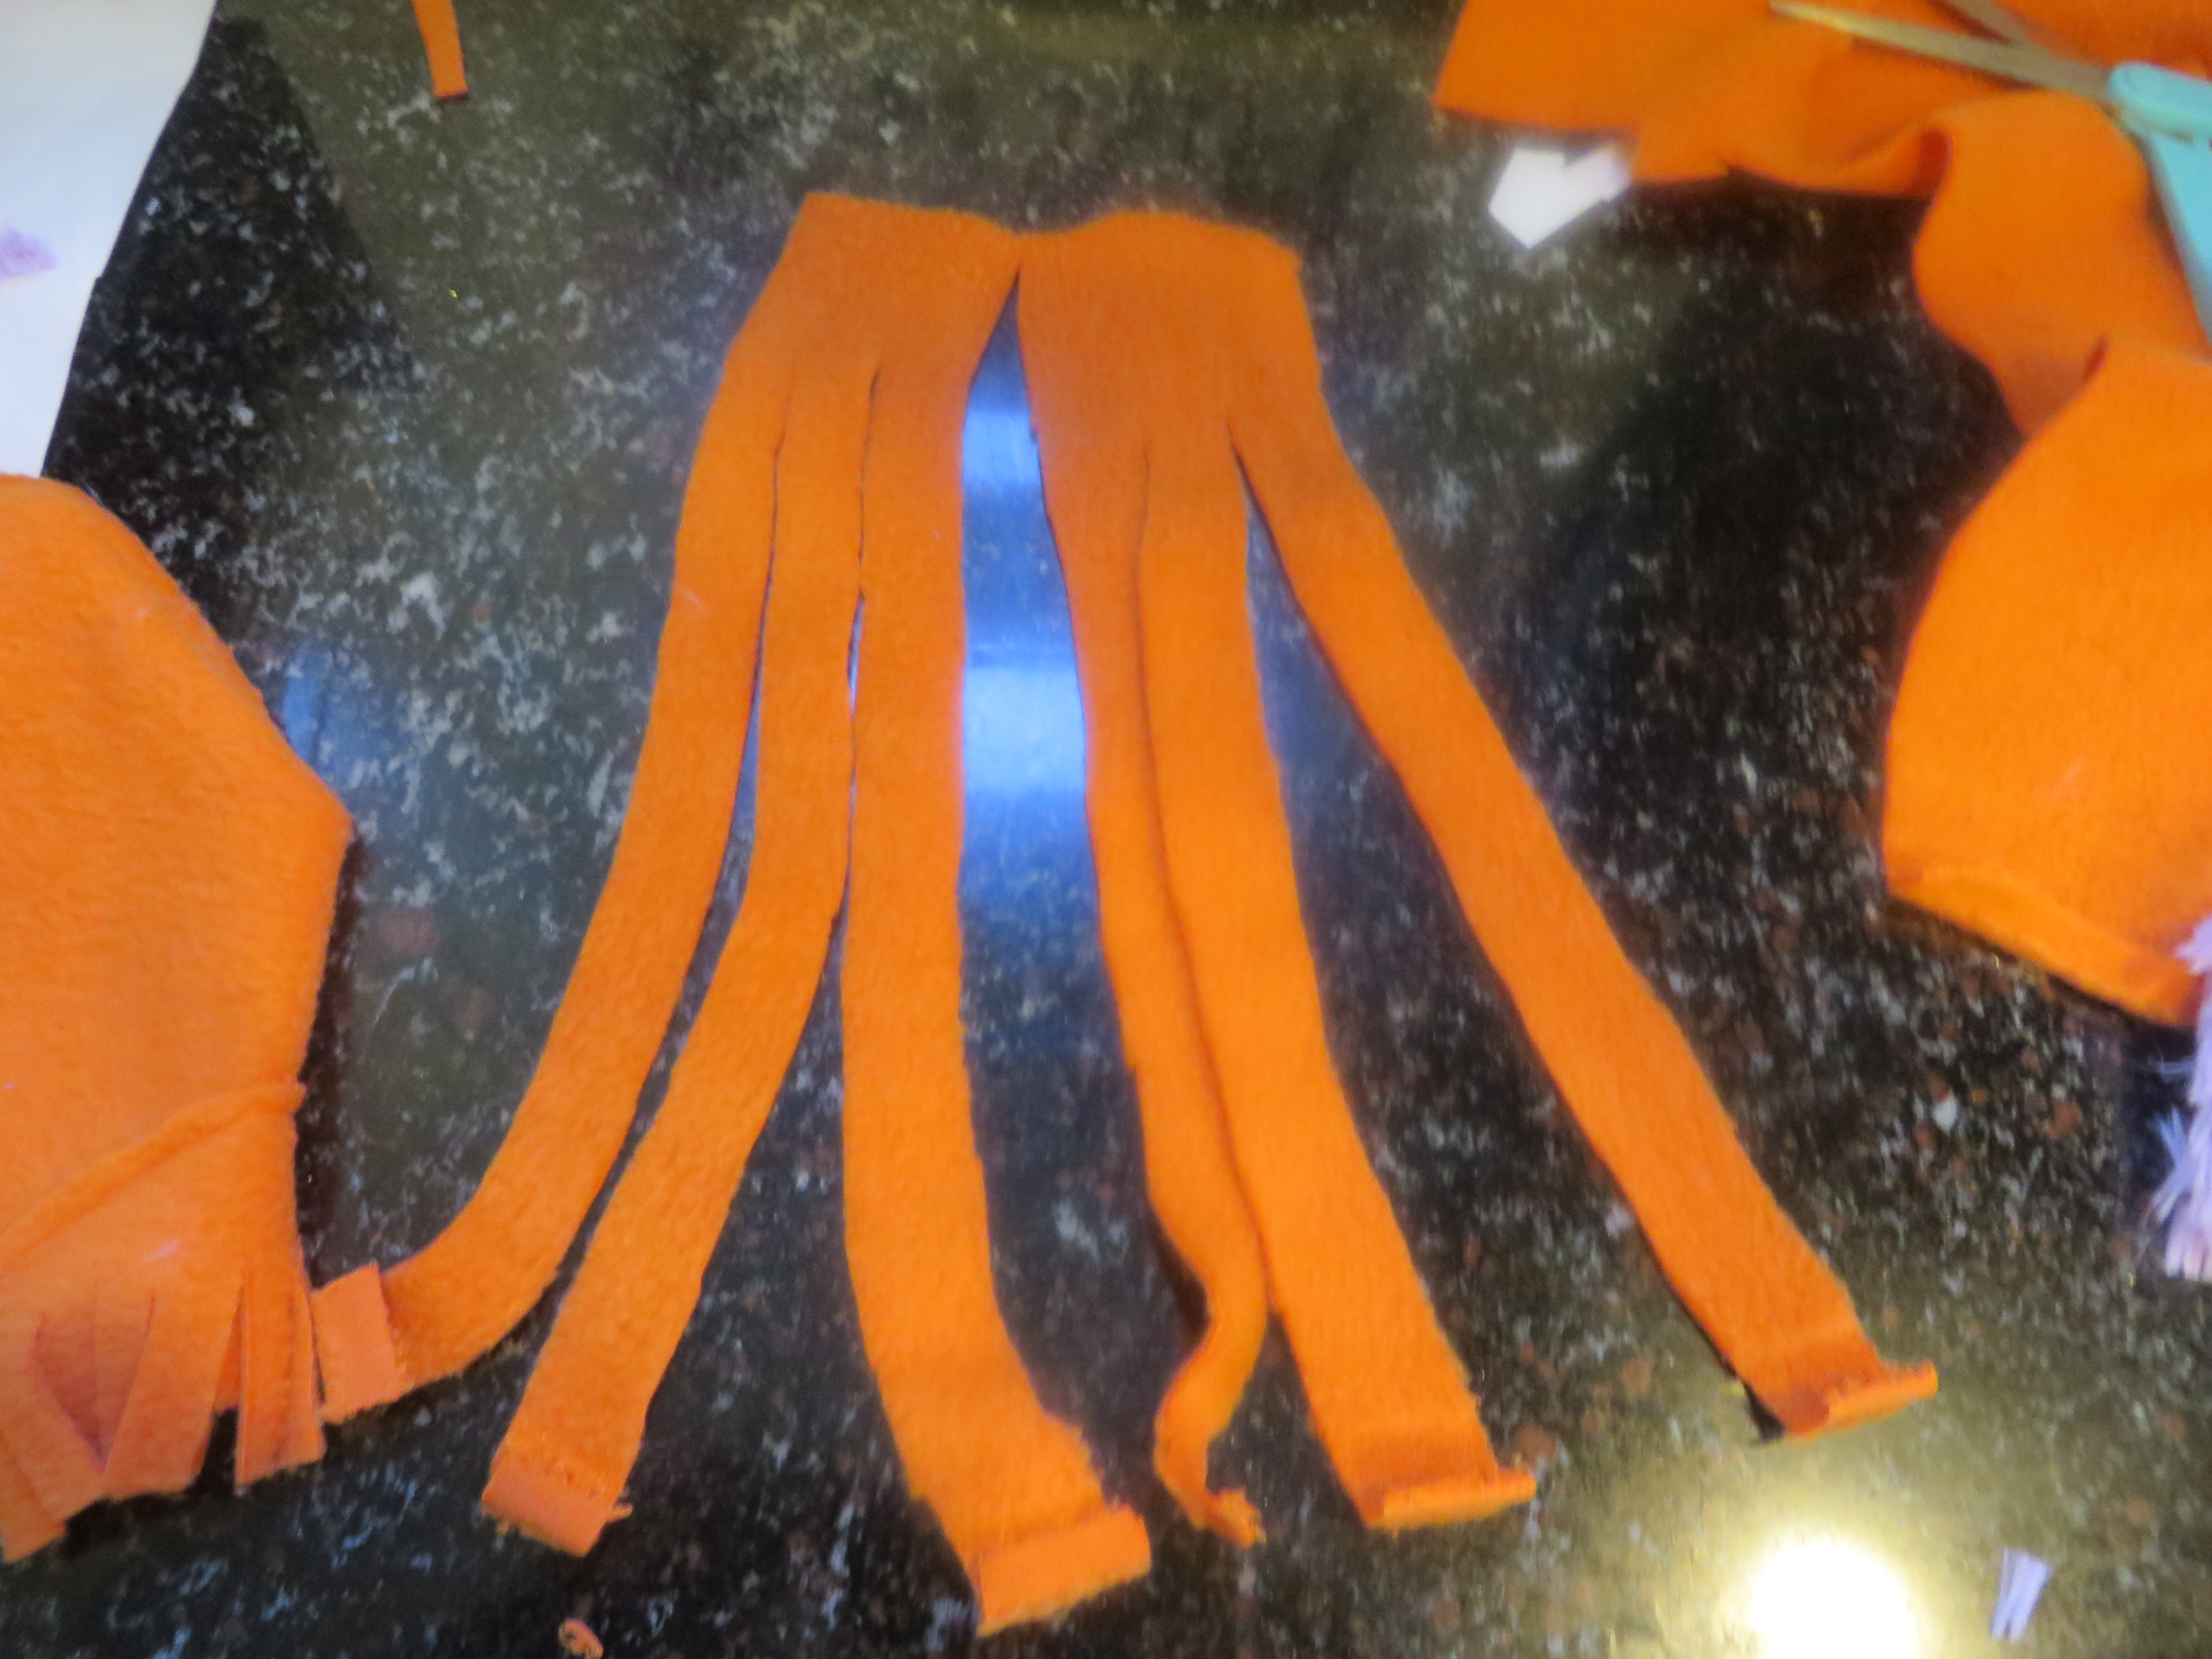
Now we need to prep the purple visor piece and also the orange fleece “braids.”
To make the braids, we need to cut strips (length is up to your discretion, and, of course, I didn’t measure, but just eye-balled the length of mine) of orange fleece, about three inches wide. Next, cut two lines up the middle, which will make three separate parts to your braids. Looks like this:
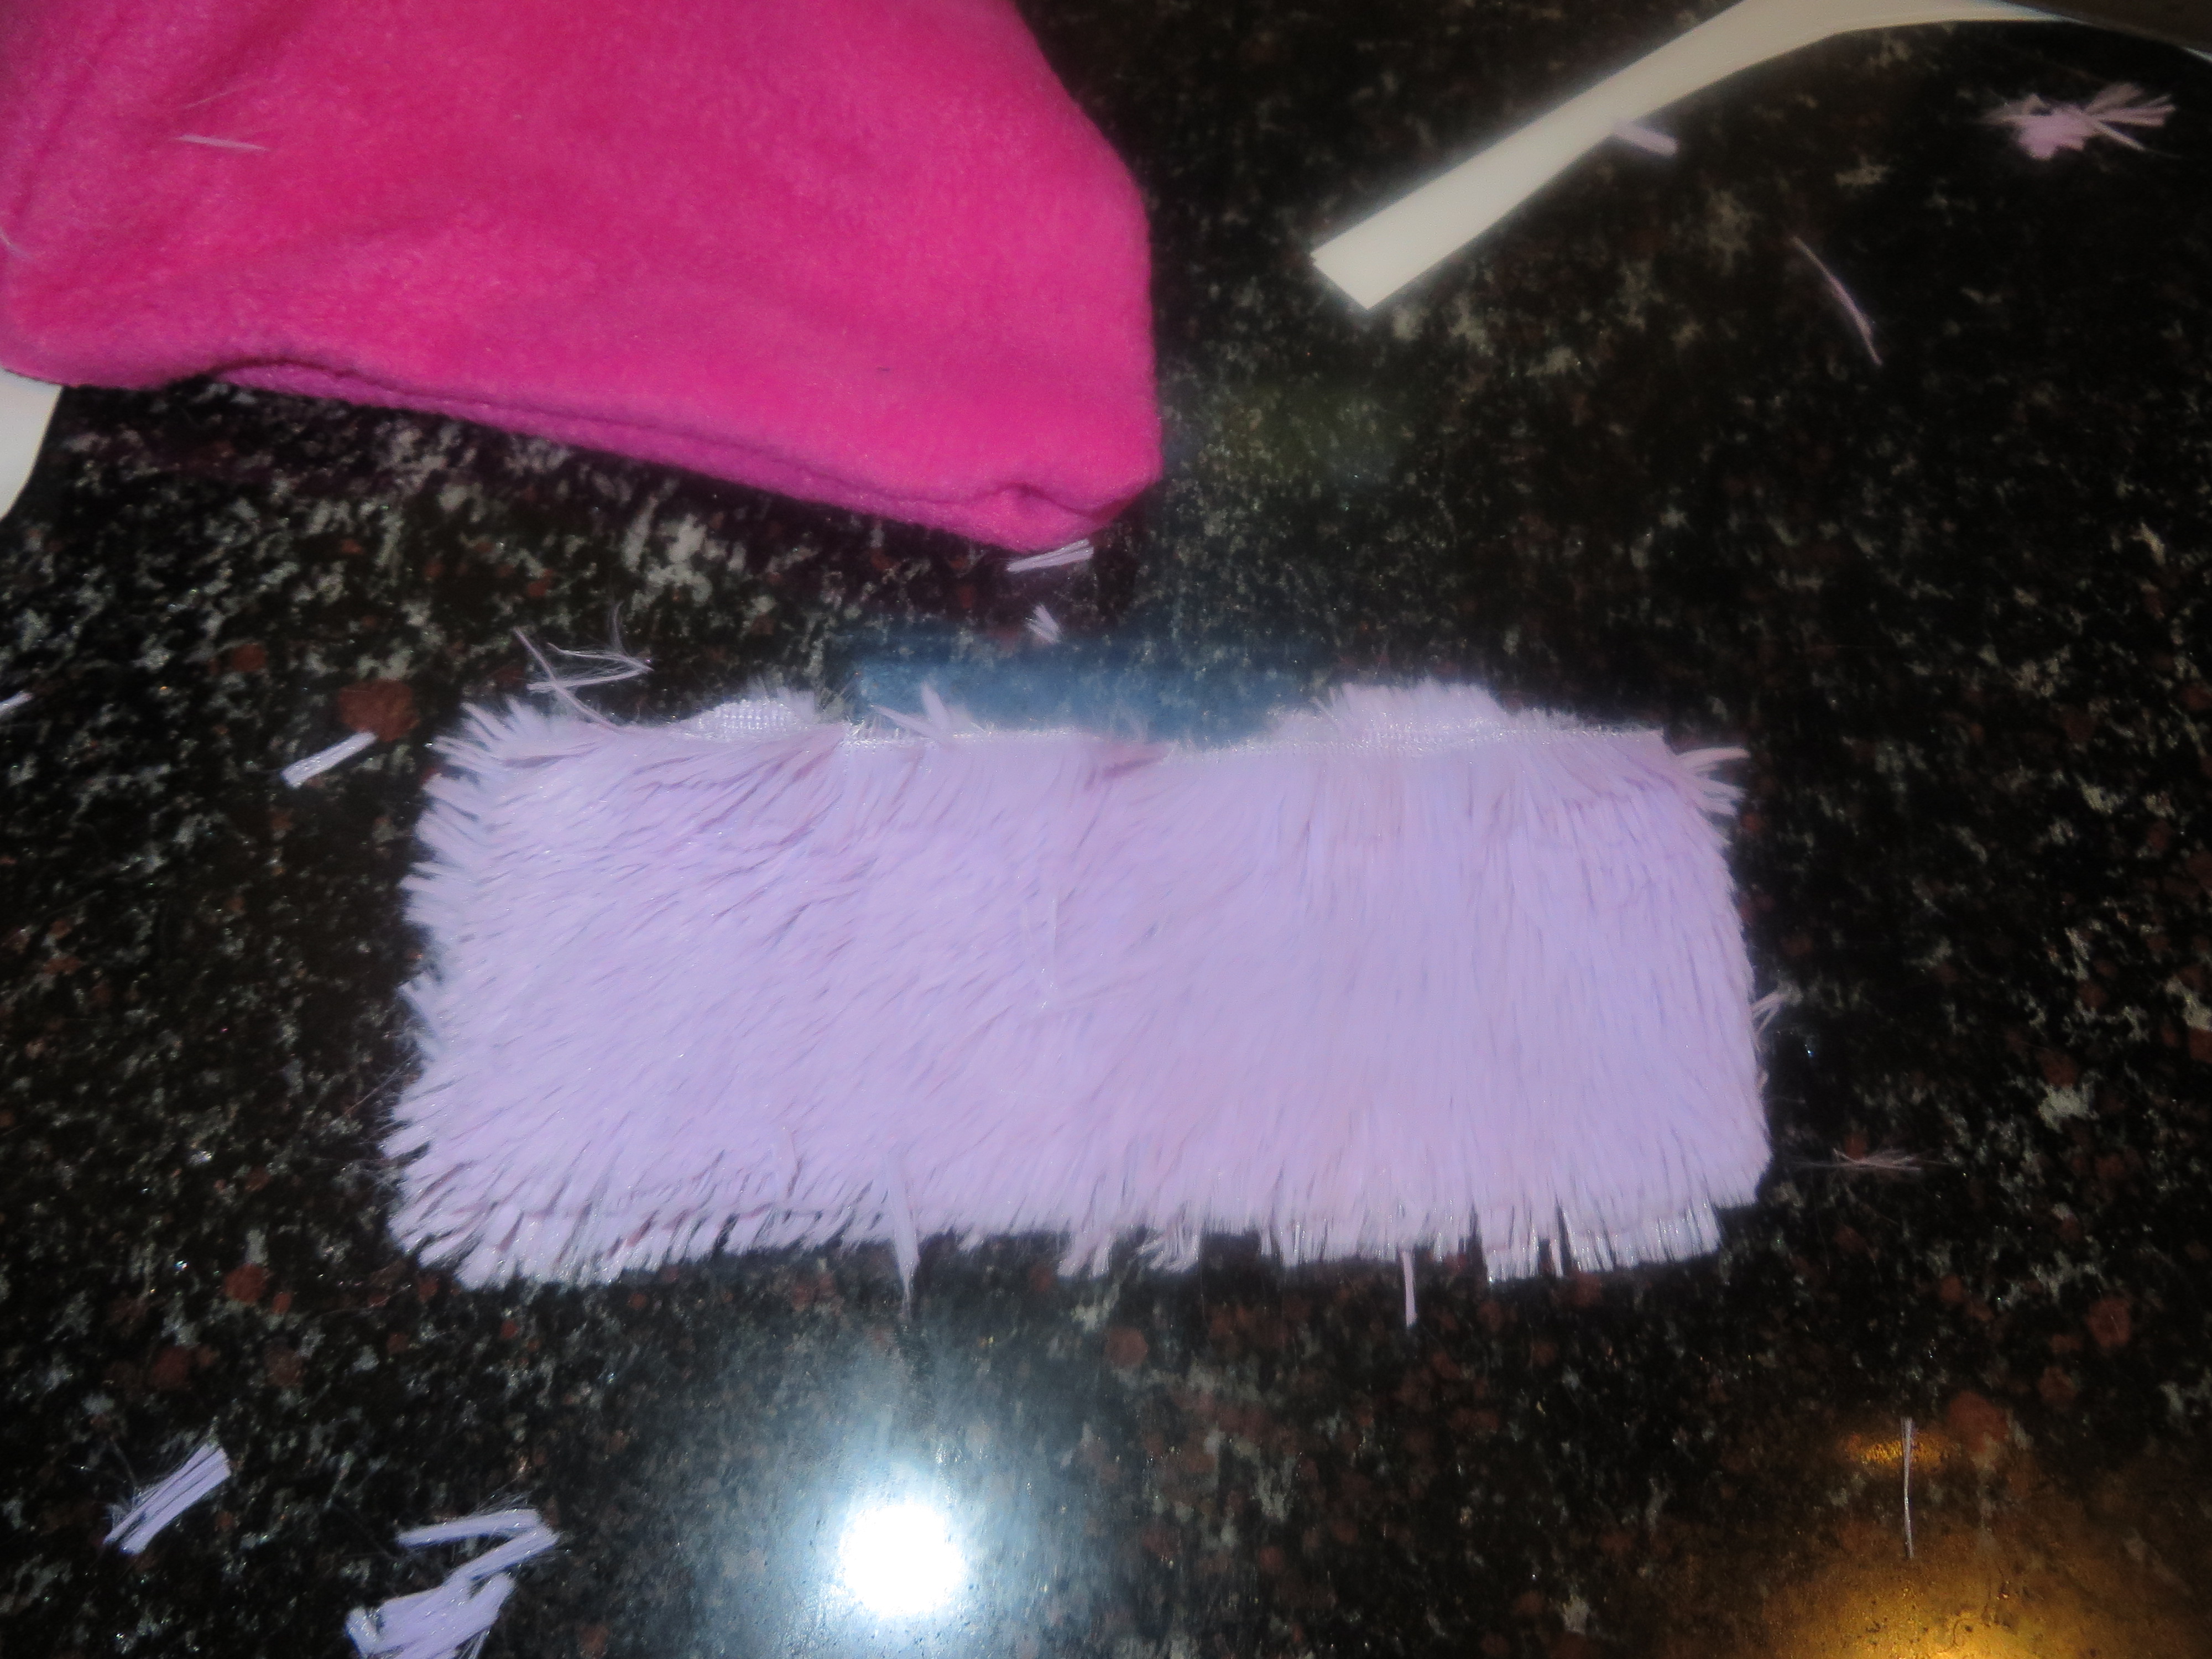
Next, we can prepare the fuzzy purple visor. Again, I just did this by eye. I usually like to take a measurement from temple to temple, and cut a piece of fabric to fit that measurement by about four inches deep, so I have some wiggle room to insert the visor into the hat and be sure I sew through all necessary layers.
You want to cut two pieces that are the same size for the visor. Pin them right sides together and sew, leaving the long edge that will attach to your hat open. When finished sewing, turn the visor right-side out.
Let’s bring that pink bonnet piece back and pin the visor into the turning hole.
Sew.

Note: You may want to be selective on what type of purple fuzzy fabric you pick. This was so “sheddy” that I was literally wearing purple fuzz balls all day!
All we have left now are our little holes on either side of the bonnet to our braids. Position them in the holes.
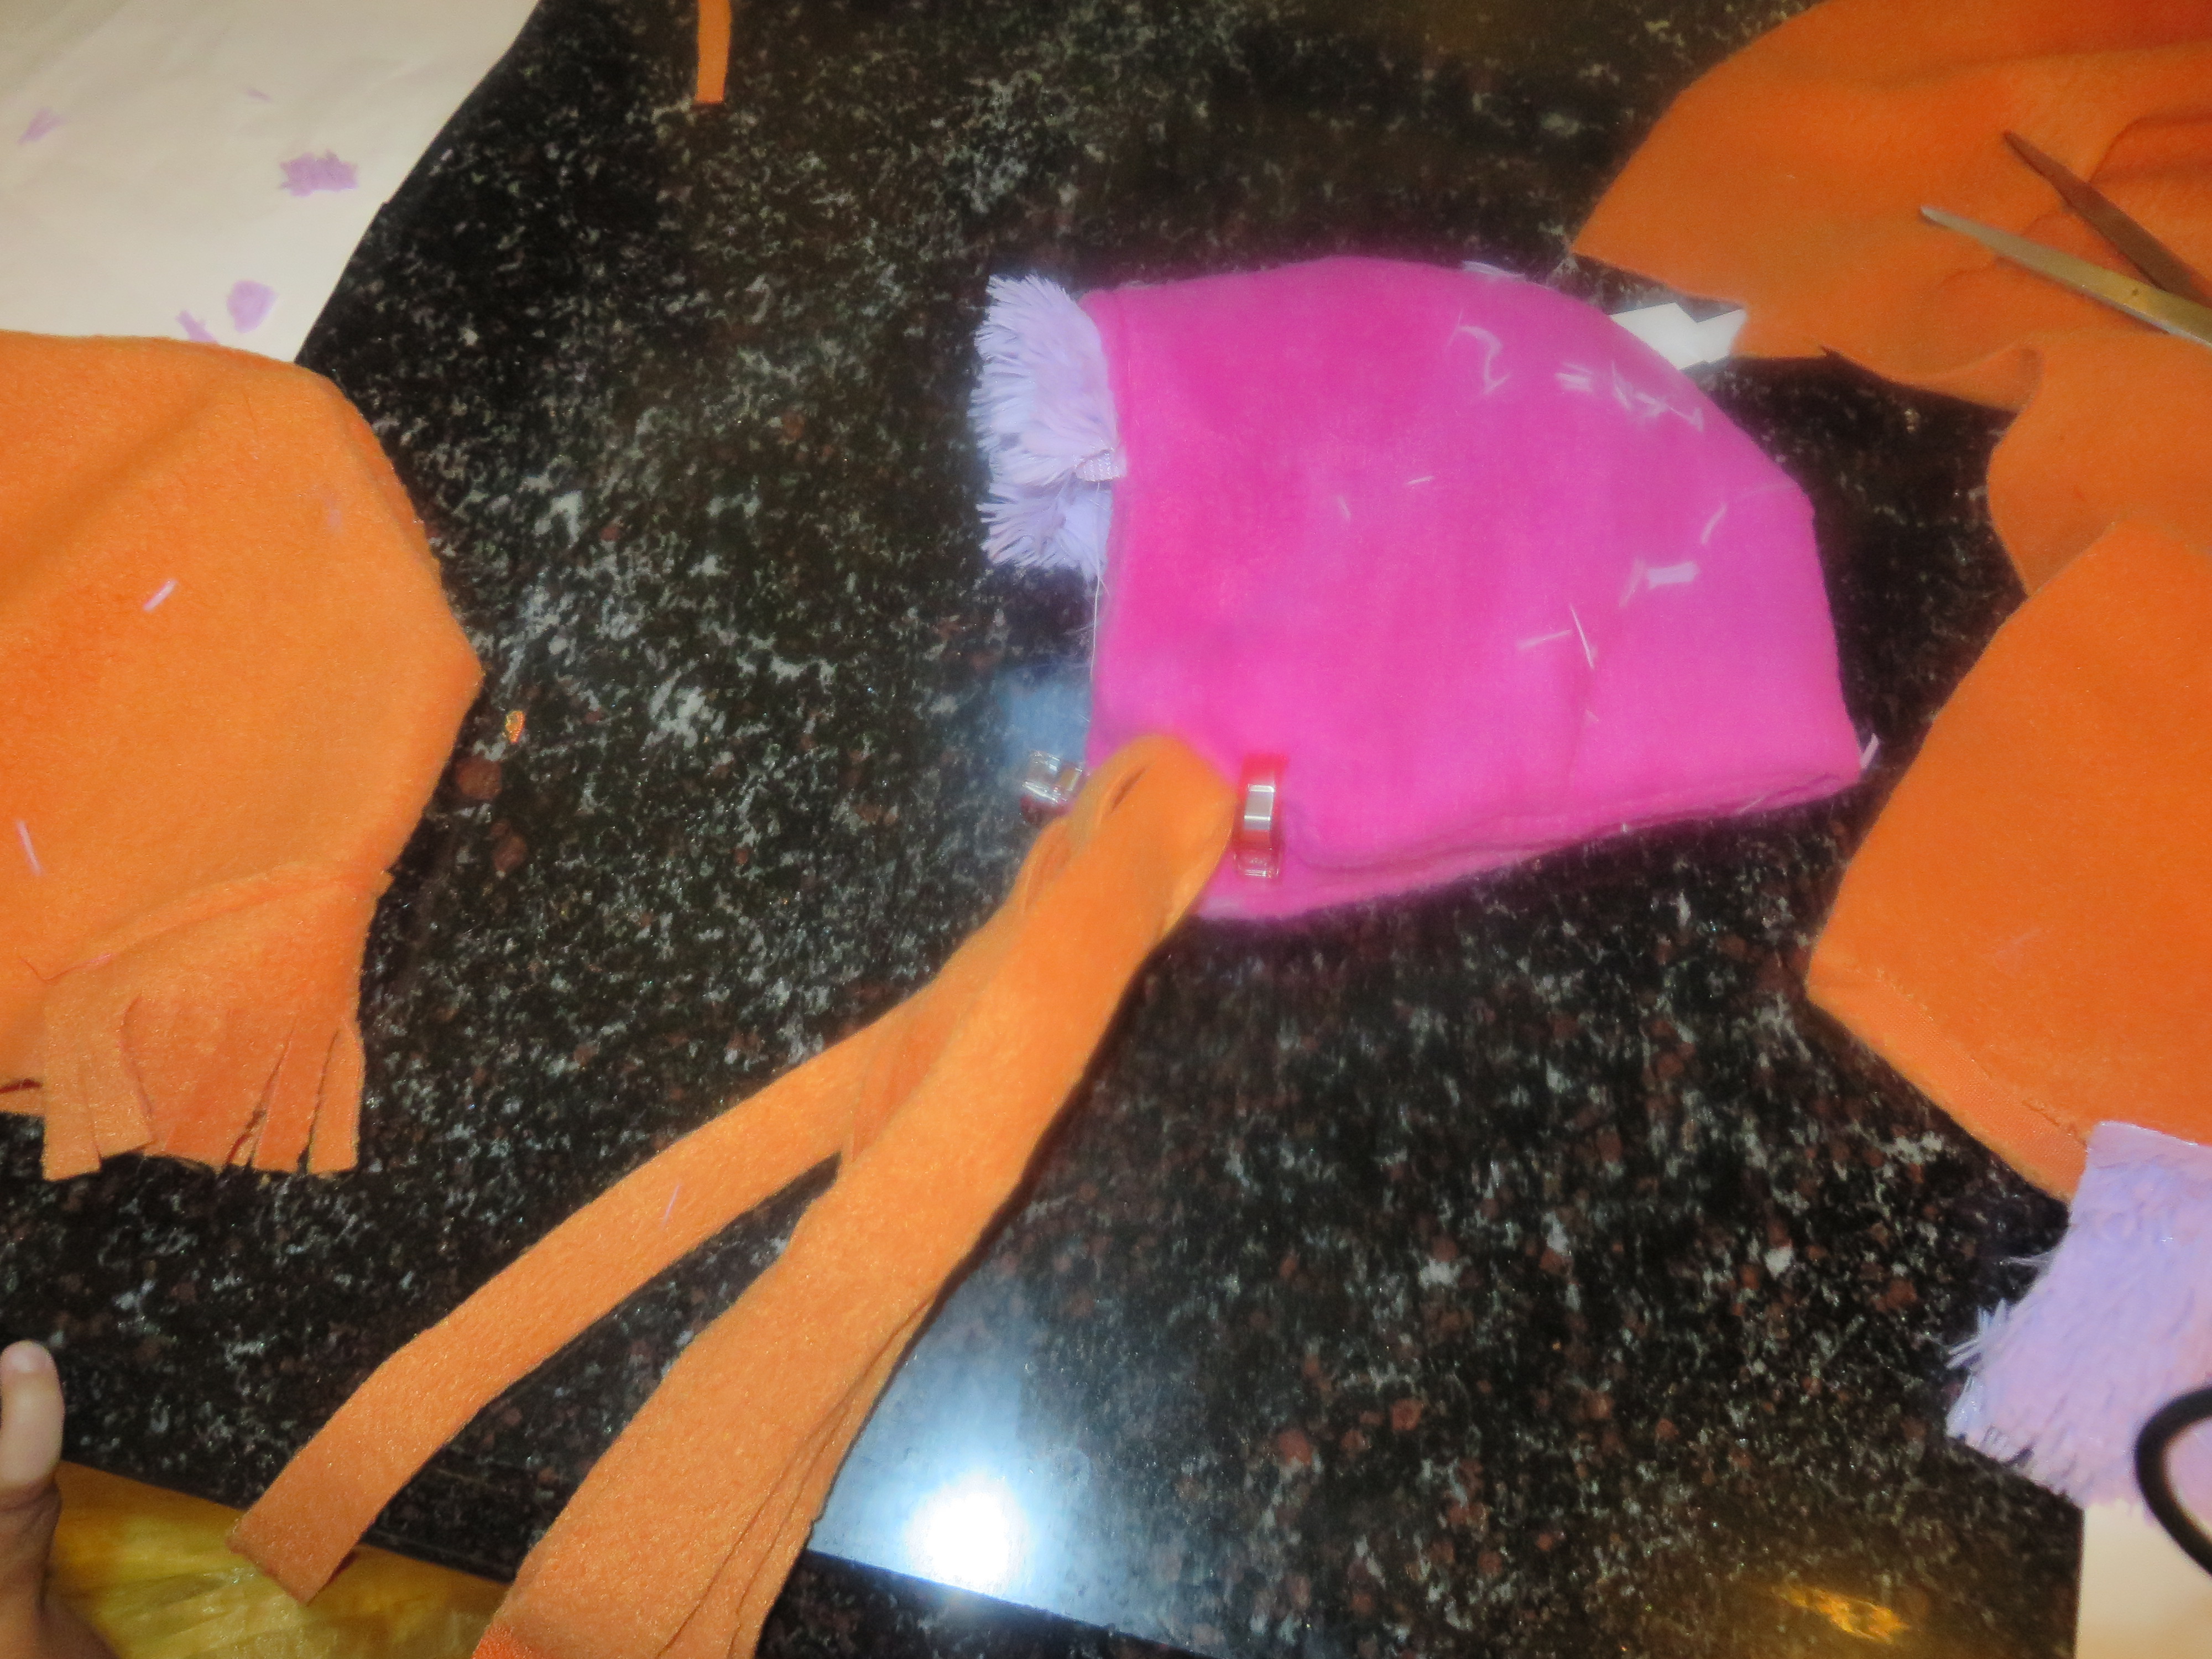
Sew.
Now braid your braids and knot the ends.

Finally, hand-sew your bonnet into place on top of your orange fleece “hair.”
I did a few stitches at the top of the bonnet, behind the visor and at both sides, kind of near the top of the braids.
You’re done!
Have fun watching your little girl hike to the North Mountain!
Chiara
